
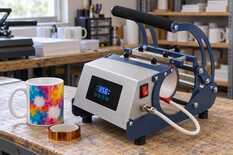
A white patch stays where the dye from the paper did not reach the mug’s coating. The used sheet shows the cause fastest: if bright dye is still on the paper over the patch, that area lacked heat or pressure; if the paper gave up its dye but the mug is white, a gap, a fold, moisture, dust or the coating itself got in the way. Where the patch sits tells you what to change, and one test mug shows whether it worked.
First, look at the used sheet
Do not throw the paper away after pressing. Lay it ink side up next to the mug. The image on the sheet is mirrored: what is on the right of the mug is on the left of the paper.
Bright dye is still on the paper over the patch
The area lacked heat or pressure
The design ends went past the heater, the heater pad does not press there, or the pressure is too low. Check the design size, the heater and the pressure.
The paper gave up its dye, but the mug is white
The dye escaped through a gap, or the wall did not take it
A blurred edge means a fold, lifted paper, tape or moisture. A sharp edge means dust, finger grease, a dent or a coating fault. Check the wrap and that the mug is dry and clean.
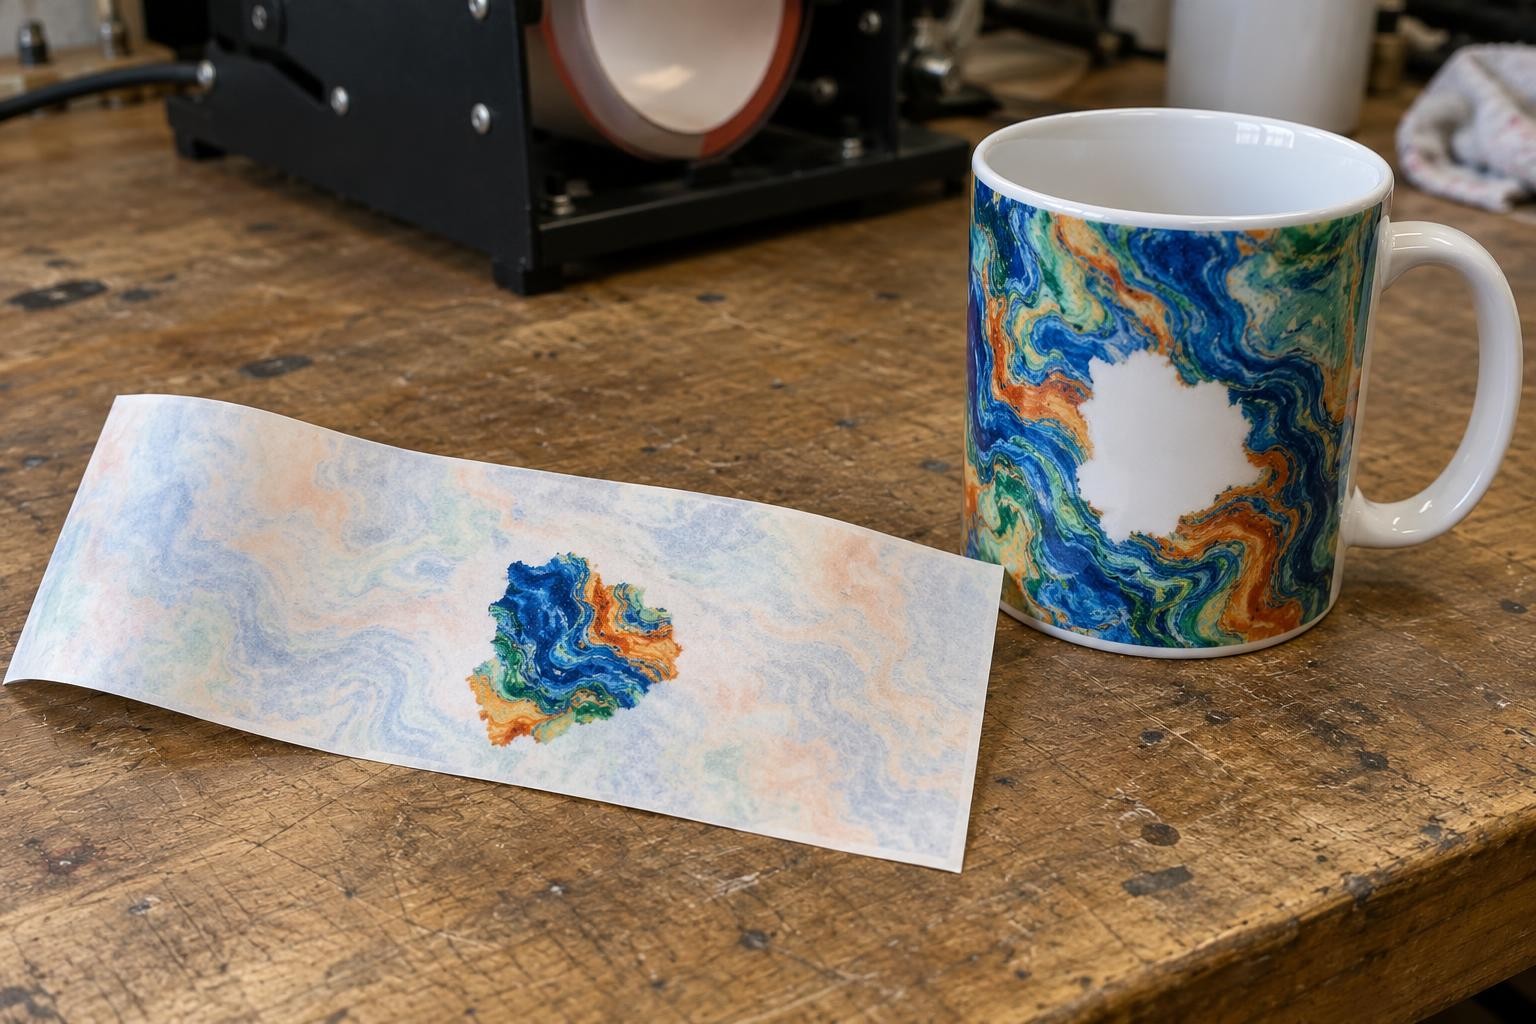
Bright dye is left on the sheet over the white patch: here the paper did not get enough heat or did not touch the wall.
Change one thing at a time. If you tighten the pressure, re-tape the paper and add time all at once, the next clean mug will not tell you what helped.
The patch’s position points to the cause
| What you see on the mug | Cause and check | What to change |
|---|---|---|
| Pale or white design ends on both sides of the handle, the same every time | The design is wider than the heater; its ends fell on the gap by the handle. Dye is left on the sheet near its edges. | A 21 × 9 cm design for a 330 ml mug; the handle centred in the heater gap. |
| White on one side of the handle only | One end of the sheet lifted, or the mug sits off-centre. | Pull the sheet tight, tape both ends by the handle, centre the handle. |
| A strip or thin lines along the tape | Heat tape across the design lifts the paper off the wall. | Tape only the ends by the handle and the white margin. |
| A thin white line or island with a blurred edge, in a different place each time | A fold or a loose wrap. A crease shows on the sheet. | Wrap tight with no folds; do not overtighten the pressure. |
| A patch in the same place on every mug | A worn pad or a cold zone in the heater. The patch repeats on a mug from another box too. | Inspect the heater on a cold press; replace it if worn. |
| White along the narrow edge of a tapered mug | A tapered mug in a cylindrical heater does not touch along its full height. | A conical heater for latte mugs; do not force the mug in. |
| Several blurred patches, different on each mug | Moisture: condensation on a cold or just-washed mug, damp paper. | A dry mug at room temperature; a closed paper pack. |
| Small sharp white dots | Dust, lint, finger grease. A clean mug from the same box has none. | A lint roller or a lint-free cloth; then hold the mug by the handle. |
| A white island with a light rim | A dent or bump in the wall. It shows from the side against the light before printing. | Check mugs before printing and set such ones aside. |
| A sharp patch, and the paper over it gave up its dye; only on mugs from one box | Most likely a coating fault. The same design on a mug from another box comes out clean. | Photos and the order number to a MyPrint manager, as described below. |
| The whole design pale and patchy, lots of dye left on the sheet | Too little pressure. If the pressure is right, too little time or temperature. | Pressure first, then the mode within 180–200 °C and 180 s. |
Start with the cheap checks: the sheet, the wrap, the pressure. If the patch remains after these checks, check the heater and the blank.
By the handle: design size and wrapping
MyPrint’s white 330 ml sublimation mug is 8 cm across, so its circumference is about 25.1 cm. The standard replacement heater for the MP160 mug press is 23.5 cm long. So the heater does not cover about 1.6 cm of the wall by the handle. A full-circumference design puts its ends on this gap, and they come out pale or white.
For a 330 ml mug make the design 21 × 9 cm: both ends then lie on the heater. Measure your mug’s circumference with a circumference tape, and the heater’s length on a cold press.

White sublimation mug, Premium+ class, 330 ml
8 cm diameter · glossy, cylindrical · 21 × 9 cm design
Wrapping without gaps
Press the sheet to the wall
Ink side to the mug, with no air or folds. Pull the paper snugly around the wall by hand, leaving its ends on either side of the handle.
Tape both ends
With strips of heat tape by the handle, so neither end lifts.
Tape only on white
If the sheet needs more holding, put a strip on the white margin at the top or bottom, not across the design.
Handle in the middle of the gap
Place the mug so the handle sits midway between the heater edges, and close the press slowly.

Wrong: the paper lifted off the wall and left white patches with blurred edges.
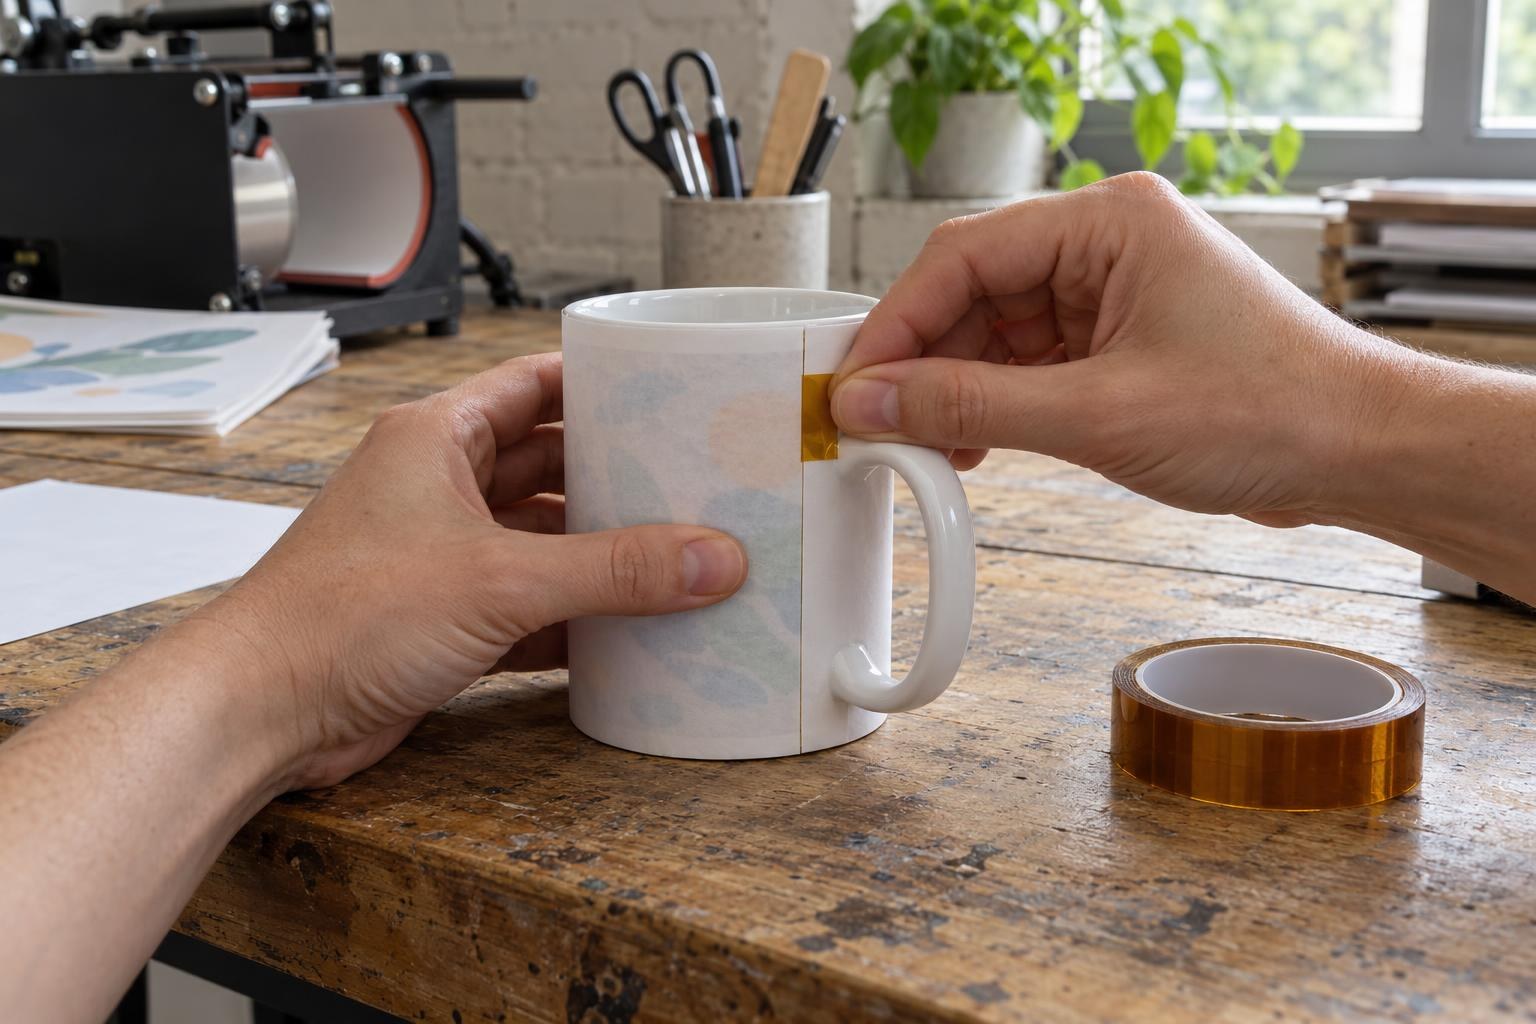
Right: the sheet hugs the mug tightly, its ends taped by the handle.

Polyimide · 10 mm × 30 m · the card says it leaves no marks on the blank
Pressure and a one-mug test
Set the pressure on a cold press with the mug wrapped in a working sheet. It is right when the press handle closes with one hand and noticeable effort, and the mug does not turn in the closed press. How to set it without risking a crack is shown in our article “A mug cracked in the heat press: how not to ruin the next one”.
Too little pressure gives a pale, patchy design. Too much creases the paper: white islands appear, and the mug can crack. If the pressure is too low, turn the adjuster one small step tighter; if the handle will not close with one hand, loosen it. Adjust on a cold press, and once the fit matches the description above, check it with one test mug. When you switch to a mug of another size, set the pressure again.
Design
21 × 9 cm
330 ml mug, 8 cm across
Temperature
180–200 °C
same as on the spoiled mug
Time
180 s
for a 330 ml mug
Pressure
firm
the handle closes with one hand and effort
MyPrint’s usual mode for a white 330 ml mug in the standard heater. For 425 ml in the large heater: 200 °C and about 200 s.
One-mug test
Prepare the print
Take a mug from the same box. To check the design, print the working layout; to check the pressure and the heater, print a solid dark fill of 21 × 9 cm: every unprinted area shows on it. Print mirrored; let the sheet dry and trim it.
Change one thing
Use the sheet and the table to pick one change: the wrap, the pressure, drying the mug or replacing the heater.
Press in your usual mode
Wipe the mug, wrap it, tape the ends with heat tape, put it in the press and start the timer.
Remove the paper at once
Take the mug out by the handle, peel off the sheet right away wearing heat-resistant gloves, and let the mug cool on a heat-resistant stand, not under water.
Compare the mug and the sheet
The patch is gone: record the settings. It stays in the same place even on a mug from another box: look at the heater. It appears only on mugs from one box: look at the blank. A recorded mode never replaces the test mug from each new box.
A patch in the same place every time: inspect the heater
If the patch sits in the same place relative to the handle on every mug — from another box and with another design — the heater is at fault. Its silicone pad hardens, dents or peels with time and stops pressing the paper. Sometimes everything looks intact, but part of the heater runs cooler: then dye stays on the sheet in the same place every time.
Inspect the pad on a cold press unplugged from the socket. Replace a worn heater: replacement heaters, including conical ones for latte mugs, are in the “Heat press spare parts” section. For another press model, choose the heater together with a MyPrint manager.
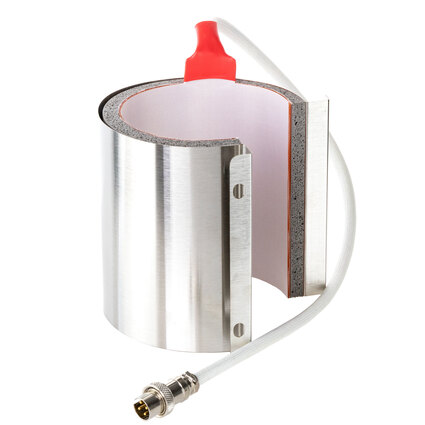
HP standard mug heater 12 × 23.5 cm
For the MP160 and HP universal presses · mugs 7.5–9 cm across · 12 cm high
Moisture, dust and dents: check before pressing
Before pressing
How to remove dust from the mug and the paper is shown in our article on coloured dots after sublimation. Where to keep paper so it does not take up moisture is covered in the article on storage conditions for a small print shop.
When the blank is at fault and what to send MyPrint
Three signs together point to the blank: the paper over the patch gave up its dye, the patch has a sharp edge, and it appears only on mugs from one box. Check with a mug from another box: if the same design in the same mode comes out clean, it is most likely a coating fault.
Under MyPrint’s public offer, a defect is reported within 24 hours of receiving the goods, with photos or video. Once the defect is confirmed, MyPrint offers a replacement or a refund and pays for the return delivery. So press one test mug from each new box on the day it arrives.
Send the manager:
- the order number and the mug’s name;
- photos of spoiled mugs next to their sheets;
- a photo of the same design on a mug from another box, if you have one;
- the mode: temperature, time, press and heater model;
- how many mugs you checked and how many have the patch.
Keep the spoiled mugs and sheets until you get an answer.
Frequently asked questions
The edges by the handle are always half-white, although the press clamps the whole design. What is wrong?
Most likely the design is wider than the heater: for a 330 ml mug make it 21 × 9 cm and centre the handle in the gap. White on one side only: check that this end of the sheet is taped.
Can I re-press a mug with a white patch?
Not reliably: a new sheet will not line up exactly with the old design, and instead of the patch you get a double image. If the blank is at fault, keep this mug for your claim to MyPrint.
Will a higher temperature or a longer time help?
Rarely. Heat does not reach where the paper does not touch the wall, and extra degrees will not remove moisture or grease on the wall. Check the sheet, the wrap and the pressure first. Keep the mode within 180–200 °C: according to their cards, the MP160 and AP1803 heat up to 200 °C.
Patches on only some mugs from a box: is it the press or the mugs?
If the patch sits in the same place relative to the handle every time — on a mug from another box too — inspect the heater. If patches come and go and sit in a different place each time, check the wrap, the pressure, moisture, dust and grease. The same sharp patch only on mugs from one box, while a mug from another box comes out clean, points to the blank.