
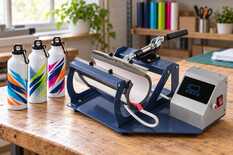
For 20 bottles with names, take a white metal bottle Ø 7.2 cm with a sublimation coating and the MP160 thermos heat press: its heater wraps bottles 6.5–7.5 cm in diameter. Do not type the names by hand: one template and a table give 20 files in 10–30 minutes. Start at 180 °C and 60 seconds, and find the settings for the run on the test bottle. One operator on one heater makes the whole run in 1 h 40 min – 3.5 hours.
Which bottle takes sublimation
Sublimation ink turns into gas under heat and enters a polymer coating. Without the coating the image will not hold. For this project, take a white bottle with a sublimation coating — you will find such bottles in the sections “Water bottles, flasks for sublimation” and “Thermo mugs, thermoses, thermo bottles for sublimation”.
The second condition is a straight wall: the cylindrical heater transfers heat only where it fits tightly against the body. On the taper near the neck the image will come out pale, so the print band ends where the straight part ends.

Water bottle with a carabiner, 500 ml
Ø 7.2 cm · straight wall up to a rounded shoulder · cap with a loop and a carabiner
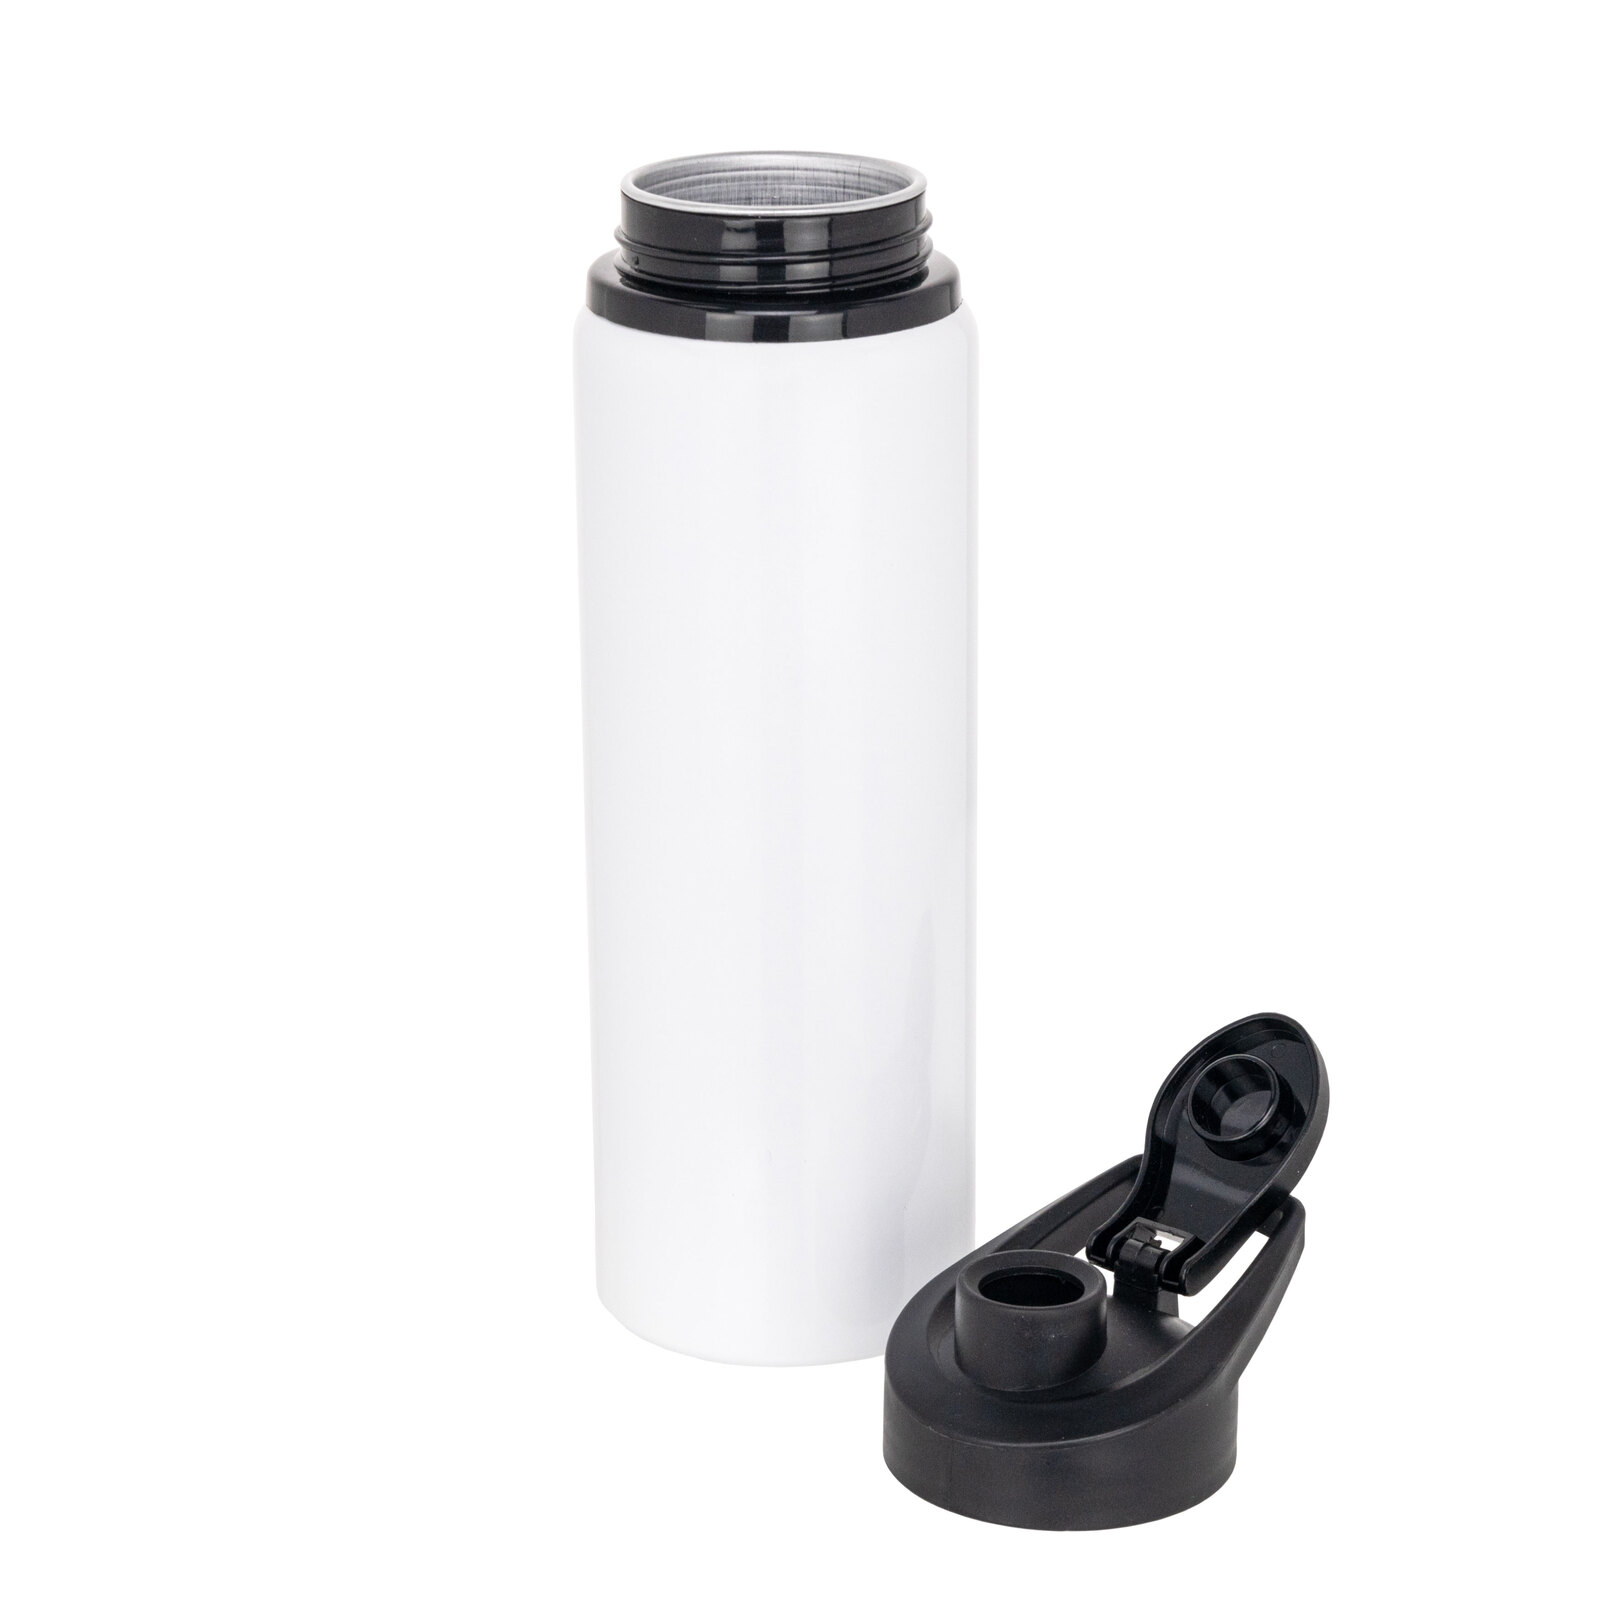
Water bottle with a cap, 750 ml
Ø 7.2 cm · straight almost to the top — the tallest band for a name and background · sport cap
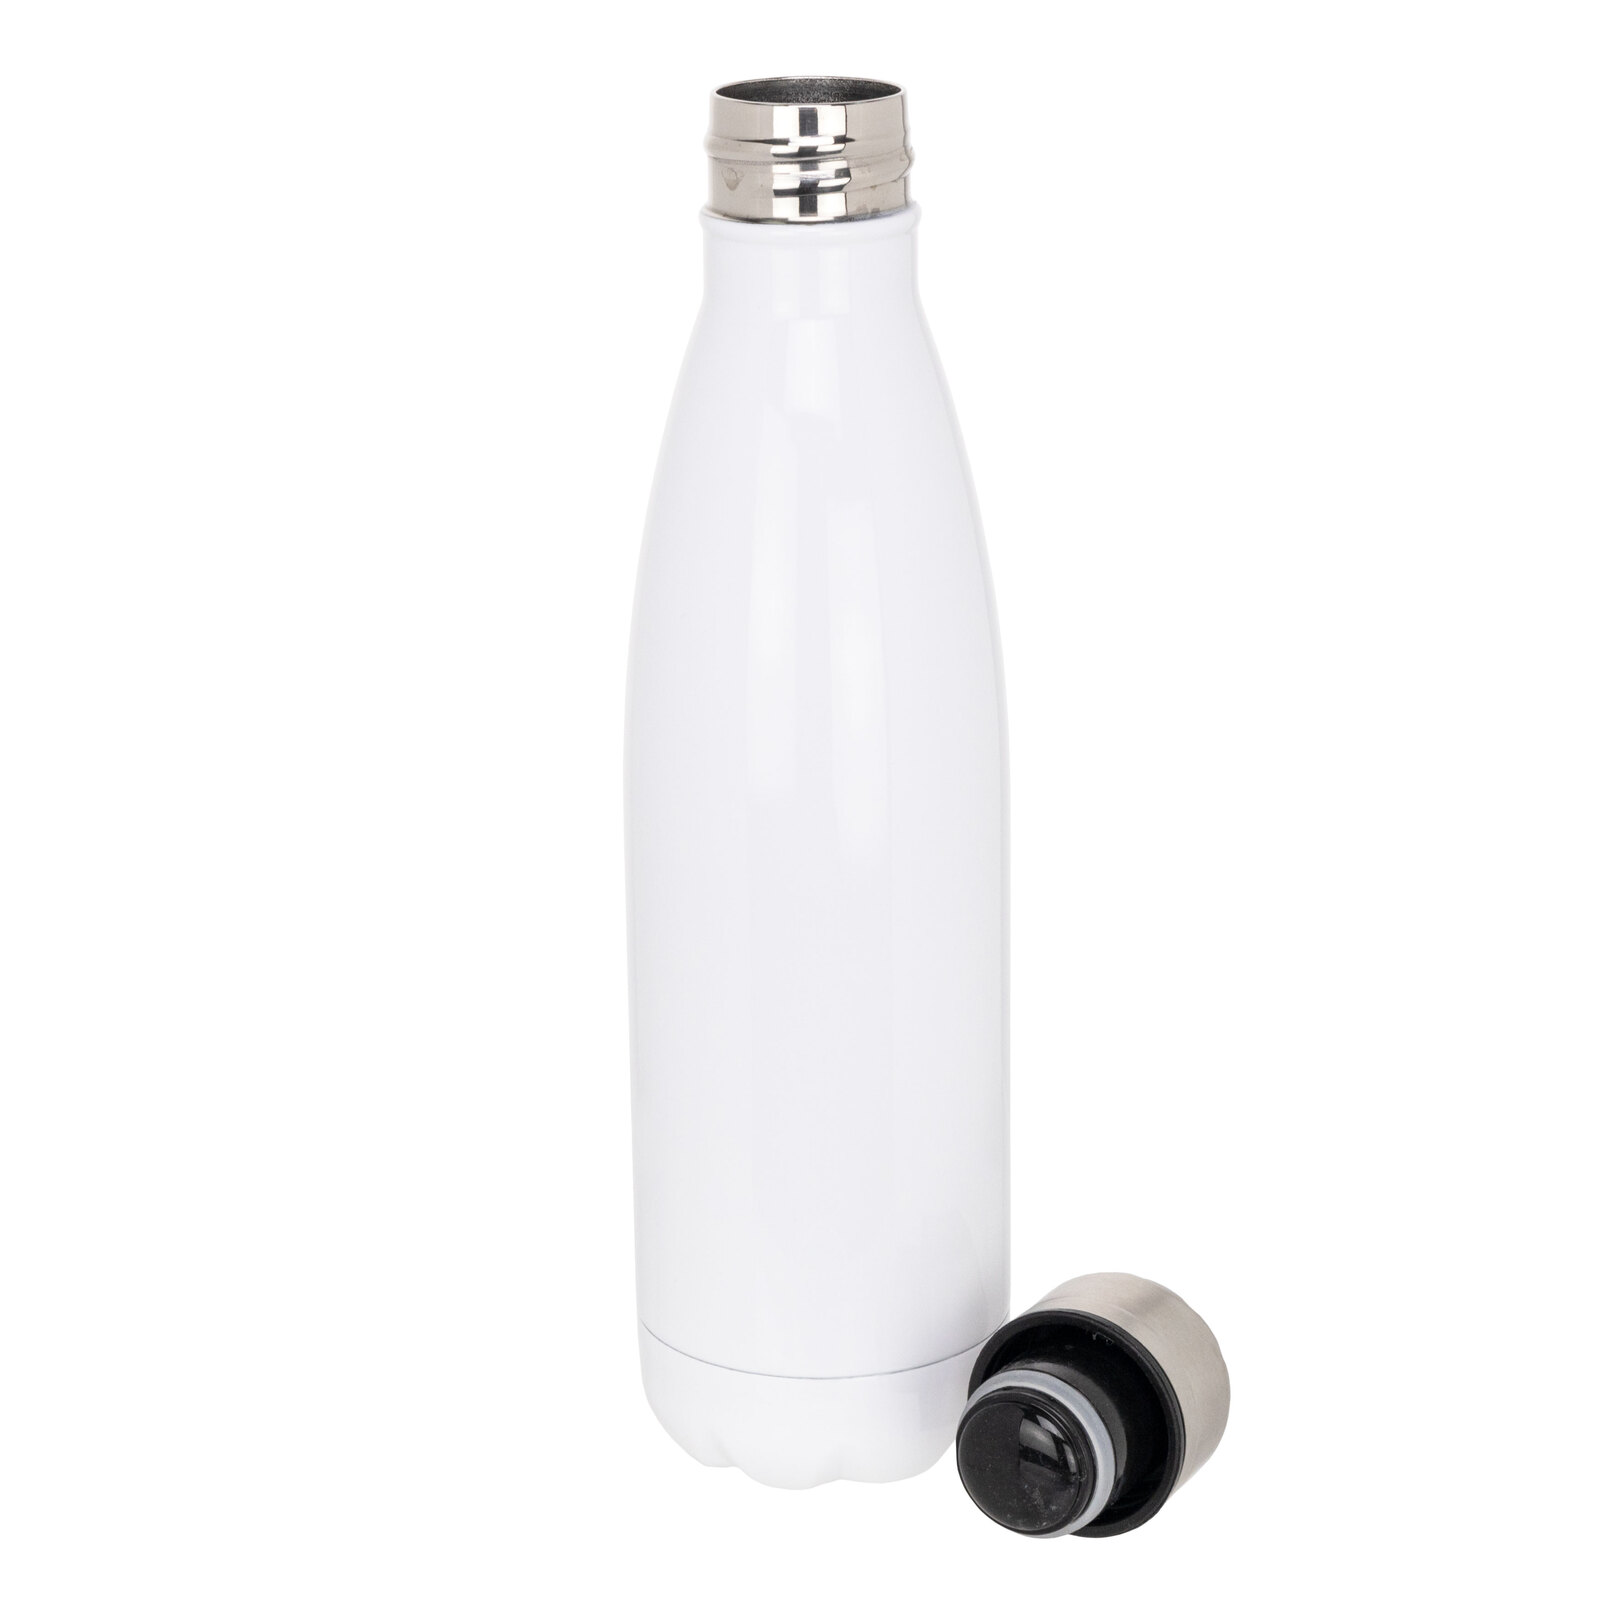
Sublimation thermo bottle, 500 ml
Ø 7.2 cm · tapers gently in the upper third — print only on the straight lower part · metal cap
All three have the same diameter, so one heater covers them.
A heater that matches the bottle diameter
A press for bottles is chosen by the heater diameter. In the “Heat presses for mugs, thermoses” section, for Ø 7.2 cm bottles there is the MP160 for thermoses: its heater wraps 6.5–7.5 cm and is up to 22 cm long.
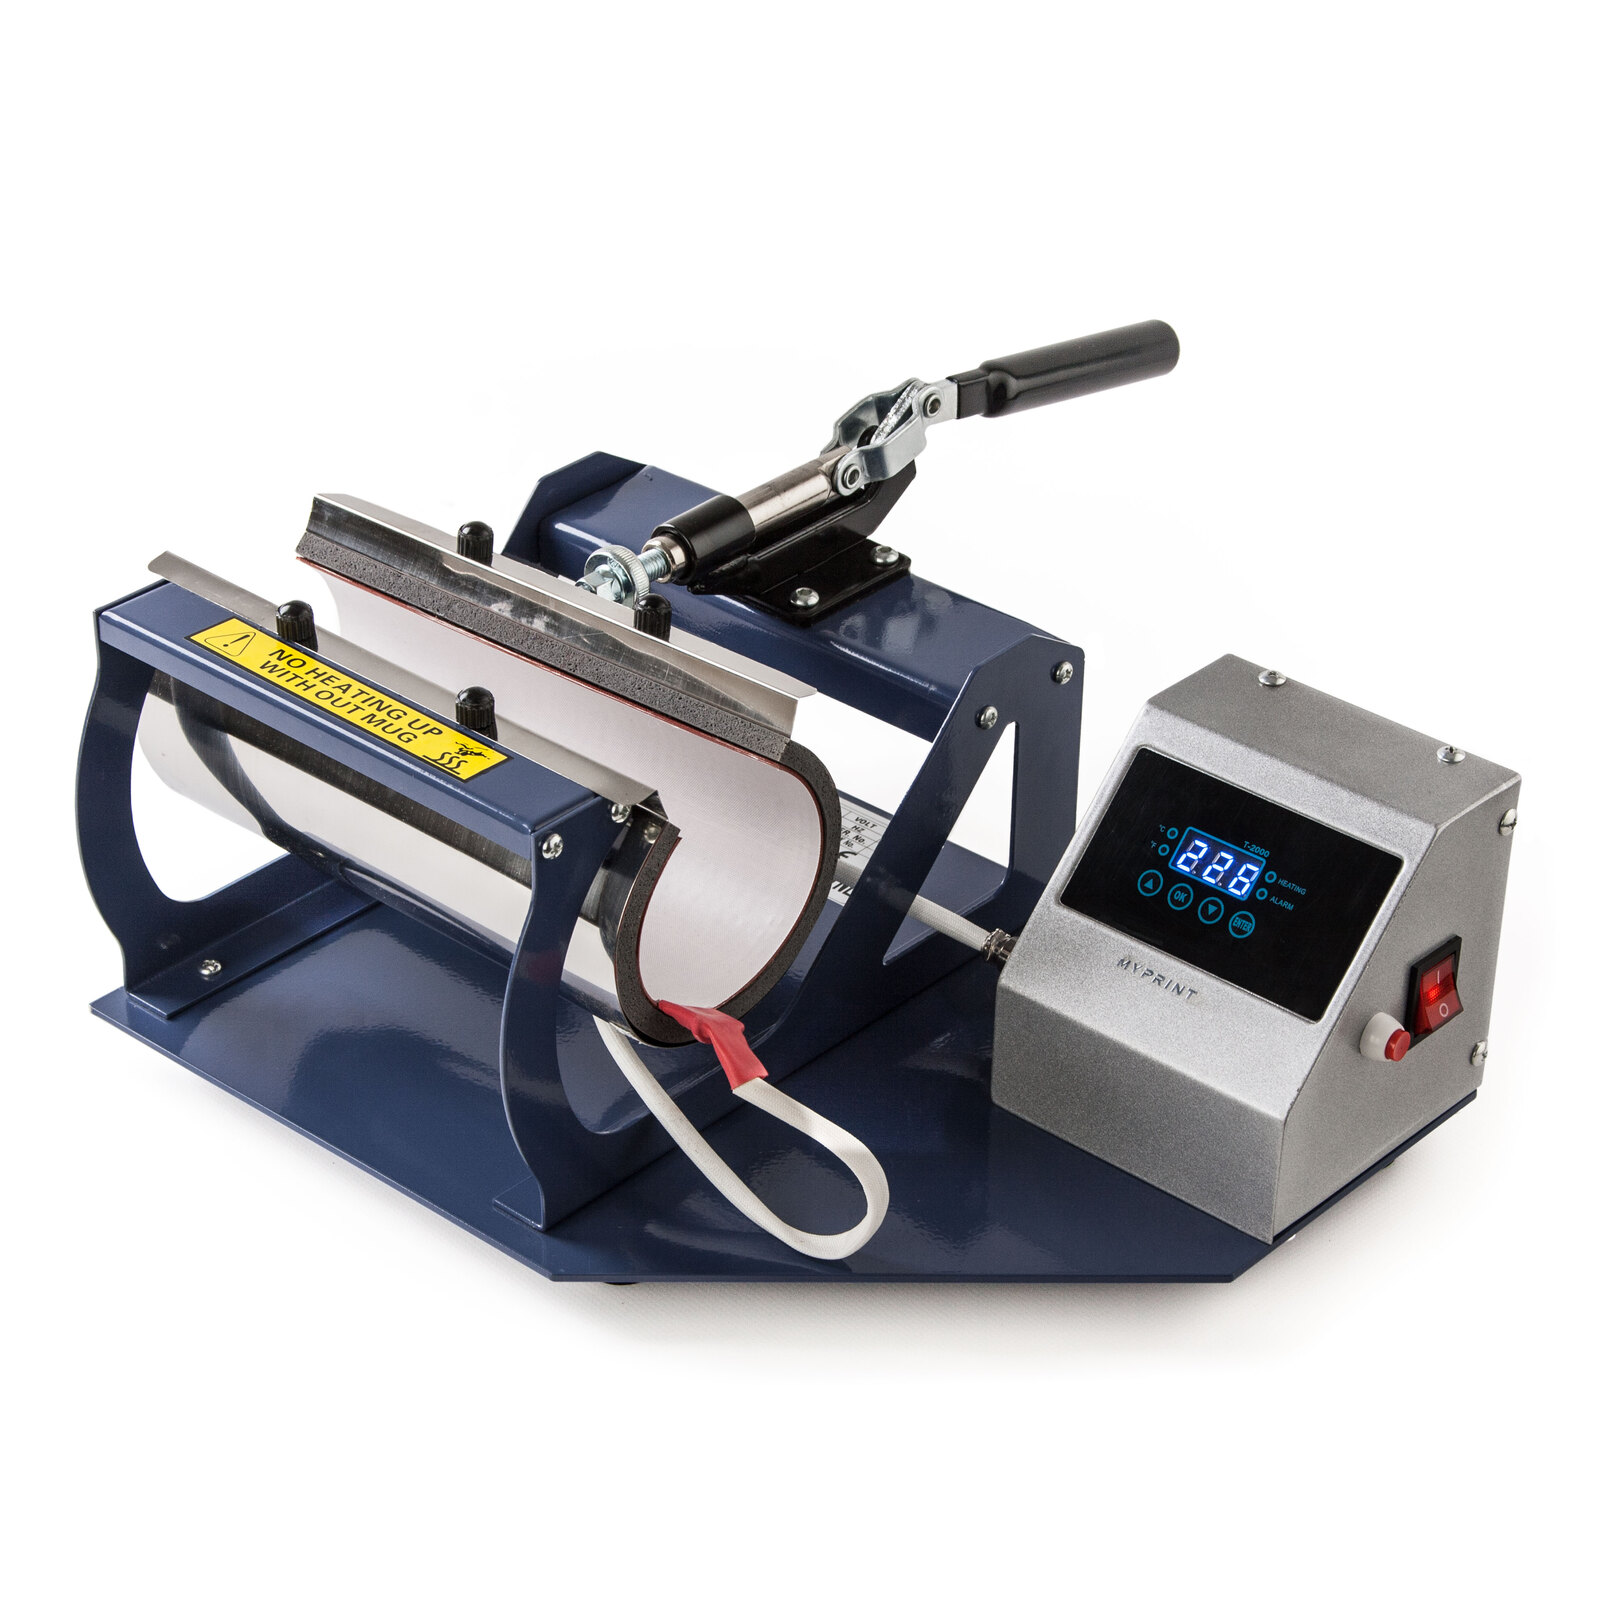
Heater Ø 6.5–7.5 cm, up to 22 cm long · 0–200 °C · timer 1–999 s · temperature and time on the control box display
The starting figures come from makers' and sellers' tables for metal bottles; your test bottle gives the final ones (step 6).
Temperature
180 °C
by the display; adjust up to 190 °C
Time
60 s
+15 s if pale; up to 90 s
Pressure
moderate
the bottle does not turn, the handle closes without force
Paper
at once
peel hot, wearing gloves
Metal bottle Ø 7.2 cm in the MP160 heater. Keep the settings within 180–190 °C and 60–90 s; the press maximum is 200 °C.
From a list of names to packing: nine steps
Collect the names in a table
Ask the customer to send the list as a table: one name per row, spelled exactly as it should appear on the bottle. Copy the names; do not retype them. Check that the font has the Ukrainian letters “ґ”, “є”, “ї” and the apostrophe, and size the text by the longest name. What else to agree on — background, colours, quantity, deadline — is covered by the technical brief for corporate merch.
Build the template from the bottle’s circumference
Measure the body with a circumference tape measure: for Ø 7.2 cm it comes to about 226 mm (3.14 × 72 mm). Then measure the height of the straight part of the body and subtract 5 mm at the bottom and 5 mm at the top. The MP160 heater holds a band up to 22 cm high. If the background is coloured, make the template 2–3 mm longer than the circumference: the edge overlaps the edge, and no white strip is left at the seam. Put the name in the centre of the template — then the seam falls exactly at the back.
Turn one layout into 20 names
In the layout the name is a separate text field; everything else stays the same. Then, as your software allows:
- in CorelDRAW — Print Merge from the File menu: load the list as a CSV file: the first line is the field name, followed by one name per line, place the field where the name goes and merge to a new document;
- in Photoshop — Image → Variables: define the name layer as a variable, import the list as data sets and export them as separate files; the first line of the list must match the variable name, and combine the exported PSD files into one PDF for approval;
- in any program — duplicate the page 19 times and paste a name from the list into each one by copying.
Allow 10–20 minutes for the merge and preview, and 20–30 for copying the names by hand. Put all 20 pages into one file and send it to the customer for approval: fixing a name in the file takes a minute, on a bottle it takes a new blank.
Print mirrored and let it dry
Turn on mirroring once — in the print settings, as the bottle card advises, not in the file as well. Print on the white side of the sublimation paper: Premium Classic A4 has a pink back, and the print dries almost at once. Print at 100% scale without fitting to the page; check the first print’s width against the template with a ruler. Place its long side along the long side of A4. With 5 mm margins, a band up to 66 mm high fits three times, up to 100 mm twice, and up to 200 mm once. For a taller bottle, limit the print height to 200 mm while keeping the width matched to its circumference. Look over all the prints before cutting: banding on the print will carry over to the bottle.
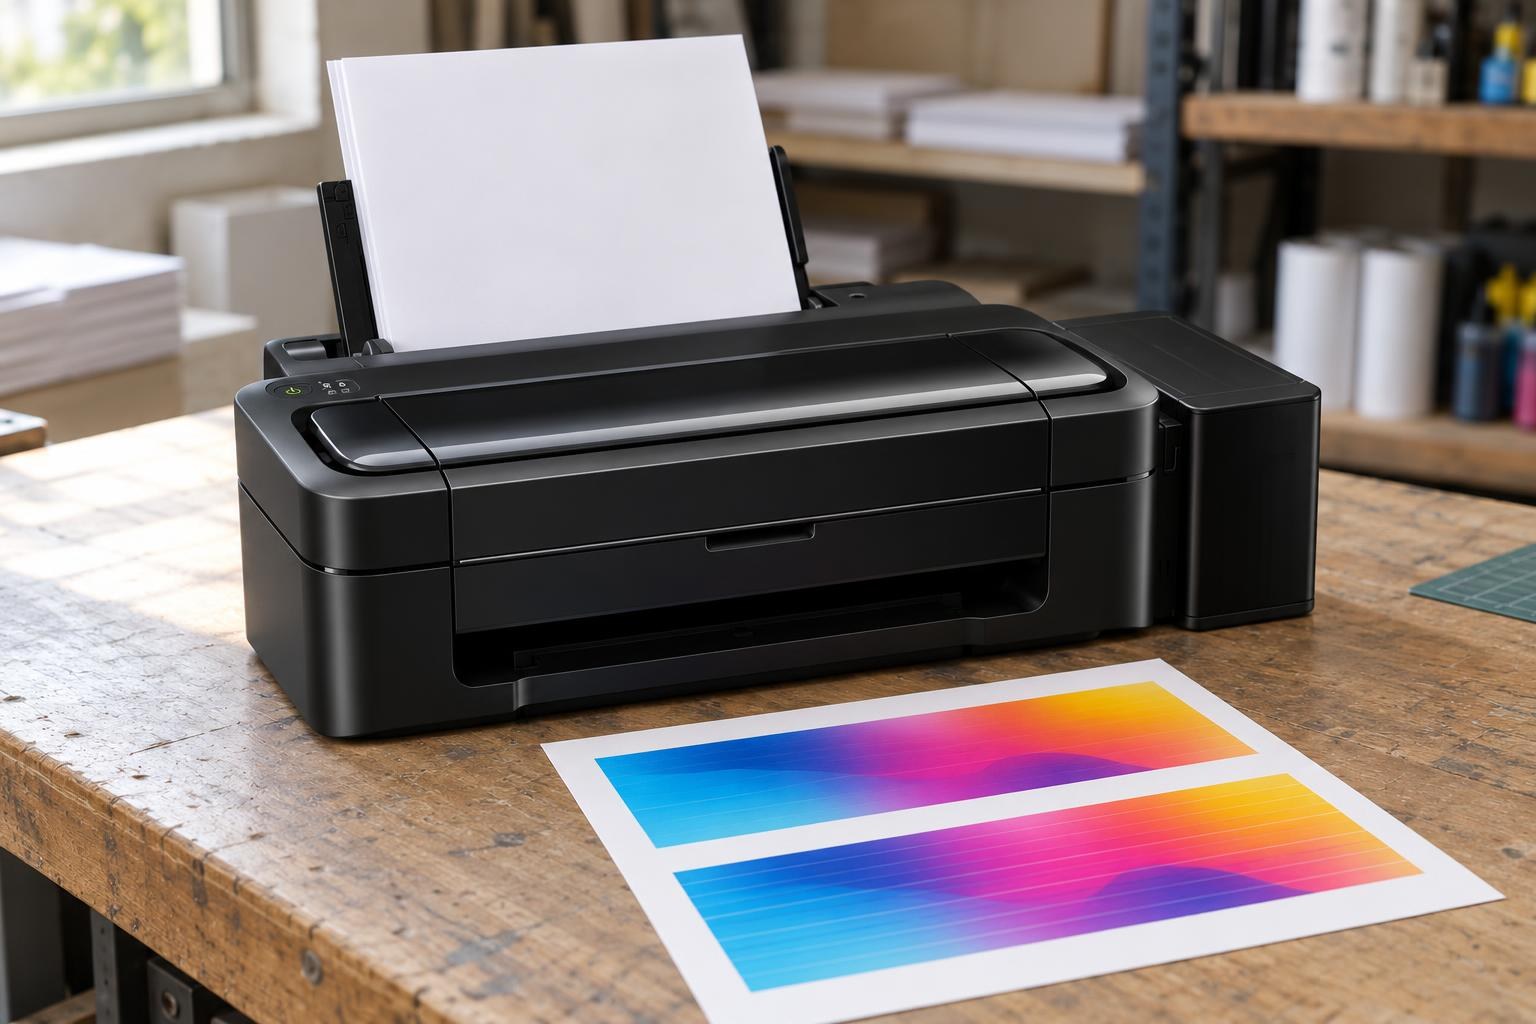
Mirrored prints on sublimation paper: banding and pale areas show before cutting.
Remove the cap and fix the print
Unscrew the cap together with the carabiner and the seal: makers press the bottle open and without plastic parts. Wipe the body with a dry lint-free cloth. Cut the print along the template and wrap it around the bottle, image side to the wall, name to the front. Fix it with heat tape: the 10 mm polyimide tape, according to its card, withstands high temperature and leaves no marks on the blank. Tape the whole seam with it, then a strip around the bottle near each edge. The paper must lie without air pockets: where it lifts, the image will come out pale or blurred.
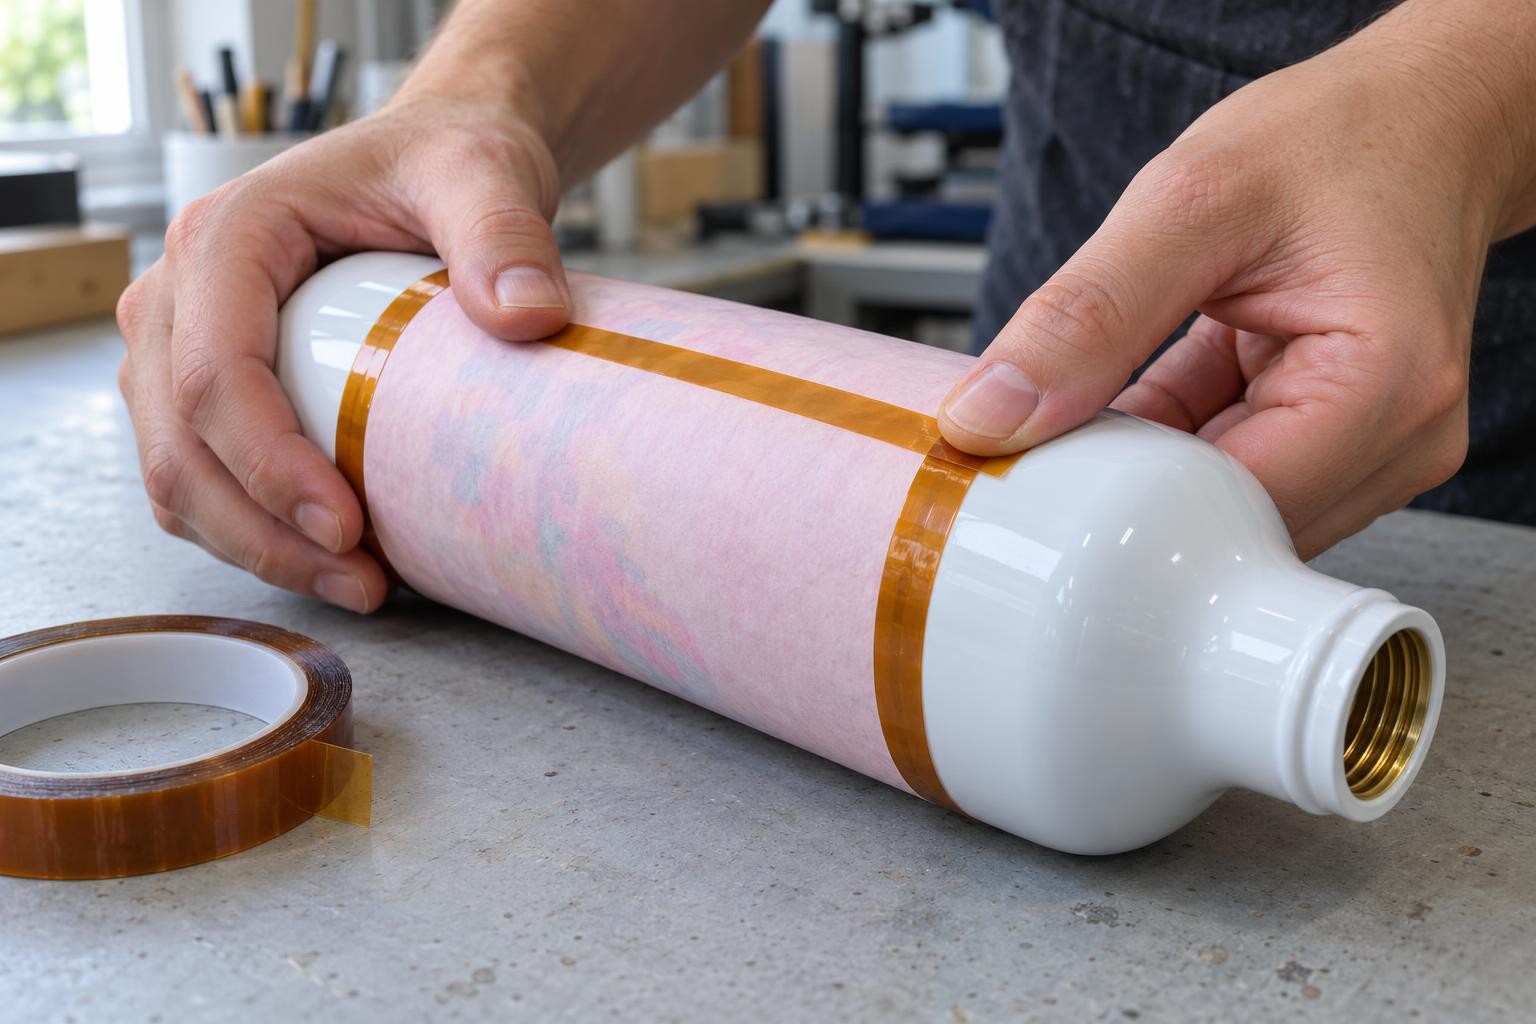
The paper lies without pockets, and rings of heat tape hold both edges — it will not shift in the heater.
Heat the press and make a test bottle
Set 180 °C and 60 s. The heater is not heated empty — a label on it warns about this — so put a spare blank without paper inside while it heats up. When the display shows 180 °C, take the spare out wearing gloves and lay the wrapped bottle so that the whole print is inside the heater. Adjust the pressure so that the bottle does not turn and the handle closes without force: a thin wall dents easily. Clamp the bottle and start the timer.
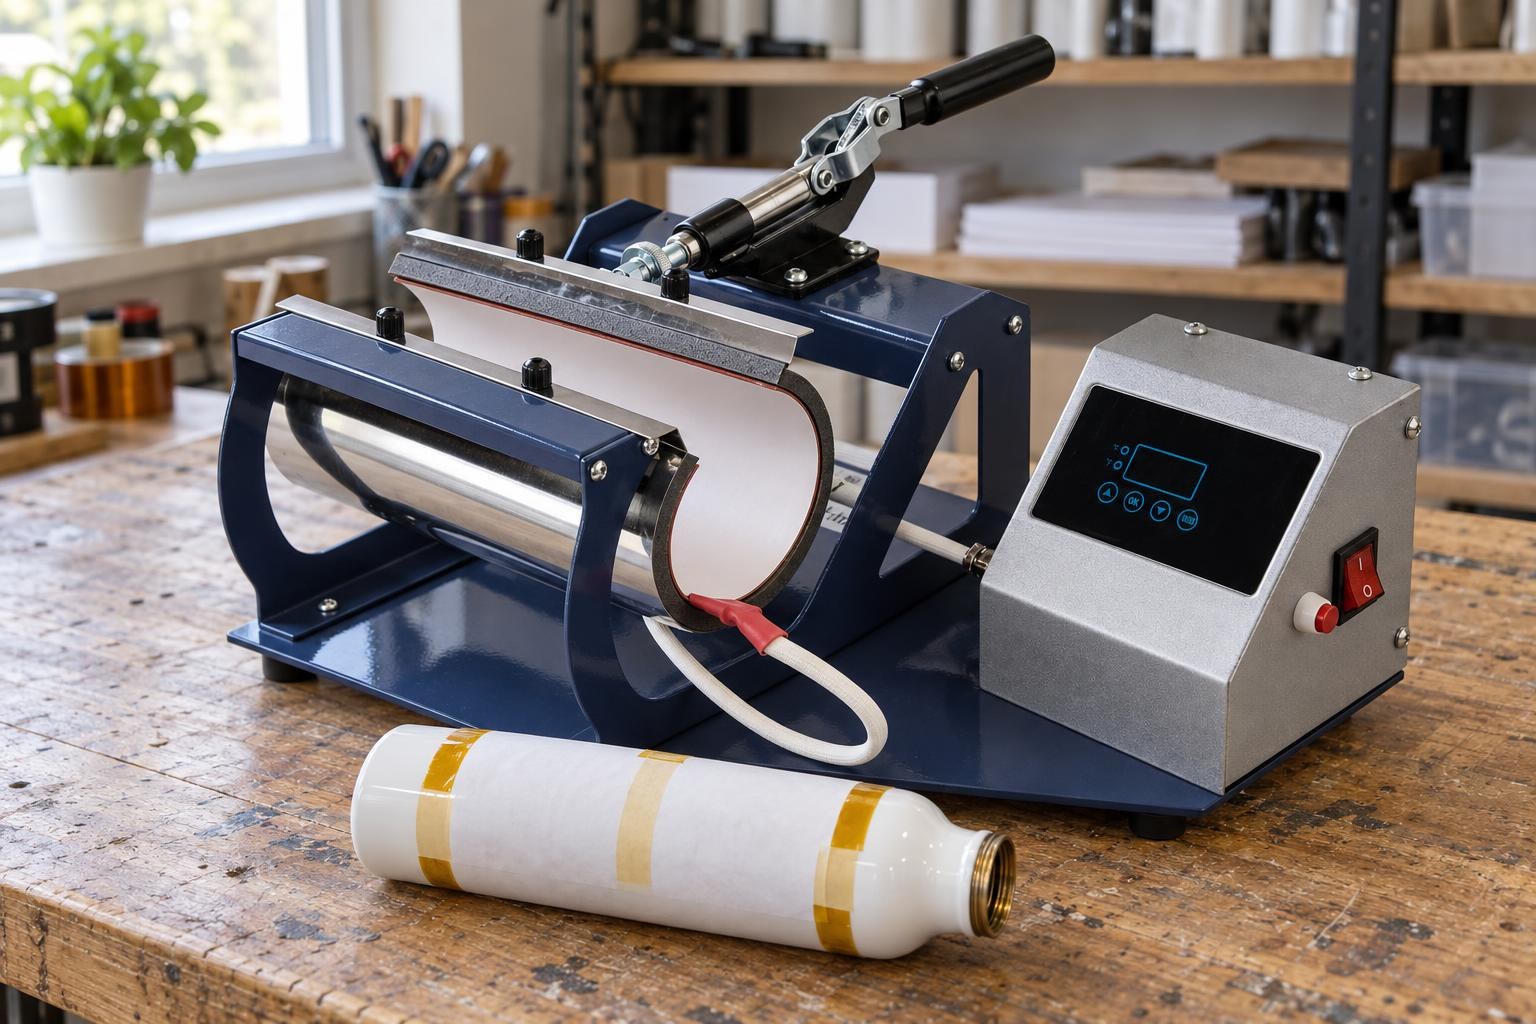
The bottle goes in with the whole paper band inside the heater: an edge that sticks out comes out pale.
After the beep, peel the paper at once
When the beep sounds, open the heater, take the bottle out wearing heat-resistant gloves and remove the tape and paper at once without sliding them along the wall: hot paper that shifts leaves a shadow next to the letters (how to find the moment of the shift). Stand the bottle to cool in the air and judge the test bottle by the table.
What you see on the bottle and what to change
| What you see | What to change |
|---|---|
| Pale all the way round | First check the pressure and the print density; then +15 s, up to 90 s; after that up to 190 °C |
| Only the first bottle after a break is pale | The heater has not reached temperature yet: wait for it on the display |
| Pale strip near one edge | That edge was outside the heater or the paper lifted there: move the bottle, re-tape |
| Shadow or doubled letter edges | The paper moved: tape the seam along its full length, peel the paper in one movement |
| Blurred letters all the way round, brownish tint | Too much heat: if you added time, take back the last 15 s |
Press all 20 in rhythm
Keep the settings the test bottle gave for the whole run. While one bottle is in the heater, wrap the next — this way each one takes 1.5–2.5 minutes. Load the next one when the display shows the set temperature again.
Check against the list and pack
When the bottles have cooled, compare each name with the approved list and tick it off. Letters sharp and without a shadow, colour even all the way round, the seam without a white gap, the body without dents. Screw on the cap with the seal and the carabiner. Put each bottle in its own bag or box with the name on a label, so the coach or teacher can hand them out without unpacking. Add a care card: “Hand wash only, no dishwasher” — this is what makers of sublimation-coated bottles advise.
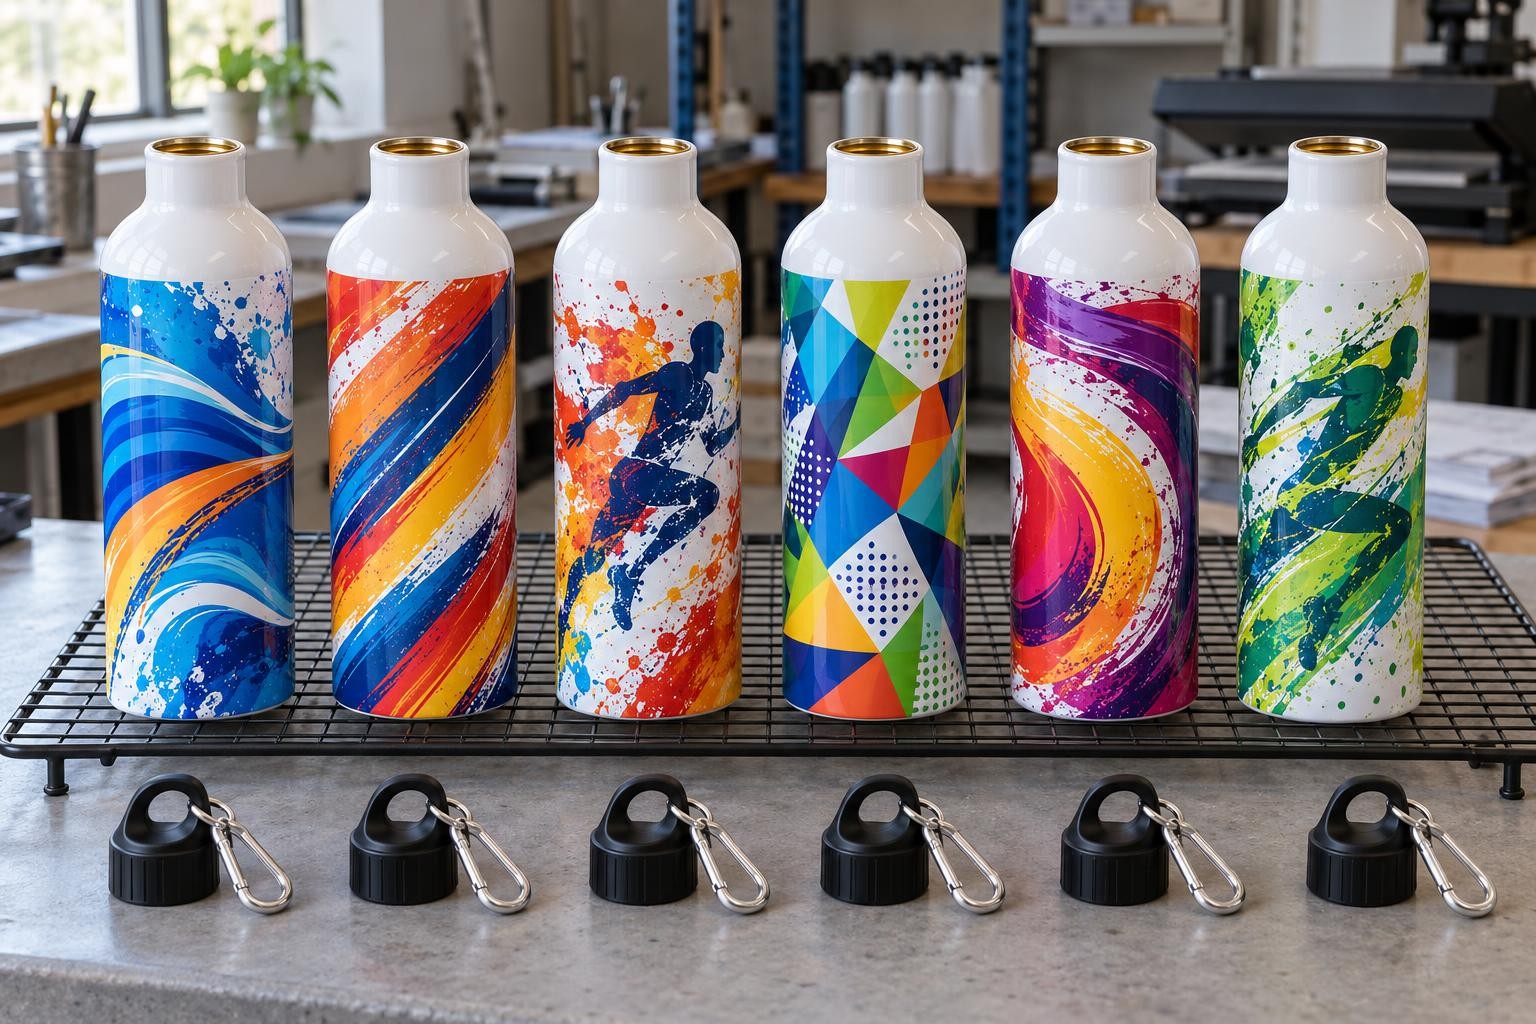
Let the bottles cool in the air, then inspect the colour and the seam.
How long a run of 20 takes
Example: 20 bottles plus a test one, one operator, one MP160 heater, 60–90 s settings
| Stage | Minutes | What is included |
|---|---|---|
| Measure the bottle, build the template | 15–25 | once per bottle model |
| 20 files from the list | 10–30 | merge 10–20, by hand 20–30 |
| File for approval | 5 | customer reply time not included |
| Print 10–20 A4 sheets | 10–40 | 1–2 min per sheet; the press heats up meanwhile |
| Cut 20 prints | 5–10 | along the template edges |
| Test bottle | 5 | press, cooling, inspection |
| Press 20 bottles | 30–50 | 1.5–2.5 min per bottle; you wrap the next one during pressing |
| Cooling of the last bottles | 5–10 | in the air |
| Check against the list | 5–10 | name, colour, seam, body |
| Packing with a label and a care card | 10–20 | 30–60 s per bottle |
| Total | 100–205 | 1 h 40 min – 3 h 25 min |
One operator and one heater are required. A helper who checks and packs while you press saves up to half an hour: those 15–30 minutes then run in parallel with pressing. Take 22 blanks: 20 for the run, a test one and a spare one that sits in the heater while it heats up.
Before the first bottle
Frequently asked questions
Can a bottle with a name go in the dishwasher?
No: makers of sublimation-coated bottles advise hand washing only. That is why this line is on the care card in the package.
Will my mug heat press do?
Only if its heater wraps the bottle tightly. Compare the heater range in its card with the bottle diameter: 7.2 cm for the three bottles above, 6.5–7.5 cm for the MP160 for thermoses. A heater that does not fit against the wall gives a pale image.
Is a thermo bottle printed the same way?
Yes, with the same heater and from the same starting settings, but only on the straight lower part. Build the template to the height of that part and start with a test thermo bottle.
Can I put a photo instead of a name?
Yes, the process is the same. Place the photo in the centre of the template so the seam falls at the back, and keep it within the straight wall.
What if the bottle has no sublimation coating?
Sublimation will not hold on it: the ink has nowhere to go. Take a coated blank or make a laminated sticker — and check what to change so it does not peel off.