
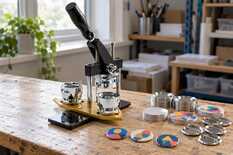
There is no glue in a button badge: rolled metal holds it together. In the first stroke the upper die folds the insert and the film over the skirt of the metal shell and lifts this stack up; in the second it pushes the stack onto the back, and the lower die rolls the skirt over the rim of the back. So everything is matched to the die: for a 44 mm badge, an insert of exactly 54 mm, thin paper, one film and blanks of the same class as the die set.
What a badge is made of and what sits in the machine
A badge is assembled from four layers. On top is a clear polyester film, under it the paper insert with the design, then the metal shell: a domed front with a skirt around it. At the bottom is the back, with a pin or a magnet. Prepare a badge blank and one clear film disc; print and cut the paper insert yourself.
A badge machine works with three dies of one interchangeable die set. The upper die hangs on the lever: it is a ring that slides along a central plunger. The two lower dies sit on a swivel plate: the shell, the insert and the film go into the first, the back into the second, the crimp die. Between strokes you turn the plate so that one or the other stands under the upper die.
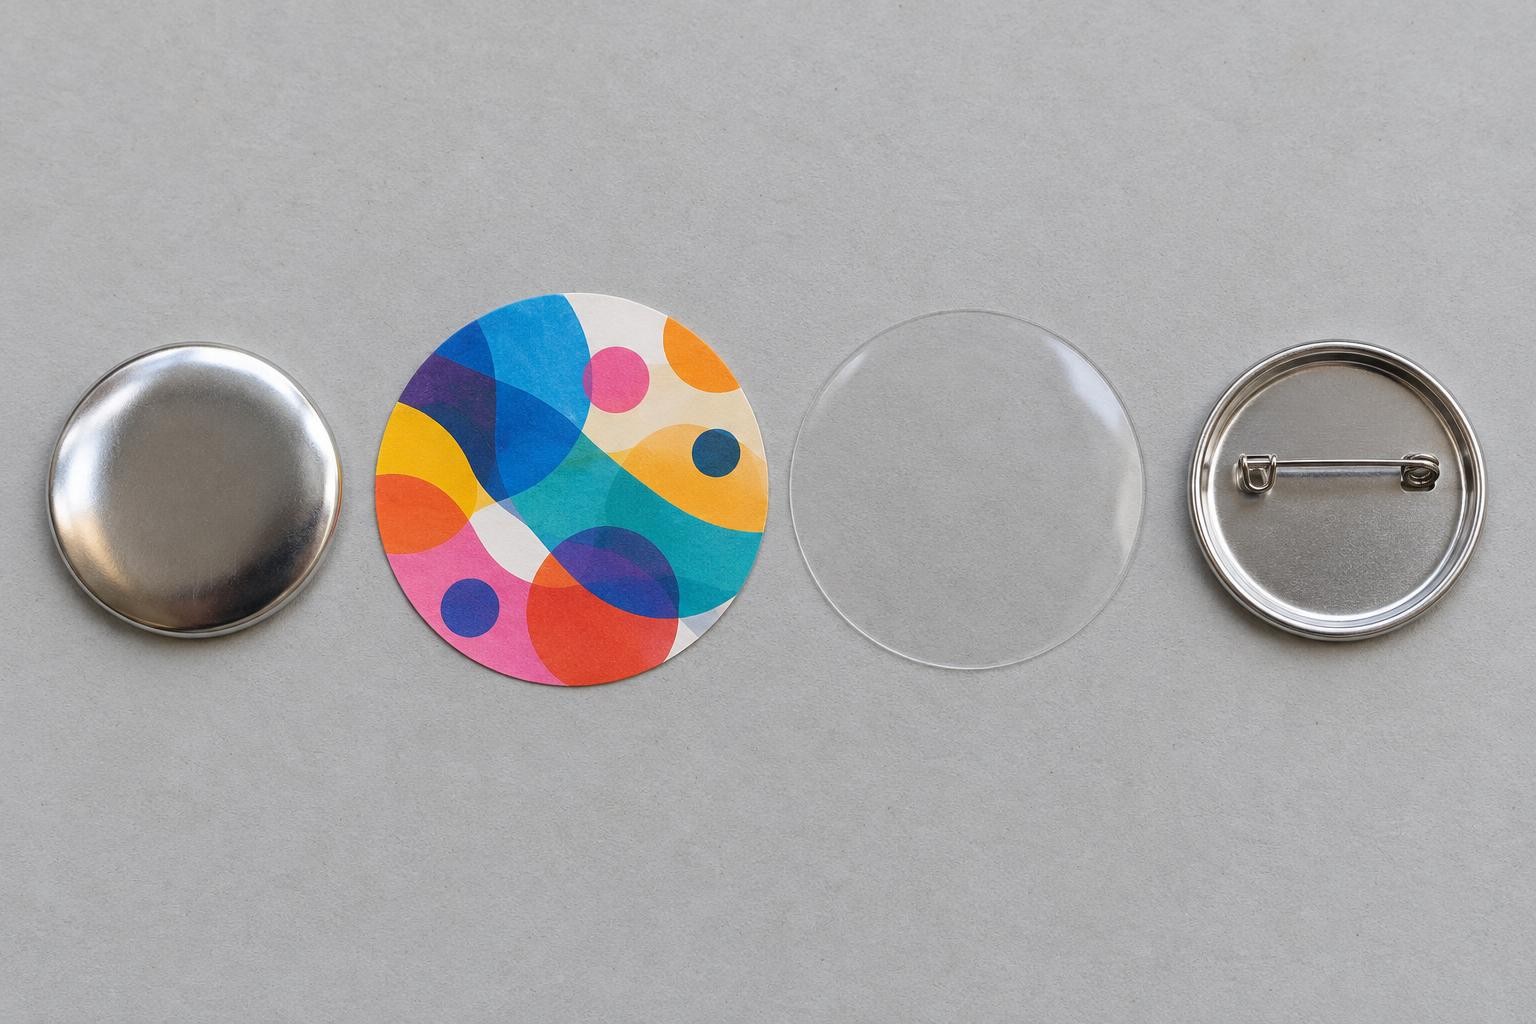
The parts of one badge in loading order: shell, insert and film go into the first die, the back into the crimp die.
The two strokes in one diagram
Preparation and loading
Insert
Print at 100 % scale on 80–90 g/m² paper, punch a 54 mm circle, check it with a ruler.
First lower die
Shell domed side up, the insert on it design up with the top of the design at the mark, one film on top.
Crimp die
Back with its sharp edge up, pin down, the pin at the mark.
Stroke 1: the upper die picks up the front
What happens
The ring comes down onto the parts and presses on the outer sleeve of the lower die, compressing its springs. The insert is 5 mm wider than the shell on each side and the film also overhangs: this edge folds down along the skirt, and everything enters the ring together.
What holds it
Friction: the ring grips the skirt together with the folded paper and film. The lever goes up, the stack goes up with it, and the first die is left empty.
If it goes wrong
The stack stayed below: the ring did not grip it. The lever sticks on the next badge: check whether there are two shells in the ring.
↓ Turn the plate: the crimp die moves under the upper die.
Stroke 2: the skirt is rolled over the back
What happens
The ring lands on the shoulder of the crimp die and stops, while the plunger keeps going and pushes the stack onto the back. The skirt slides along the tapered wall of the die and bends inward, over the rim of the back.
What holds it
Rolled metal. The folded edge of the insert and film is clamped between the skirt and the back.
If it goes wrong
The back falls out: check the paper, the film and the class of the parts. The film did not tuck in at the edge: it slips on the toner or the die wall is in the way.
Done. Raise the lever, turn the plate back and take the badge out of the crimp die.
What lies in the dies, what the upper die does and what holds the parts after each stroke. Sizes are for a 44 mm badge.
First stroke: the upper die takes the front
Put the back into the crimp die right away, before the first stroke: both dies are then ready, and between strokes you only turn the plate. Before pressing, keep your fingers out of the working area and pull the lever all the way down.
Only friction holds the stack in the ring, and the ring is made for a certain total thickness of metal, paper and film. So if the stack stayed below, check three things: the shell lay domed side up, the lever went all the way down, and the blank has the same size and class as the die set.
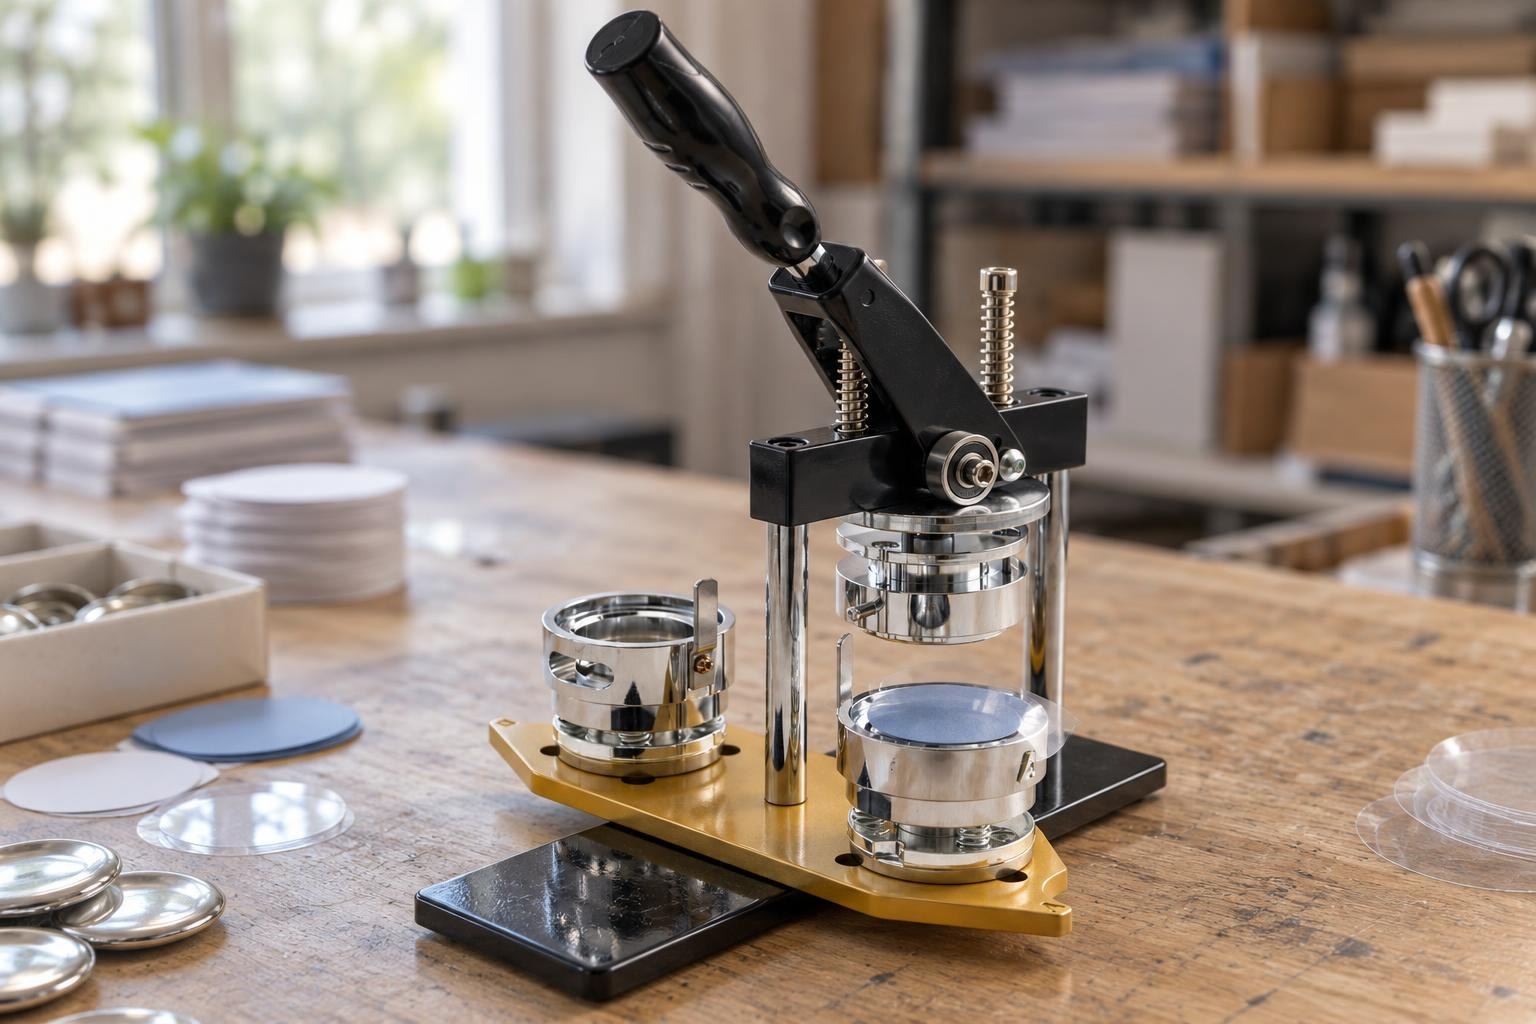
Before the first stroke the insert and film overhang the edge of the shell: this overhang is what the ring folds over the skirt.
Do not press the first die twice. If you load another shell after the first stroke and press the first die again, there will be two shells in the ring: the lever starts to stick and the next badge will not close. Do not force it. Makers of such presses advise putting the empty crimp die under the upper die and pressing: the stuck shells drop out.
Second stroke: the skirt is rolled over the back
The pin at the crimp die's mark sets how the badge will hang, so the top of the design and the pin are aligned with the marks during loading. Take the second stroke all the way down too.
The edge of the insert and film folded in the first stroke now ends up between the skirt and the back and is clamped there. From the back it shows as a narrow strip around the circle between the back and the metal.
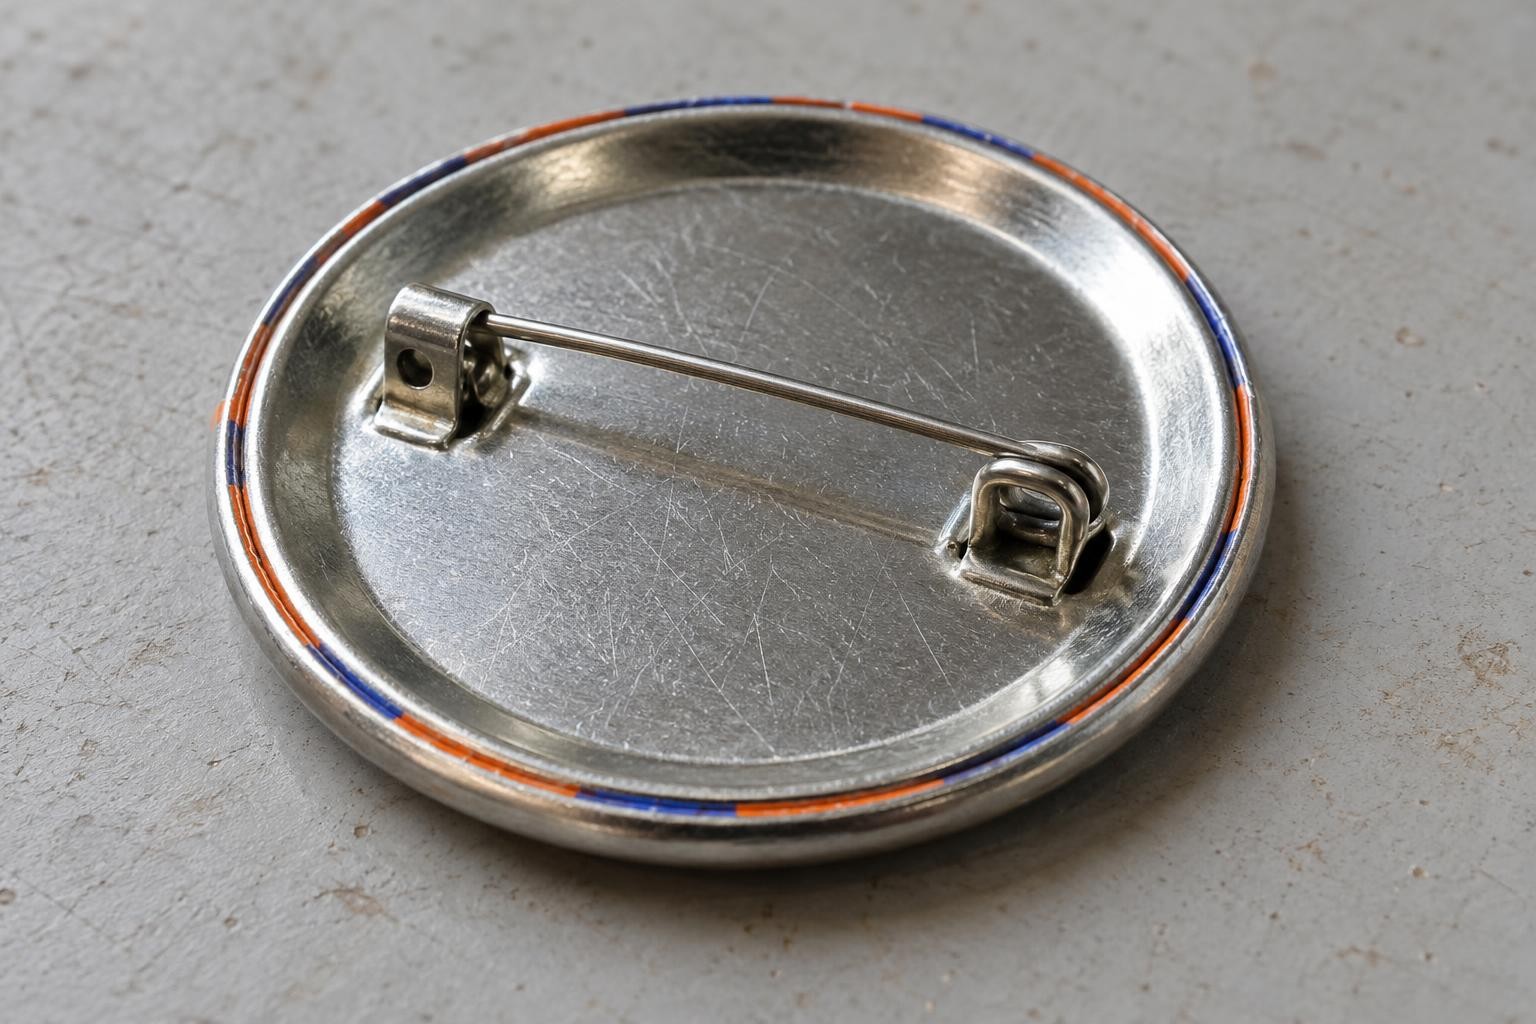
A finished badge from the back: the shell's skirt is rolled over the rim of the back, and a narrow strip of the insert shows from under it.
That is why the size and thickness of the parts must match the die set. If there is too much material in the fold, the skirt cannot reach the rim, and sooner or later the back falls out. If the insert is too small, its edge does not reach the lock, and metal shows around the circle.
What this means for the parts
Insert
Exactly 54 mm for a 44 mm badge
The ring folds and clamps 5 mm on each side, so a smaller insert will not reach the lock. Print without fit-to-page. How to lay out such inserts on a sheet is in the article on the 44 mm badge layout.
Paper
Office paper, 80–90 g/m²
The fold at the edge is paper plus film. The limit on the mp44m blank card is 120 g/m². Card stock and photo paper over 120 g/m² make the fold too thick, so the back does not hold. Paper that is too thin creases in the fold.
Film
One per badge
Films stick to each other, and two in the stack mean a double fold and a back that falls out. On dark laser prints the film slips on the toner and does not tuck in at the edge.
Blank and die set
Same size and class
The ring has to grip the shell together with the paper, so matching the diameter is not enough. MyPrint blanks and die sets have a class, such as Premium or Standart, and it must match: the 44 mm die set of the Standart Pro machine is class Standart, like mp44m. For a different badge size, use a matching die set and blanks of the same size and class.
What wears and how it shows
With every badge the ring travels along the plunger, the springs of the lower dies compress, and the tapered wall of the crimp die rolls a skirt. The swivel plate with its stops, the lever pivot and the frame bolts also work.
Wear shows like this: badges from the same blanks and paper that used to close well now roll unevenly, the back holds more weakly, and the film fails to tuck in even on light inserts.
Check the materials first: print the insert on 80 g/m² office paper and assemble a badge from new parts. If it closes well, the cause is the materials. If not, wipe paper dust off the tapered wall of the crimp die and snug the frame bolts without overtightening. If the ring moves stiffly, lubricate the shaft and the lever pivot as described in the lubrication answer below. If that does not help, fit a new die set of the same size and class, for example the My Print d = 44 mm interchangeable die set.
From the defect to the stage
Find your case in the first column. If the defect is only on some badges, compare them: what they have in common — dark laser print, a new pack of blanks or different paper.
| What you see | What went wrong | What to do |
|---|---|---|
| Torn or fuzzy insert edge | Cutting. The cutter tears the paper or the print is still damp | Check the cutter and the paper: how to get a clean circle |
| Metal or white paper shows along the front edge | Cutting. The insert is smaller than 54 mm, not printed at 100 %, or the background stops short of the cut circle | Measure the insert's diameter with a ruler. Fill the whole circle with the background up to the cut line |
| Text is rotated relative to the pin | Loading. The top of the design or the pin is not at the marks | Make a test badge and align the layout with the pin |
| After the first stroke the stack stayed below | Stroke 1. The ring did not grip the shell | Shell domed side up, lever all the way down; try the blank in the die without pressing (part compatibility) |
| The lever sticks, the badge does not close | Between strokes. Two shells in the ring or a stack that is too thick | Do not force it. Put the empty crimp die under the upper die and press: stuck shells drop out. One shell only: check the paper and the film |
| The back falls out, the badge comes apart | Stroke 2. The fold does not fit the die: heavy or too thin paper, two films, parts of another class | Change one thing at a time: film, paper, parts — the order of checks |
| The film does not tuck in at the edge | Stroke 2. Only on dark laser prints: the film slips on the toner; on all inserts: a dry or dirty tapered wall of the crimp die | For laser prints — a white edge under the film; if on all, wipe the wall with a cloth and a drop of silicone lubricant |
| A bump or dent on the front | Loading and stroke 2. Dust or static under the film, or a deformed part | What to check for a bump |
| Badges from proven materials began to close worse | Wear. Crimp die wall, frame bolts, die set | Check in the order given in the wear section |
Machine, punch and blanks of one size
It is simplest when the machine, the punch and the blanks are made for one size and one class. For a 44 mm badge, MyPrint has three items:

My Print Standart Pro badge machine with 44 mm die set
Machine and interchangeable 44 mm die set · 54 mm insert · swivel plate for two lower dies

Punches a 54 mm circle, the insert for the 44 mm die set · class Standart

My Print mp44m 44 mm button badge blank
Class Standart, like the die set · 54 mm insert · paper up to 120 g/m² · sold per piece
MyPrint sells the machine with the die set, the punch and 100 mp44m blanks together as the My Print Standart Pro 44 mm badge equipment kit.
Frequently asked questions
Is the badge held together with glue?
No. The shell's skirt is rolled over the rim of the back, and the insert and film are clamped between them. For the badge to hold firmly, the thickness of the folded paper and film must suit the die set.
Can I make a smaller badge on a machine with a 58 mm die set?
Yes, but with another die set: the die set sets the badge diameter, not the machine. Fit an interchangeable die set of the size you need and use blanks of the same size and class. Check on the die set's card or with a MyPrint manager whether it fits your machine.
Will blanks from another maker fit?
Only if they have the same diameter and class as the die set. Before the first badge, put the shell into the first die without pressing: it should sit level and not wobble.
The machine stopped crimping after a few hundred badges. Does it need lubrication?
First rule out the materials and the frame bolts, as in the wear section. Makers of similar presses advise a very little silicone lubricant on the lever pivot and on the upper die's plunger so the ring moves freely, and only wiping the tapered wall of the crimp die with a cloth carrying a drop of lubricant: any excess ends up on the inserts. Do not put oil on working surfaces; it leaves stains.