

If white ink starts pooling over colour after you change the DTF film, first make sure you are printing on the printable side. If the side is right and white alone prints cleanly, reduce white only, 5 points per step, and check opacity on the fabric. Check the edge before applying hot-melt adhesive powder: this is where you can see whether the ink has stayed in place.
Ink is still wet when it leaves the printer. Look for pooling, small details merging and edges losing their shape. A wet sheen alone is not a defect: if the edges and details have not spread, apply powder as usual.
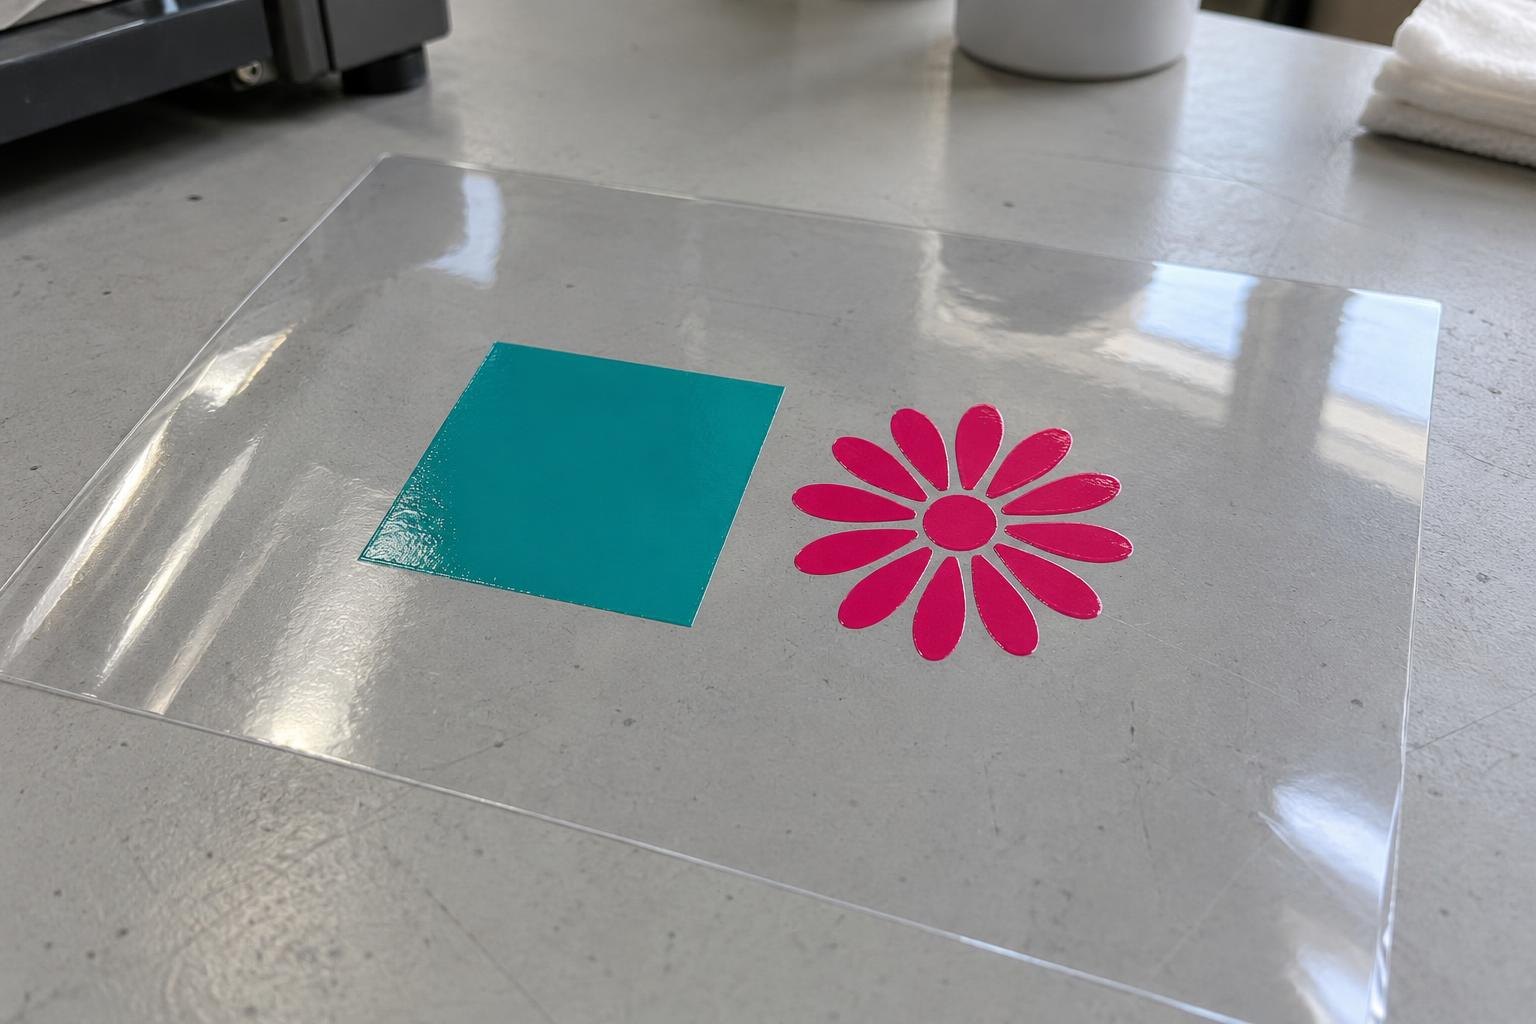
Right: crisp edge, no white beyond the colour, the gaps between the petals stay open.
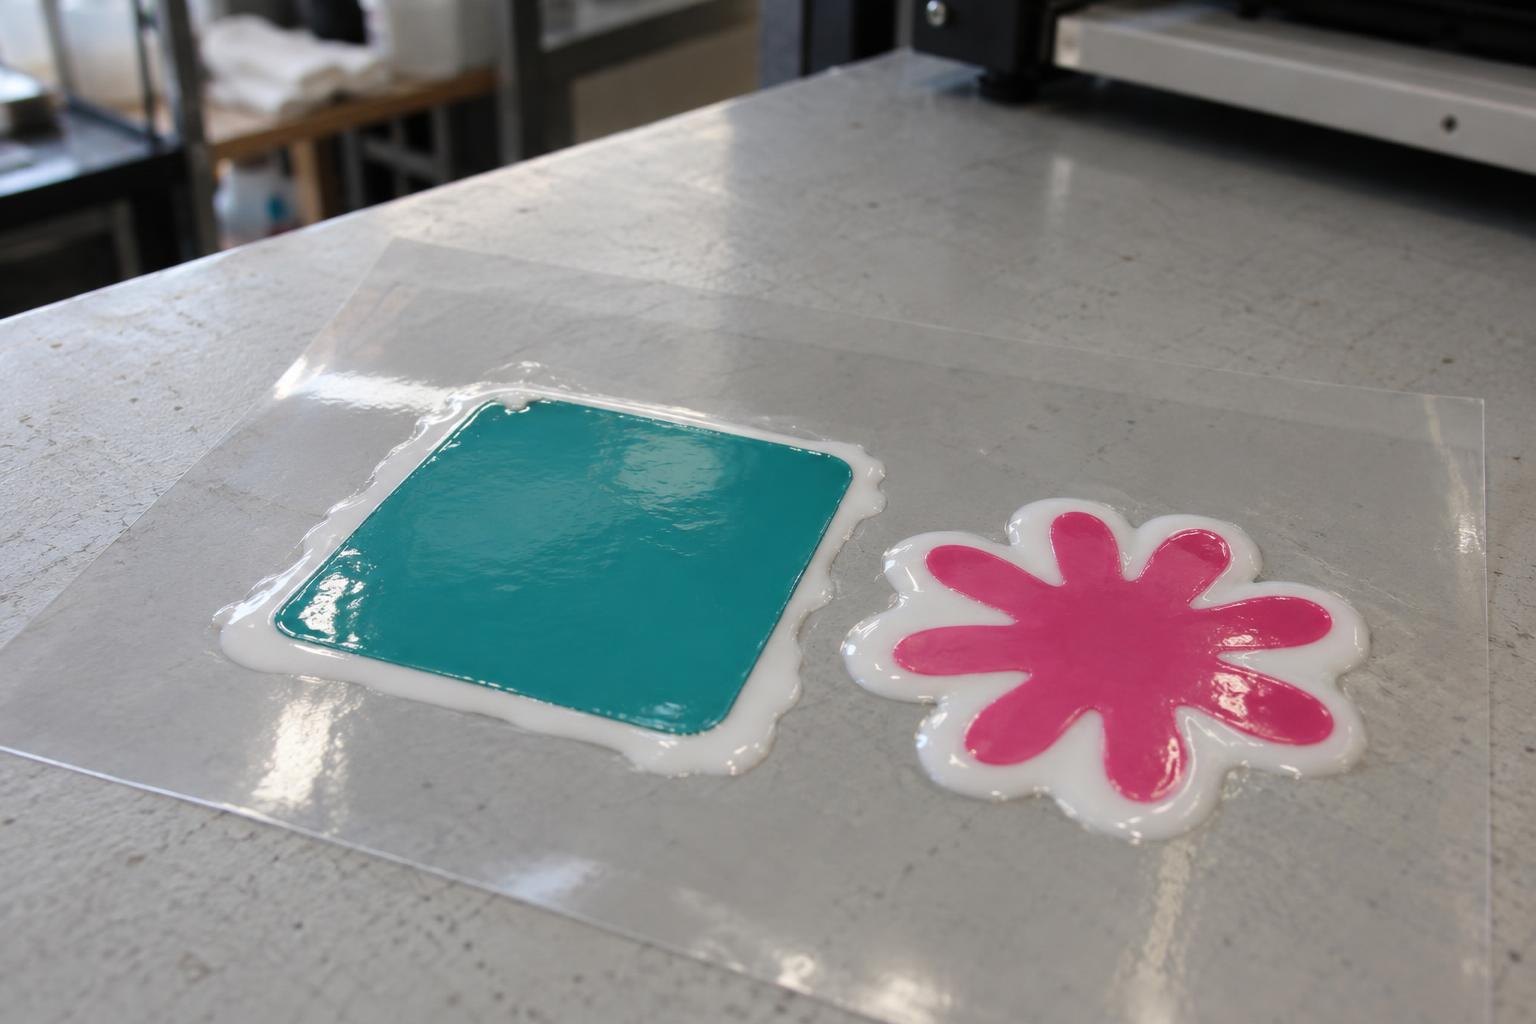
Wrong: the white has run past the colour, the corners have rounded off and the gaps between the petals have filled in.
Why white can print well on its own
DTF inks stay in place thanks to the film coating. The printer lays down colour first, then white on top. A white patch puts one layer of ink on the coating; a colour patch with a white underbase puts down two. If that is too much for the film, wet pools form. A new roll may need a different ink limit even if the previous film printed cleanly.
On the film, white is printed on top
White only
Colour + white
Cross-section before powder: in the Colour + white version, the coating must hold the combined ink load of both layers. Test them separately.
Print three patches
Run a nozzle check on your DTF printer. If lines are missing, use the normal cleaning procedure and repeat the check: you need a complete pattern for the comparison. Save a copy of the current profile, your set of print settings.
Check the printable side: two matte sides do not mean two printable surfaces. On an edge you will trim off, put a drop of water on each side. On the printable side the drop spreads within a few seconds; on the back it stays a bead. Print on the side where it spread.
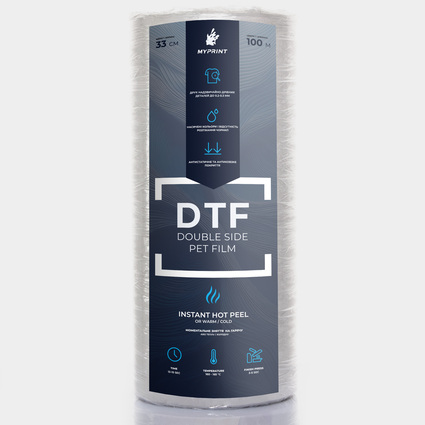
My Print Instant Peel Double Side DTF film, 0.33 × 100 m roll (10788)
0.33 × 100 m roll for the PRO330 · print on the printable side only
Prepare three squares, for example 30 × 30 mm, using a colour from the problem artwork. Disable white for the first, use only white for the second, and use both layers for the third.
1. Colour
No white underbase
2. White
No colour layer
3. Colour + white
Normal print order
Repeat the set on the new film and on clean, flat film that previously worked. If none of the previous film is left, print the three patches on the new film only and go to the results below. Keep ink, speed, pass count and heating unchanged. Inspect the patches before powder; keep the wet film level, without tilting it. If you changed the ink along with the film, compare the films using the same inks; otherwise you cannot tell which change caused the problem.
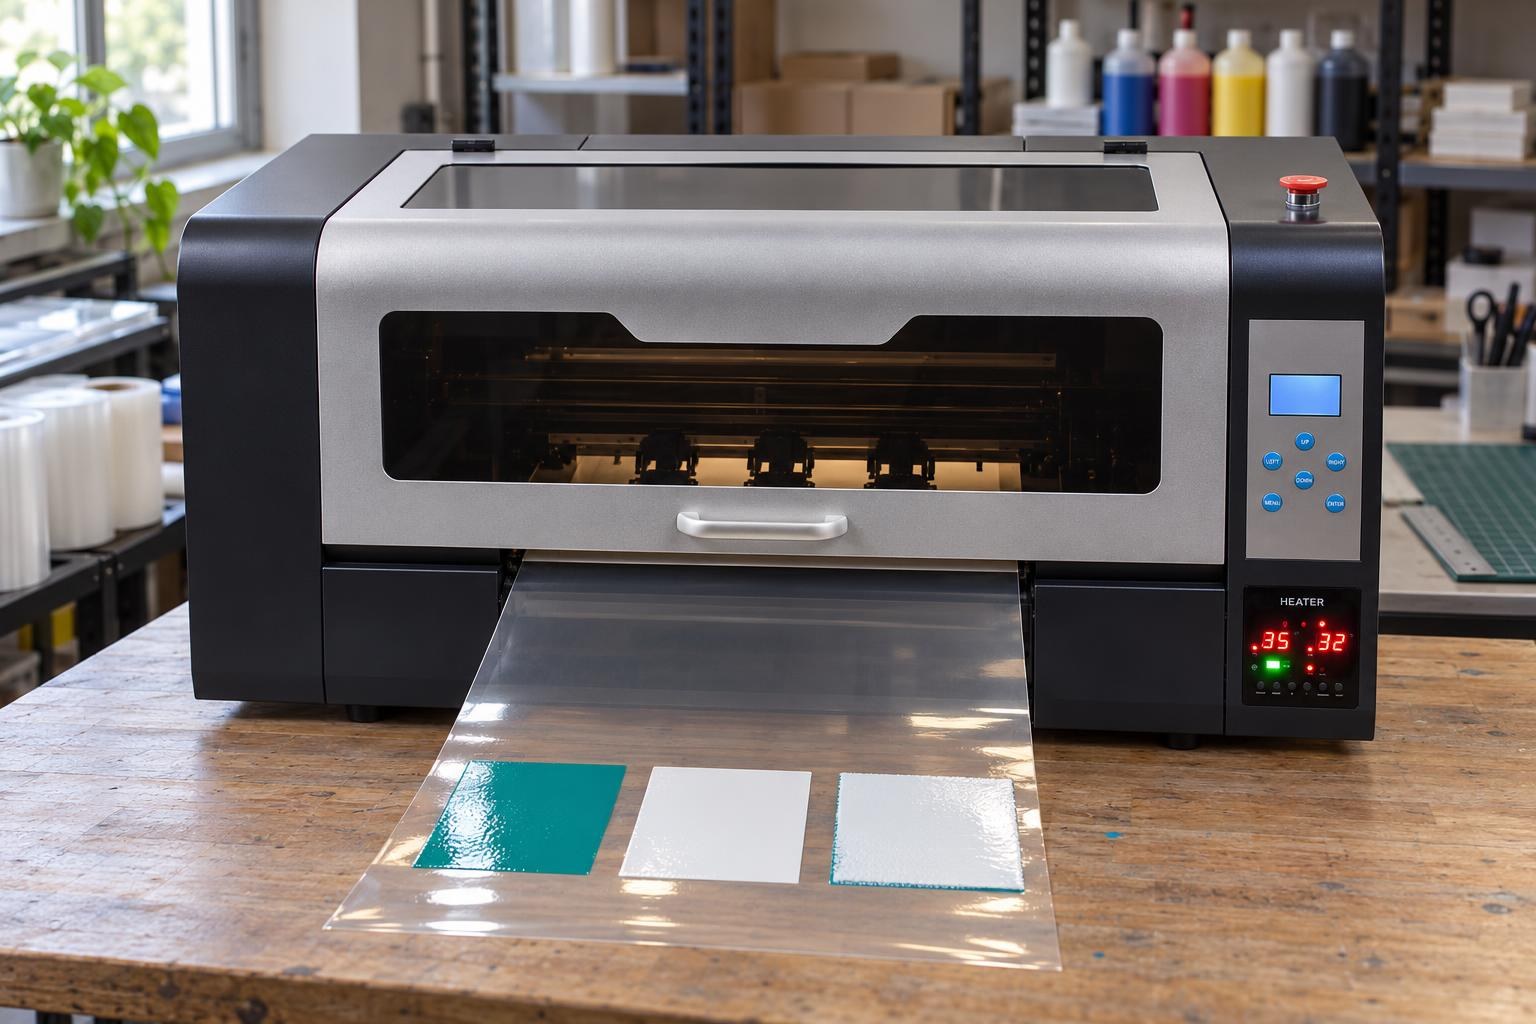
Inspect the patches before powder and keep the film level: tilted, the wet ink can run.
What the test shows
Only the new film runs
First check the film side. If the side is right and the layers run only when combined, the new film holds less ink: reduce white as in the example below and save a separate profile for this film. If you still cannot get a clean edge with opaque white, go back to the previous film if you have any, and send photos of the tests to MyPrint. A difference between films does not yet prove the roll is defective.
Separate layers are clean; together they run
Repeat the combined patch with less white ink, using the example below. Leave the colour unchanged.
Colour runs even without white
Restore the working colour profile and repeat the first patch. If it still runs, send the file, photos and profile for help setting the colour ink limit.
White runs even on its own
Check whether you changed inks. Shake the bottle of white ink for 30 seconds before filling; after three days or more of downtime, run recirculation for 10 minutes. Repeat the white patch. If it still pools, send the ink name and batch, nozzle check and photos for a compatibility and ink-delivery check.
My Print DTF ink (1 l) white (8089)
1 l · shake the bottle for 30 seconds before filling
Reduce white while keeping it opaque
In your print preparation software, open the white ink density or ink limit control. Print the combined patch at the current setting and twice more, reducing only white by 5 points each time. If the scale is not in percent, use the next lower setting.
Example test if the starting value is 100%
100%
Keep the initial patch for comparison.
95%
Repeat it, reducing only white.
90%
Compare its edge with the two earlier tests.
The working range for white density is 80–100%: do not go below 80% without a test on the fabric.
Transfer the clean-edged test to the fabric used for the order. If the white becomes translucent and the colour looks dull, go back up one step. If it still runs at that setting, you need a different film or profile: contact MyPrint (see below).
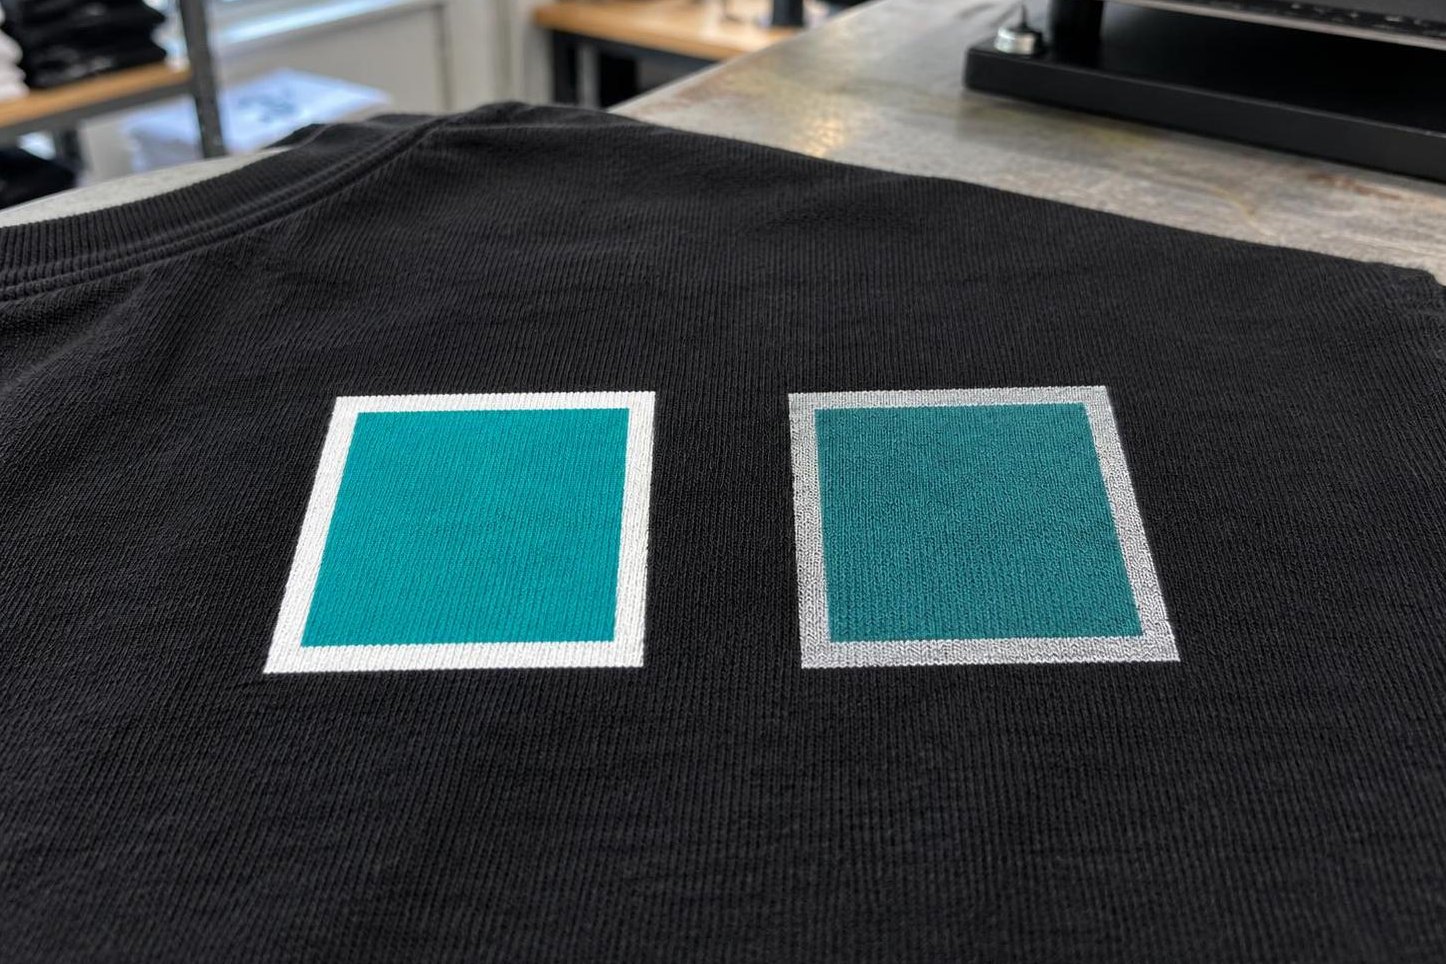
Left: dense white. Right: too little white, so the fabric shows through and the colour dulls. Do not keep that setting; go back one step.
Raising the shaker-dryer or heat press temperature will not bring a wet pool back inside the design. First get a clean print at the printer output.
Return to production with a checked sample
Take the selected test through the full cycle at your usual settings: powder, cure, transfer to fabric and peel the film. Once the sample has cooled, check the underbase and wash it as the finished garment will be washed. Save the profile under the film and ink names, with the selected white setting.
If you cannot get both a clean edge and opaque white, send MyPrint photos of the patches, the printer model, the film and ink names and the white settings you tried.
Frequently asked questions
How can I tell which side of the film is loaded for printing?
Put a drop of water on the edge of each side: it spreads on the printable side and stays a bead on the back. If ink beads across the whole print and does not hold the powder, the film is loaded with the wrong side facing up — reload the roll.
Can I reduce white for a black T-shirt?
Yes, within 80–100 % and only after testing on the same fabric. If the fabric shows through or the colour looks dull, go back up one step.
The roll arrived from freezing conditions — can I print straight away?
Do not unwrap a cold roll: moisture will condense on it and the coating will hold ink less well. Let it warm to room temperature in its packaging, then store it at 15–25 °C and humidity up to 60 % — read more about how to store DTF film.
Will more heat in the printer help?
Heating the film helps the ink set while still in the printer: the PRO330 and PRO400 have three zones, each adjusted separately. Change the heat in small steps and separately from the white setting: overheated film can buckle and strike the head.
Why are fine details clean while a large fill runs?
A large fill deposits more ink in each area than the coating can hold. Reduce white on this film; leave colour unchanged while the colour patch prints cleanly.