
Look at the mug from the handle side. If the ends of the design next to the handle sit at different heights, the paper was wrapped at an angle or the design was cut crooked; if the heights match but the design is closer to the handle on one side, the paper was not centred or it turned while the heater was closing. Wrap the next mug standing on the table, keeping the bottom edge of the paper at one height, secure both ends and the top and bottom of the paper with heat tape and place the handle in the middle between the heater's edges. On a tapered latte mug a rectangle will not sit straight however you wrap it: you need an arc template.
What a crooked print tells you
Stand the mug on the table with the handle towards you and compare the ends of the design on both sides of the handle, the gaps to the handle and the distance from the rim all round. A similar defect can have different causes. The table helps you tell them apart.
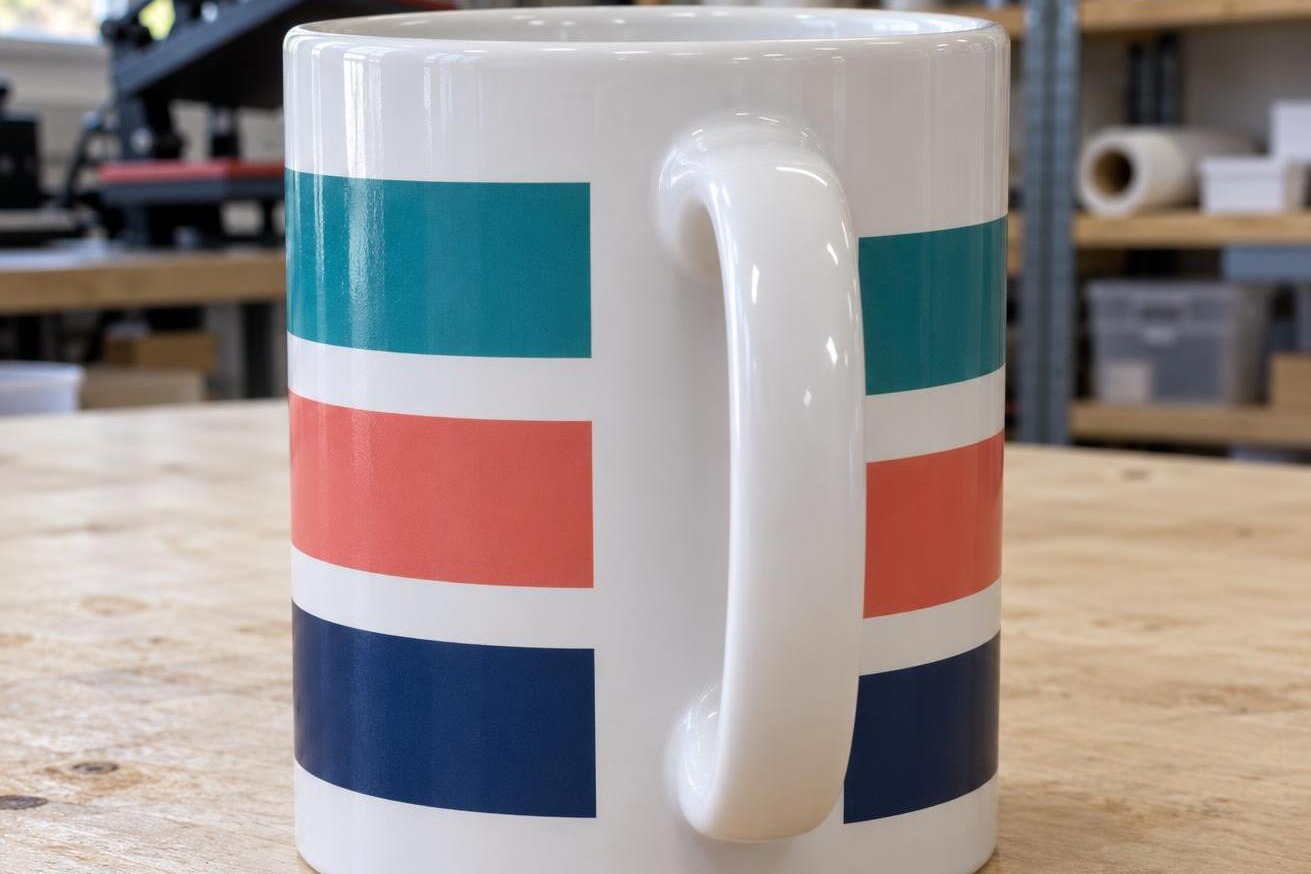
The stripes do not meet at the handle: one end is a few millimetres higher. This is what paper wrapped at an angle, or a design cut crooked, looks like.
| What you see | Cause | How to check | What to change |
|---|---|---|---|
| The design runs at an angle or in a spiral: one end is higher at the handle | The paper was wrapped at an angle. The design was printed or cut not parallel to the paper edge. Loose paper was twisted as the heater closed. | The trace of the design on the removed paper is skewed to its edges: printing or cutting. It is parallel: check the next wrap. Crooked before the press means the wrapping; straight before the press but the print is not: the paper moves in the heater. If the trace is faint, check the next print before wrapping. | Wrap the mug standing on the table, the bottom edge of the paper at one height all round. Cut along the marks in the file, not along the sheet edge. If the paper moves, secure it as in the next row. |
| The design is straight but closer to the handle on one side | The template centre is not opposite the handle, or the design is off-centre in the file. Or the closing heater dragged a loose wrap, especially with the handle off the middle. | With a ruler: are the margins from the design to the paper ends equal? Gaps to the handle equal before the press but not after: the paper moves in the heater. | Centre mark opposite the handle. Paper tight, tape also on the top and bottom. Handle in the middle between the heater's edges; hold the mug by the handle while closing. |
| The design is straight but closer to the rim or the bottom | The paper was taped too high or too low, or the file has different top and bottom margins. Or the paper slid: the tape held only the ends. | Check in the layout whether the top and bottom margins are equal. If they are, measure the edge height above the table on the next wrap before the press. | Equal margins in the file, 5 mm from the edges of the straight part of the wall. Set the height from the table with a ruler. Tape on the top and bottom edges. |
| On a latte mug the lines curve into an arc, the ends at the handle do not meet | A rectangular template on a tapered wall. The wrap is not the problem. | With a tape measure: the circumference at the rim is larger than at the bottom, so the wall is tapered. | An arc template from three measurements (calculation below) and a tapered heater. |
A faint shadow or a double outline next to the design is ghosting: the paper moved while the ink was transferring to the mug. How to find that moment is covered in the article on ghosting in sublimation. For a straight design with a pale edge or band, follow the checks in the article on the pale band at the bottom of a mug.
How to wrap and tape the paper straight
Do not change the press settings here: neither temperature nor time will fix a tilt. The figures below are for a straight white sublimation mug of 330 ml.
Circumference of a Ø 8 cm mug
25.1 cm
measure your batch with a tape
The 11 OZ heater wraps
23.5 cm
the rest of the circle is under the handle
Edge height difference
up to 1 mm
at three points from the table
Heat tape
4 pieces
2 ends, top and bottom
The diameter of the white Premium+ 330 ml mug and the length of the standard heater are from MyPrint product cards; the circumference is calculated: 3.14 × 8 cm.
Measure the mug
With a tape measure, take the circumference and the height of the straight part of the wall. Measure every new batch again: the same volume does not mean the same dimensions. Make the layout narrower than the circumference so that the ends of the design are about 2 cm from the handle, and add thin cutting marks at the edges. Leave 5 mm of unprinted paper around the design for the tape.
Print the design mirrored
On sublimation paper, at 100% scale. Print on the white side of Premium Classic paper. Its pink back must face outwards when you wrap the mug.
Let the paper dry
A fresh print smudges easily under your fingers while you cut and wrap.
Cut along the design, not the sheet
Cut along the marks. Check with a ruler that the distance from the design edge to the paper edge is the same at both ends. Fold the strip in half, end to end, and press the fold only at the edges: that is the centre mark.
Wrap the mug standing on the table
Printed side to the mug, centre mark opposite the handle: then the gaps to the handle are equal on both sides. Keep the bottom edge of the paper at one height above the table all the way round.
A 1° tilt is easy to miss, but it makes a 3.5 mm height difference between the ends of a 20 cm strip. So measure the edge height from the table with a ruler.
Secure with heat tape
Tape the first end with a vertical strip of heat tape over the full height of the paper: half the strip on the paper margin, half on the mug. Pull the paper tight around the mug and secure the second end the same way. Add a short piece on the top and on the bottom edge opposite the handle. If the paper ends meet, run one strip along the whole seam and keep a short piece at the top and bottom. Put the tape on the margins, not on the design.
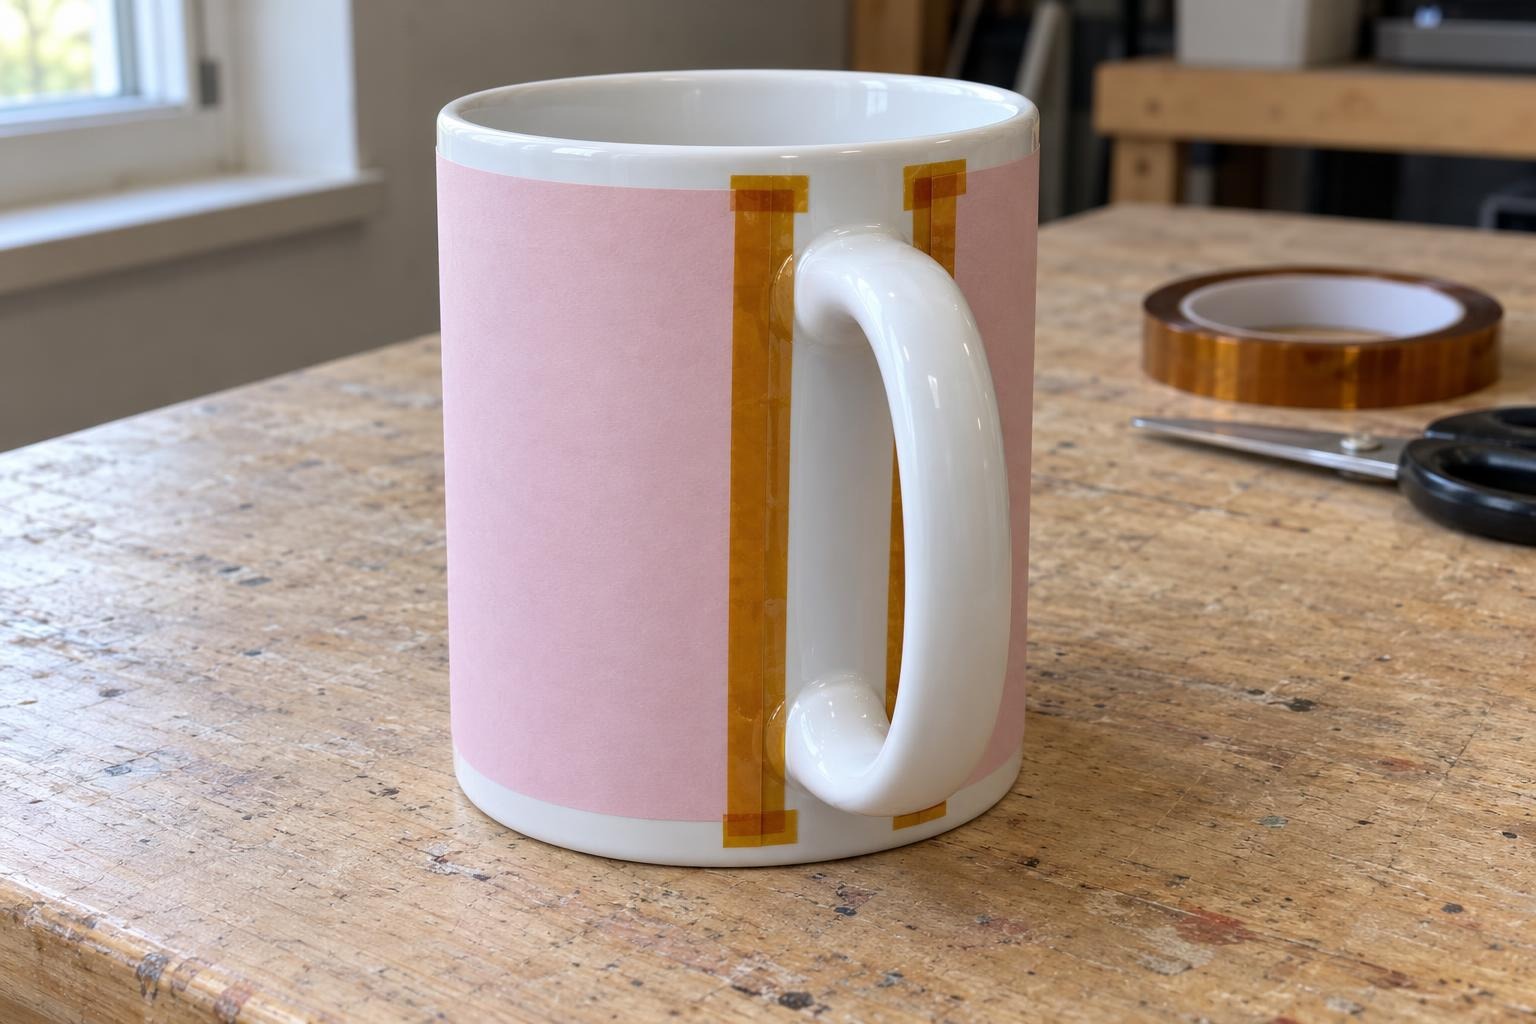
Right: the ends at the handle at one height, tape on both ends, top and bottom.
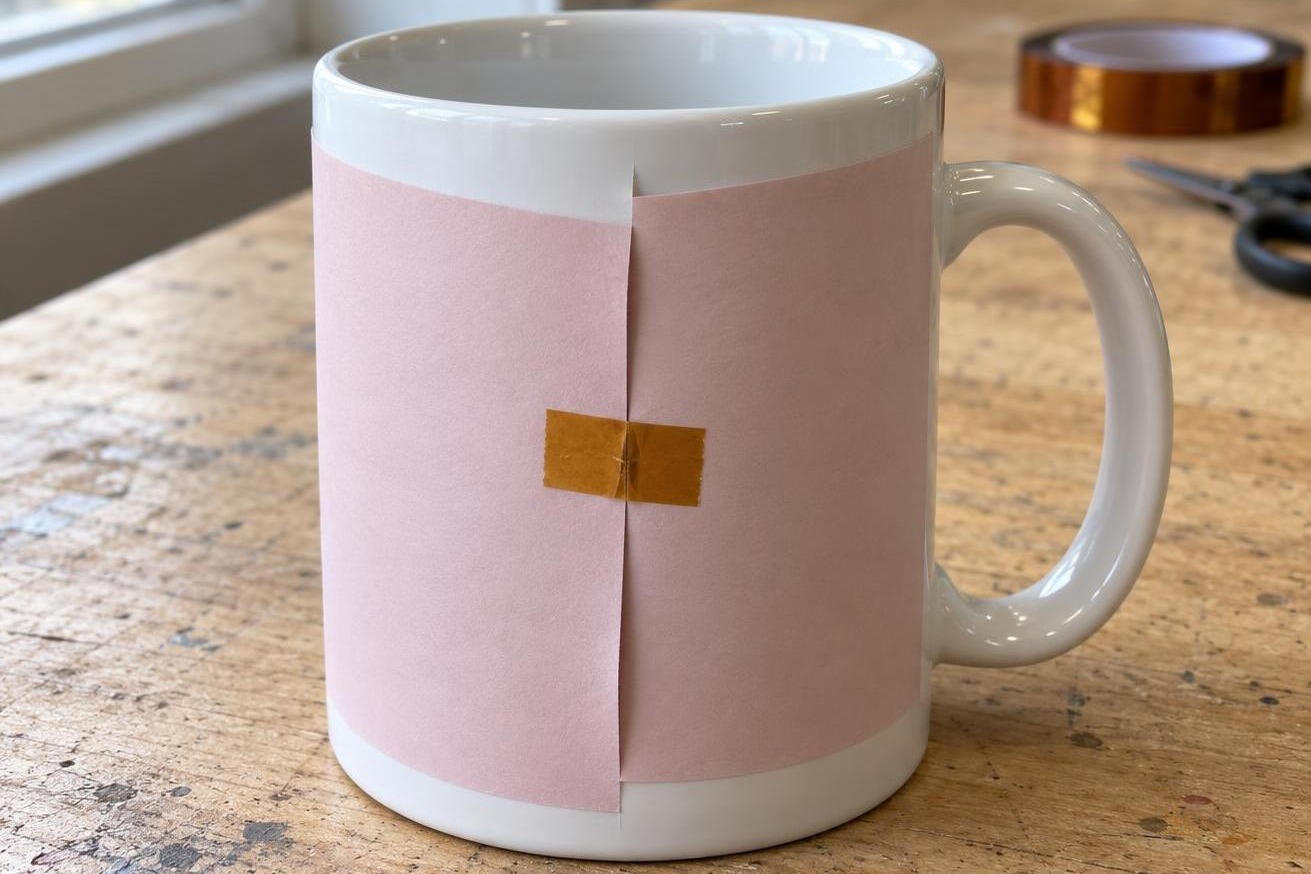
Wrong: one piece of tape on the seam, the paper ends at different heights: the wrap will spiral.
Check before the press
Measure the height of the bottom edge of the paper above the table at both ends and opposite the handle: the difference should be up to 1 mm. The paper must sit tight, with no creases. Otherwise re-tape now: after the press it cannot be fixed.
Place the mug in the heater
The handle sits in the middle of the gap between the heater's edges, pointing up. While closing the mug heat press, hold the mug lightly by the handle so it does not turn, and do not touch the heater. Do not move the mug once it is closed. Start the countdown. If the heater edge presses on the handle, the mug may also crack; how to avoid that is explained in the article on a mug that cracked in the heat press.
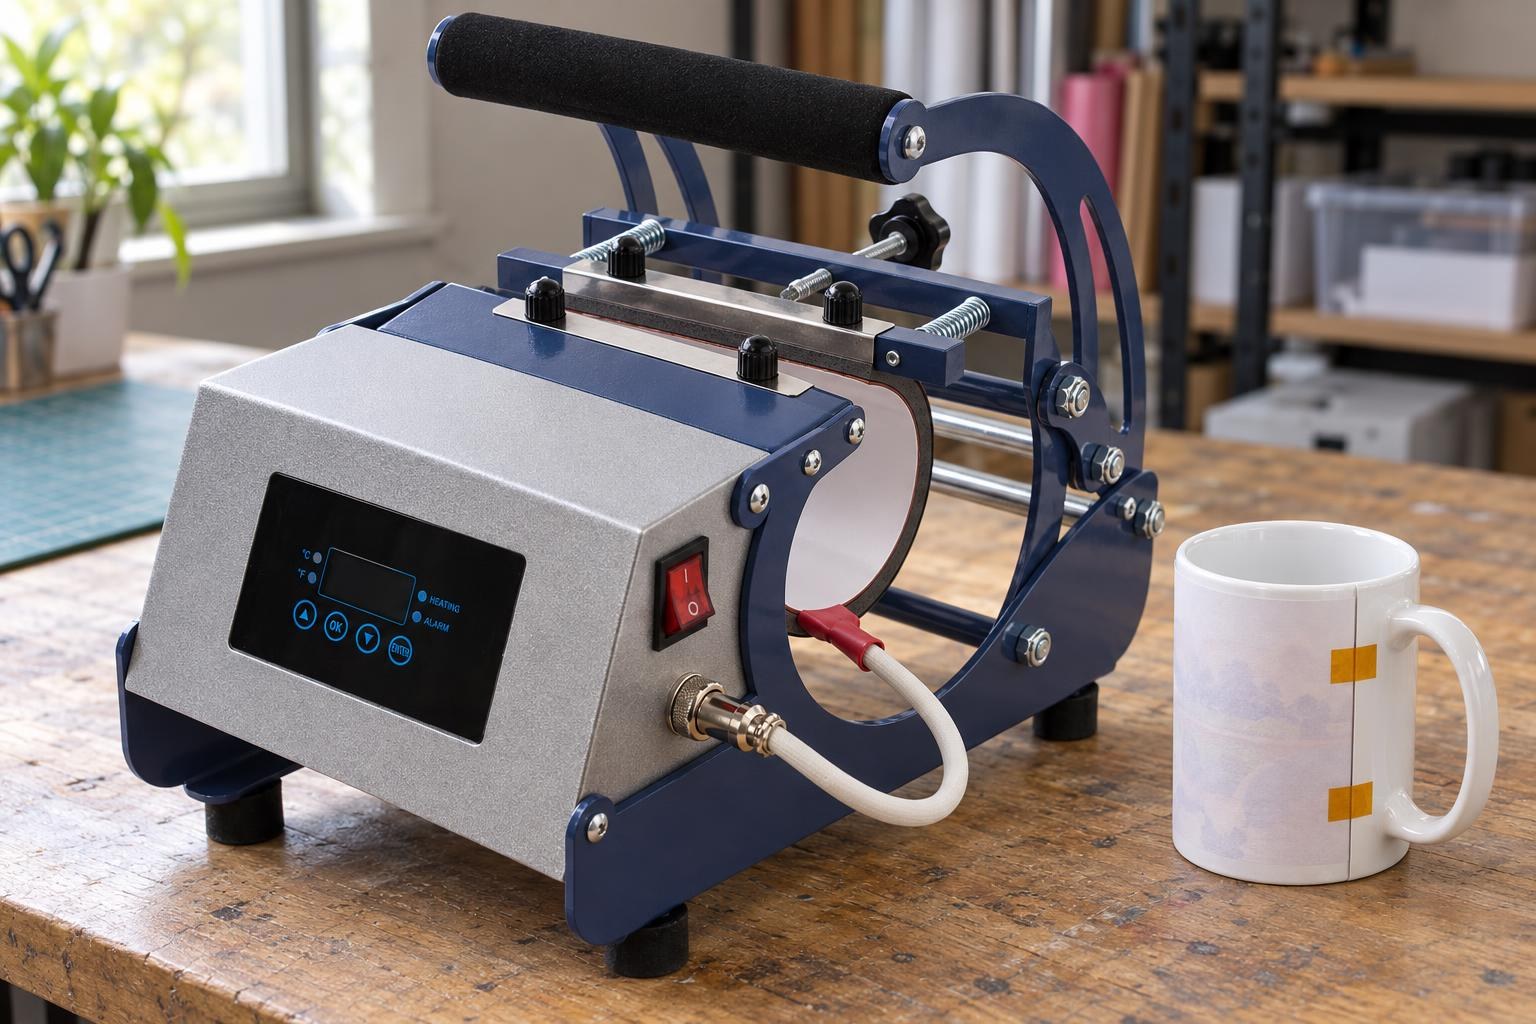
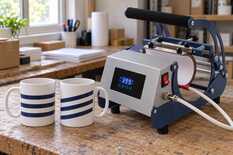
An evenly wrapped mug next to the press: it goes into the heater handle up, centred between the heater edges.
After the beep, take the mug out
Wearing heat-resistant gloves, take the mug out, remove the paper and let the mug cool.
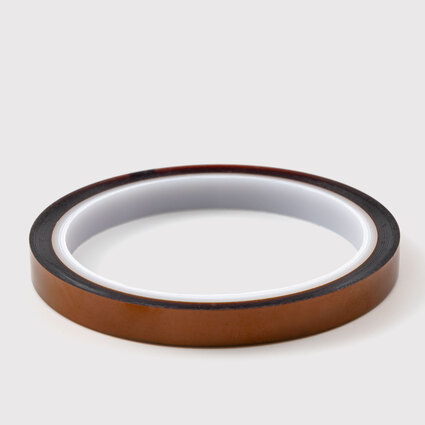
Polyimide, 10 mm × 30 m · 92 UAH as of October 2026
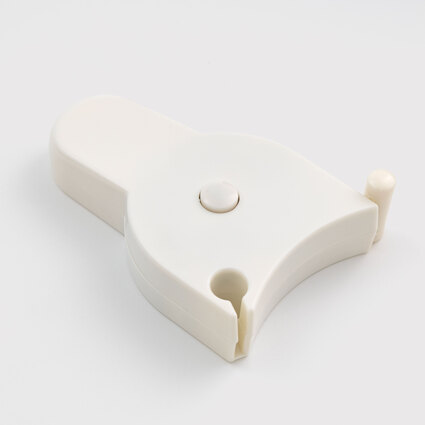
Circumference tape measure, 1.5 m
Circumference at the rim and at the bottom, wall height · 54 UAH as of October 2026
Latte mug: why a rectangle goes into an arc
A 12 Oz latte mug has a tapered wall: the circumference at the rim is larger than at the bottom. A rectangle on such a wall goes into an arc, so the template here is part of a ring. With a tape measure, take the circumference at the top and bottom edges of the print area and its height along the wall, not vertically.
The outer radius of the arc is height × circumference at the rim ÷ difference of the circumferences. The inner radius is the outer one minus the height. The arc angle for the full circle is 57.3° × difference of the circumferences ÷ height.
Example: an arc template for circumferences of 28 and 22 cm and a height of 9 cm
In a graphics editor, draw two circles with one centre and your own radii (42 and 33 cm in the example): the band between them is the unrolled wall of the mug. The template is a piece of that band: its outer edge is as long as the design at the rim, and the ends are cut along lines towards the centre of the circles. Bend the design along the arc. Print the first template on plain paper and try it on: the edges should lie parallel to the rim, with no creases.
Press latte mugs in a tapered heater: a straight one touches the cone only with its wide part. For the MP160 press the tapered heater is sold separately (card below). The 5-in-1 heat presses already include both tapered heaters, and in 2-in-1 sets a tapered one can be chosen as one of the two.
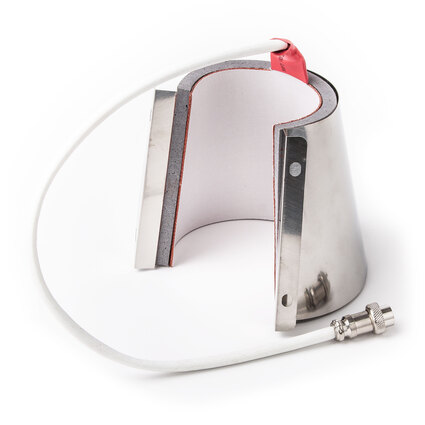
Tapered · for the MP160 press and HP universal presses · 1,950 UAH as of October 2026
Frequently asked questions
Can I use masking tape instead of heat tape?
No, use heat tape: it decides whether the paper stays in place in the hot heater. According to its card, MyPrint's polyimide heat tape withstands high temperature and leaves no marks on the blank.
Can I run the tape along the whole wrap?
Better not: a strip lying over the design can leave its mark on the print. Tape only the margins of the paper.
How do I get rid of the white strip by the handle?
Right next to the handle the heater does not press the mug: the standard 11 OZ heater wraps 23.5 cm of the roughly 25.1 cm circumference of an 8 cm mug. Keep the ends of the design about 2 cm from the handle and place the handle exactly in the middle between the heater's edges: an off-centre handle leaves a white strip on one side.
Can I wash off a crooked print and print again?
No. Sublimation cannot be fully removed from the coating, and a new design over the old one will not hide the tilt: sublimation ink is transparent, so the old print shows through. Keep the mug for tests: try templates on it and check the handle position in the heater without pressing.