

Look at the print on the sublimation paper before pressing: it tells you what to change. If the black has already spread on the paper, reprint with lower ink density; if the edge is sharp on paper, first pre-press the fabric for 3–5 s and peel the paper as soon as the timer sounds. If the halo stays, compare two transfers with different density on identical swatches.
Why more ink does not mean a better black
The printer lays down plenty of sublimation ink in a solid dark area. If there is too much for the paper, wet areas merge and black runs into the neighbouring colour. Excess dye can also spread during transfer to the fabric. Judge the edge and colour on the cooled product: a darker sheet is not yet a better print.
Look at the boundary between dark and light
Sharp edge
The gap between the bars is clean.
Bleeding
Dye has run into the gap.
Diagram: dye spreads beyond the black edge and colours the light gap.
Find when the edge starts to spread
First open the file at its print size: if the edge is already blurred in the artwork, the paper and press are not the cause. Then inspect the print before pressing.
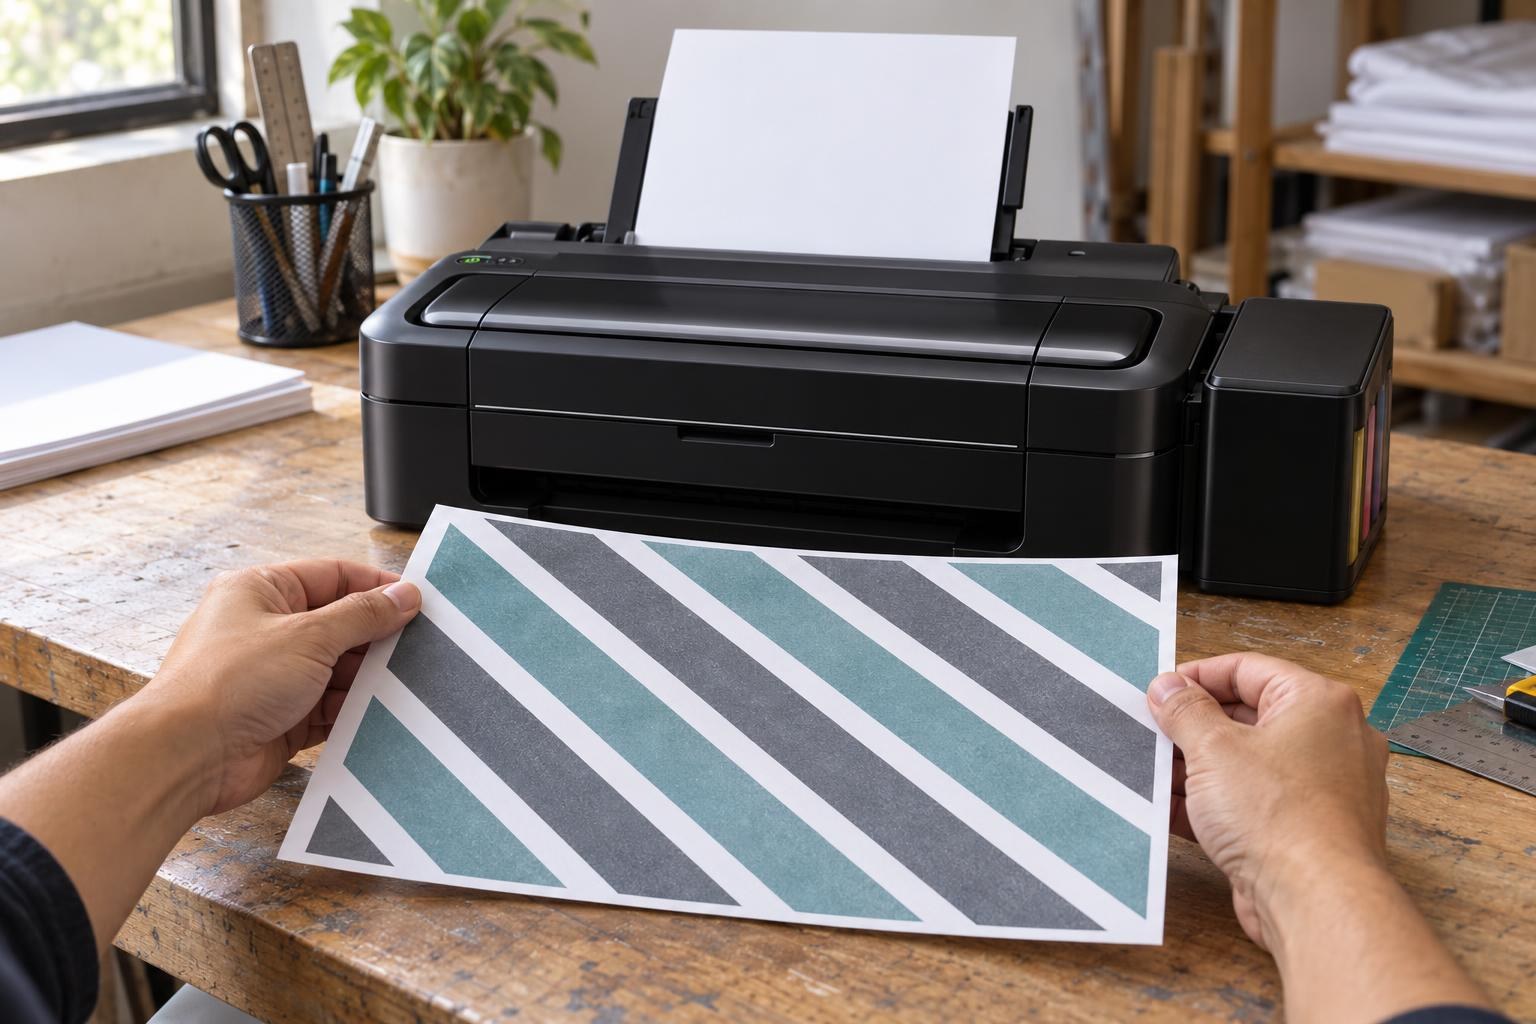
Before pressing, the inks look dull on paper; judge whether the gap between black and white is sharp, not the colour.
The edge is already blurred on the paper
Too much ink for the paper
Check that you print on the coated side, lower the density in the driver and reprint. Drying will not bring the edge back.
Sharp on paper, an even halo around the black
Steam, overheating or paper peeled late
First rule out steam and excess heat: pre-press the swatch before the transfer and peel the paper as soon as the timer sounds. If the halo stays, compare two transfers with different ink density as shown below.
A second copy beside the print, shifted one way
The paper moved: this is ghosting
Tape the transfer down, open the press smoothly and lift the paper without sliding; leave the density alone. We explain how to find when the paper moves in “Ghosting during sublimation: how to find when the paper moves”.
Lower the density in the driver, not the artwork's saturation
- Print on the coated side: on My Print Premium Classic the back is pink. Keep the paper type and quality in the driver as you always use them; during the test only the density changes.
- In the Epson driver on Windows, open More Options → Color Correction → Custom → Advanced and find the Density slider. For the test, lower it clearly, for example from 0 to −10, and write down the original value. Leave the saturation in your editor alone. If you print with an ICC profile, leave the slider alone: the ink amount is then set by the profile and the paper type in the driver. Check that the profile was made for your exact paper and ink, and that the paper type and quality are set as the profile requires.
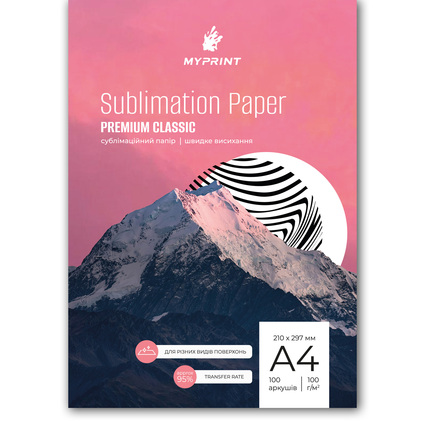
My Print Premium Classic A4 sublimation paper, 100 sheets
100 g/m² · pink back, so you cannot mix up the sides · dries almost at once
Two transfers instead of a whole shirt
Crop a 5 × 5 cm fragment from the artwork with a black edge, a light gap and a small detail, at 100% scale.
5 × 5 cm
Usual density
Print a fresh transfer using the saved settings.
Density −10
Print the same crop, changing only the density.
Example test crop: check whether the light gaps stay clean, as well as checking the solid black area.
Let the prints dry and prepare two identical swatches from the same batch. On the flat heat press, press both in the same position on the platen, with the same temperature, time and pressure, each time under a fresh sheet of protective paper. Before each transfer, pre-press the swatch for 3–5 s without the print (up to 10 s for dense sports knit) and lift the platen to let the steam out. When the timer sounds, peel the paper straight away in one movement without sliding it. Why steam spreads the dye is explained in “Pale patches after sublimation: pre-press the fabric first”.
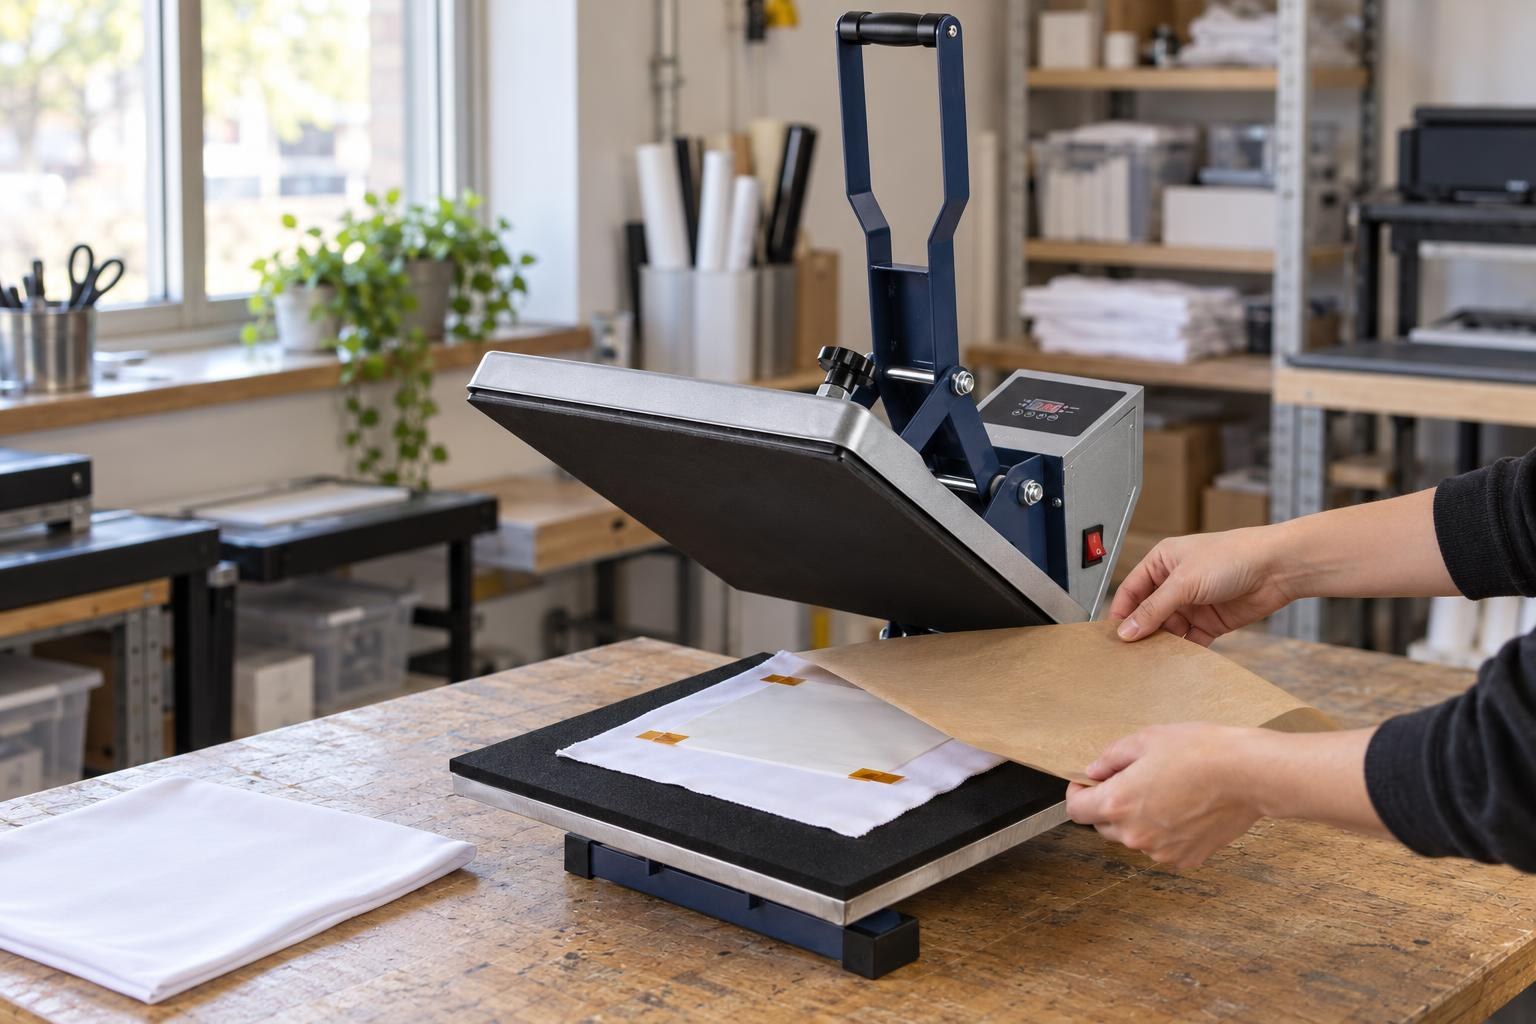
The transfer is taped down and covered with fresh protective paper; the second swatch goes under the press with the same settings.
Thin polyester T-shirt
185–195 °C
35–45 s, medium pressure
Dense sports knit
190–200 °C
45–60 s, medium pressure
Pre-press without the print
3–5 s
dense knit up to 10 s, then lift the platen
Paper after the timer
at once
peel in one movement, no sliding
Settings from MyPrint's fabric table «Sublimation on fabrics», pre-press from the article on pale patches. If the blank's maker gives its own settings, use them; press both swatches the same way.
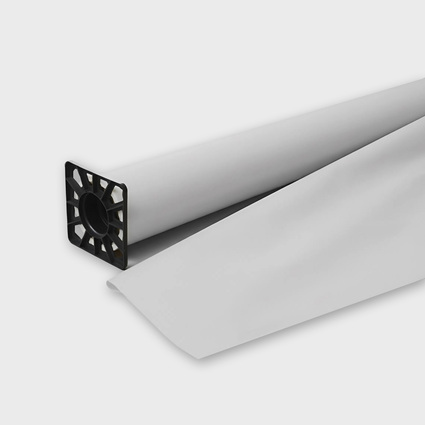
My Print Tissue Paper protective sublimation paper, grey, 30 g/m², 1.6 × 500 m roll
30 g/m² · goes over the print instead of a Teflon sheet · the roll can be ordered cut to your press width
Compare after cooling
Place the swatches side by side under the same lighting.
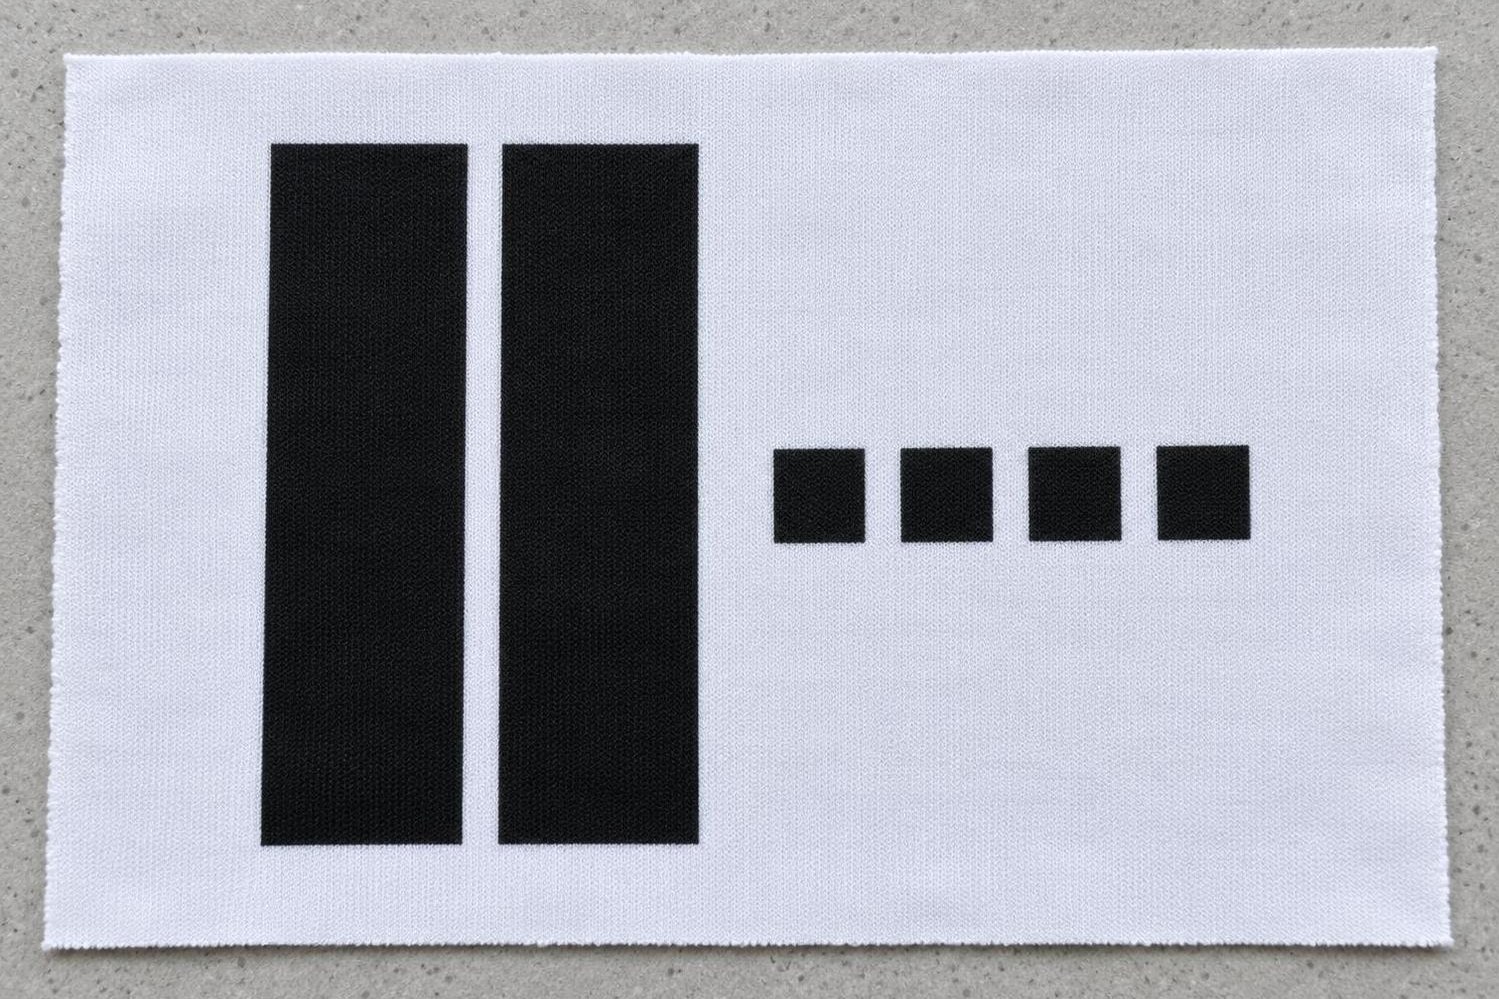
Right: sharp edges; the narrow gap and the small squares stay clean.
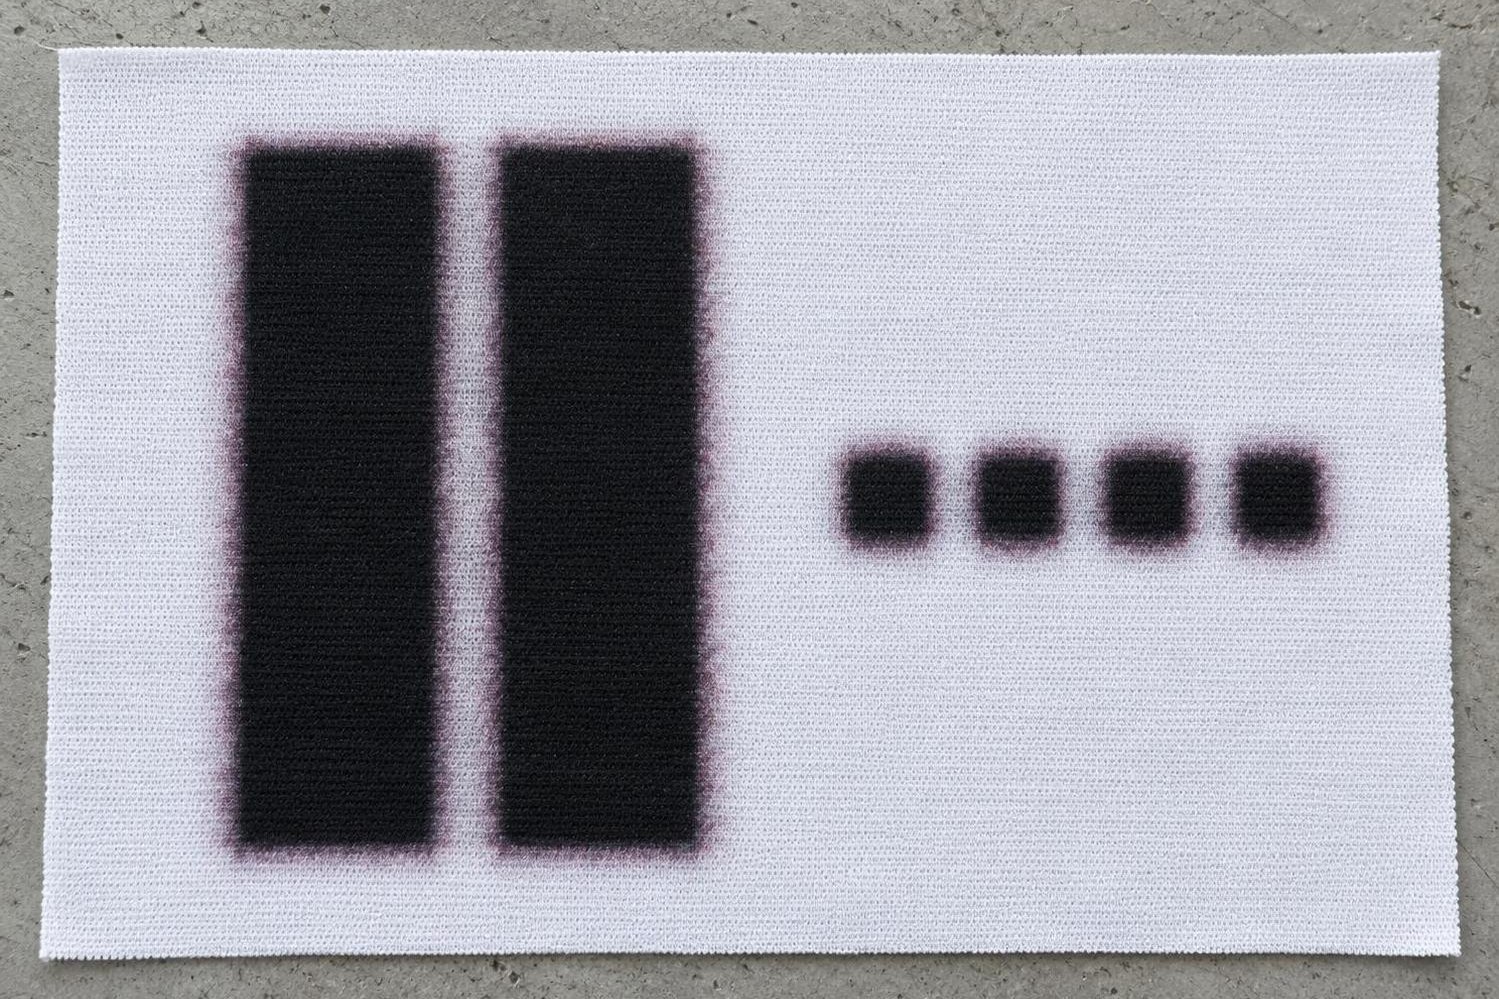
Wrong: a blurred edge with a coloured halo; the gap has turned grey and the squares have swollen.
Cleaner edge, acceptable colour
Save the settings and check the complete design on one blank before starting the batch.
Cleaner edge, but paler colour
Try an in-between value, for example −5, on a fresh print. Do not add pressing time.
The halo has not changed
Restore the density. If you pre-pressed the swatches and peeled the paper at once and the halo is still there, stay at the low end of the settings for your fabric and check the pressure: the print must touch the fabric over its whole area. Make the next trial on a fresh swatch.
Frequently asked questions
Can you rescue a blurred T-shirt by pressing it again?
No. Reheating will make the colour even paler and leave a platen mark on the polyester. Set up the transfer on a swatch, then print the next garment.
What should go over the print: a Teflon sheet or paper?
Paper. Teflon, parchment and waxed paper do not absorb moisture. Cover the print with a fresh sheet of protective paper larger than the design, and put another inside the T-shirt to keep the colour from reaching the back.
How long should the print dry before pressing?
My Print Premium Classic and Super Fast Dry paper dry almost at once. Still, leave a print with a large solid black area for 2–3 minutes: moisture from the sheet also becomes steam under the press.
Why is the halo around black pink or purple?
On a four-colour printer, black is partly made from coloured inks, so colour shows through at a blurred edge. Follow the same steps: pre-press, use the low end of the settings, peel the paper at once and test a lower density.
No density slider (as in the Mac driver), or the edge is still blurred? Send your MyPrint manager the printer model, the paper and ink names, a screenshot of the settings and photos of the edge before and after transfer, and ask for settings for that exact combination.