
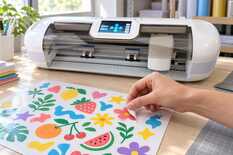
For a sticker sheet, create the registration marks in the cutting program, print on matte film at 100 % scale, and cover only the sticker area with cold laminating film. Then a plotter with a camera, such as the My Print MC330, finds the marks itself and kiss-cuts the film together with the laminate without cutting through the liner. Use a 45° knife, set a 0.25 mm offset, and find the force with test cuts on an offcut of the same laminated film.
What you need
Contour cutting of stickers by marks takes a cutting plotter with a camera or mark sensor, self-adhesive film for inkjet printing and cold laminating film. You can print on your own inkjet printer with dye-based ink or on a laser printer: the matte polypropylene (PP) film below suits both.
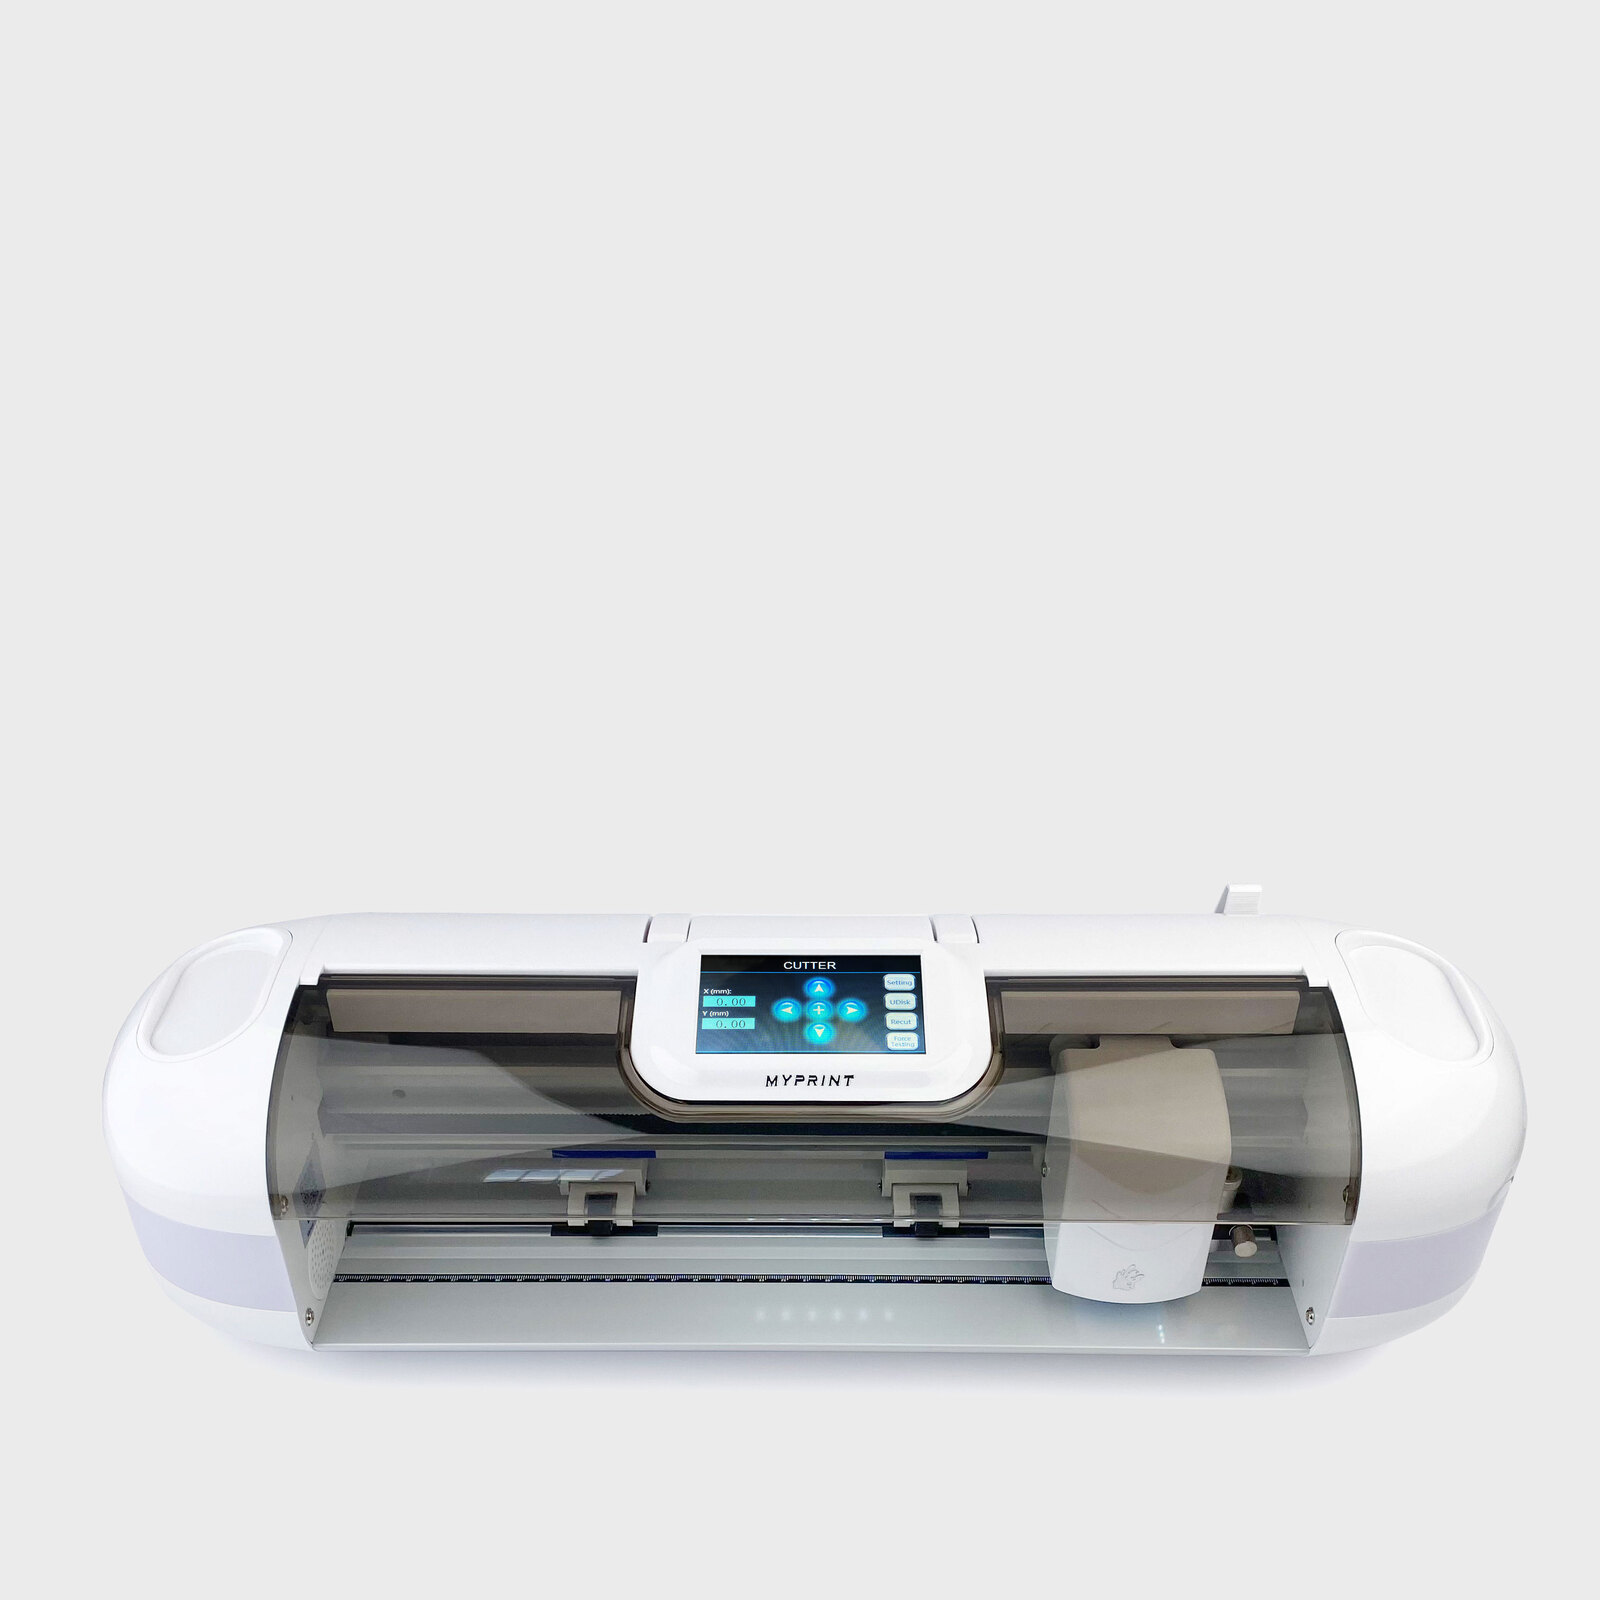
My Print MC330 cutting plotter
Camera reads the marks · sheets up to 430 mm wide · force up to 600 g · speed up to 800 mm/s
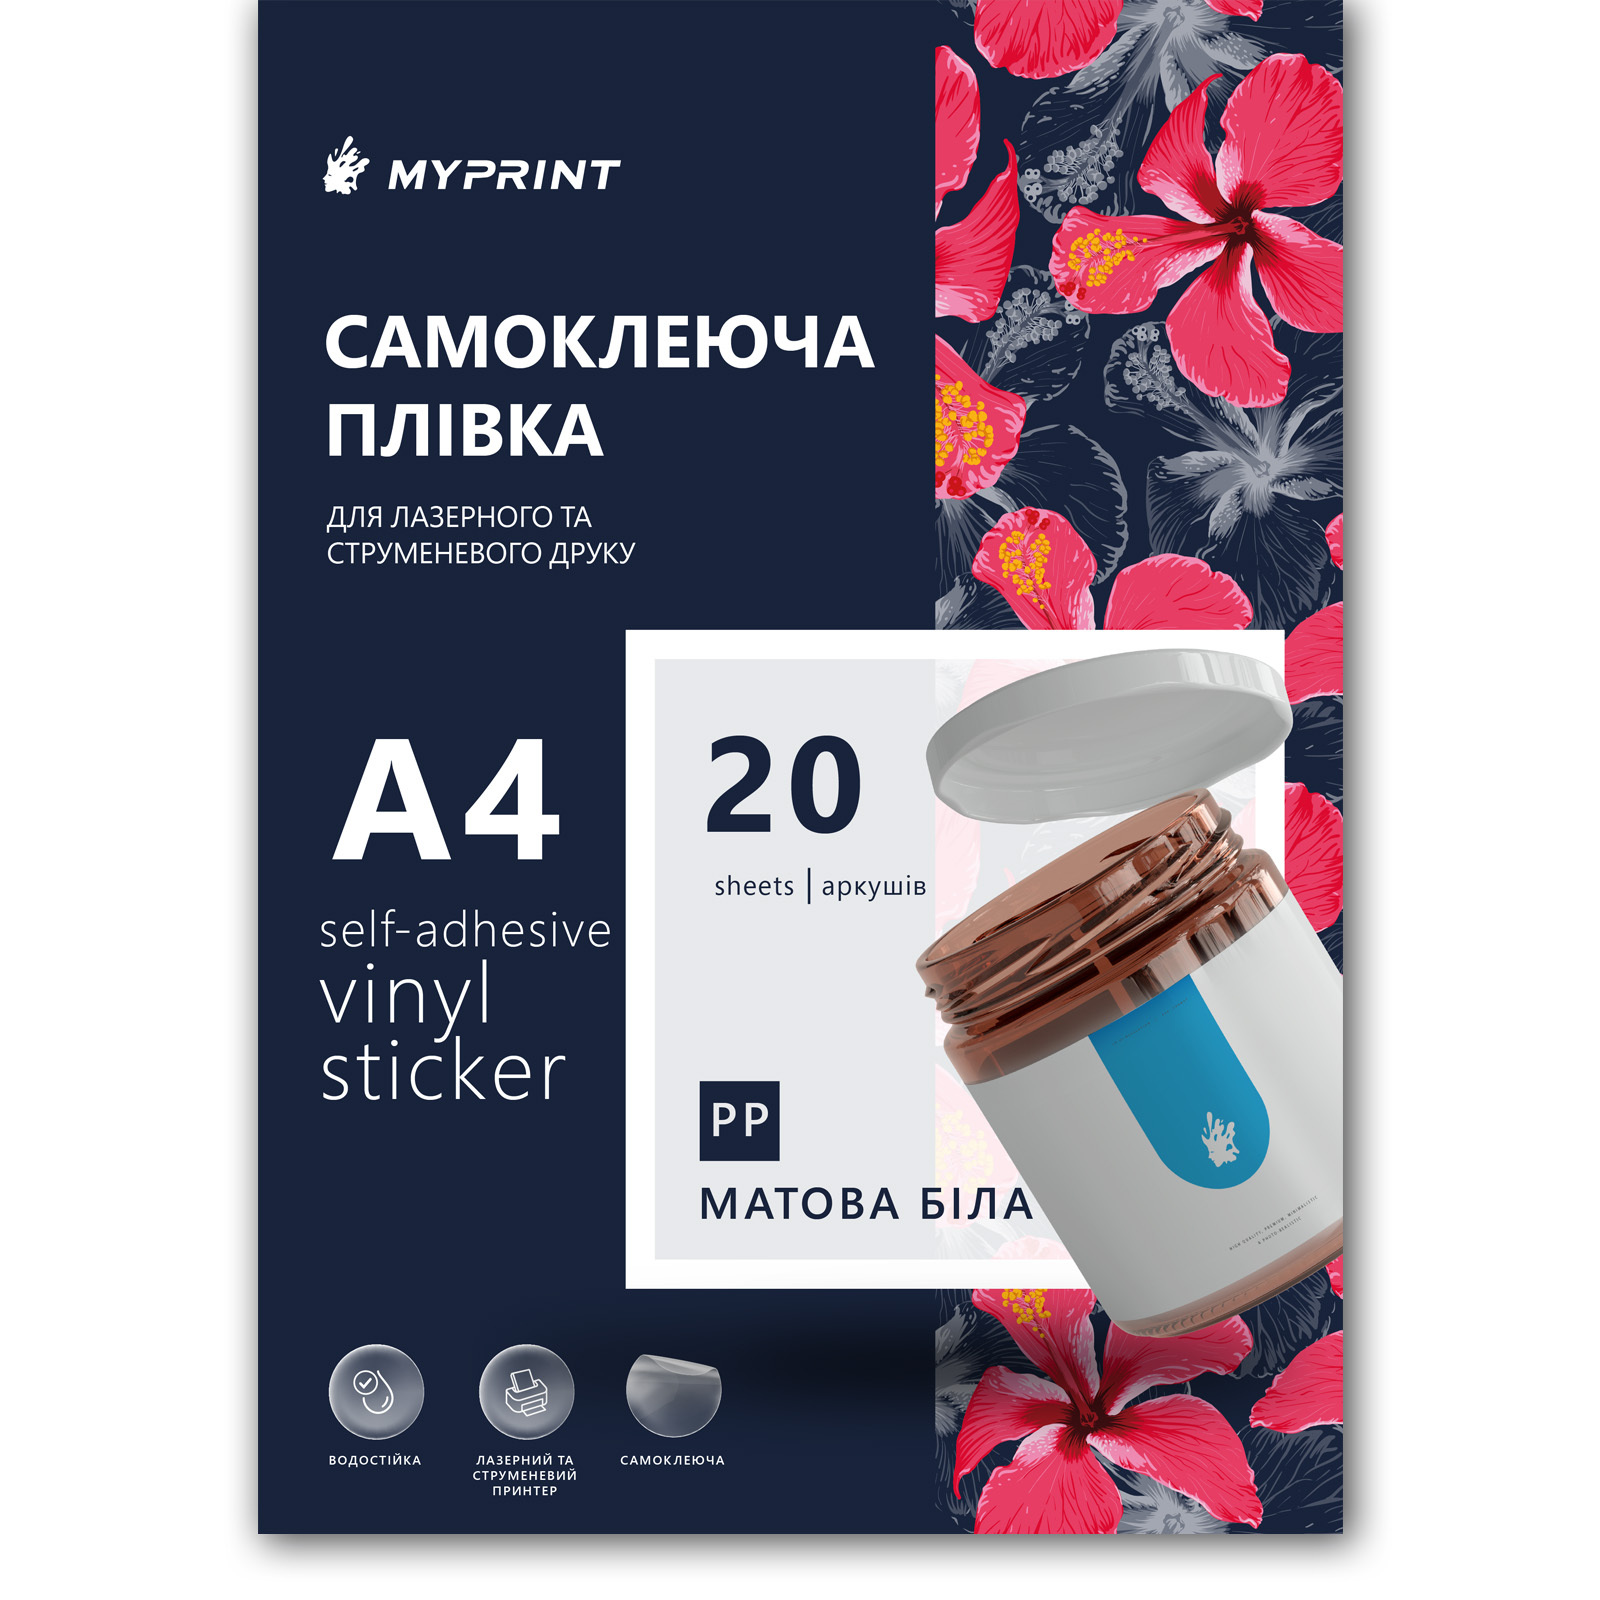
My Print PP self-adhesive film, matte white, A4
Water-resistant · for inkjet printing with dye-based ink and for laser printing · 20 sheets, also in A3
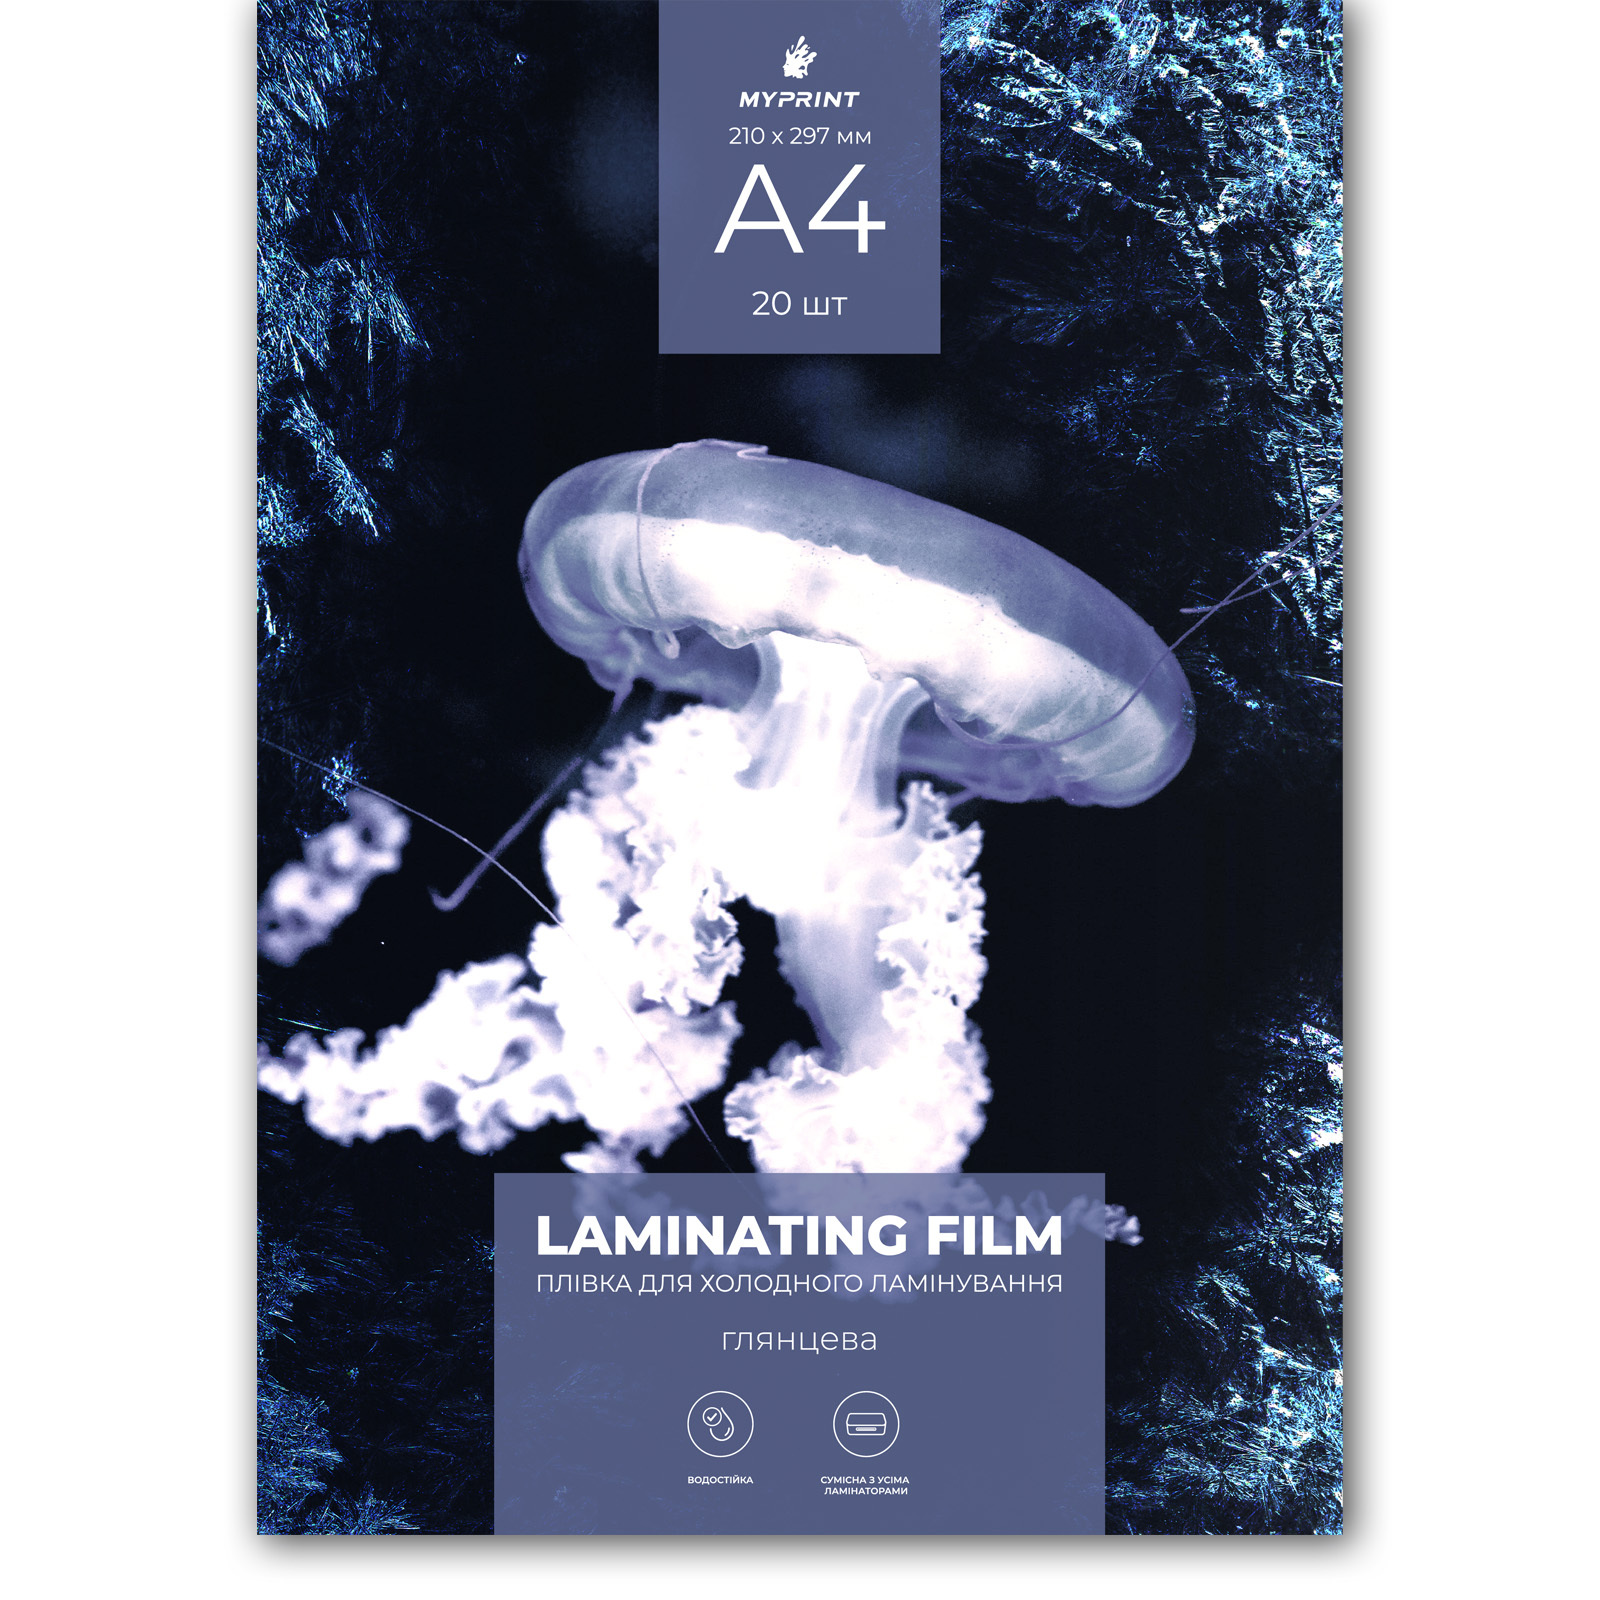
My Print cold laminating film, glossy, A4
Self-adhesive, applied by hand without heat · 20 sheets, also matte and A3
The MC330 takes sheets up to 430 mm wide, so A4 and A3 go in short edge first. For A4 sheets and small runs the cheaper My Print SC330 plotter also works: it recognizes marks too, but takes material up to 330 mm wide and cuts at up to 300 mm/s against 800 mm/s on the MC330 (UAH 15,875 and UAH 27,890 as of November 2026).
From the film tools, take a hook and tweezers for weeding — both are in the My Print 5-in-1 set. For laminating, use a squeegee or a plastic card.
The file: marks, contours, gaps
Build the layout in the cutting program
Set the sheet size and arrange the stickers. The marks are added by your plotter's cutting program: do not draw them yourself, move them or scale them. The cut contour is a separate closed line without fill: draw it in a vector editor on its own layer or build it with the contour function of the cutting program. Send the artwork and marks to print, and only the contours to cut.
Marks are placed by the cutting program. Keep the artwork out of the zone it marks around them.
Cut contour — 2–3 mm from the artwork. Round the corners with a radius of 2 mm or more, make thin parts wider than 1.5 mm.
White border between the artwork and the contour. If a sticker is coloured to the edge, extend the background 1 mm past the contour and keep text 2–3 mm inside.
Between contours — 3 mm or more, otherwise a narrow strip of background tears during weeding. The smallest sticker is 10 × 10 mm.
Laminate — 3 mm past the outer contours, no closer than 1 cm to the marks.
Sheet margin — at least 5 mm from a contour to the edge: the sheet is trimmed within it later.
A4 sheet layout: the program places the marks; you set the contours, gaps and the laminate boundary.
Printing, drying, laminating
Print at 100 % scale
In the print dialog turn off «fit to page» and any scaling: if the print is not 1:1, the plotter fails to find the marks or cuts with an offset. In the preview, check that all marks fall fully inside the printable area.
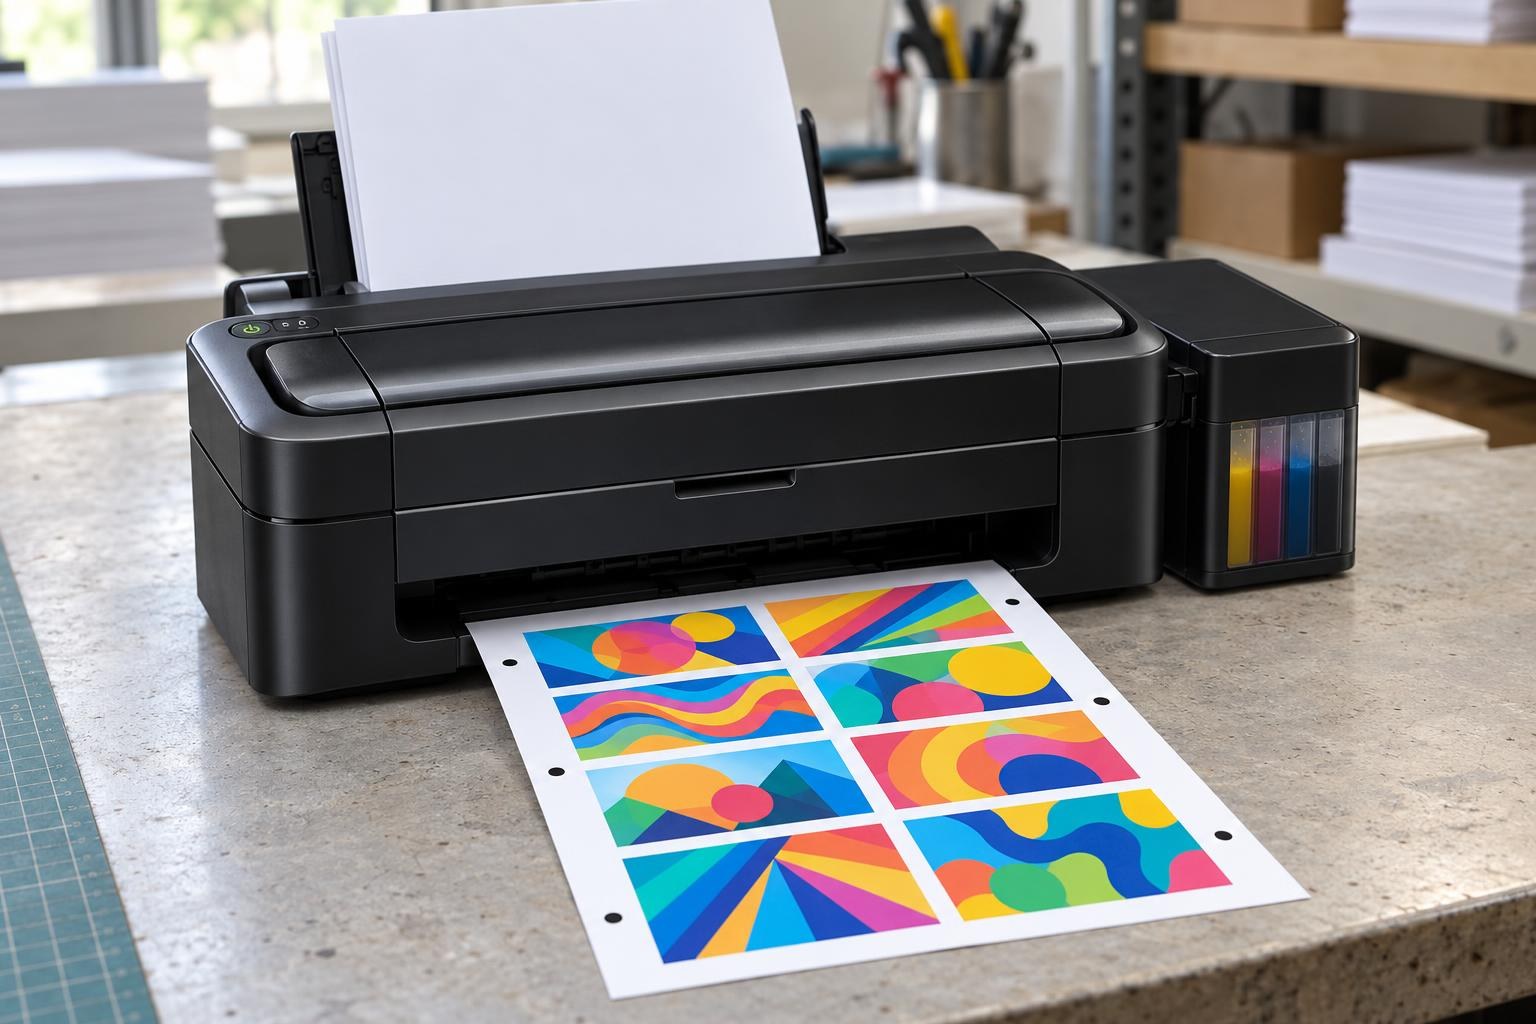
Marks along the long edges, with a clean white margin between them and the stickers.
Let the ink dry
Matte PP film is dry to the touch in 10–15 seconds, dense dark fills in a few minutes. But laminate the next day: moisture from the ink can no longer evaporate under the film. A laser print needs no drying.
Laminate only the sticker block
Cut a piece of cold film so that it reaches 3 mm past the outer contours. Peel a strip of liner at one edge, lay the film on straight and smooth it with a squeegee from the centre to the edges without stretching it: stretched film bends the sheet. A cold roll laminator, for example the 39 cm LC Base 390, does the same faster and with more even pressure, but a squeegee is enough for a few sheets.
Silvery specks can show through cold film on dark fills. How to avoid them is covered in the article «Silvering of cold film on dark prints».
The laminate must not cover the marks. Any film over a mark — glossy, matte or holographic — keeps the camera from reading it. So measure the piece of laminate to the sticker block and leave at least 1 cm to the marks.
Cutting: knife, force and marks
Load the sheet straight
Feed the sheet with the edge and the side the program shows, without skew. Put the pinch rollers on the sheet edges and only in the zones marked on the rail. Feed a self-adhesive film sheet with an intact liner without a mat. Use the Light mat, 30.5 × 30.5 cm (30.5 × 61 cm for A3) if the sheet has curled or the rollers cannot sit on both edges.
Set the knife and find the force with a test
Extend the 45° blade from the holder by the thickness of the film with laminate: you should barely feel the tip with a fingertip. Run the test on an offcut of the same material: start with low force and add one step at a time until the shape comes away cleanly and the liner shows at most a faint trace. If the liner is cut through, first retract the blade, then lower the force.
How to run the test without wasting film is explained in the article «Test cutting on a plotter». The knife offset shows best on the corners of the test shape: how to read them is explained in the article on rounded corners and «horns».
Knife
45°
for contour cutting of self-adhesive film
Knife offset
0.25 mm
for a 45° blade
Speed, mm/s
80–200
stickers 1–3 cm; 3–5 cm — 200–350
Force
start low
+1 step until a clean cut; MC330 limit 600 g
MC330, matte PP film with cold laminate. The speed is the maker's guide for this plotter series; cut the first test at 80 mm/s.
Read the marks and cut the first sheet
Send the job from the program, bring the carriage to the first mark as the program prompts and start reading: the plotter finds the marks first, then cuts. Check the first sheet of the run: the white border is even on all sides of each sticker, and the liner is intact — bend the sheet along a contour, it must not split.
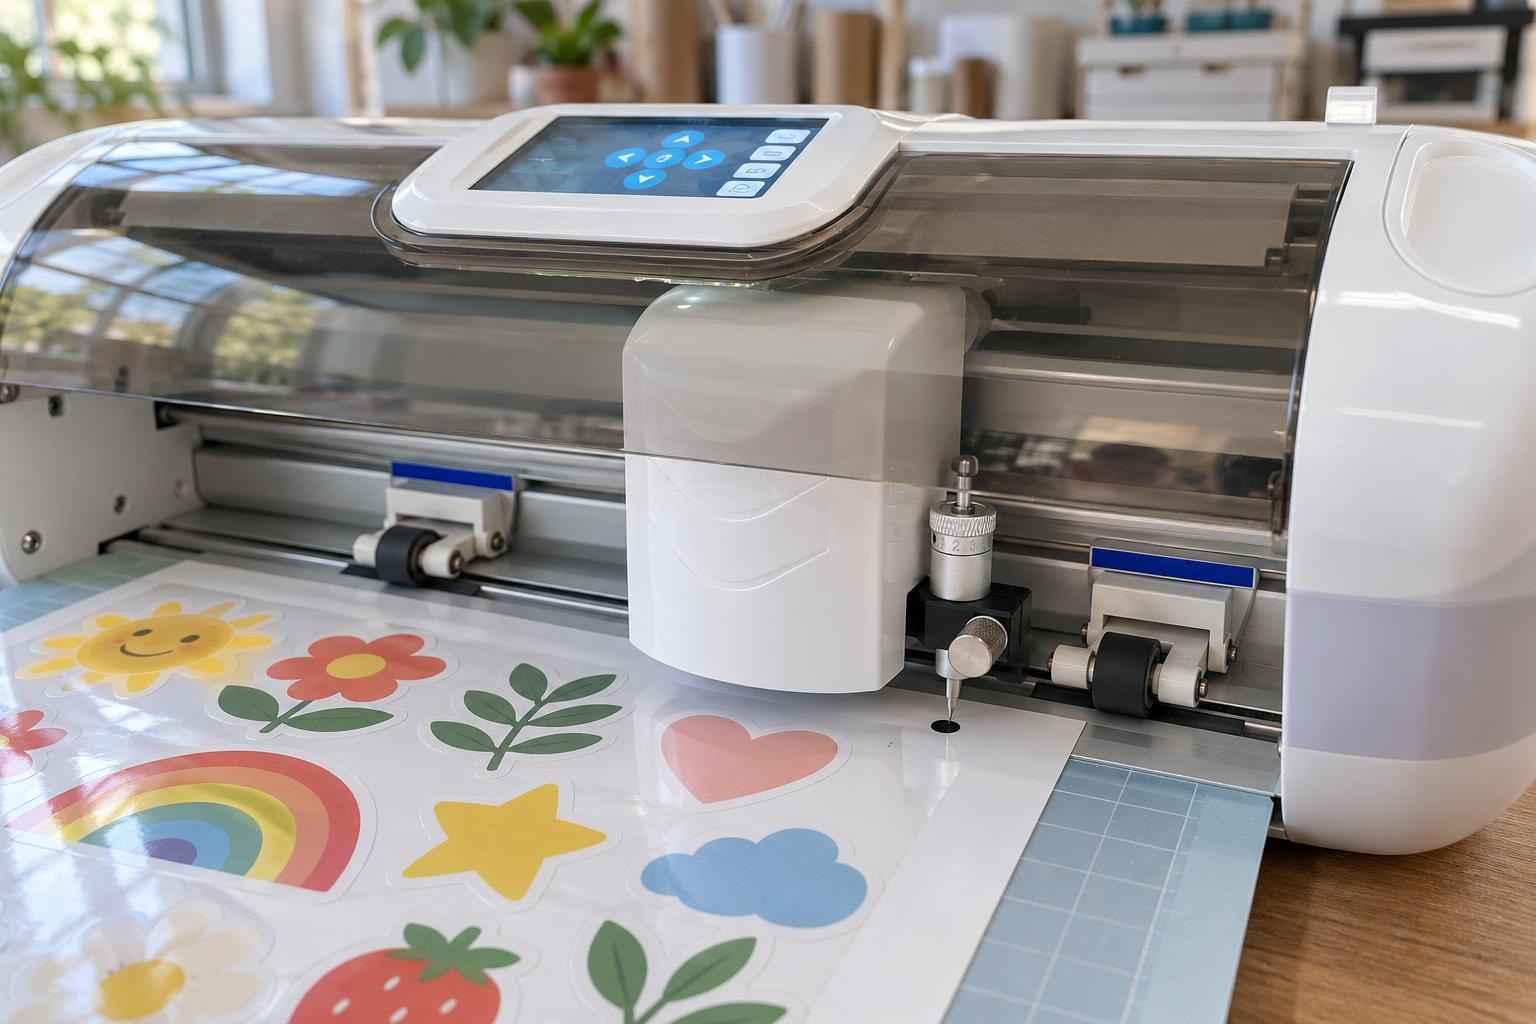
The carriage over a mark: the marks were left without laminate, so the camera sees them sharp.
If the contour is shifted by the same amount across the whole sheet, check the camera calibration in the plotter menu. If the start of the sheet is accurate but the shift grows towards the end, what to check is covered in the article «The first contour is accurate, then the shift grows».
Weeding and packing
Weed the background or leave it
You can leave the background between the stickers: the sheet is ready sooner, and the stickers are peeled straight out of the frame. For a sticker pack the background is weeded: catch it with the hook at a corner and pull diagonally, low over the sheet, and lift the islands between stickers with tweezers. If a sticker follows the background along its whole contour, the cut has not reached the liner: hold the sticker down with a finger, add one force step and repeat the test.
Take the sheet off the mat face down, bending the mat rather than the sheet, so the stickers do not curl. More in the article «Stickers curl after the plotter».
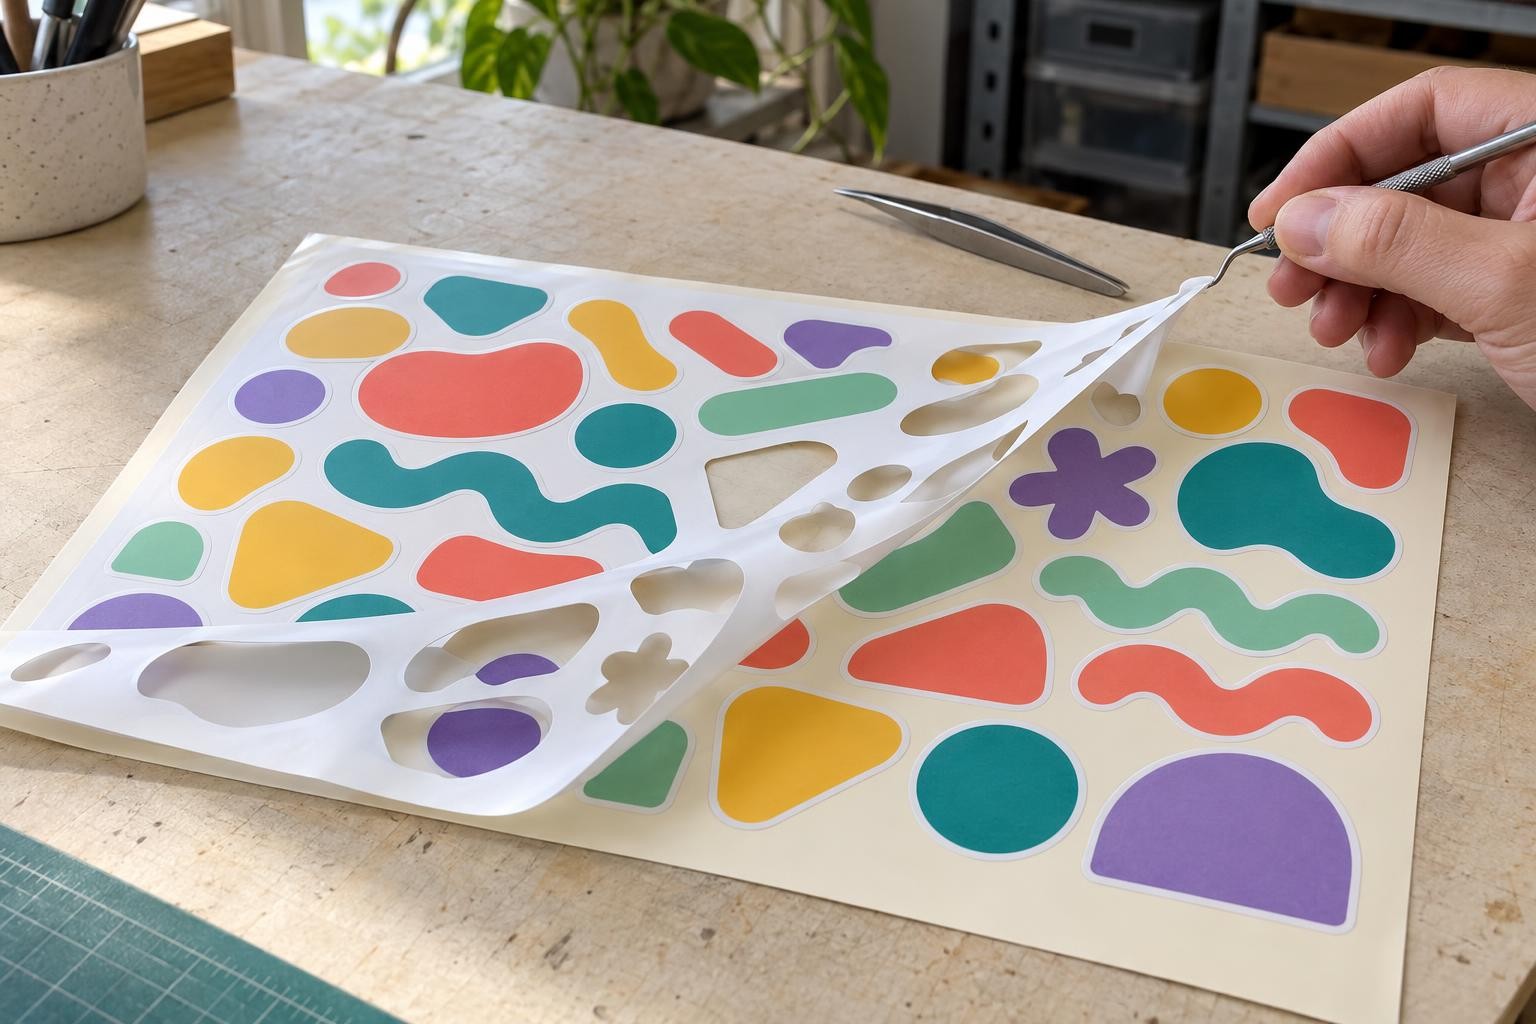
The background comes off from a corner, low and diagonally; the stickers stay on the liner.
Trim the margins and pack
Trim the margins with the marks on a paper cutter, no closer than 5 mm to the contours. Stack the finished sheets neatly face up in a clear bag with stiff card underneath, so a sheet does not bend in transit.
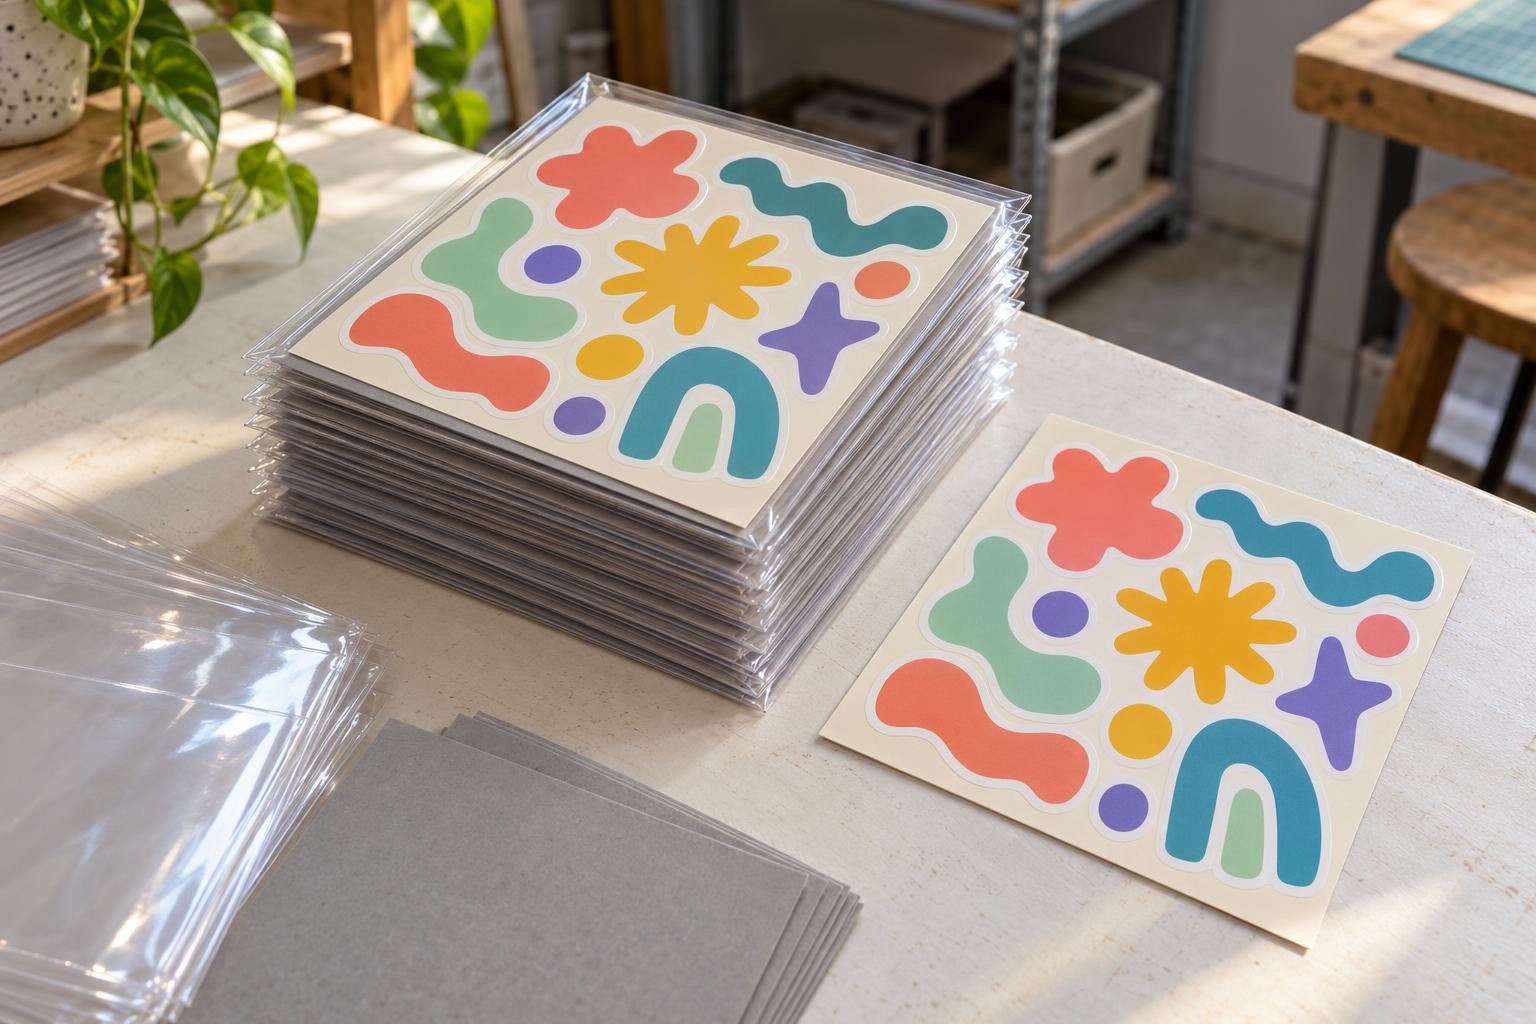
Trimmed sheets without the mark margins, in bags with card.
Frequently asked questions
Can I print the sheet with marks elsewhere and cut it myself?
Yes, if they print at 100 % scale without fitting to the page and every mark prints in full. Save the layout with marks from the cutting program to a print file and ask for printing on matte film.
How close can the artwork come to the marks?
Leave the zone the cutting program marks out around them clear. The camera may take dark print nearby for a mark, so keep even the background out of that zone. The laminate stays at least 1 cm away.
The plotter does not see the marks: where do I start?
Look at a mark at an angle to the light. If it shines, film over the mark or a glossy base is in the way; what to do with a sheet that is already laminated is covered in the article «The plotter does not see the marks after laminating». If it does not shine, check that the print is at 100 % and the sheet is loaded with the edge the program shows.
Will a plotter without a camera do?
Yes, if it has a mark sensor or supports manual alignment to the print. For automatic mark reading, choose the MC330 with its camera or the SC330 with mark recognition.
Can I cut by marks on glossy film?
You can, but on a glossy base the marks shine even without laminate, so reading fails more often. For sheets with marks, matte PP film is more reliable, and glossy cold laminate gives the stickers their shine.