

A laminated menu survives daily wiping as long as the paper is sealed in film on every side: leave at least 3 mm of sealed film between the paper edge and the film edge. An A4 sheet in a 216 × 303 mm A4 pouch has exactly those 3 mm, so it is not trimmed. Pages for wire binding are made 196 mm wide so the holes go through film only, and the folded menu is built from two panels with a 3 mm gap. In our example the set for 10 tables takes 80 A4 pouches of 125 µm and about 1 h 50 min – 2 h 20 min of work from warming up the laminator to closing the wire.
Four numbers the menu depends on
Sealed edge
≥ 3 mm
of film around the paper
Film
125 µm
for daily wiping
Corner radius
R3
no larger than the edge
Punch margin
2.5 mm
hole in film only
A4 216 × 303 mm and A3 303 × 426 mm pouches for hot lamination, 3:1 metal double-loop wire.
Along the pouch edge the top and bottom films bond to each other, and this sealed edge keeps water away from the paper. Trim the film flush with the paper and the paper edge opens up, starts drawing moisture from the cloth, and in time the film peels away. A hole punched through the paper does the same.
Formats in the set: which paper for which pouch
In the example each table gets an A4 daily-menu sheet, a folded bar card and a main menu of 6 laminated sheets on a wire. All of them are laminated in A4 125 µm pouches from the category Laminating film. The set takes 80 pouches; take a few more for test sheets — a pack holds 100. An A3 sheet needs A3 pouches and an A3 laminator from the section Laminators.
| What we make | Paper, mm | Pouch | After laminating |
|---|---|---|---|
| A4 sheet | 210 × 297 | A4, 216 × 303 mm | no trimming; R3 corners; finished size 216 × 303 mm |
| A4 sheet that must fit an A4 stand | 202 × 289 | A4 | trim all four sides to 210 × 297 mm, leaving 4 mm of film on each; R3 corners |
| A3 sheet | 297 × 420 | A3, 303 × 426 mm | no trimming; R3 corners; needs an A3 laminator |
| Folded menu | two panels 147 × 210, gap 3 | A4 | no trimming; fold along the gap; about 152 × 216 mm folded |
| Page for wire binding | 196 × 297 | A4 | trim the free side, leaving 4 mm of film; page 210 × 303 mm |
Take 125 µm film. The MyPrint pouch card says: “80–100 µm — flexible documents, 125–150 µm — rigid badges and cards”, and lists menus among the uses. Check the permitted film thickness in your laminator’s manual. If it takes 80–100 µm pouches, use 100 µm. Use 120–160 g/m² paper: the film gives the stiffness. Heavier paper needs a larger wire and may exceed the thickness your laminator accepts. How to check both limits of the machine is covered in our article on 125 µm film and thick paper.

My Print A4 laminating film, 216 × 303 mm, 125 µm
Pouch for an A4 sheet · 125 µm · glossy · for hot lamination · 100 pcs
Layout: bleed, margins and room for the wire
Set up the layout at the paper size from the table, not at the pouch size. If the background runs to the edge, add 2 mm of bleed on each side, print on a larger sheet and trim the paper to its net size before laminating: you cut the bleed off the paper, not off the laminated sheet. Keep text and prices at least 4 mm from the paper edge.
A page for wire binding is 196 mm wide. In a 216 mm wide pouch it sits in the centre with 10 mm of film on each side. A hole for 3:1 wire is a 4 × 4 mm square: at a 2.5 mm margin it ends 6.5 mm from the edge, leaving 3.5 mm of intact film before the paper. On an A4 page the same hole would go through the paper.
Print the folded menu as two separate 147 × 210 mm panels, on both sides. In the pouch leave 3 mm between them: 3 + 147 + 3 + 147 + 3 = 303 mm — exactly the pouch length. The fold runs along a strip of clear film: such a hinge opens and closes, and the paper does not crack because there is no paper at the fold. Check on a paper mock-up which side of each panel ends up outside.
Step by step: from print to wire
Print and trim the paper to its net size
Print at 100 % scale with no fit-to-page, and check the size of the first print with a ruler. Cut the paper in a stack on a guillotine from the section Paper cutters. Let inkjet prints dry for 24 hours: wet ink smears inside the pouch, and that cannot be fixed.
Centre the paper in the pouch
Margins on opposite sides must be equal: an A4 sheet in an A4 pouch — 3 mm on every side; a page for wire binding — 10 mm on the left and right and 3 mm at the top and bottom. Lay the panels of the folded menu with a 3 mm gap and check it with a ruler.
Warm up the laminator
Switch on hot mode and wait for the ready indicator. According to their cards, MyPrint pouch laminators warm up in 3–6 minutes.
Feed the pouch sealed edge first
Hold it straight until the rollers take it, and do not pull it by hand after that. Feed the pouches one at a time with a gap of a few centimetres so they do not run into each other.
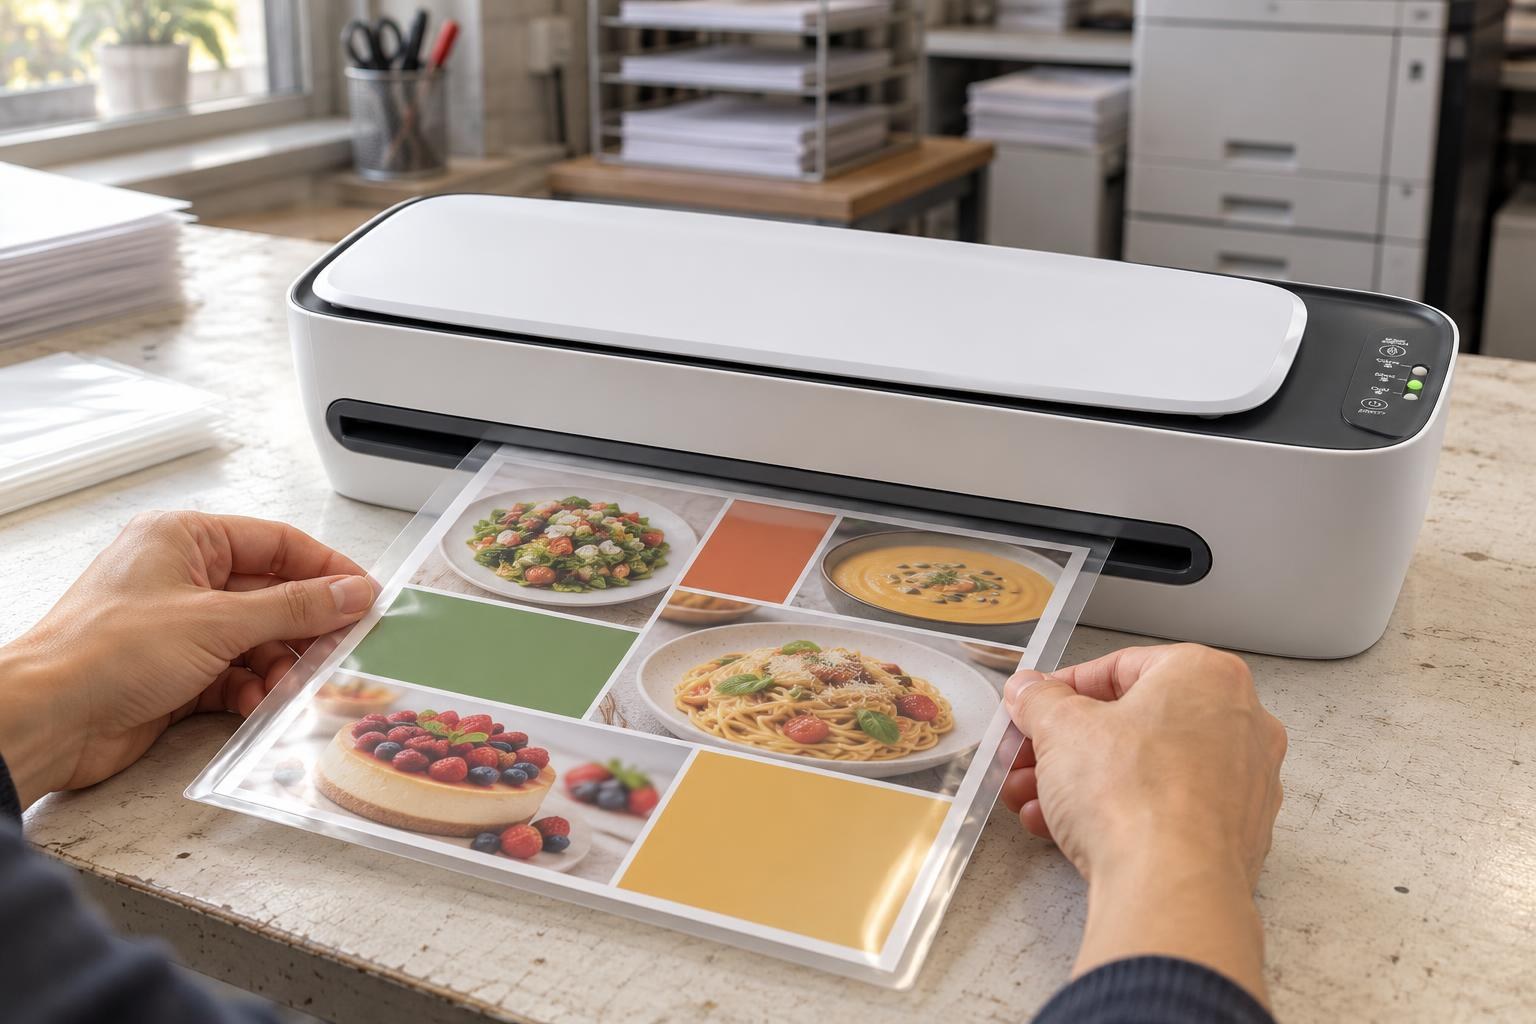
The pouch goes into the rollers sealed edge first; the sheet sits in the centre with equal margins.
Let the sheets cool on a flat surface
Lay them flat and do not cut, round or fold them until they have cooled. Fold the bar card along the gap only when it is cold.
Trim the wire-binding pages, keeping a sealed edge
Before cutting, measure on every sheet the film between the paper and the spine-side edge: it should be 9.5 to 11 mm, so that at least 3 mm of sealed film remains both by the holes and on the free side. Reprint and relaminate any sheet that fails. Set 210 mm from the back gauge to the blade, place a stack of 10 pages with the spine edge against the gauge, align it and tighten the screw clamp. With accurate centring, the free side keeps 4 mm of film. The page becomes 210 × 303 mm. Trim the sheet for an A4 stand by 3 mm on all four sides, to 210 × 297 mm.
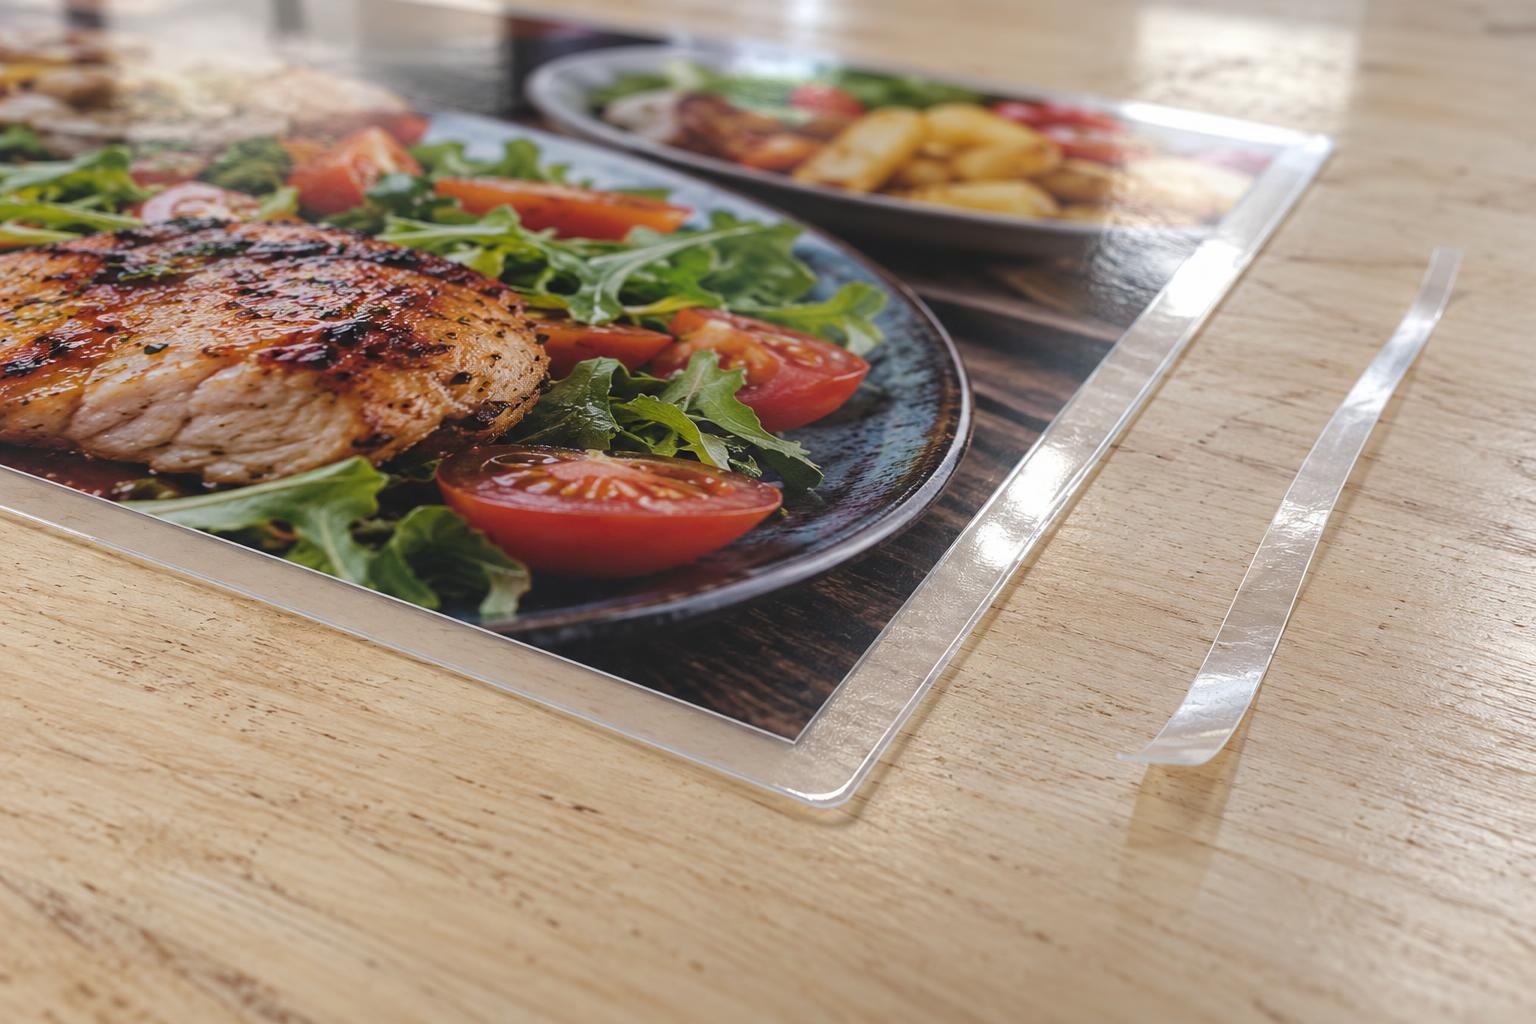
The blade runs through the film a few millimetres from the paper — the edge stays sealed.
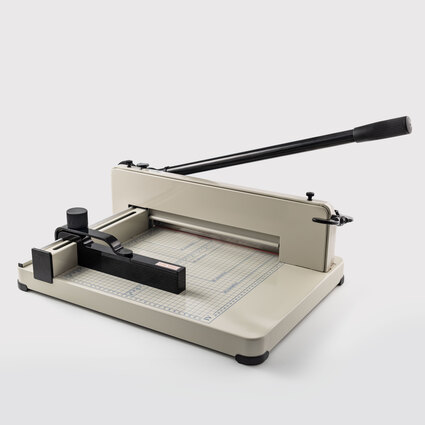
My Print 858 A4 guillotine paper cutter
310 mm cutting length — cuts an A4 pouch along its long side · stack up to 40 mm · millimetre scale on the bed
Round the corners
A sharp film corner catches and is the first place to start peeling, so the corners are rounded. Take a radius no larger than the width of the sealed edge: R3 on a 3 mm edge leaves the same 3 mm of film at the corner, while R5 on such an edge leaves only about 2 mm. Look for corner rounders in the section Die cutters, corner rounders, hole punches.
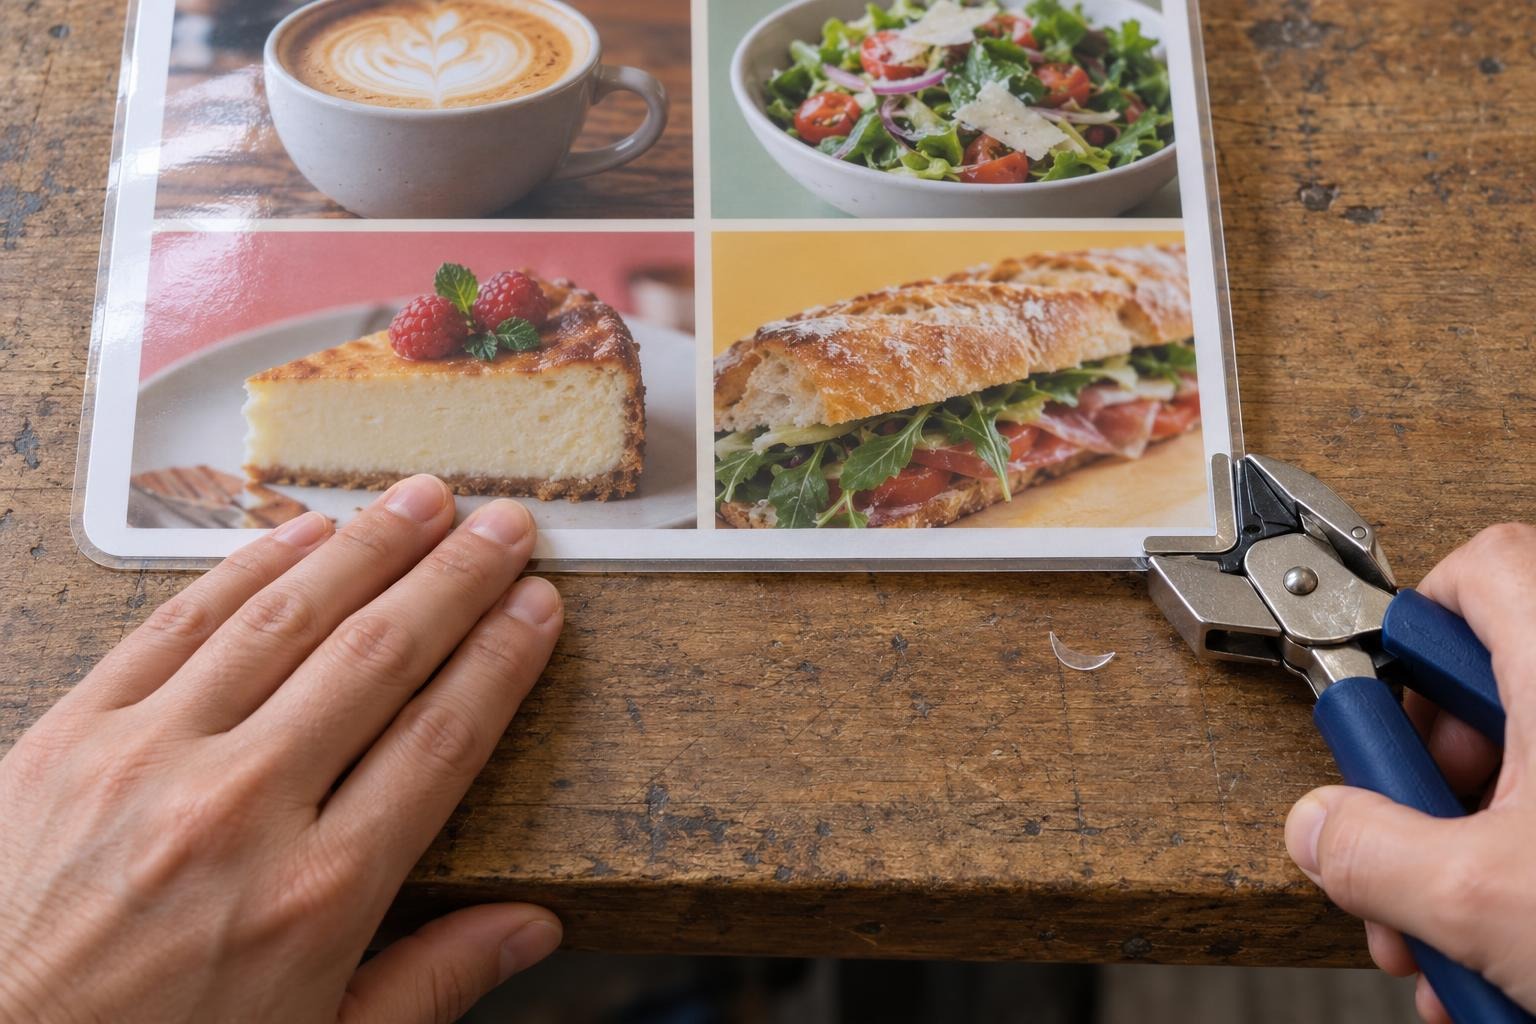
The radius is no larger than the sealed edge: the film goes round the paper corner in an even band.
Punch the pages
Wire binding machines are in the section Binding equipment. Set the 2.5 mm margin. The page is 6 mm longer than A4, so move the side guide 3 mm from the A4 mark — then the wire sits in the middle. The WB Pro 970 card gives up to 20 paper sheets per stroke. Laminated sheets are thicker and stiffer, so punch them 1–2 at a time. Punch a spare page first and check that at least 3 mm of intact film remains between the holes and the paper.
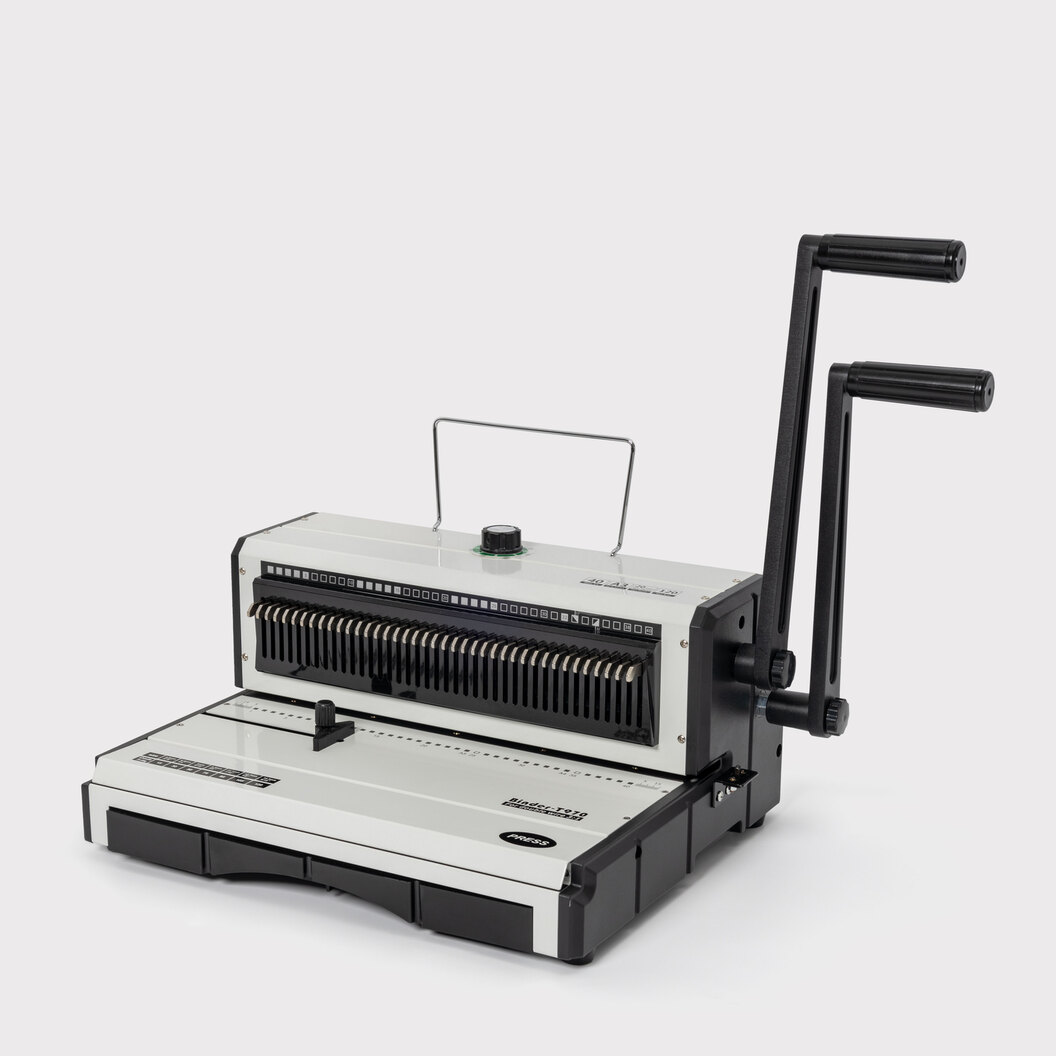
My Print WB Pro 970 manual wire binding machine
3:1 and 2:1 wire · punches up to 20 sheets · margin 2.5 / 4.5 / 6.5 mm · disengageable pins
Put the pages on the wire and close it
Choose the wire by the thickness of the block, not by the page count: stack the pages of one menu and measure them. Each millimetre equals about 10 office sheets in the wire capacity table; the wires themselves are in the section Binding supplies. Close the wire evenly along its whole length, and if pages fall out, check how the wire is closed.
Example: a 6-page menu, 160 g/m² paper, 125 µm film
Eight to ten pages make 3.3–4.2 mm, or 33–42 sheets: for them take a Ø7.9 mm wire for 30–50 sheets.
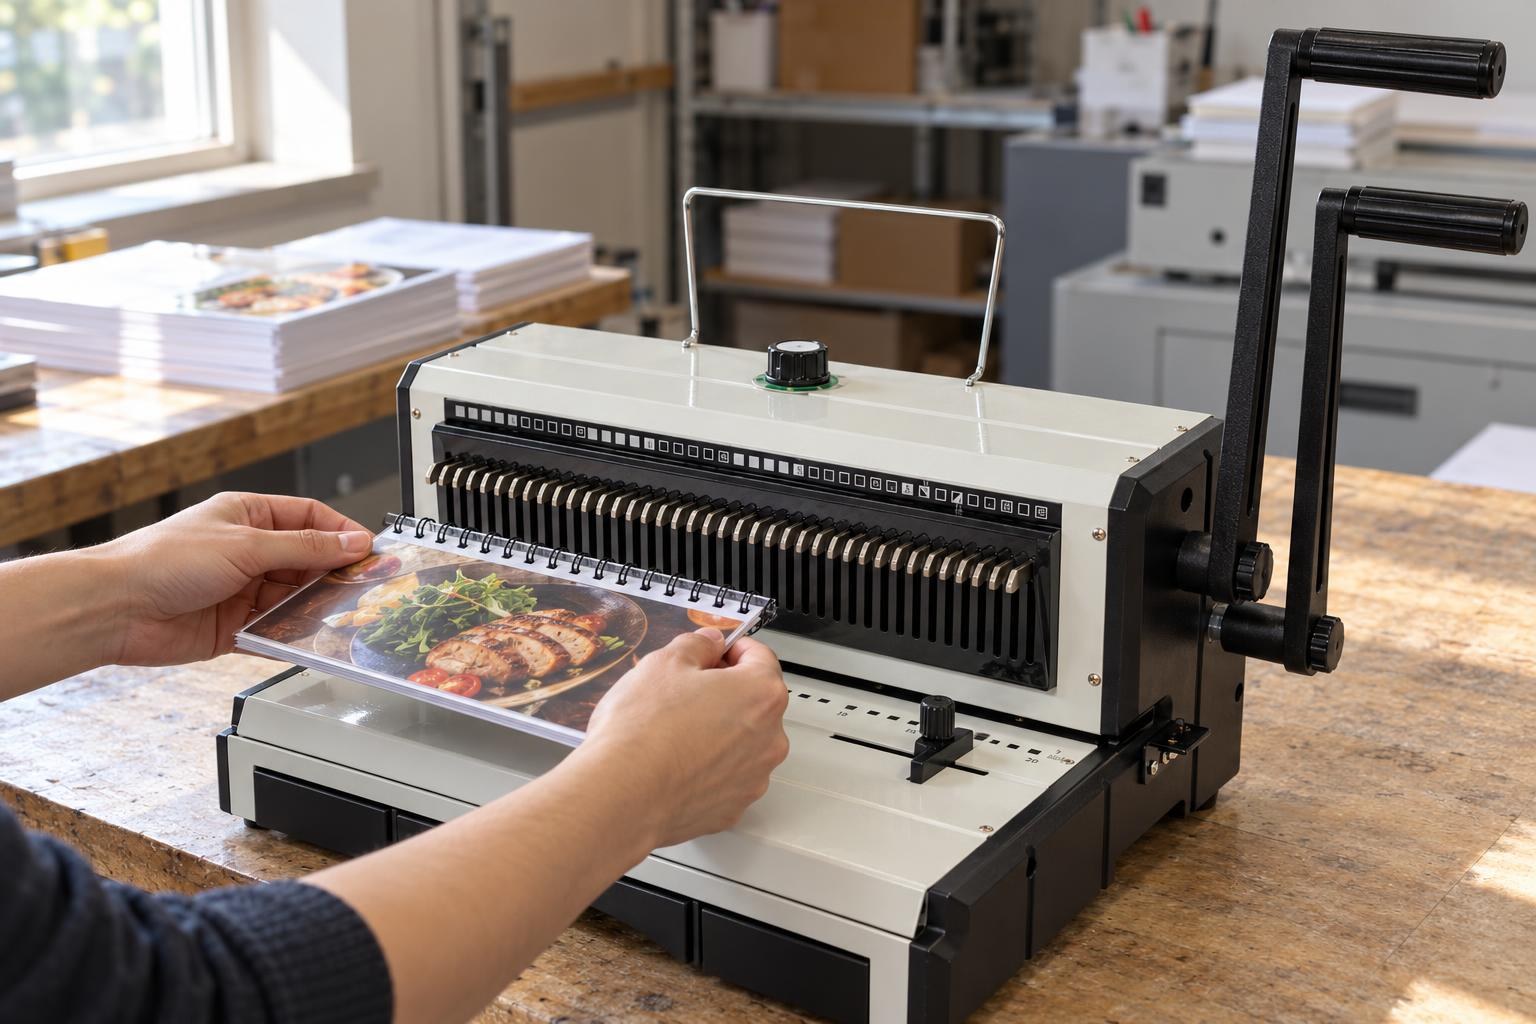
The wire passes through holes in the strip of clear film by the spine.
A run for 10 tables: how long it takes
Before the run
Example for one operator: a laminator running at 400 mm/min (take yours from the laminator’s manual), 5 cm between pouches, manual operations at the rates in the last column. Time these operations on the first menu and recalculate the table for yourself.
| Operation | Time | How many | How we counted |
|---|---|---|---|
| Laminator warm-up | 3–6 min | once | until the ready indicator |
| Laminating | ≈ 71 min | 80 A4 pouches | (303 mm pouch + 50 mm gap) ÷ 400 mm/min ≈ 53 s per pouch |
| Trimming pages | 3–6 min | 6 stacks of 10 | 30–60 s per stack |
| Rounding corners | 16–27 min | 320 corners | 80 sheets × 4 corners, 3–5 s per corner |
| Punching | 5–10 min | 30–60 strokes | 60 pages at 1–2 per stroke, 10 s per stroke |
| Wire | 10–20 min | 10 menus | 1–2 min per menu |
| Total | ≈ 1 h 50 min – 2 h 20 min | set for 10 tables | without printing, paper trimming or laminator pauses |
Replacing the separate A4 sheet with A3 on all 10 tables adds about 3 minutes of laminating: an A3 pouch with its gap passes in 72 s. If your laminator’s manual requires cooling pauses, add them to this time. Corners can be rounded and pages punched between pouch feeds — then the set is ready sooner.
Caring for the menu in the café
The MyPrint pouch card says lamination gives “a waterproof surface that is not afraid of moisture, fingerprints or scuffs”. Wipe the menu with a soft damp cloth and dry it. Do not soak it, do not put it in a dishwasher and do not scrub it with an abrasive sponge. Replace a menu with a nicked edge or a cracked hinge: moisture gets under the film through an open edge.
Test the table cleaner on a spare sheet first. Give the café one extra laminated sheet with the set: let them wipe it with their disinfectant for a few days and watch whether the film turns cloudy and whether the edge holds.
Frequently asked questions
Which film for a menu wiped every day: 80, 100 or 125 µm?
125 µm for sheets and wire-bound pages, if your laminator takes it; with an 80–100 µm limit take 100 µm. 80 µm only for a whole sheet that you fold after laminating.
Can I trim the film flush with the paper?
Not for a menu that gets wiped: a flush cut opens the paper edge, and in time the film peels away. Leave at least 3 mm of film, and if the menu must be exactly A4, print 202 × 289 mm and trim to 210 × 297 mm.
Why does the folded menu open by itself?
Because it was folded after laminating, and the film pulls the sheet back flat. Lay two panels in the pouch with a 3 mm gap — the fold will run through clear film. A whole sheet that you fold in half should be laminated with 80 µm film.
How do I replace one page when prices change?
A closed metal wire cannot be reopened without deforming it, so the page is replaced together with the wire. If prices change often, bind the menu on a plastic comb: it opens and closes again, and how to replace a page on a combis covered in a separate article. A comb hole is deeper, 3 × 8 mm, so at a 2.5 mm margin make the page for it 189 mm wide.