

On a planter that tapers evenly towards the bottom, the top edge of a broad label has a longer path to follow than the bottom edge. A rectangle has equal edges: keep it level and surplus material builds up at the bottom; let the strip follow the surface and its edge may drift away from the intended boundary.
A broad wrap needs an annular sector: a flat strip between two arcs with a common centre. Try this outline in plain paper first. It lets you check the shape before choosing an adhesive.
Three measurements at the label boundaries
Mark the upper and lower boundaries of the intended band around the container. Each must stay at a constant level, without spiralling upwards. Measure these two circumferences, rather than the rim, base or widest part of the planter.
Hypothetical example: rear view
The lines on the wall are the actual boundaries of the intended label.
Top circumference: 240 mm
Bottom circumference: 210 mm
Slant distance along the wall: s = 50 mm
Measure the circumferences with a flexible measuring tape or a narrow paper strip marked where its ends meet. Measure s directly between the boundaries along the sloping wall: this side is highlighted in brown in the diagram.
s is not the vertical height. A ruler held vertically beside the planter will give a different measurement. The formulas below need the 50 mm measured along the surface.
Place a straight ruler edge along the wall between the marks: the area must be the straight, sloping side of a circular truncated cone. Shoulders, a bulge or a waist require a different outline or a smaller label. Equal circumferences give a rectangular development only when the entire band is actually cylindrical.
90% coverage means two different edge lengths
Suppose the label covers 90% of each circumference, leaving a gap at the back with no overlap. The top needs 216 mm along its edge; the bottom needs 189 mm. The difference is 27 mm. A rectangular strip cannot provide both lengths at once.
Rectangular strip
Top edge: 216 mm
Bottom edge: also 216 mm
The bottom edge needs 189 mm. The extra 27 mm does not disappear when you wrap the strip.
Curved development
Outer arc: 216 mm
Inner arc: 189 mm
Two arcs with a common centre, 50 mm apart along the radius. The short sides follow radial lines.
Both outlines are shown flat. The development is an annular sector, not a trapezoid with straight top and bottom edges. These diagrams explain the shape; they are not a cutting template at 1:1 scale.
On the same container
If both 216 mm edges of the rectangle are held at the marked levels, a 24 mm gap remains at the top. At the bottom, the strip covers the entire 210 mm circumference and overlaps by another 6 mm, instead of leaving the intended 21 mm gap. These conditions cannot produce a smooth fit.
Rectangle: incompatible lengths
Top: 24 mm gap
Bottom: 6 mm beyond a full wrap
The red area marks surplus length. This is a diagram of incompatible closure, not a wrinkle shape or an example of a smoothly applied rectangle.
Curved paper dummy
Top: 24 mm gap
Bottom: 21 mm gap
The annular sector matches this conical band. Both ends follow straight sloping lines on the wall; the container and label boundaries stay the same.
Leaving the same 10% uncovered does not give equal gaps in millimetres. A 240 mm circumference leaves 24 mm; a 210 mm circumference leaves 21 mm. Measure each gap along the surface at its respective boundary. In this example, the gap at the back narrows with the container.
How to construct the two arcs
In the development, the distance between the arcs equals s, and their radii have the same ratio as the circumferences. Let Cbig be the larger circumference, Csmall the smaller one, and f the coverage fraction. Then:
Rout = s × Cbig / (Cbig − Csmall)
Rin = s × Csmall / (Cbig − Csmall)
θ = f × (Cbig − Csmall) / s is the angle in radians.
In our hypothetical example, Rout = 50 × 240 / 30 = 400 mm, and Rin = 50 × 210 / 30 = 350 mm. The difference, 400 − 350 = 50 mm, preserves the distance along the wall. A full wrap would have an angle of 0.6 rad; for 90% coverage, use 0.9 × 0.6 = 0.54 rad ≈ 30.94°.
400 and 350 mm are radii of the flat development, not of the planter. They are distances from the circles’ common centre, corresponding to the imaginary apex of the unfolded cone. A large radius value therefore does not mean the product or paper dummy is that wide.
Larger arc
400 × 0.54 = 216 mm
Smaller arc
350 × 0.54 = 189 mm
Arc length equals radius multiplied by the angle in radians. The 216 and 189 mm are measured along the arcs, not in a straight line between their ends. Match the larger arc to the larger circumference: here it is at the top; if the container widens towards the bottom, the larger arc must go at the bottom.
When Cbig = Csmall, the formula divides by zero. For a genuinely cylindrical band, draw a rectangle: length f × C, height equal to the distance between the boundaries. Equal circles around shoulders or a waist do not justify this solution.
Make an actual-size paper dummy
You can use your own drawing tool or a tapered-container template. You need both circumferences at the label boundaries, the slant distance s and the desired coverage fraction. If the tool asks for “height”, check whether it means vertical height or distance along the wall: these are different inputs.
- Draw the outline in millimetres. For this example, draw two concentric circles with radii of 400 and 350 mm, or diameters of 800 and 700 mm. Draw two rays 30.9397° apart and keep only the strip between the circles within that angle. This gives the required annular sector.
- Put only the label outline on the page. Rotate the outline so the arcs run along the long side of the sheet. The construction centre can stay outside the page. In this example, the outline occupies about 213.4 × 62.7 mm; it can fit on landscape A4 if the printable area is sufficient. Add a 50 mm check line beside it. Do not shrink the drawing just to fit all the construction circles.
- Print on plain paper at 100% scale. Select “Actual Size” and turn off “Fit to Page”. Use a ruler to confirm that the check line really measures 50 mm. If the print clips the outline, change its placement or the paper size while keeping the scale.
- Cut it out and fit it without adhesive. Mark the larger arc as the edge for the 240 mm circumference. Wrap the same area, holding the paper in place by hand without pulling it tight. Both arcs should follow the marked boundaries, the paper should lie against the surface without wrinkles, and the rear gap should measure 24 mm at the top and 21 mm at the bottom along the surface.
- If the dummy does not fit, correct the cause before printing labels. Check print scale, the outline’s top and bottom, the circumferences and s. Cut a new dummy after correcting them. If the wall has a shoulder or curve in this area, choose a different outline or a smaller application area.
For a small logo, it can be simpler to reduce both the height and width of the label or move it to a cylindrical area. A paper fit will show whether this is enough for your container.
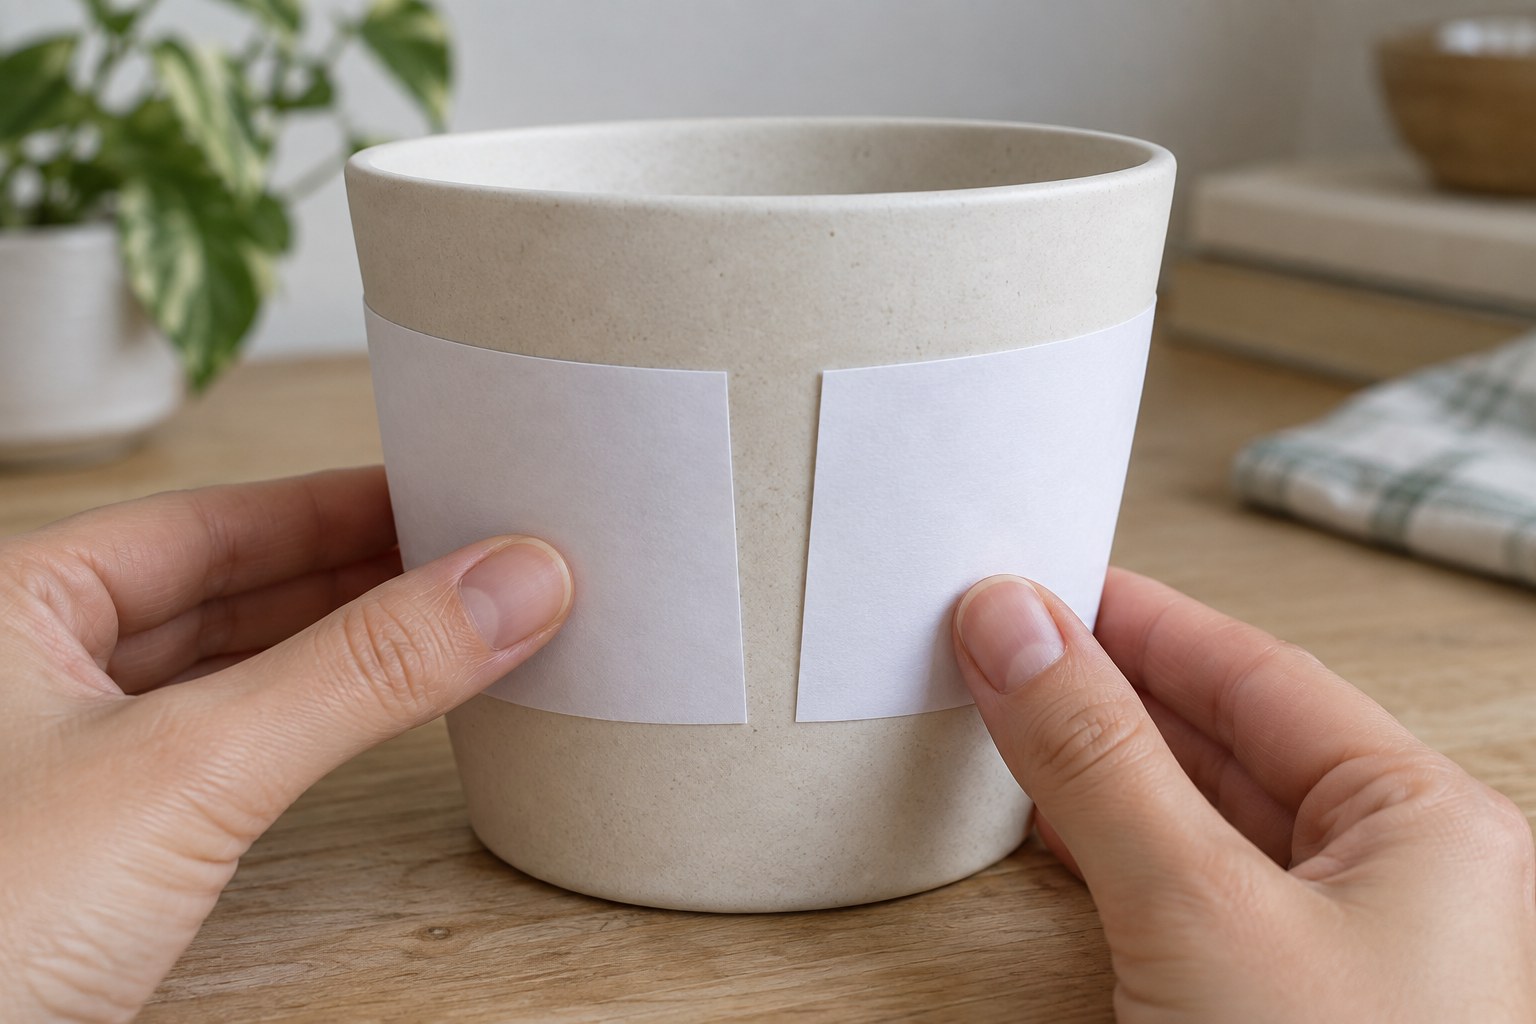
Fit the paper band without glue or stretching. Both edges should follow the chosen levels, with the planned gap between the ends.
The shape fits: now check the adhesive film
Once the paper dummy fits smoothly, move on to films for inkjet printing. For your own curved outline, choose a self-adhesive sheet without pre-cut label outlines: select the self-adhesive option in the type filter. The category also includes non-adhesive films and sheets with preset outlines; check the type, usable sheet size and compatibility of the particular material with your printer and ink.
The paper checked the geometry. Apply a separate trial label made from the chosen film to the same kind of container, following the material instructions, and assess it after the specified dwell time and under the intended conditions of use. If the outline fits but the adhesive label later lifts, check the combination of adhesive, surface coating and preparation. Changing the curve alone does not solve that problem.
A correct development does not establish water resistance or heat resistance. Do not try to compensate for an incorrect shape by heating or forcibly stretching an unfamiliar film.