

Make your first cap by sublimation on a polyester trucker with a white front. Logo up to 10 × 5.5 cm, mirrored print, transfer held with heat tape, the cap pulled over the press’s lower form with the visor facing you. Settings: 190 °C, 50 seconds, medium pressure, peel the paper at once.
What you need
- A press with a curved heating element — cap heat presses.
- A trucker with a white polyester front — see caps for sublimation and heat transfer.
- A sublimation printer and sublimation paper.
- Heat tape 10 mm and a sheet of protective paper.
- Cotton gloves, a pencil, scissors, a lint roller.
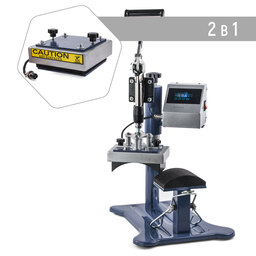
Cap heat press CP3815 2-in-1 with a 12×12 cm plate
Curved heating element, padded lower form with a cap holder · 12 × 12 cm plate included · 0–230 °C · timer starts by itself
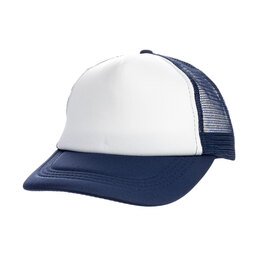
Seamless white polyester front · navy visor and mesh · 56 cm head size, plastic snap strap
Settings for a white polyester front
Temperature
190 °C
on the press display
Time
50 s
+10 s if pale
Pressure
medium
handle closes with moderate resistance
Paper
at once
peel hot, in one motion
MyPrint’s range for dense polyester is 190–200 °C and 45–60 s; below 180 °C colours come out pale, above 200 °C the white front may yellow. Before pressing, heat the front for 5 seconds without paper.
Step by step: from file to finished cap
Make the artwork up to 10 × 5.5 cm
A cap press heating element is about 8 × 15 cm, and only its middle presses evenly. Keep the logo within 10 × 5.5 cm and a round emblem within 6 cm, with the bottom edge 1–1.5 cm above the visor seam. Resolution: 300 dots per inch at actual size.
heating zone ≈ 8 × 15 cm
visor seam
Scale drawing: the logo under the heating element of a cap press.
Print mirrored
Turn on mirror printing in the printer settings. Print on the white side of Premium Classic paper; the pink side is the back. No drying needed: the paper dries almost instantly.
Leave 1–1.5 cm of paper around the design
Cut the transfer with a margin and tear the edge by hand: a torn edge leaves no sharp line on the front. If the paper buckles on the curve, snip the top corners by 1 cm. On the back, pencil small marks at the middle of the top and bottom edges.
Heat the press to 190 °C, timer 50 seconds
Fit the cap attachment, set the temperature and time and wait for 190 °C on the display.
Pull the cap onto the form
Fold the inner sweatband outwards, towards the visor, or it will leave a line at the bottom of the print. Pull the cap over the lower form as if it were a head, visor towards you, fasten the strap at the back and lock the cap with the holder. The front must sit tight and smooth, with the top button centred on the form. Remove lint with a lint roller. Set the pressure with the knob on top: too light blurs the print, too heavy dents the front. The handle should close with moderate resistance.
Heat the front for 5 seconds
Lower the heating element for 5 seconds without paper to drive out moisture and smooth creases. Then let the front cool for 10–15 seconds so the dye does not start transferring too early.
Fix the transfer with heat tape
Lay the transfer face down on the cap. Line up the pencil marks with an imaginary line from the button to the middle of the visor and set the bottom edge parallel to the seam. Secure the corners with four strips of heat tape placed only on the blank margins around the design. Cover it with a sheet of protective paper so dye does not settle on the heating element.
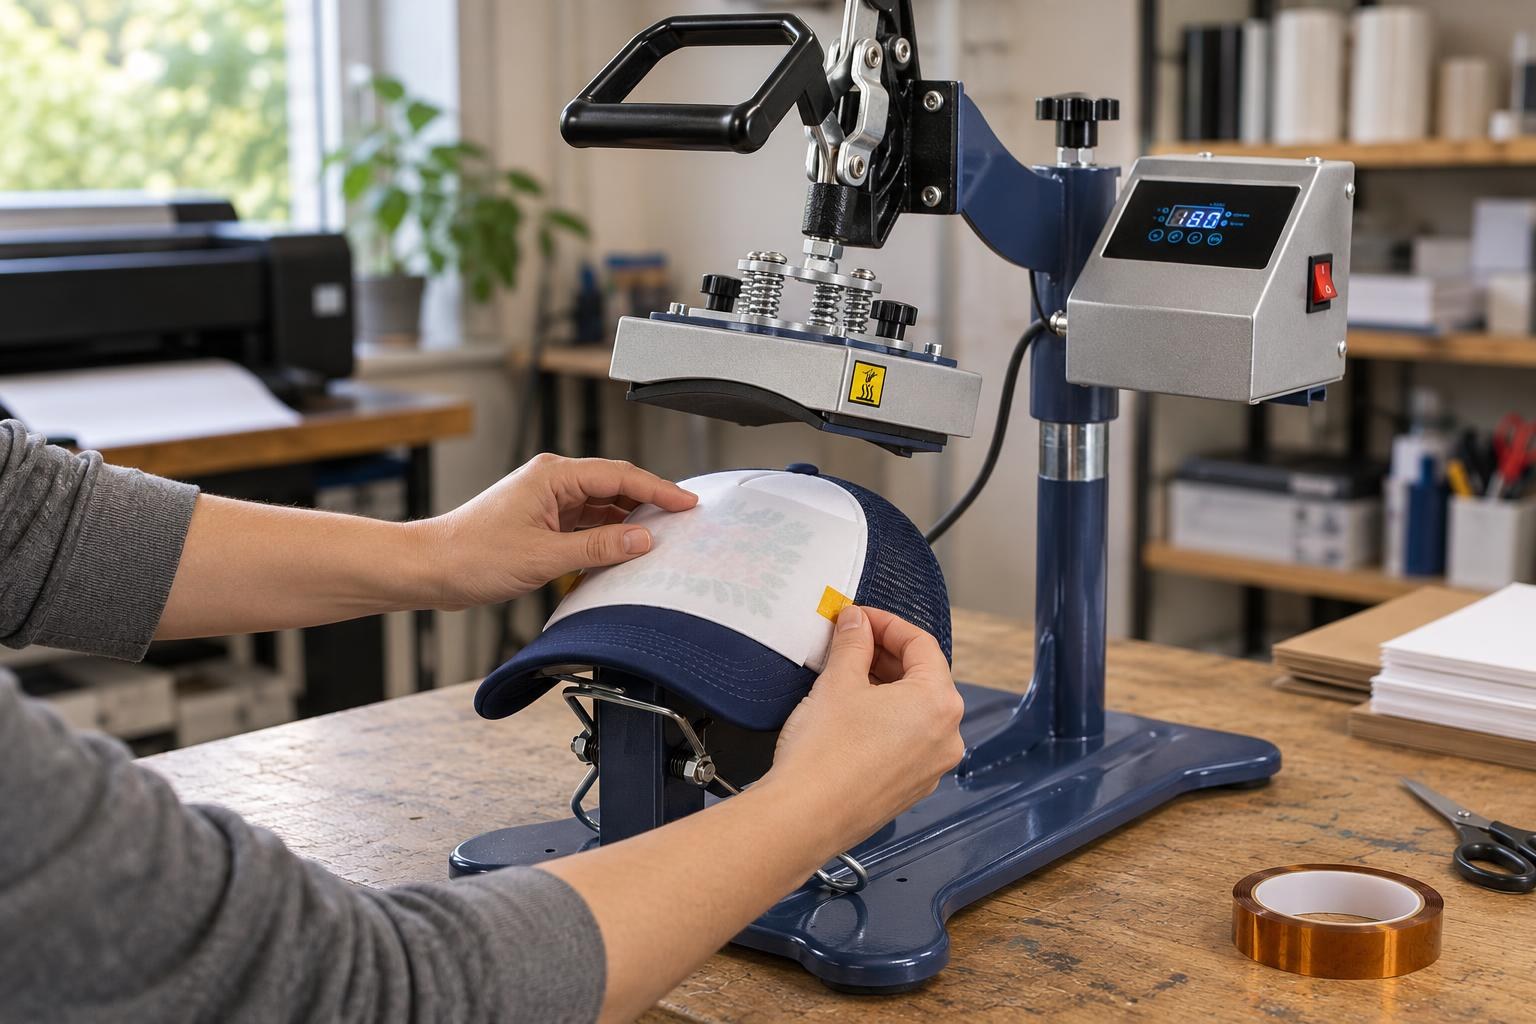
The transfer faces the cap, so only a faint outline shows through the paper. Tape goes only on the margins.
Before you lower the handle
Press for 50 seconds
Lower the handle in one smooth motion: on the CP3815 the timer starts by itself. Do not touch the cap during the countdown.
Peel the paper at once
At the beep, raise the heating element and immediately peel the paper in one motion. Do not let it fall back: the dye is still transferring and a shadow will appear next to the design. Wear cotton gloves; the form and heating element are hot.
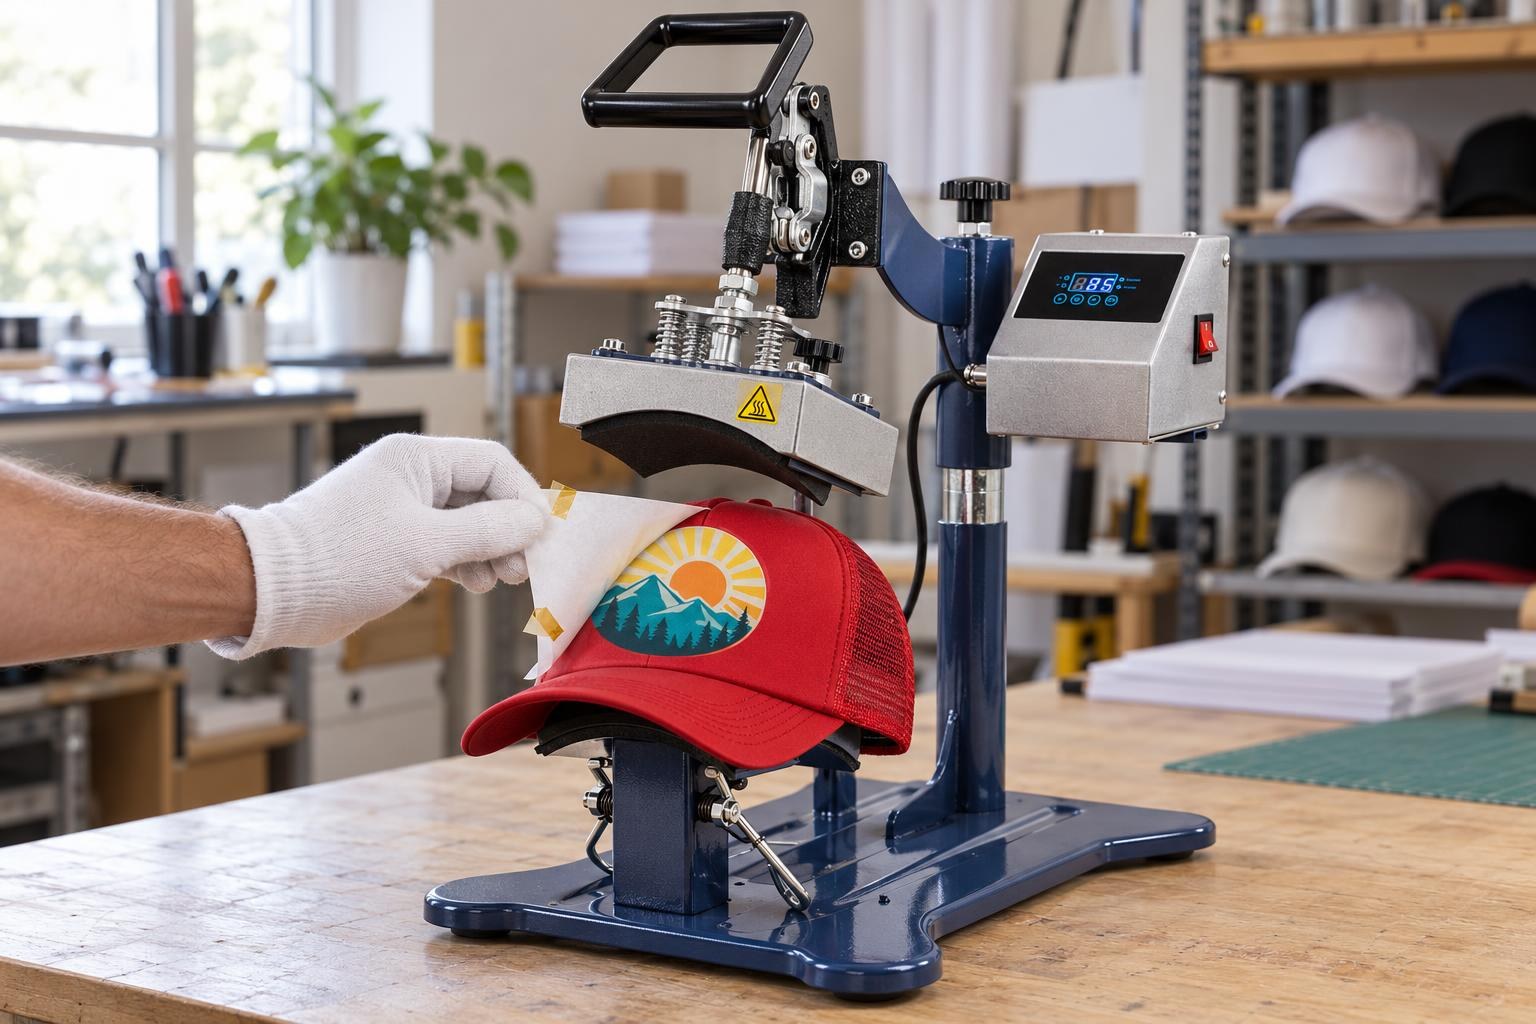
The paper comes off in one motion while the cap is still on the form.
Check the cap in side light
The logo is centred and level, black is black rather than grey, edges are sharp. From the side you see no line along the paper edge and no shine.
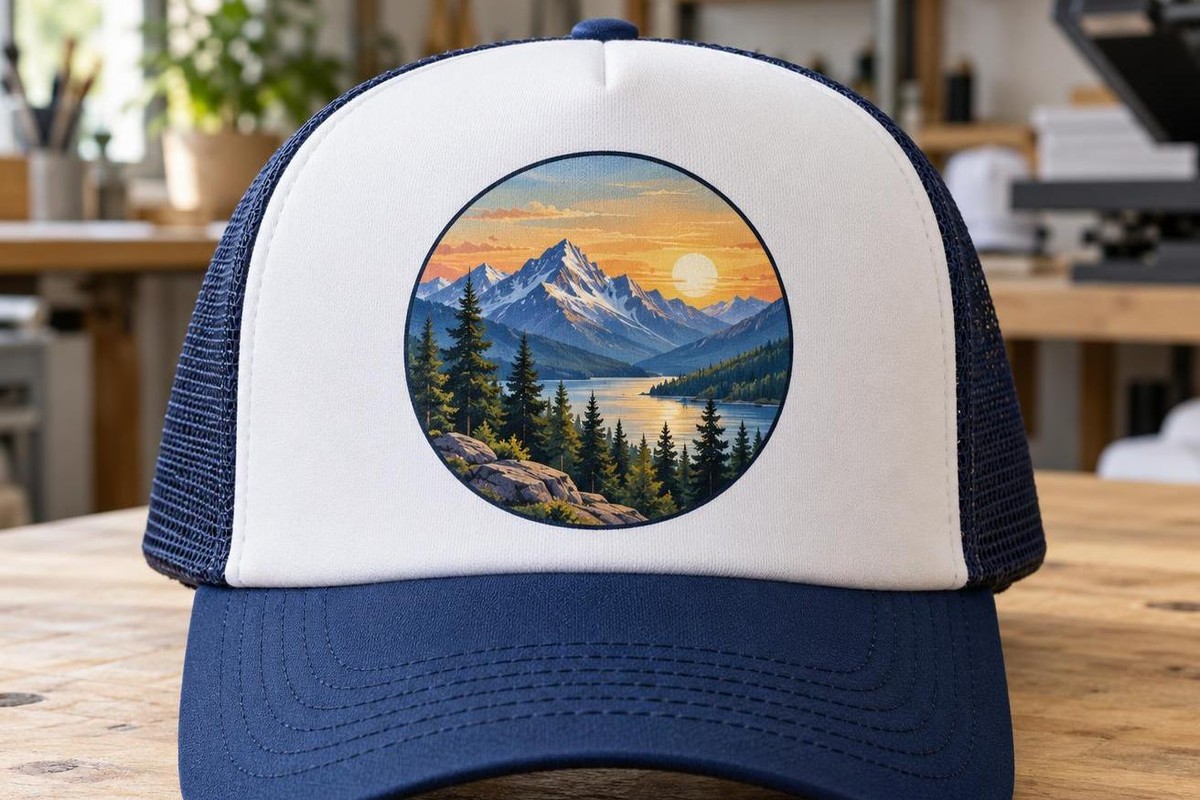
Right: the emblem is centred and level, a finger’s width above the visor seam.
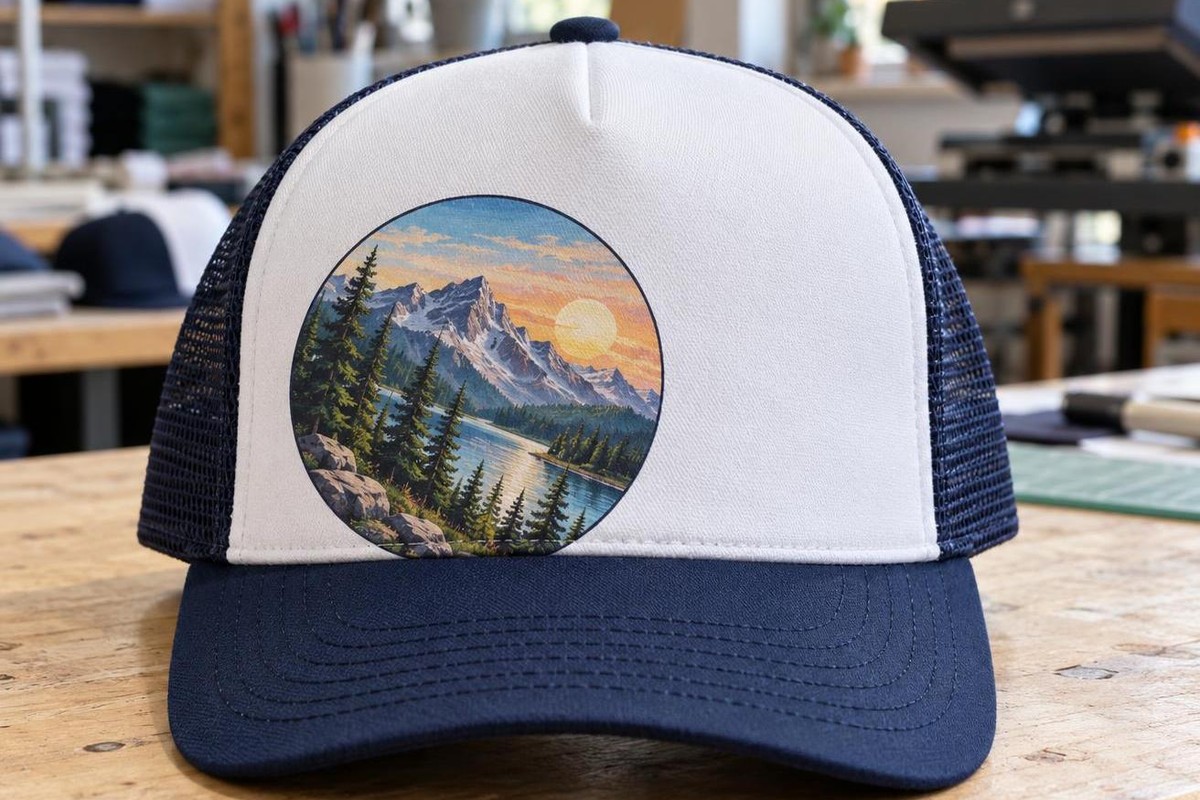
Wrong: the cap was pulled onto the form crooked, so the emblem slid left and down onto the visor seam.
What to change on the next cap
- Pale colours. Add 10 seconds, up to 60. Still pale — add 5 °C, but go no higher than 200 °C.
- Shadow next to the design. Fix the paper more firmly and peel at once. How to find the moment of the shift is covered in the article on ghosting in sublimation.
- Line or dent along the paper edge. Back the pressure knob off half a turn and tear the paper edge.
- Yellowed front. Minus 5–10 °C and plus 10 seconds.
- Logo slid off centre. Pull the cap on with the button centred on the form and place the transfer by the marks.
Cool and pack
Let the cap cool for 2–3 minutes front up and put nothing on it: a warm front dents easily. Stuff the cap with crumpled tissue paper so it holds its shape, and give each cap its own bag. For shipping, nest identical caps a few at a time and pack them in a box. Do not bend the visor.
Cotton cap: film instead of sublimation
Sublimation holds only on polyester; on cotton the dye will not set. For a cotton cap take a 5-panel, whose front has no seam, and transfer the logo with heat transfer film or a DTF transfer, a print on film with adhesive powder. Load the cap and position the logo in the same way.
Logo in 1–2 colours
Polyurethane heat transfer film
Cut mirrored on a plotter and weed the excess film. 150–160 °C, 10–15 s, medium pressure. Peel the carrier once it has cooled.
Full-colour logo
DTF transfer
Use a mirror-printed DTF transfer with the adhesive powder already cured. 160–165 °C, 12–15 s, medium pressure. Peel the film as its product card says: hot or cold.
A DTF transfer is printed with a DTF printer on DTF printing film. A 6-panel cap has a thick seam down the middle of the front: film next to it may not bond, so check the edges along the seam.
FAQ
I have a multifunction press. Do I need a separate cap press?
Not if it came with a cap attachment. The multifunction heat presses HP 5-in-1 and HP 8-in-1 include upper and lower cap attachments of 8 × 15 cm; the steps and settings are the same. For large batches a dedicated press is more convenient.
The logo is wider than 11 cm. What now?
Scale the logo down to 10–11 cm: beyond that the front curves sharply and the edges print worse. If the size cannot change, press twice: the middle first, then the edge, turning the cap on the form together with the transfer. The join may leave a mark, so start with a test cap.
A line from the paper edge is left on the front. Can it be removed?
Not completely: it is flattened polyester. Steam and washing soften a light line; a noticeable shine stays.
Will sublimation work on a black or blue trucker?
Not on a coloured front: sublimation dye is transparent and shows only on white or light polyester. MyPrint “sublimation” truckers have a white front; the colour in the name refers to the visor and mesh. Solid-coloured “heat transfer” truckers are for film or DTF.