

Look at the badge under side light: a dot in a different place each time is dust under the film, a dent visible on the bare front shell is a damaged part, and a mark in the same place on every badge comes from the die or the pin. Wipe the badge press dies with a dry cloth and make a trial from fresh parts, with the same paper and no extra squeezing.
What raised the surface?
Tilt the badge under a lamp: light grazing the face will reveal its contours. A particle between the paper and film lifts the film. A dent in the metal shell bends the paper and film with it, so the artwork above it is indented too. Before assembly, inspect the bare front shell of a fresh button badge blank: set it aside if it is dented or creased.
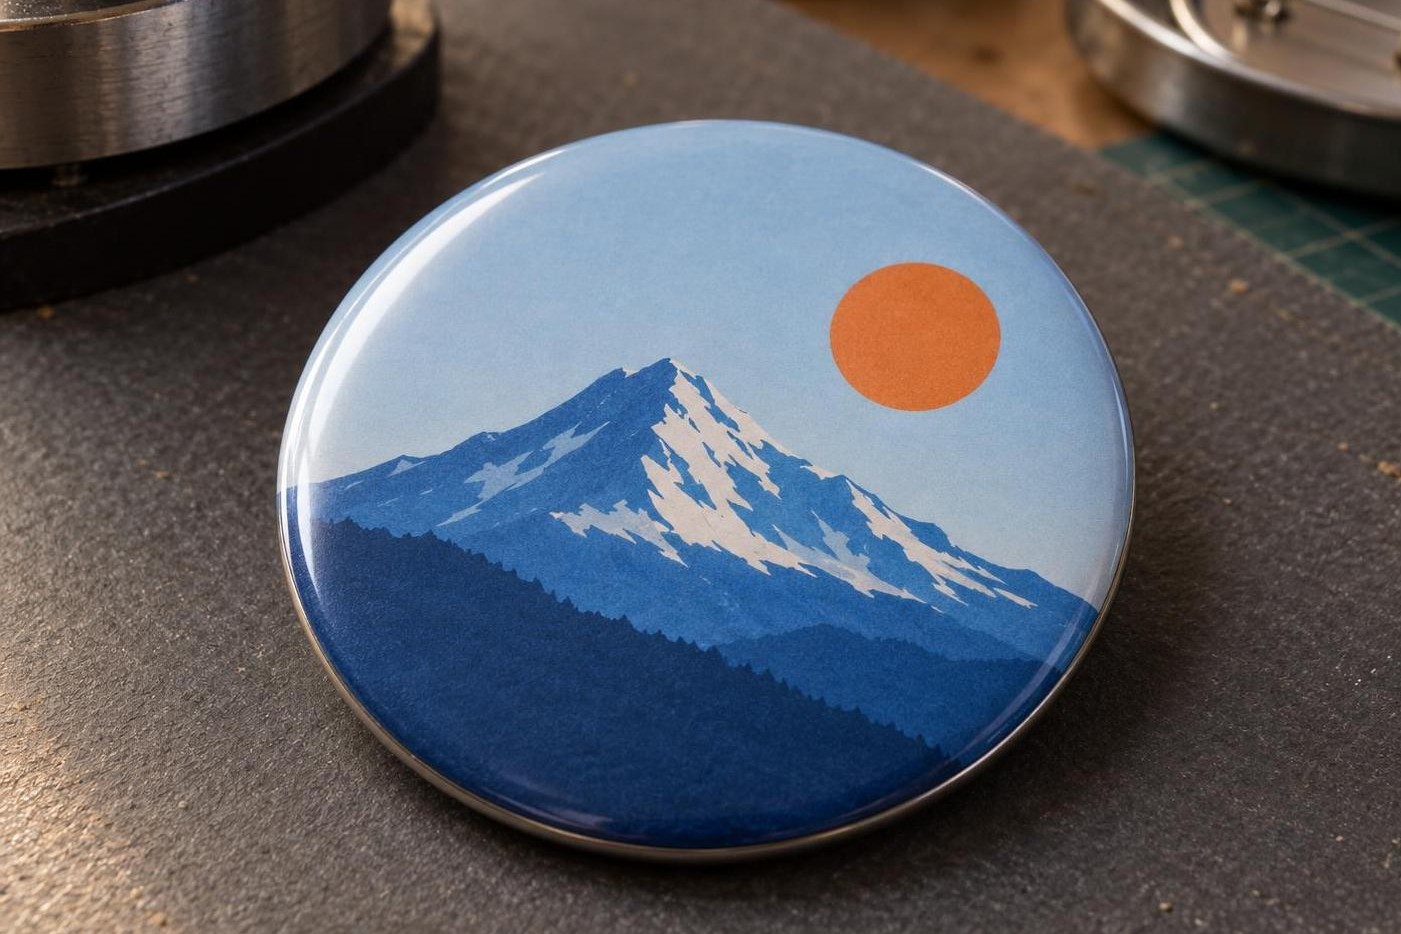
Right: under side light the highlight runs evenly across the whole face.
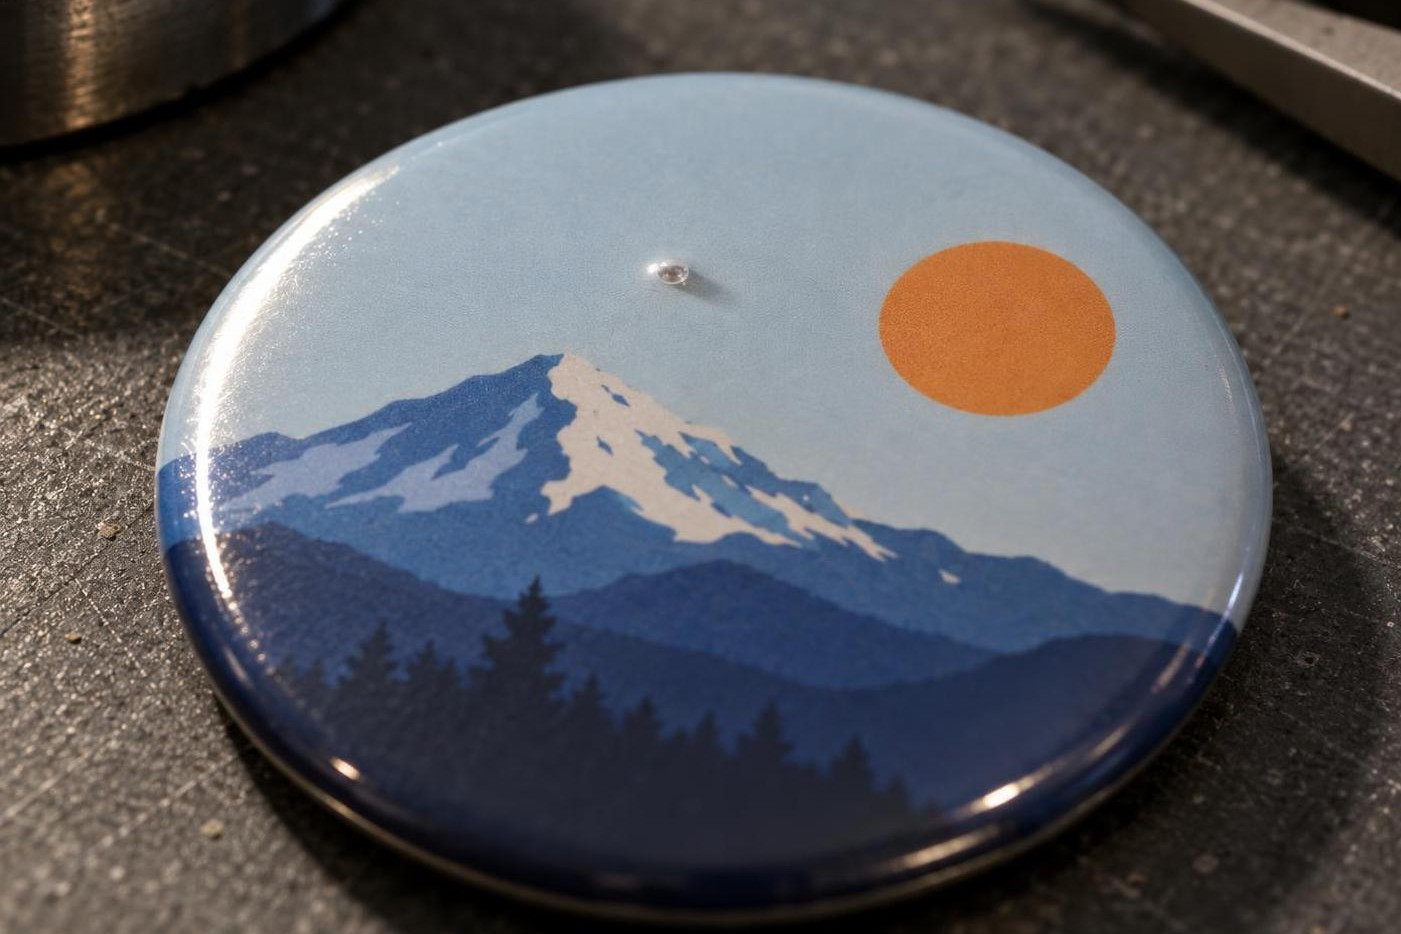
Wrong: a particle under the film has raised a bump, and the highlight breaks at the dot.
One speck changes the surface
Clean layers
Film
The layers must be clean before loading.
Particle under the film
Film
The particle lifts the film
Inspect the paper and film separately; replace a damaged disc.
Magnified section through part of a badge. The paper and metal below the particle are flat; the bump is in the film.
Remove dust before the next trial
Raise the press handle all the way. Wipe the upper die and both lower pockets, A and B, with a dry lint-free cloth, especially the gaps around the circumference where paper dust collects. Clear away scraps near the circle cutter or punch so they cannot return to the clean discs.
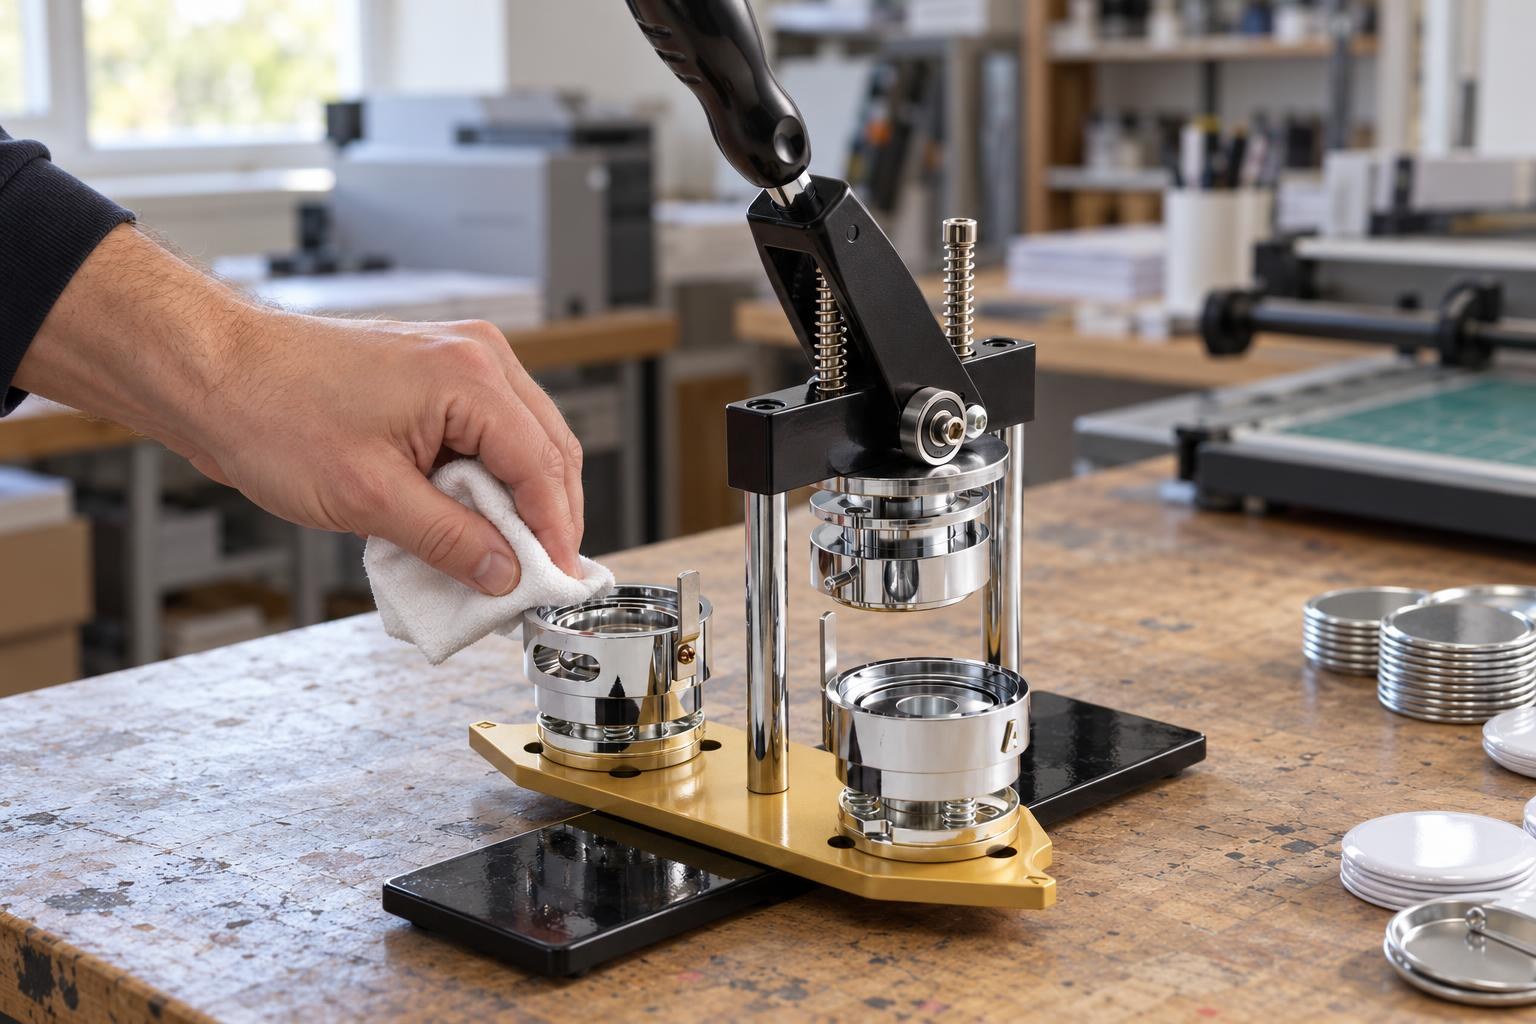
Handle up, cloth dry: wipe dust and paper fibres from the lower dies and the upper one.
Do not scrape the dies with metal or sand out scratches. Do not use water, household products or oil: oil stains the next insert. Follow your press manual for deeper cleaning and lubrication.
Film builds up static and attracts dust: keep the stock covered, take out only as many discs as you will assemble at a time, and handle them by the edge. Replace scratched or creased film before pressing.
Fresh parts, the same artwork
For the trial, take a fresh set of the same class and size. Keep the paper, circle and artwork the same as in the reject so you can see what cleaning alone changed.
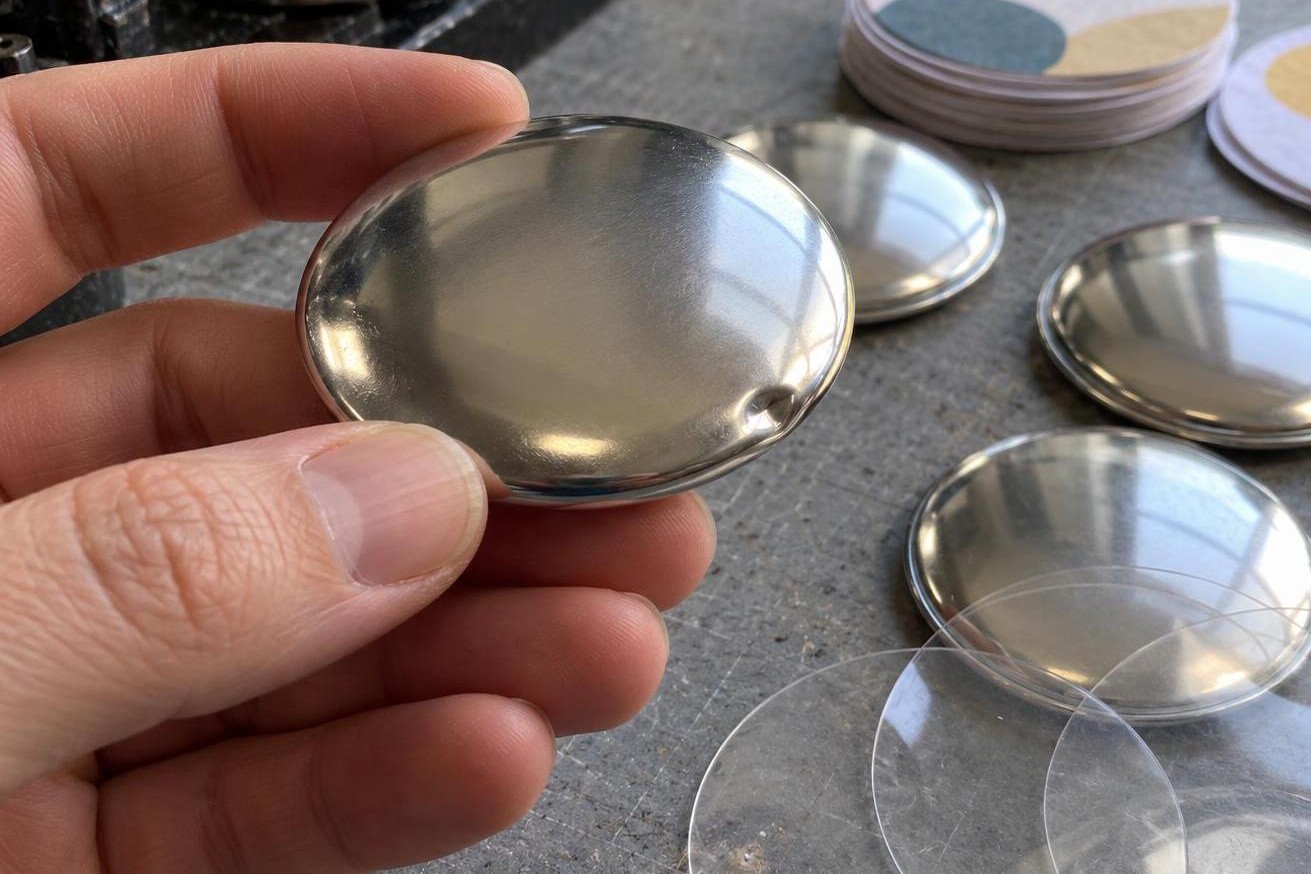
A dent in a bare shell shows under side light before any paper goes on: leave that part out of the trial.
Paper
up to 120 g/m²
the same as in the reject
Circle for 44 mm
54 mm
32 mm: 44 mm; 58 mm: 70 mm
Film
1 disc
new, held by the edge
Pressing
2 full strokes
pocket A: face; pocket B: back
Paper and circle from the card of the My Print mp44m 44 mm blank; circle diameters for 32 and 58 mm from the cards of those blanks. Change none of these between the reject and the trial.
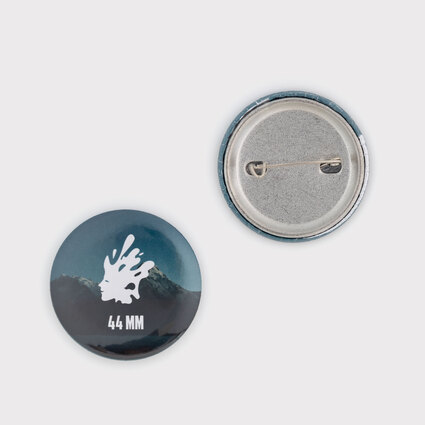
My Print mp44m 44 mm button badge blank
Standart class, for the My Print dies of the New Look and Standart Pro presses · 54 mm circle · paper up to 120 g/m²
For a Talent N3, use the Premium-class 44 mm blank (0209).
Before the second press, check that the back sits flat in pocket B, pin side down; if the pocket has a recess for the pin, seat it in that recess. Replace a bent back or pin.
Make both presses with a full handle stroke to the stop, without jerking or pressing again. Inspect the badge immediately, before it goes into a box with others.
What did the trial show?
Check the trial under the same side light. If it is smooth, make two more; if they are smooth too, start the batch. If there is a mark, find your case.
A raised dot, in a different place each time
A particle under the film
Clear scraps off the table, wipe the dies and make a trial with a new film disc and a new paper circle, handling both by the edge.
The dent shows on the bare front shell
The part was damaged before pressing
Set it aside and take a flat one. If many in one pack are dented, send MyPrint's manager a photo and the blank's name.
A mark in the same place on every badge
The die or the pin
Make a trial: place the paper as usual, but turn the back in pocket B a quarter turn against the artwork. If the mark moved with the pin, the pin sat crooked or the back is bent: replace the back. If it stayed in the same place on the artwork, inspect and wipe the dies again; if it is still there, send the manager photos of the face under side light, the back and the open die, with the press model and die diameter.
A bubble at the rim, the film lifting
Most often laser toner
Make one badge with a plain, unprinted circle. If it comes out smooth, see “Film bubbles on a badge: how to fix a laser print” for keeping toner off the edge.
Do not start the batch with this setup until the cause is identified.
Frequently asked questions
Can I take a faulty badge apart or press it again?
No. A button badge hardly ever comes apart without marks, and a second stroke will not fix an edge that is already crimped. Make a new badge from a fresh set, and do not reuse the front shell of the reject.
Can I straighten a dented shell with pliers?
Better not: the metal will not be truly flat again, and the mark will show through the paper and film. Set the part aside and take a flat one.
What should I clean the dies with: alcohol or WD-40?
A soft dry cloth; no liquid is needed. Do not use oil or WD-40: they stain the next insert. Do deeper cleaning and lubrication only as your press manual says.