

A shiny ring around the embroidery is fibre that the hoop has crushed or rubbed. On a cotton T-shirt, polo or sweatshirt, moisture removes it: mist the mark with water, steam it after 5–10 minutes without touching the fabric with the iron, and let it dry flat. Hoop the next item without force: the inner hoop should go in under palm pressure, and the item comes out of the hoop as soon as the embroidery is finished.
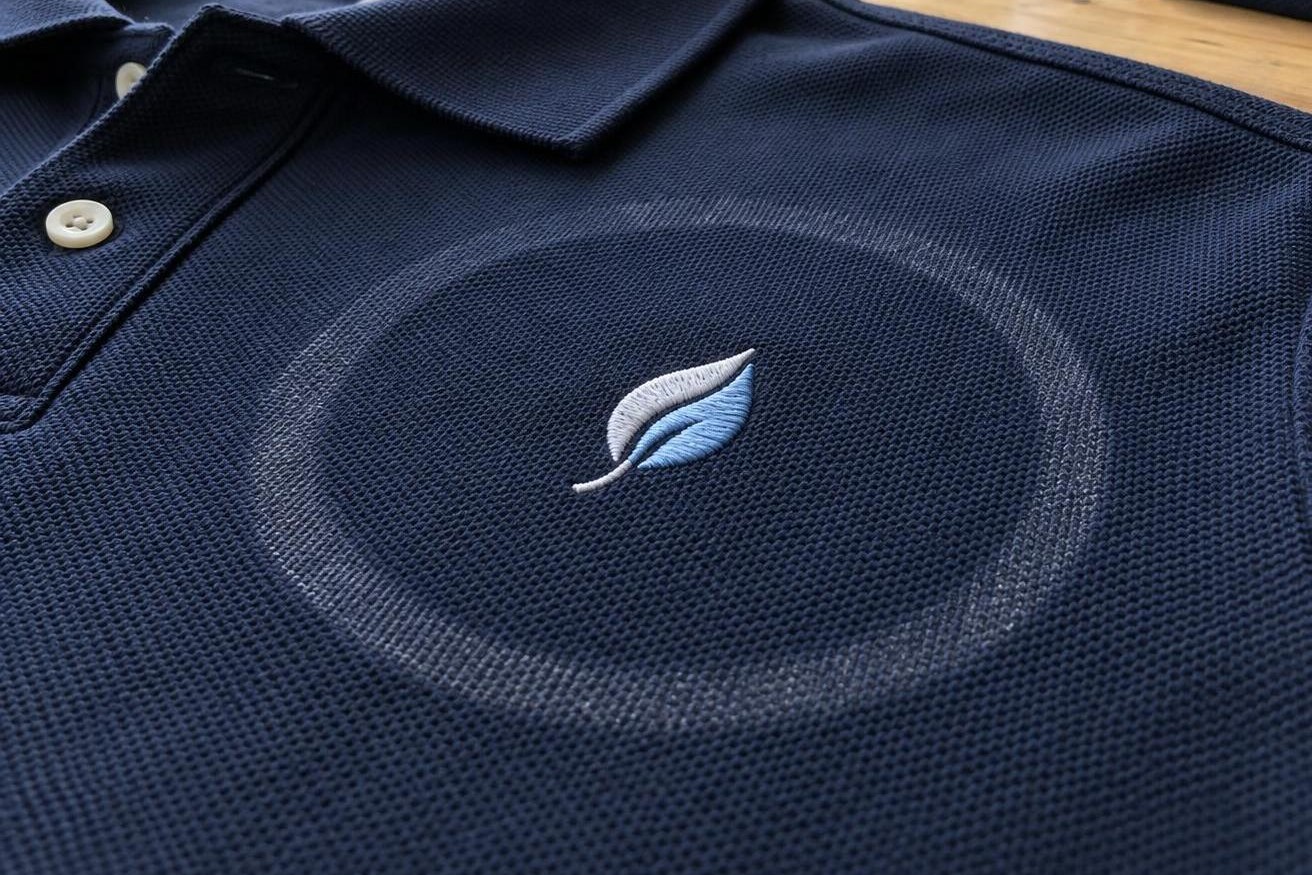
The band is lighter and smoother than the rest of the knit: this is where the hoop crushed the fibres.
Where the ring comes from
The hoop squeezes the fabric all the way round. The fibres flatten, and the crushed band reflects light differently. It often happens when the screw was tightened on an empty hoop and the inner hoop was then forced in. If the fabric was also tugged after hooping, friction adds to the pressure.
What happens next depends on the fibre. Cotton fibres spring back when they take up moisture again. On polyester and microfibre the shine from pressure and friction is more stubborn and harder to remove. The pile of fleece, terry and velour lies down and has to be lifted.
How to remove the ring
- Mist the ring with a spray bottle as soon as the hoop is off. The fabric should be damp, not wet.
- After 5–10 minutes, steam the mark: pass a garment steamer or steam iron over the ring for 30–60 seconds at about 15 cm from the fabric, without touching it.
- While the fabric is still damp, go over it lightly with a soft brush. On fleece, terry and dark knits a lint roller is handier.
- Let the item dry flat before folding or packing it.
- If the ring is still there and the item is washable, wash and dry it as the care label says. On cotton T-shirts and sweatshirts the mark usually disappears completely after washing.
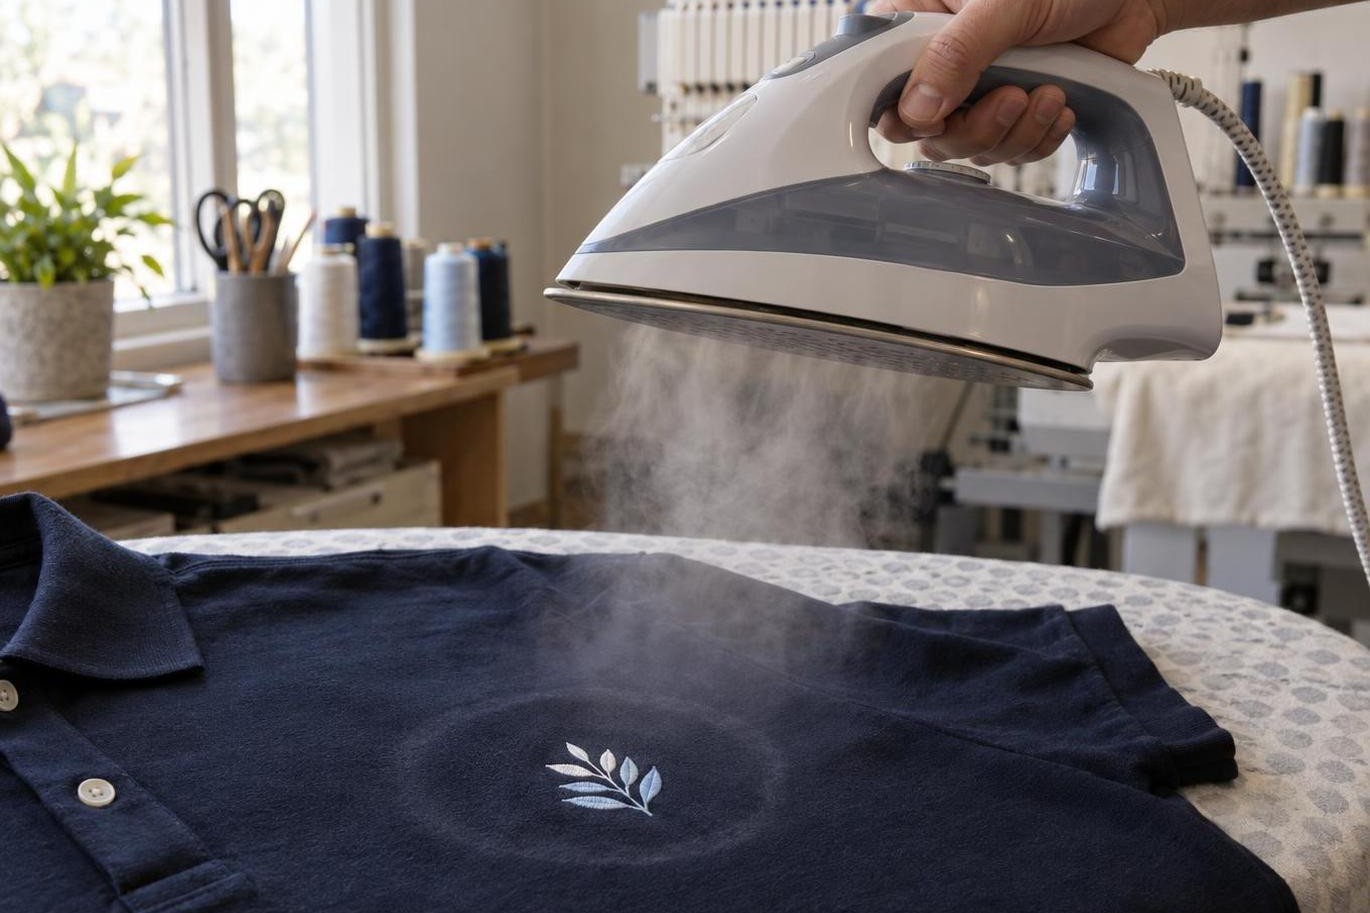
The soleplate does not touch the fabric: only the steam moistens the crushed fibres.
Polyester: do not press with an iron
Do not press an iron onto a performance polo or microfibre: a hot soleplate leaves its own shine on synthetics. Use only water, a brush and steam at a distance, if the care label allows steam. If the shine is still there after washing, do not raise the temperature or rub harder: that only makes the mark more visible. Hoop the next items through a frame of tear-away backing, described below.
What to do with different items
| Item and mark | What to do now | Next item |
|---|---|---|
| Cotton T-shirt, polo, sweatshirtLight shiny ring | Water, steam, brush; if it stays, wash | Hoop without force and unhoop immediately |
| Polyester polo, sportswear knitRubbed shiny band | Water, brush, steam at a distance; do not press with an iron; then wash | Hoop through a backing frame |
| Fleece, velour, terryCrushed pile | Steam, then a brush or lint roller; wash terry | Fleece: through a backing frame; a thick towel: do not hoop it, float it on hooped backing |
| Canvas bag, denimDent without shine | Press or wash it | Hoop as usual |
How to hoop without leaving a mark
The harder and longer the fabric is clamped, the more visible the mark.
- Set the screw in advance: the gap between the inner and outer hoop should be roughly the thickness of the item folded in two.
- Lay the outer hoop on a flat table, then the backing and the item face up. For T-shirts and polos use cut-away backing: it stays under the embroidery and supports the knit after washing. Smooth them without stretching.
- Press the inner hoop in with your palms: it should go in with slight resistance. If you have to push with all your strength, open the hoop, loosen the screw a little and repeat.
- Once hooped, do not tighten the screw further and do not pull the fabric by its edges. If the fabric sags, open the hoop, tighten the screw and hoop again.
- Unhoop as soon as the machine has finished the whole design. Do not loosen the screw during a pause: new stitches may not line up with those already sewn.
When the hoop should not touch the fabric
What ends up under the hoop
Standard hooping
Under the hoop
In the stitch field
Cotton T-shirts, polos, sweatshirts — without extra force.
With a backing frame
Under the hoop
In the stitch field
no backing on top inside the frame's window
Dark and polyester polos, fleece: the hoop presses through the backing.
Towel floated on backing
Under the hoop
the towel lies on top and is not clamped in the hoop
In the stitch field
the layers are held by basting
Thick towels and small items. Not for T-shirts, polos or hoodies.
The mark appears where the hoop presses on the item itself. With a frame there is backing in between; a floated towel is not clamped at all.
Backing frame
For dark and polyester polos and fleece, place a frame of tear-away backing between the item and the inner hoop. It is a rectangle larger than the hoop with a window inside: slightly smaller than the hoop opening but larger than the design, so the presser foot does not catch its edge. The backing under the item stays as usual: the frame does not replace it.
The hoop presses on the backing instead of rubbing the fabric. The mark gets weaker, but still insert the inner hoop without force. One frame lasts for many items.
Floating a towel on the backing
It is better not to force a thick terry towel into the hoop: that is exactly what flattens the pile into a ring. Float it on hooped backing instead:
- Hoop only the tear-away backing, tight and without creases. Use a hoop whose sewing field fits both the design and the basting around it.
- Lay the towel on top with the centre of the design at the centre of the hoop, and put water-soluble film over the embroidery area so the stitches do not sink into the pile.
- Pin the towel and film to the backing outside the basting line. Run the machine's trace: the presser foot must not hit the pins or the hoop. Support the rest of the towel so it does not drag on the hoop.
- Stitch a basting frame around the design first: it sews the towel and film to the backing. Turn it on at the machine or add it to the file in your embroidery software.
- After embroidering, remove the pins, pull out the basting and tear away the backing. Peel off the loose film and rinse the rest away with clean water or wash the towel.
This method is for thick terry towels and small items. Do not float T-shirts, polos, hoodies or blankets on tear-away backing like this: a large unhooped item shifts under the needle, and the outline drifts away from the fill.
With a new fabric or a large order, embroider one item first exactly as you plan to do the rest. Unhoop it and look at the fabric under side light. If there is a ring, change the hooping before the second item, not after the whole batch.