
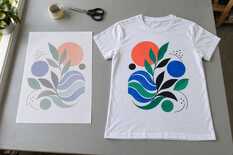
A pale print on sublimation paper is normal, not a defect. On the sheet the dye sits as solid particles and looks dull. Under the press it turns into a gas, enters the polyester, and the colour becomes vivid. So judge colour on the pressed, cooled item, and do not boost the design because the sheet looks pale: accurate colour comes from a colour profile and the first test item.
What sits on the sheet before pressing
Sublimation ink is a liquid carrying fine solid dye particles. The coating of sublimation paper keeps the dye from soaking in: the liquid goes into the paper, while the dye stays near the surface so it can leave the sheet under the press. The card of My Print Premium Classic paper states exactly that: transfer of up to 98% of the ink.
On paper the colours usually look muted and can show a different hue: black greyish, red closer to orange, grey with a purple cast. Blues and greens can look different too — it depends on the ink. Ink makers and suppliers say it plainly: the colour appears after heating.
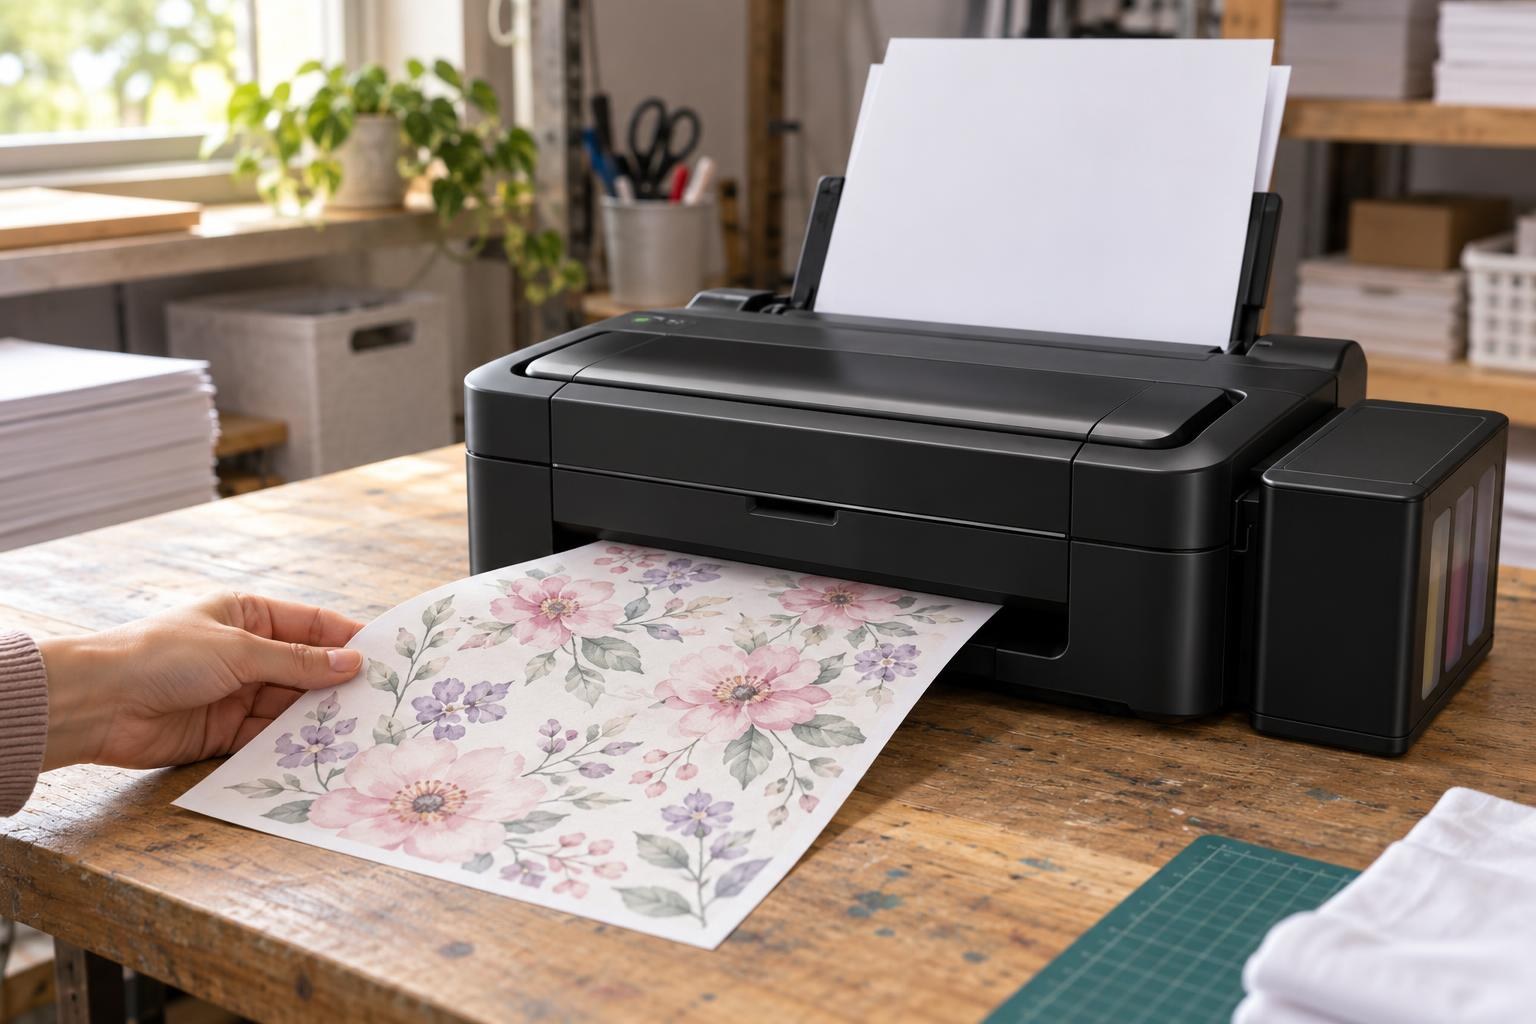
A fresh print on sublimation paper: the colours are pale and muted, the dark details greyish. Before pressing, this is exactly how it should look.
What the press does: the dye’s path into polyester
The press only heats the sheet and presses it firmly against the item. The diagram shows the four stages of dye transfer:
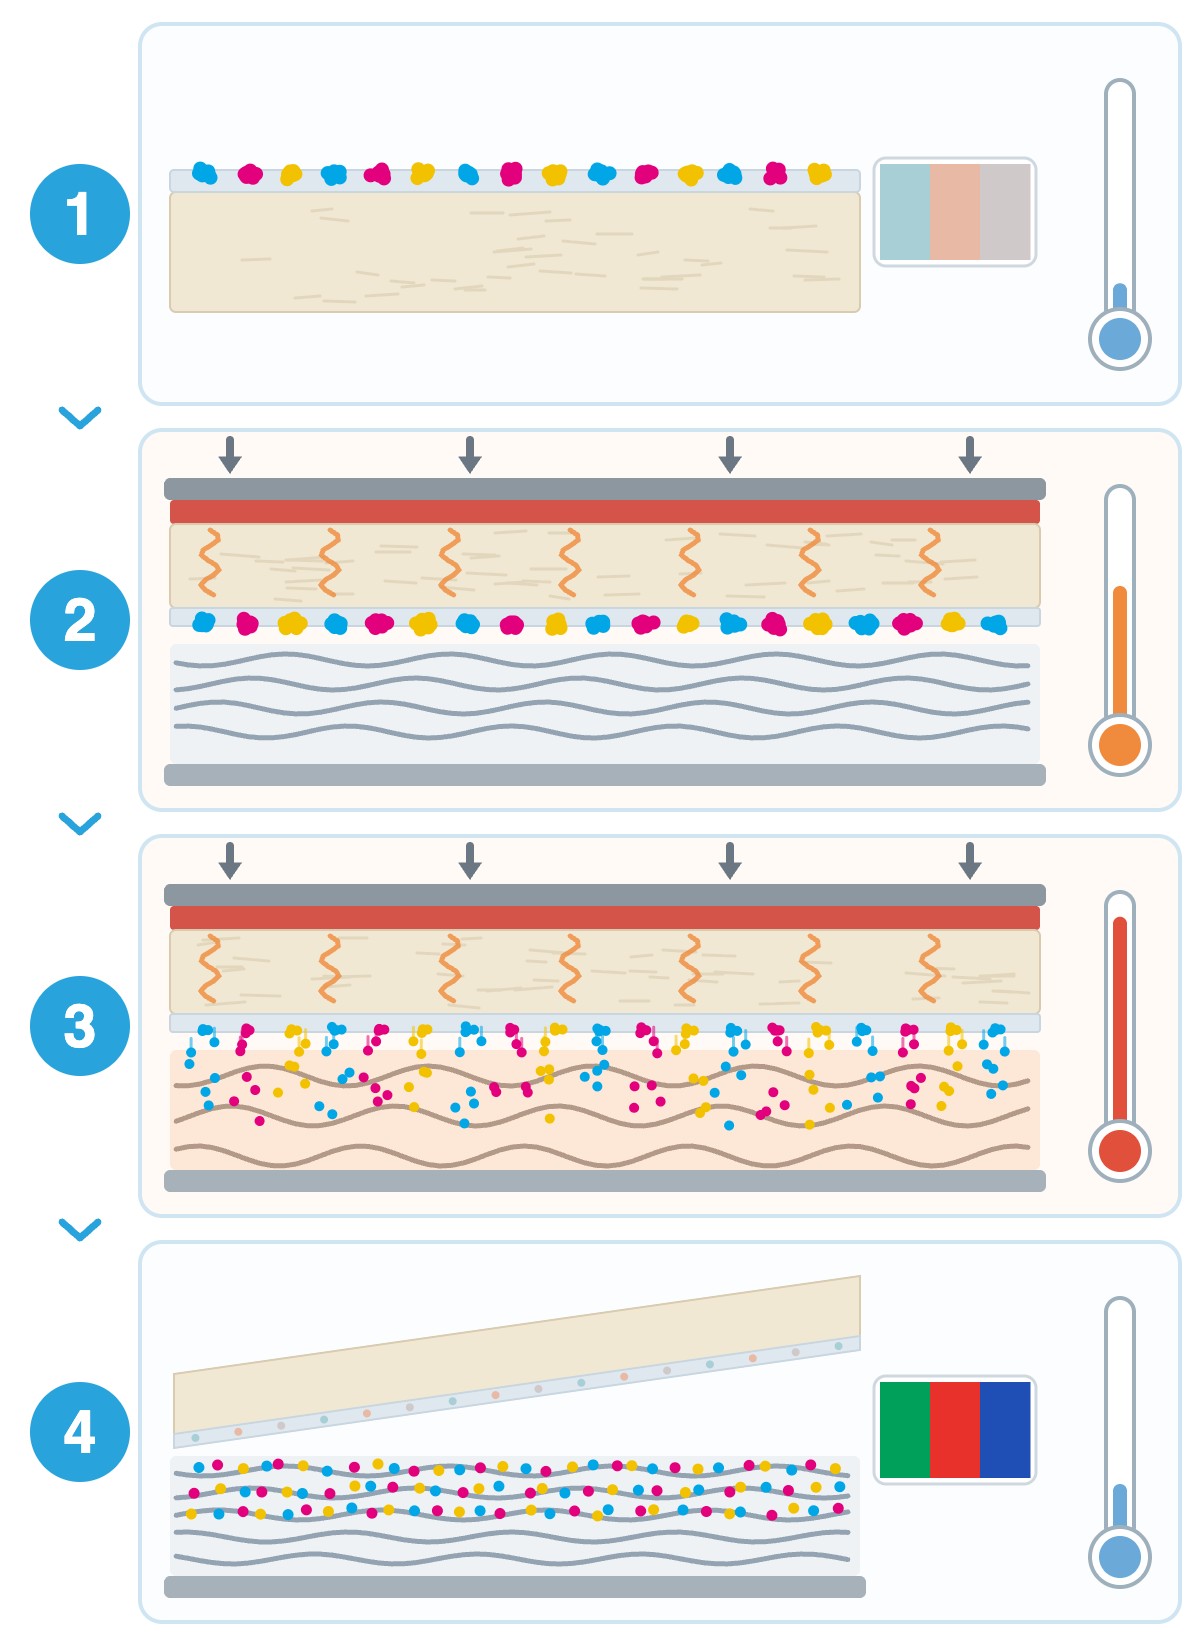
Cross-section of the sheet and the polyester: before pressing, under the press and after cooling.
The sheet before pressing
Solid dye particles on the paper coating. The colour is pale.
The press closes
Heat and pressure: the sheet lies tight on the item, the dye is still on the paper.
180–200 °C: the dye becomes a gas
Skipping the liquid stage, it enters the hot, “opened” polyester — the T-shirt fibre or the mug coating. A T-shirt stays under the press for 35–45 s, a mug for 180–240 s.
Cooling
The polyester “closes” and locks the dye inside: the colour is bright and does not wash out. A pale trace stays on the sheet.
The temperature and time in the diagram are guide values from MyPrint materials: 185–195 °C and medium pressure for a thin polyester T-shirt, 190–200 °C for a white 330 ml mug. Find your working settings within these ranges on the first test item.
Close contact keeps the outline sharp: in a gap the gas spreads sideways and blurs the outline, and if the sheet shifts, the image doubles. That is why the sheet is fixed with heat tape and pressed firmly.
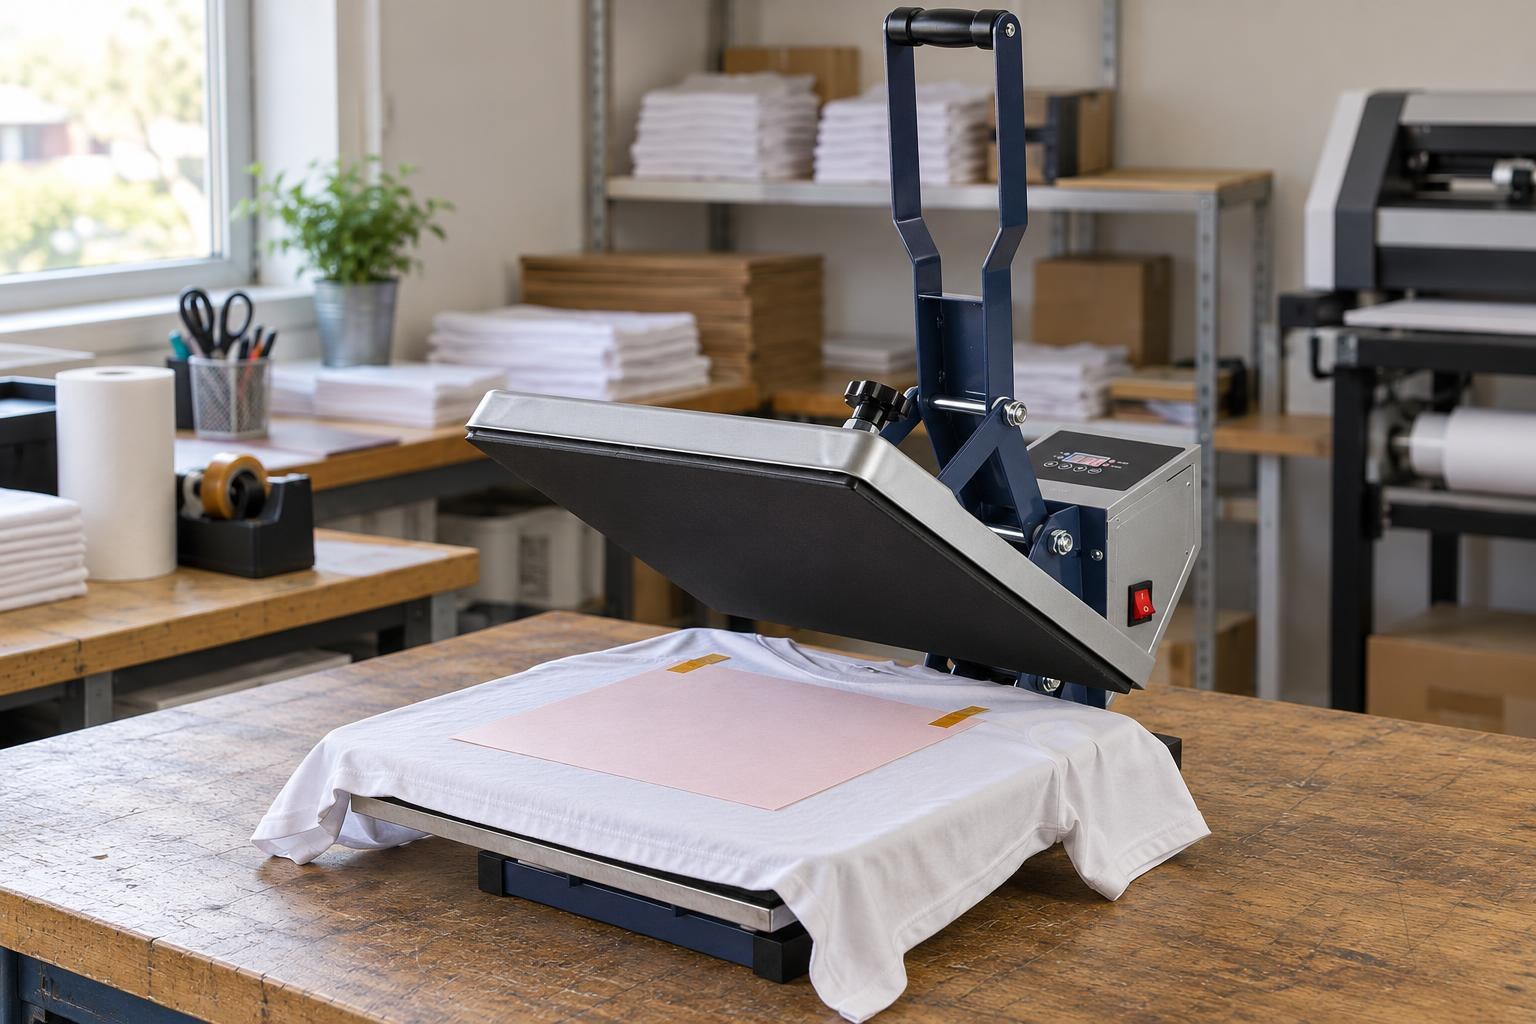
The sheet lies print side to the fabric with its corners taped, so it does not shift when the press closes.
The dye needs polyester, so choose polyester sublimation T-shirts and sublimation mugs, which carry a polymer coating. Cotton takes only a slight tint that washes out; uncoated ceramic will not take the dye. The more polyester in the fabric, the brighter the result: MyPrint recommends fabrics from 65% polyester, ideally 100%. Which other fabrics work is covered in “Sublimation on fabrics: which materials work and why”.
What you can judge on the sheet before pressing, and what you cannot
The colour of the item depends on the blank, the time, temperature and pressure, and on the paper, ink and profile. The sheet tells you nothing about it: the same print gives a different colour on a T-shirt and on a mug.
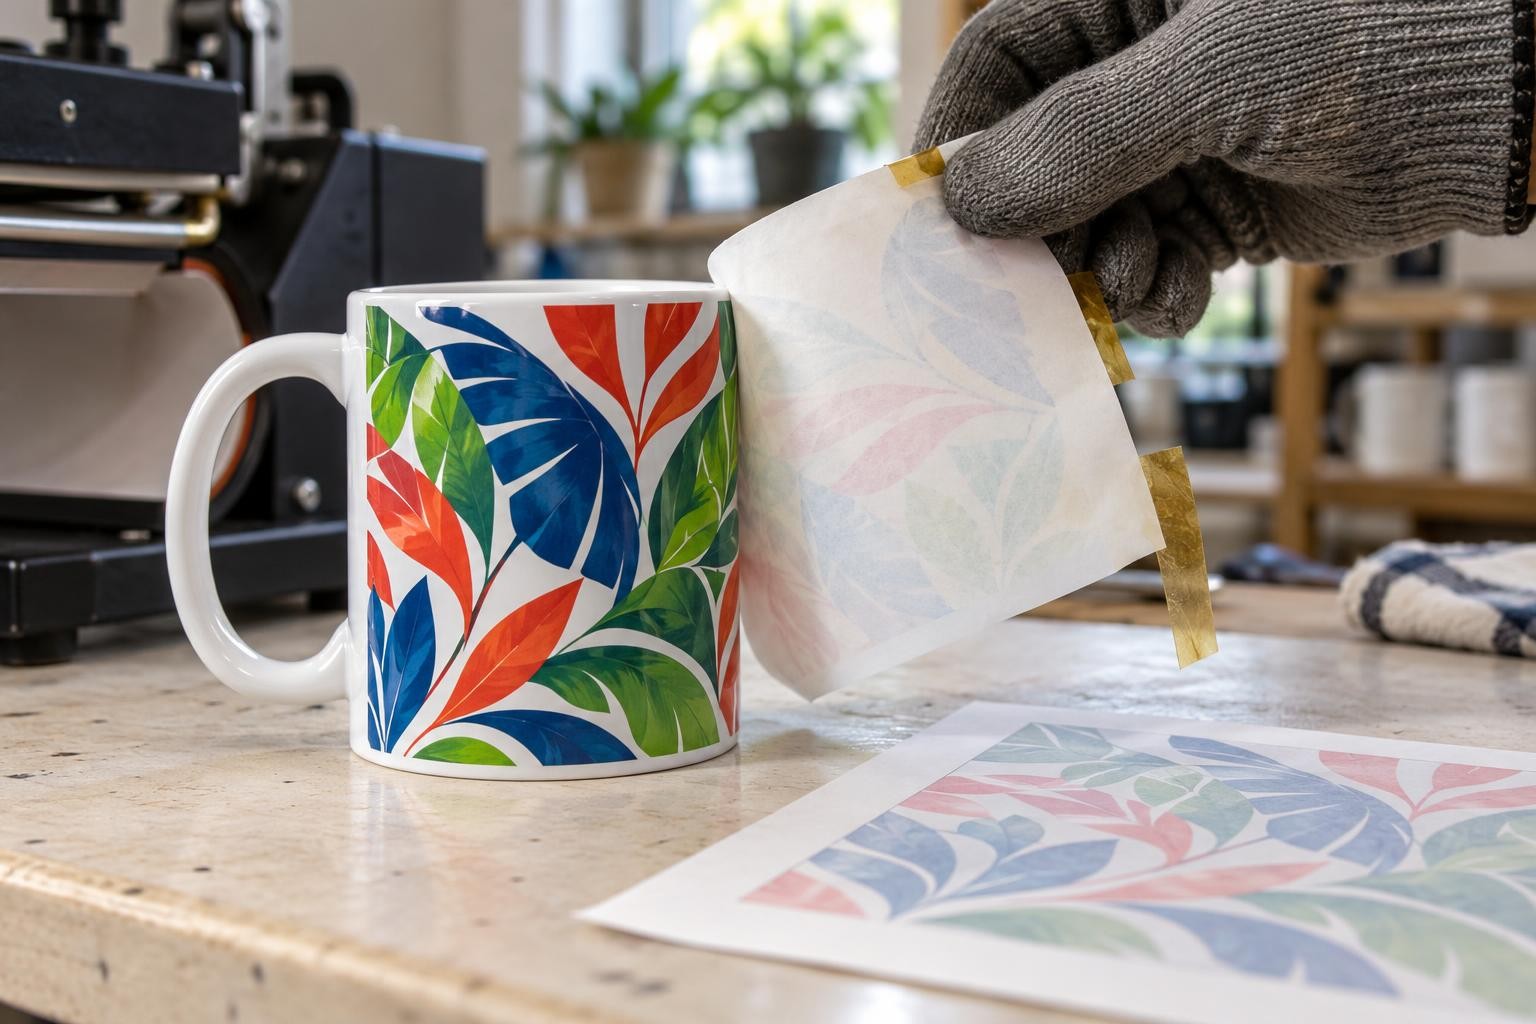
The same design: bright on the mug, pale on the sheet not yet pressed and barely visible on the peeled one.
Print defects, however, already show on the sheet, and that is where they are cheapest to fix:
| On the sheet | Normal? | What to do |
|---|---|---|
| Everything pale, black looks grey | Yes | Press it. Judge the colour on the cooled item. |
| Red closer to orange, grey with a purple cast | Yes | Leave the design alone: the hue will change after pressing. |
| Thin light stripes, missing lines | No | Run a nozzle check, clean the print head if needed and reprint the sheet: stripes on the sheet transfer to the item. How to find the cause: “Stripes on a sublimation print”. |
| The sheet is clearly paler than usual with the same file | No | Run a nozzle check; see whether the paper type and print quality in the driver have changed. |
| The print is on the pink side of Premium Classic | No | Reprint on the white side: the pink one is the back. |
What follows for you
The sheet looks pale
Do not boost the design
Do not adjust the design to match how the sheet looks. Saturation and dark tones boosted in the file, or colours “tweaked” in the driver, add ink, and under the press the excess spreads: outlines blur and dark areas merge. What this looks like on fabric: “Black print bleeds on polyester”.
You need the colour of the design
Print with an ICC profile
An ICC profile is a file that translates the design’s colours into ink amounts for your set: printer, ink, paper, blank and settings. It is built from colour patches that have already been pressed, so it accounts for what the pale sheet will become. The profile is chosen in the printing software, and colour correction in the driver is switched off. If you buy your sublimation printer from MyPrint, MyPrint builds the profile for it and SubliPro ink: ask your MyPrint manager.
New paper, blank or batch
One test item first
Press the same file with the same settings, let the item cool and compare it with an approved sample or the design. Change one thing at a time. If the item comes out too dark with a profile, start with “Sublimation too dark after pressing even with ICC”.
The item is pale after pressing too
Look for the cause in the press and the blank
Check the peeled sheet: if the design on it looks almost as it did before pressing, the dye has not transferred. Only the first items pale — the press has not warmed up; all of them pale — check pressure and contact, then the time within the range and the blank’s composition. Pale patches on fabric often come from moisture: pre-press the fabric first for 5–10 s. If the patches appear at the same spots on the platen every time, check pressure and heat there.
The profile is tied to the set
A profile works only with the sublimation printer, ink and paper it was built for. So top up with the same ink and print on the same paper; after changing the paper, the ink or the type of blank, make a new test item. For A4 printing, one such MyPrint set is:
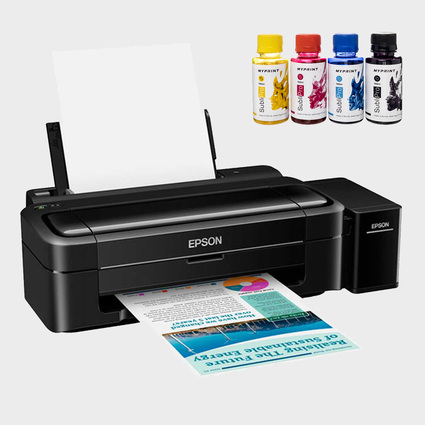
Epson L132 sublimation printer with My Print SubliPro ink
A4 · four colours · built-in continuous ink supply system with SubliPro
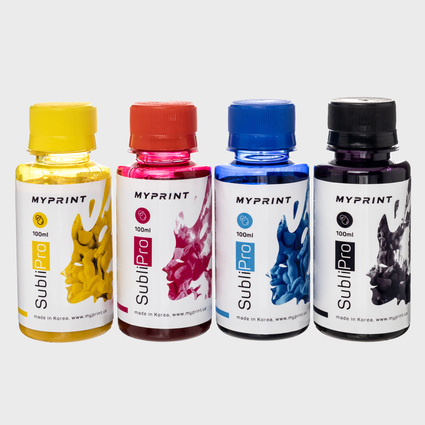
My Print SubliPro sublimation ink set (4 × 100 ml)
The ink of the Epson L132 in this set: refill with the same ink and the profile stays valid
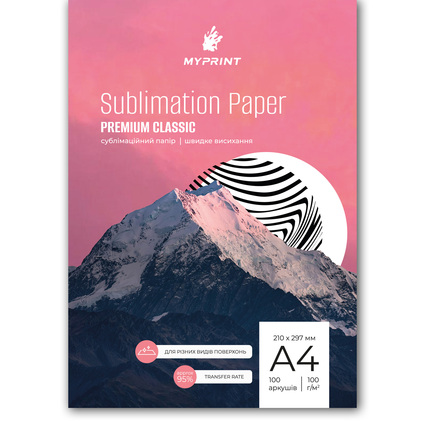
My Print Premium Classic sublimation paper A4, 100 g/m²
100 sheets · up to 98% ink transfer per the card · print on the white side, the back is pink
Frequently asked questions
What should I choose in the Epson driver for sublimation printing?
For its sublimation printers MyPrint recommends the paper type “Epson Matte” and the quality “High”, with “High Speed” unticked. If you print with a profile, switch off colour correction in the driver.
What temperature and time should I set for a mug?
For a white 330 ml mug the guide is 190–200 °C and 180–240 s; find your settings on the first test mug. If the mug is pale while the sheet has no stripes and lay tight, add 15–20 s without going past 240 s. If the outline has blurred, reduce the time.
Can I print on matte photo paper or plain paper?
You can, but the item will come out paler: such paper absorbs the ink together with the dye, and part of the dye stays in the sheet. Sublimation paper keeps the dye near the surface; how to choose it is covered in “Sublimation paper: how to choose without mistakes”.
The colour on the item differs from the screen: what should I change first?
Not the design. Start with the profile and the driver: print with the profile for your set, colour correction off. Then the settings, pressure and blank. Edit the design last, judging by the pressed item, not by the sheet.