
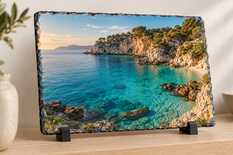
A straight white border on a sublimation photo slate usually means the picture stops short of the coating: extend the background 4 mm past its outer edge. If single chips stay white, the paper never touched the hollows: on a flat press, lay a silicone mat over the slate to press the paper in. More heat or more clamping force will not replace contact.
What does your edge look like?
Straight white strip
On the flat face
Place the print against a new slate. If the picture does not extend over the white coating, enlarge the background.
Individual white chips
The centre printed well
If the background on the paper extends onto the chips but they stay white, contact is missing; see the diagram below.
Dark natural edge
No white coating
Keep the bare stone as a border. Place faces and lettering on the flat white face.
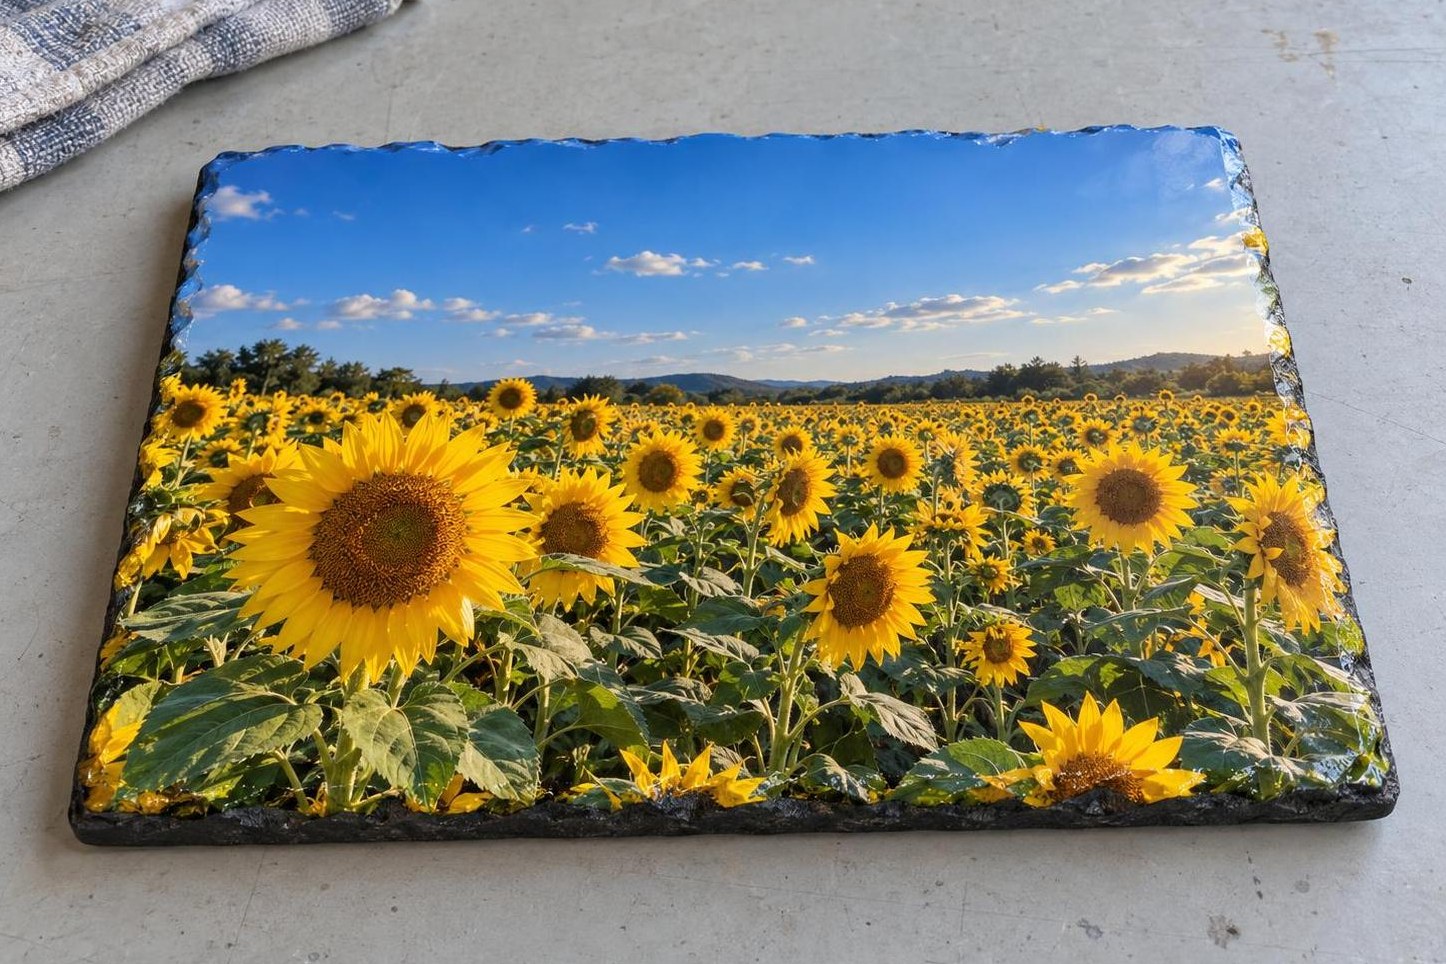
Right: the picture runs onto the coated chips; there is no white edge.
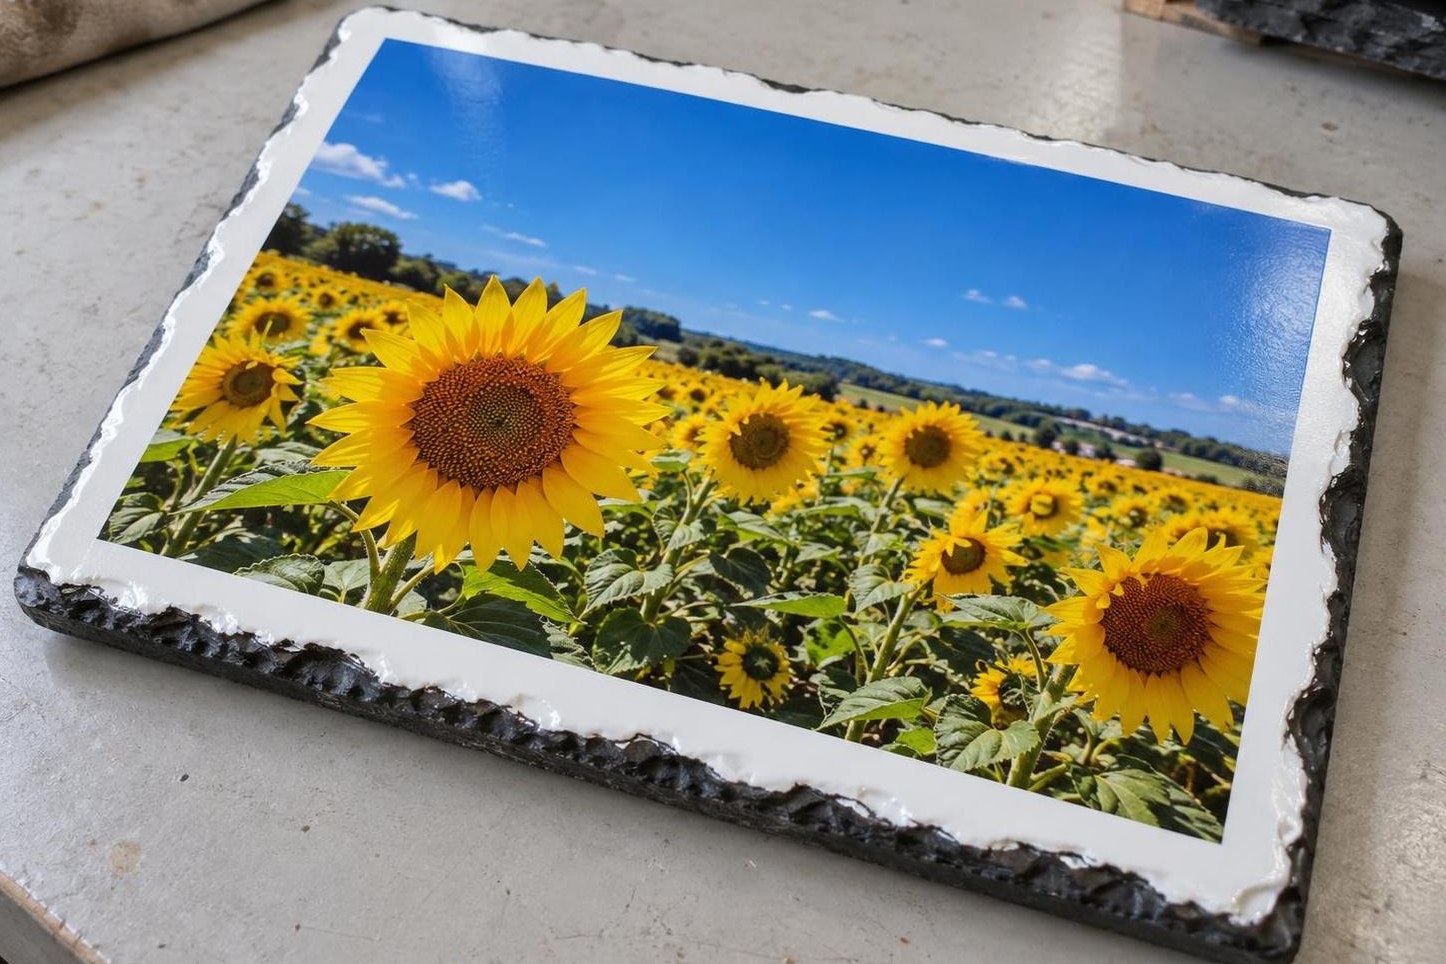
Wrong: the picture ends in a straight line and leaves a white strip before the chips: the artwork is too small.
The picture needs extra width, not just the paper
Measure the slate at the outermost points of its white coating, including the chips. Extend the background 4 mm beyond each side. Every slate has different edges, so measure the one you will print on. Keep faces and lettering on the flat part. For cropping a photo so faces stay away from the edge, see “10×15 photos: keep the whole picture or choose the crop”.
Worked sizing example
Image including bleed158 × 208 mm
Outer boundary of the white coating
4 mm of background beyond each side
150 + 4 + 4 = 158 mm; 200 + 4 + 4 = 208 mm
Leave a white paper margin around the picture to fold onto the back.
- Print mirrored on sublimation paper at 100% scale, with fit-to-page disabled. Check the size with a ruler and let the print dry.
- Fold the unprinted paper margins on two opposite sides around to the back of the slate. Secure them with heat-resistant tape, keeping tape off the edge you want to print.
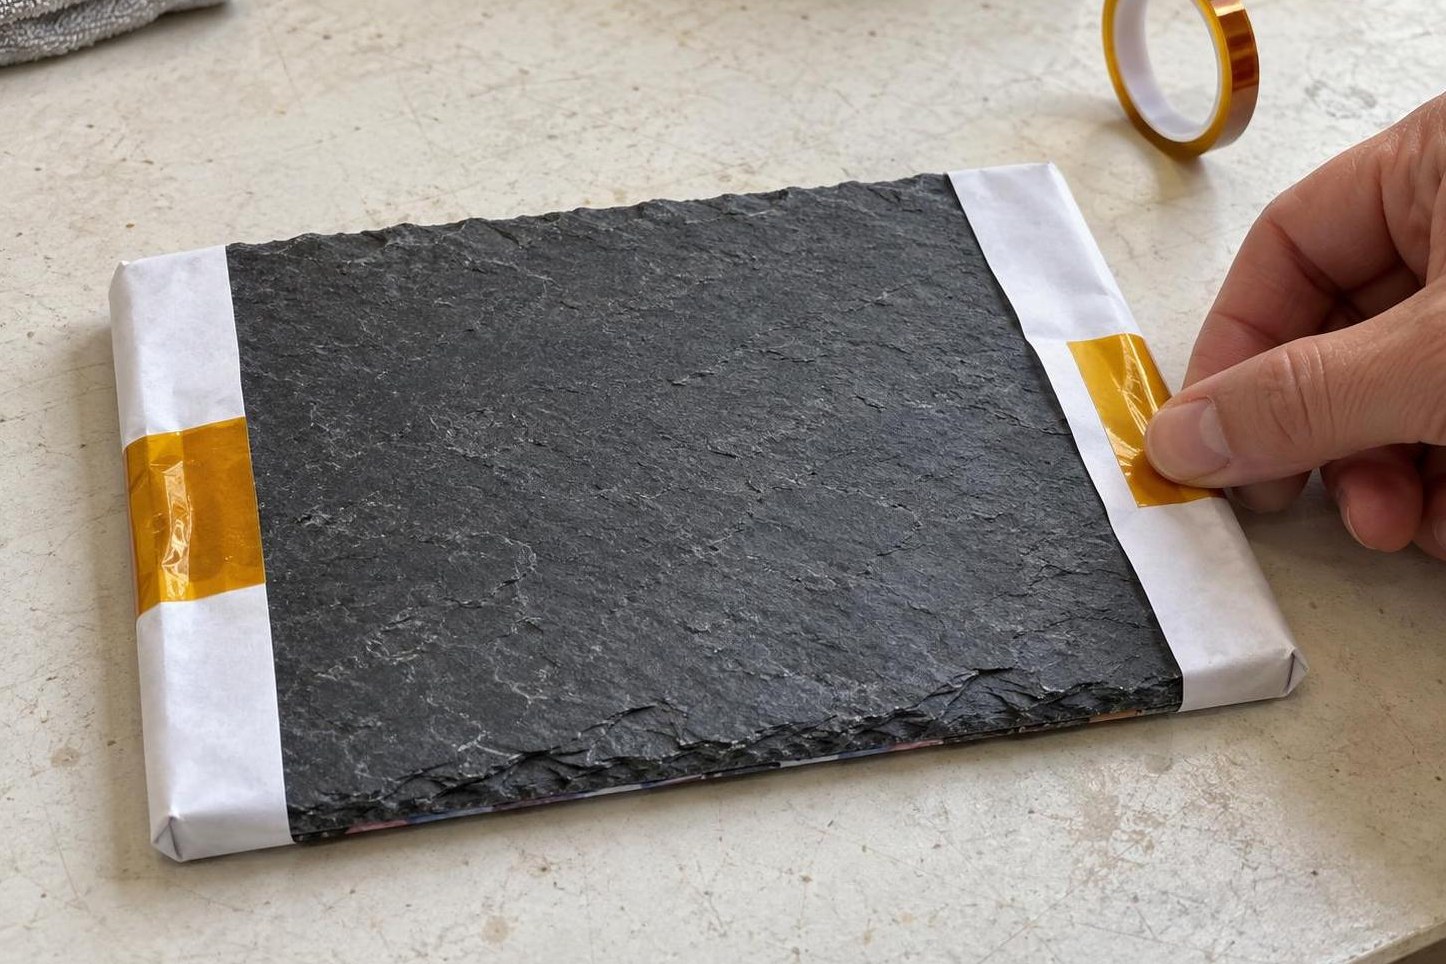
Fold the paper margin onto the back on two sides and fix it with heat-resistant tape; the coloured bleed stays on the edges.
Why the chips stay white
In a flat heat press, the platen presses against the highest parts of the slate. Paper bridges a recess without touching the coating. More clamping force only presses harder on the high spots: the rigid platen cannot reach into a chip.
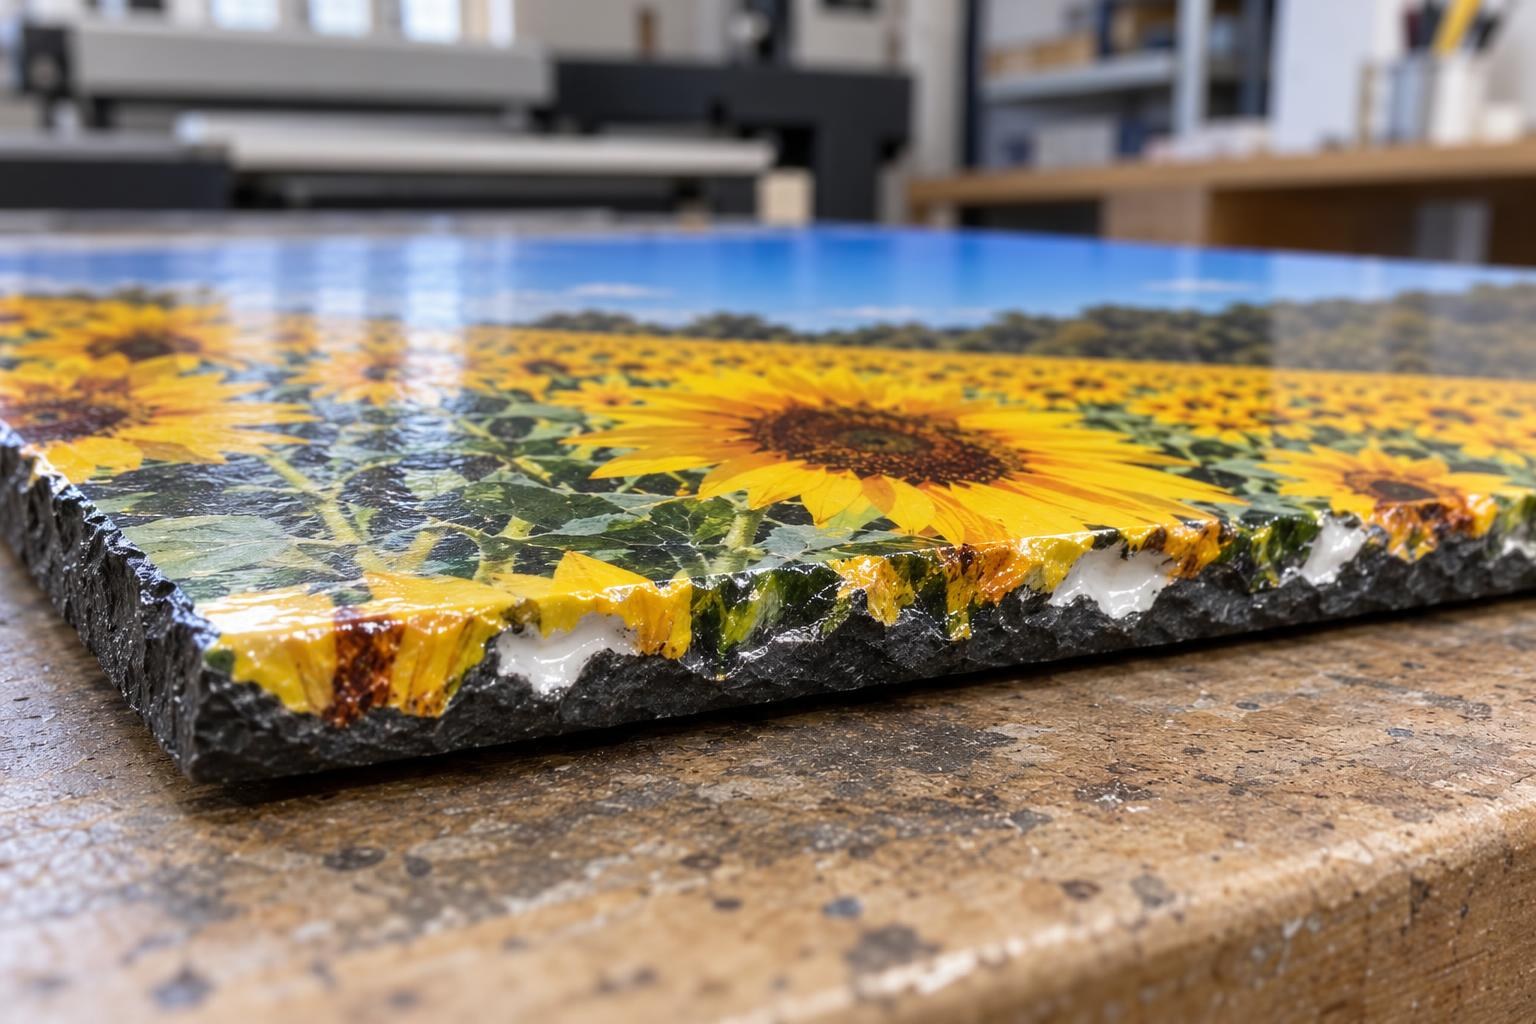
The face and raised parts are printed, but the coating in the hollows of the chips stayed white: the paper never touched them.
Flat platen
A gap needs contact, not more time
Soft layer or membrane
Remove the air pockets
Edge cross-section: the blue line is paper; the grey area is coated slate. The picture transfers only where the paper touches the coating.
On a flat press: a soft layer on top
The rigid platen cannot reach into a chip, but a silicone mat can: it gives and presses the paper onto the relief. Place the slate face up with the print taped on, then a clean sheet of paper and a silicone mat 2–3 cm larger than the slate on every side. Set the pressure with the slate and mat in the press: medium, the handle closes with resistance. The mat slows the heat, so the time is longer than without it.
Temperature
190 °C
guide 188–191 °C
Time, min
10.5–13
smaller slate — shorter
Pressure
medium
set with slate and mat in place
After pressing
air-cool
never in water
A guide from the photo slate maker’s instructions for the “slate face up, silicone layer on top” setup. Test the first slate of a new batch.
Silicone heat press mat 23×30 cm (8622)
Silicone, 0.8 cm · for slates up to 15×20 cm
Silicone heat press mat 29×38 cm (3749)
Silicone · for a 20×30 cm slate
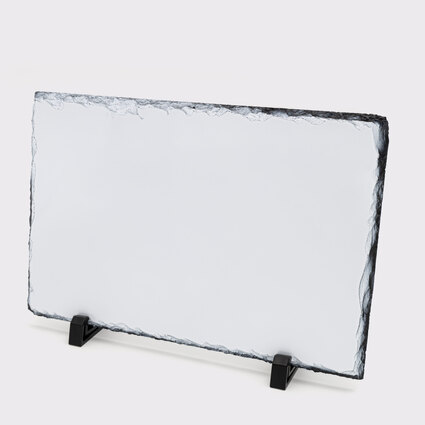
Glossy rectangular sublimation photo slate 20×30 cm (13485)
Natural stone, glossy white coating · 20×30 cm
Printing the chips in a vacuum press
If you have a vacuum heat press with a membrane, the membrane presses the paper onto the chips just as the mat does. Check that the slate fits its working area.
- Place the slate white side up, with the attached print facing the coating.
- Apply vacuum. If the paper bridges a chip, release the vacuum, refasten the paper without tension and check again. Start the cycle once the membrane follows the edge without air pockets.
Example for 9 mm slate in a vacuum chamber
200 °C · 7–8 min
Measure the slate's thickness with a ruler; treat the first slate as a test. Do not reuse the flat-press time for this setup.
Remove the hot slate wearing heat-resistant gloves, peel off the paper and let it cool on a heat-resistant surface without water.
Check each change on a new slate with a fresh print. If the straight strip is gone, keep the artwork size. If chips still stay white, check that the mat is larger than the slate on all sides and that the pressure was set with it in the press.
Frequently asked questions
Why did the photo slate crack in the press?
Slate is uneven, so heavy clamping puts pressure on individual high spots. Use medium pressure, set with the slate and mat in the press, and close the handle gently. Never cool hot slate with water.
Can I press it again if the edge did not print?
Only while the paper is still secured: wearing heat-resistant gloves, lift a corner, check the edge and press again with the same layer if needed. Once removed, the paper cannot be put back in exactly the same place, so you risk a double image — make the correction on a new slate.
Why are there white patches in the middle of the photo slate?
Moisture in the slate is often the cause. Before printing, preheat the bare slate face up for 30–60 seconds, then place the paper on it.
Should the slate go face up or face down?
With a silicone mat, face up: the mat lies on top and presses around the edge. Slate is placed face down on soft felt — that is a different setup with a different time.