
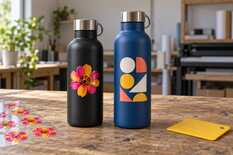
Apply a UV DTF sticker only to the straight part of a thermo bottle; no press is needed. Print the layout at 100 % scale with the white choked by 0.1 mm, degrease the bottle with isopropyl alcohol, and keep both the bottle and the sticker at 20–25 °C. After applying, press the sticker with your palm for 3–5 minutes; wash the bottle by hand only and not earlier than 24 hours later. A run of 10 bottles takes 75–120 minutes of hands-on work.
What you need
UV DTF is a design printed with ultraviolet-curing (UV) ink on film and transferred to the item by pressure, without heat. A UV DTF printer lays white, colour and varnish onto the adhesive film A and laminates film B on top; both films are in the “UV DTF film” section. A printer without built-in lamination needs a roll laminator.
The blank is a metal thermo bottle with a cylindrical body from the “Thermoses, thermo mugs, thermo bottles” section. You also need a squeegee for self-adhesive film, scissors, 70–99 % isopropyl alcohol, lint-free wipes, masking tape, a ruler, a strip of paper and protective gloves suitable for UV inks.
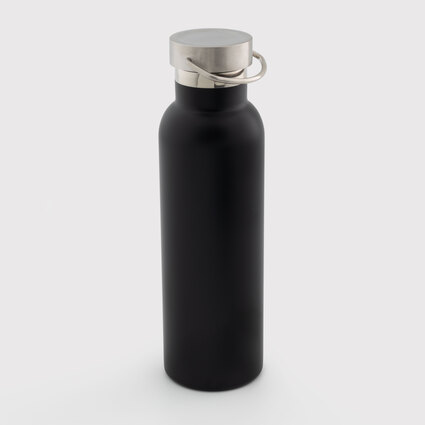
Thermo bottle with a metal cap and handle, matte black, 600 ml
Cylindrical body Ø 7.3 cm · matte surface · metal cap with a handle
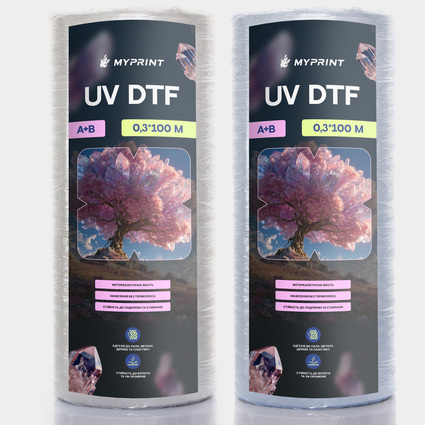
My Print A+B UV DTF film, 0.3 × 100 m roll
Clear, type A+B · 2 rolls per pack · for a 30 cm print width
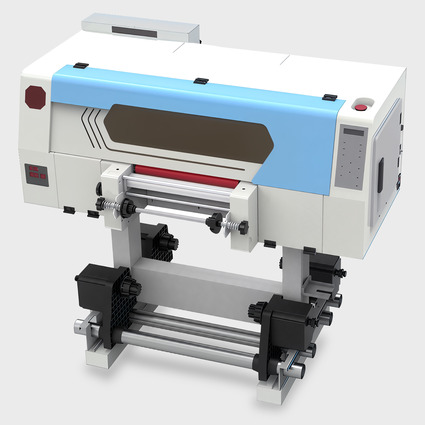
My Print U300 roll-fed UV DTF printer, 30 cm
Prints and laminates film B in one pass · white, colour and varnish · up to 3 m²/h
Step by step: from layout to finished bottle
Measure the straight part of the body
Wrap a strip of paper around the body and mark where it meets: that is the circumference. Measure the height of the straight section with a ruler, from the shoulder to the curve of the base. The sticker goes only here: on the shoulder and near the base a flat film gathers into folds. Leave the neck and the cap clean.
A Ø 7.3 cm bottle has a circumference of about 229 mm. Make a full-wrap sticker 2–3 mm shorter than the measured circumference so the ends do not overlap. A tumbler that narrows towards the bottom needs an arc template, not a rectangle, as in the article on UV DTF folds on a tapered tumbler.
Build the layout at 100 % scale
Take the size from step 1 (60 × 90 mm in the example below). On a black bottle always put white under the colour: UV ink is semi-transparent, and without an underbase the colour darkens on black. Choke the white by 0.1 mm from the colour edge, or a white edge will show around the design. Lay the varnish over the colour, slightly wider than the design.
Start with lines and gaps at least 0.6 mm wide. Test thinner lines and narrower gaps on a trial strip first. Leave 10 mm of clear film between stickers on the sheet. Turn off fit-to-page and check the sticker dimensions on the first sheet with a ruler.
Print and laminate with film B
Load film A with its adhesive side facing the printhead and expose the adhesive before printing — remove the protective layer as your printer's manual shows; keep the A backing until step 6. The U300 and S300 printers lay white, colour and varnish onto film A and laminate film B straight away: their cards call it “2-in-1 printing and lamination”. To check the varnish, transfer a test sticker to a separate clean, smooth surface and remove B. Check the exposed varnish wearing protective gloves suitable for UV inks. If it is tacky, lower the print speed or increase UV lamp power within the printer's permitted settings and print a new test; do not use the tacky print in the run. Before applying, let a fresh sheet rest for 1–2 hours so small details do not stay on film A.
If your printer does not laminate, join the films on a roll laminator in the order given on the card of the LH Base 300:
- finish printing and curing;
- feed films A and B in without sideways shift;
- even out the pressure on the left and right and keep the web centred;
- run a short piece and check it for bubbles, the edge and release;
- feed the run only after a clean test transfer.
Take the temperature from the instructions for your film pair; for MyPrint A+B film, agree it with a MyPrint manager.
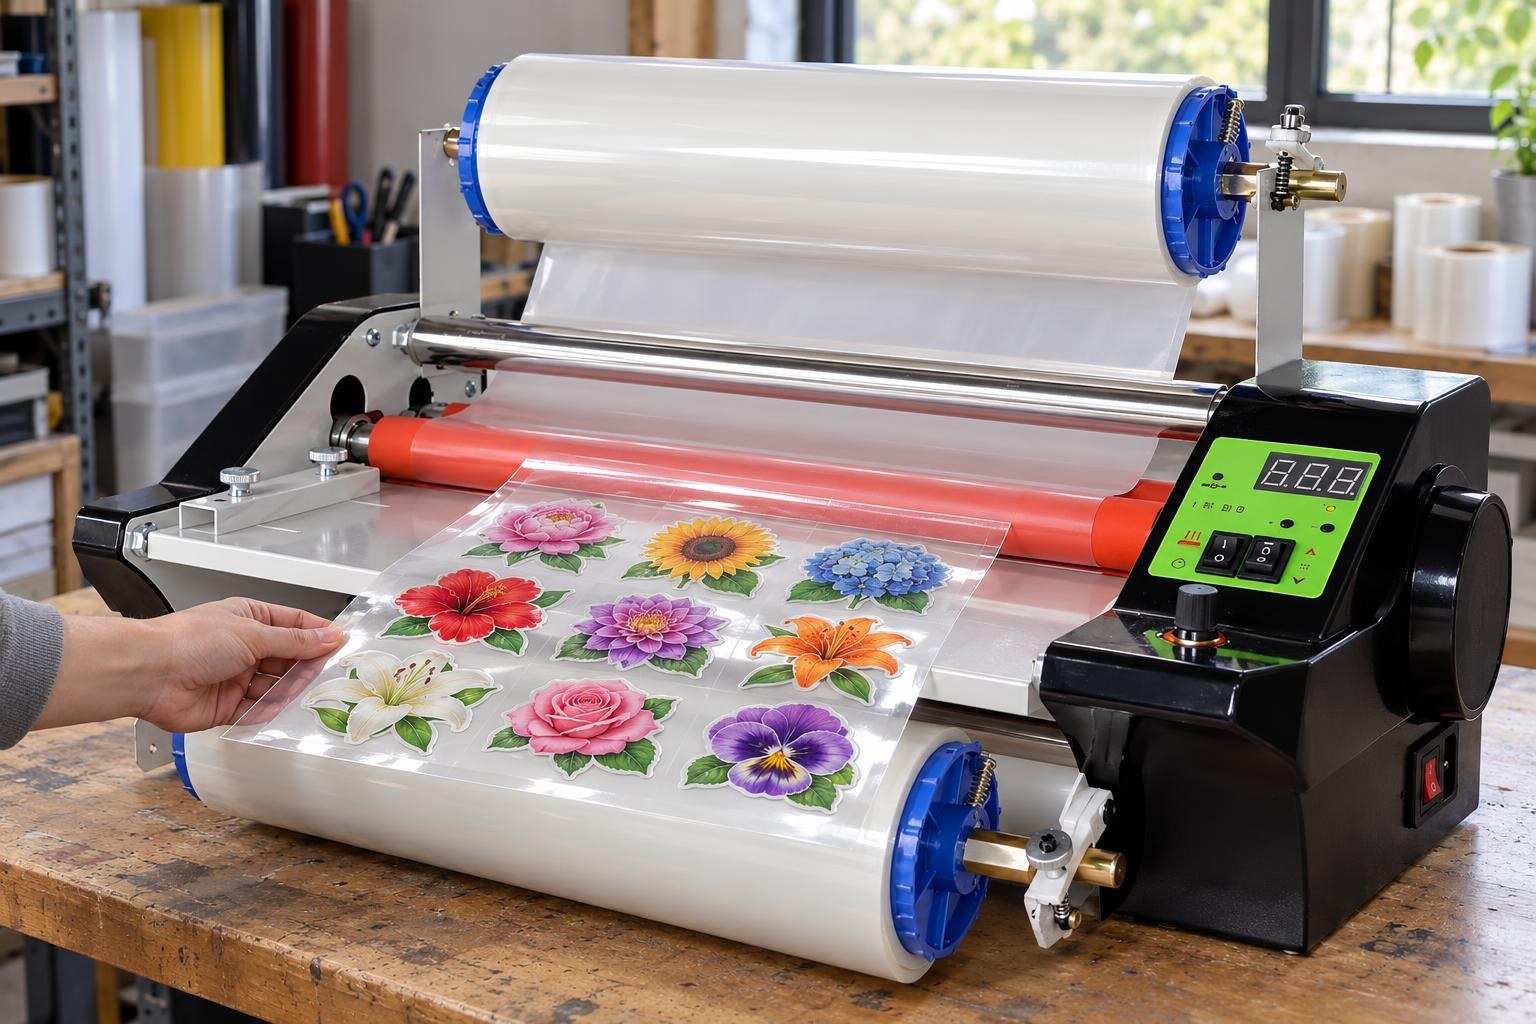
The sheet leaves the rollers already under film B: no bubbles between the films, and the edge runs straight, without skew.
Cut the stickers
Cut both films together with scissors through the middle of the clear gap, 5 mm from the design: the varnish runs slightly past the outline, and a cut right at the edge would catch it. There is no need to cut around the outline: only the printed part transfers to the bottle.
If you apply them another day, keep both films on and store the stickers flat in a closed bag, in a dark, dry place at 18–24 °C. How to pack them and how much to print ahead is in the article on storing finished UV DTF transfers.
Prepare the bottle
The bottle and the sticker must be at 20–25 °C. Let a cold bottle warm up indoors until the condensation is gone. Wipe the application area with a lint-free wipe and isopropyl alcohol, then once more, and let it dry. From now on hold the bottle only by the neck and the base. Try the sticker on while film A is still on it and mark its position with a strip of masking tape.
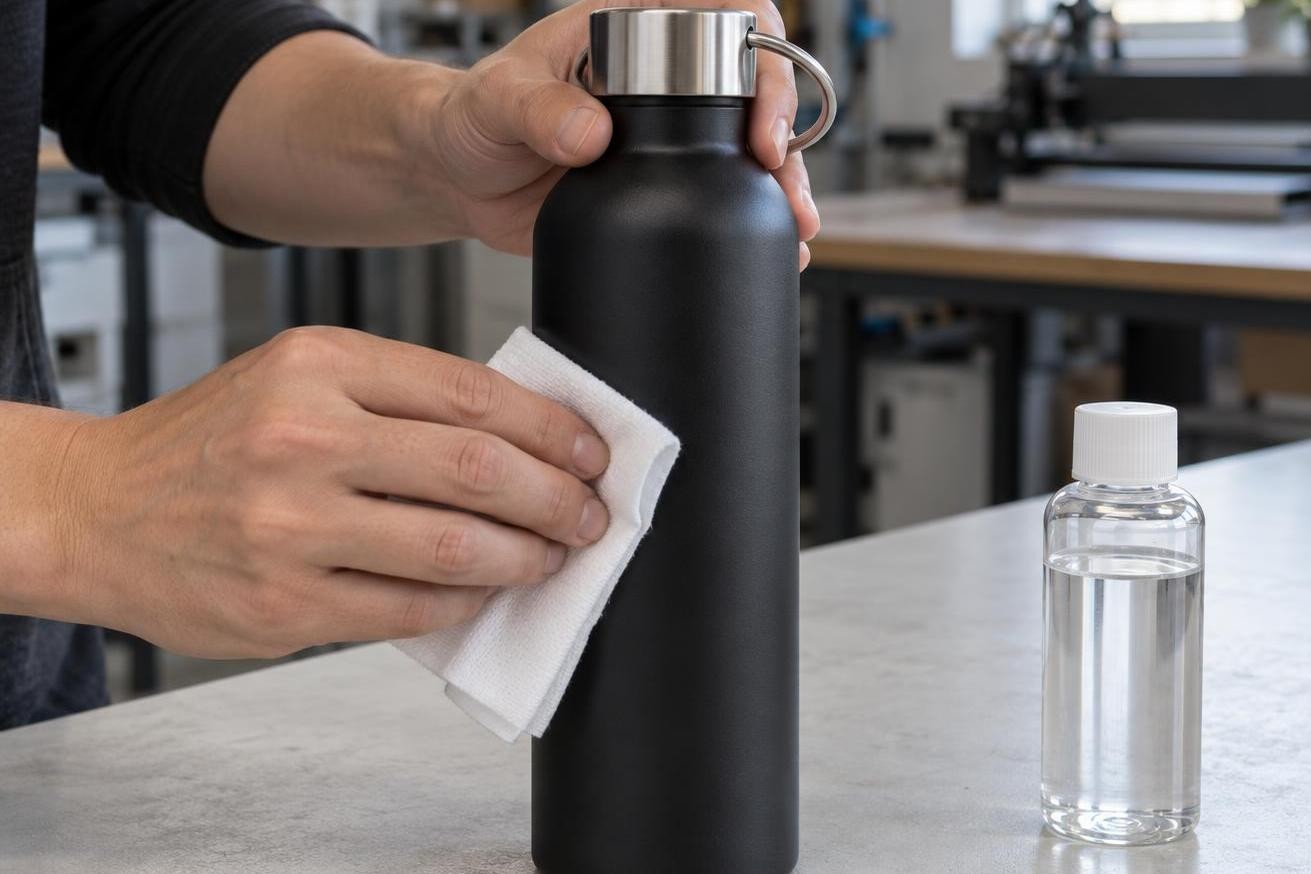
Wipe only the straight area where the sticker will go, and do not touch it with your fingers afterwards.
A new batch of bottles starts with one test bottle. The coating can differ from batch to batch. Apply a test sticker with a solid area, a thin line and an open edge to one bottle and inspect it right away and after 24 hours. What to record and when to release the run is set out in the UV DTF surface test protocol.
Peel off film A
Lay the sticker on the table with film B up and rub the design with the squeegee. Turn it over and peel A slowly, folding it back low over the table: the design lies flat on B and only the liner bends. Check that every dot and thin line has moved to B. If a detail stays on A, lay the film back, rub that spot again and peel more slowly; more in the article on small details that stay on the film. Do not touch the adhesive with your fingers.
Apply from one edge
Touch one vertical edge of the sticker to the mark and hold the rest off the bottle. Run the squeegee over film B from the stuck edge towards the free one and turn the bottle as you go; each pass slightly overlaps the previous one. Start a full-wrap sticker from a vertical strip in the middle and work to each edge in turn. Push a bubble out with short, firm passes to the nearest edge while B is still on; more techniques in the article on bubbles under UV DTF on glass.
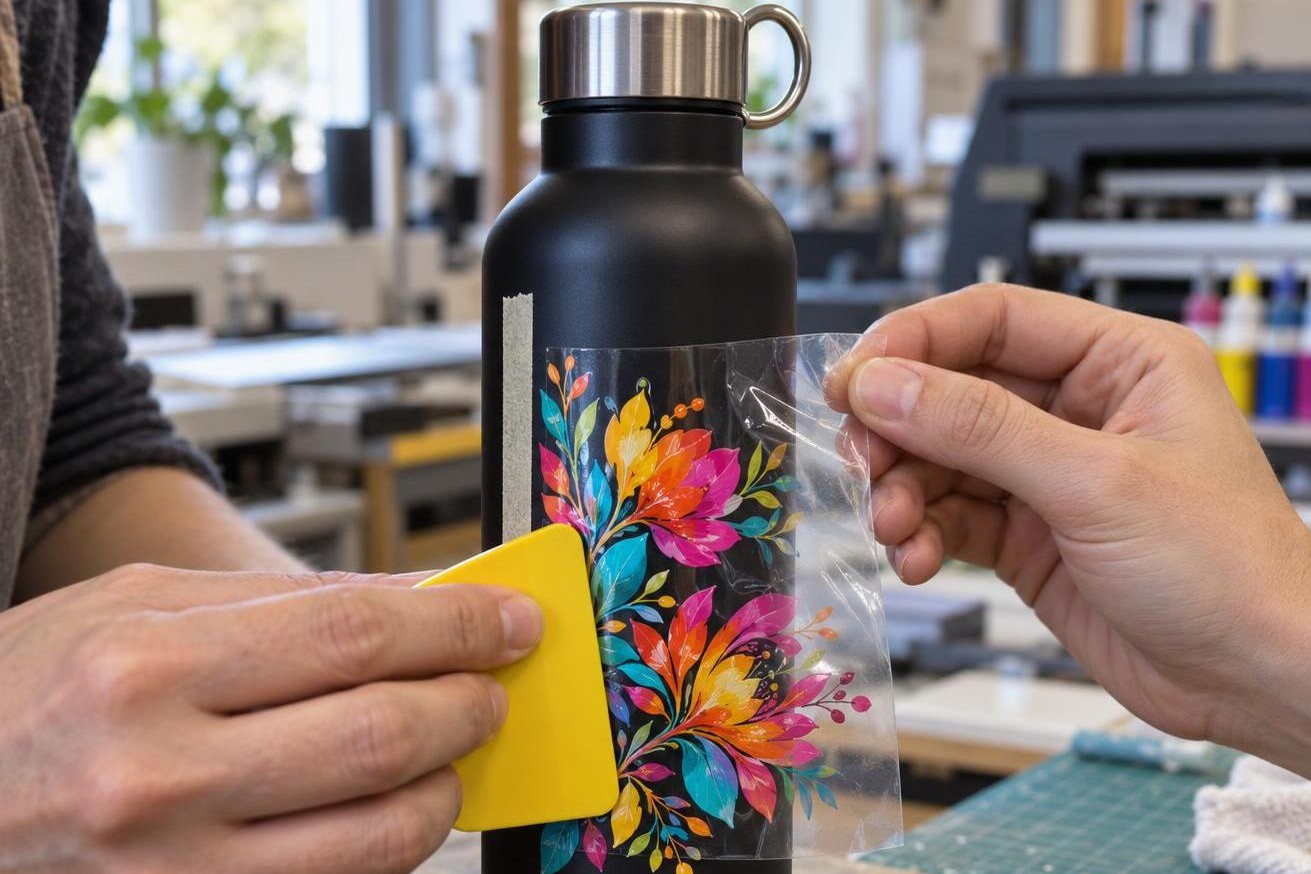
One edge is already stuck and the rest follows the squeegee, so air escapes through the free edge.
Peel off film B
Go over the whole design through B with the squeegee once more, especially the edges. Peel B slowly, folding it back at about 180°, almost along the wall. If a detail lifts with the film, lay B back, press that spot with the squeegee and peel even more slowly.
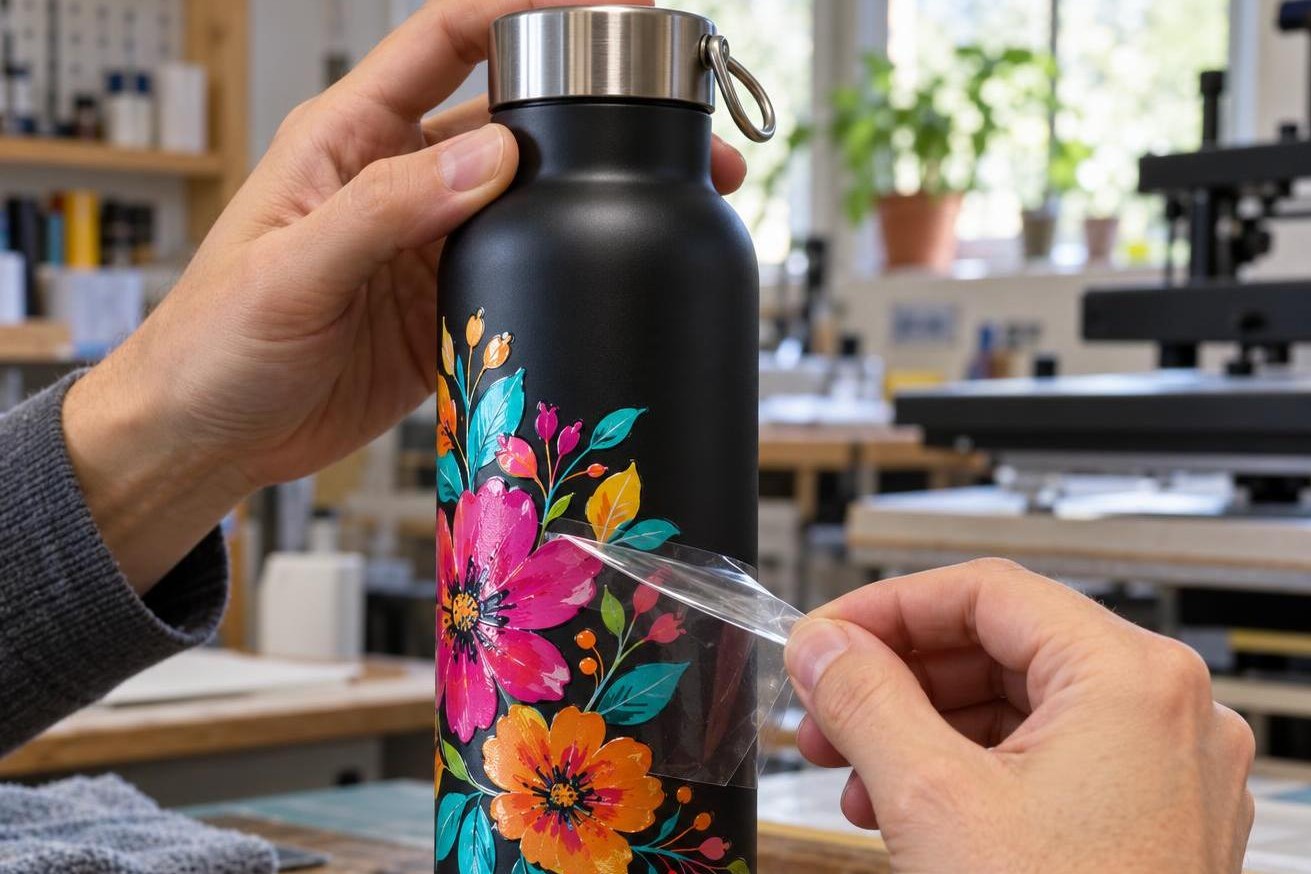
Film B travels almost along the wall, not upwards, so small details stay on the bottle.
Press with your palm and let it rest
Straight away press the sticker with your palm for 3–5 minutes, smoothing from the centre to the edges, and press the edges separately. Write down the application time. Keep the bottle dry at room temperature. The first wash comes no earlier than 24 hours later, and by hand only. Do not promise dishwasher use even if the blank carries that symbol; the reason is in the article on UV DTF and the dishwasher.
Check and add a care card
Inspect every bottle in side light: edges, small details, bubbles, folds. Do not hand over a reject: warm the sticker with a hair dryer on a warm setting, lift the edge with a plastic card, peel it off slowly, wipe the adhesive residue off with alcohol and apply a new one.
Add a card to the order: “First wash no earlier than (application date and time + 24 hours). Wash by hand in warm water with a mild detergent, no hard sponges, do not soak, not in a dishwasher.”
Before you apply the run
How long a run of 10 bottles takes
An example for one person. Inputs: a 600 ml thermo bottle, Ø 7.3 cm; a 60 × 90 mm sticker; 12 stickers on a 30 × 30 cm sheet (4 × 3 with 10 mm gaps, two spare); a printer with built-in lamination at the maximum rated speed; bottles from an already tested batch. Times for manual operations are approximate: time your own on the first two bottles.
Example: 10 thermo bottles with a UV DTF sticker
A helper is not required but speeds things up: while they palm-press one bottle, you apply the next, and applying plus pressing takes about 30–55 min instead of 50–90. The bottles can go to the customer the same day with a care card: they must not be washed until 24 hours after application. Bottles from a new batch add one day for the test sticker.
When sublimation suits a bottle better
A logo or design on a black or coloured bottle, from a single piece
UV DTF
No press, any body colour. Hand wash only.
A photo or design all the way round, the bottle will be washed often
Sublimation
A white sublimation bottle and a press for thermoses: the dye goes into the coating, with no adhesive and no film edge under the design.
Promise dishwasher use for a thermo bottle only if the blank's maker allows it. How double-walled thermo drinkware is built and why it is pressed differently from ceramics is in the article on how a thermo mug is built.
Frequently asked questions
Do I need a heat press to apply UV DTF to a bottle?
No. The sticker is held by the adhesive that comes off film A and by pressure: the squeegee during application, then 3–5 minutes of palm pressing. A press is needed for sublimation.
How soon can the bottle be washed, and can it go in a dishwasher?
The first wash comes no earlier than 24 hours after application, or later if the film maker gives a longer time. Wash by hand; do not promise dishwasher use for UV DTF.
The sticker comes off after a few days: what went wrong?
Look at where it lifts and on how many bottles. If the edge lifts on the shoulder or near the base, the sticker runs onto the curve: shrink it to the straight section. If the whole sticker lifts on several bottles, check the degreasing, the temperature and condensation, and run a test sticker on a new batch. If the sticker lifts after washing, ask when and how the bottle was washed. If the customer followed the care card, repeat application and hand washing after the waiting period on a test bottle from the same batch; check degreasing and pressure.