
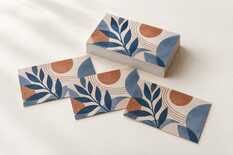
You need the marks only for the first trims. After that, keep the same trimmed edge against the backgauge and set the gauge to the size of the piece that must stay against it. For 90 × 50 mm cards with 6 mm gutters that is 96 and 90 mm for the columns, then 112, 106, 56 and 50 mm for the cards. Write down your own sequence before the first cut.
You will need a paper cutter with a backgauge that locks in place and a side guide. The distance from the backgauge to the blade is the size of the piece that stays against the gauge, not the piece that falls away.
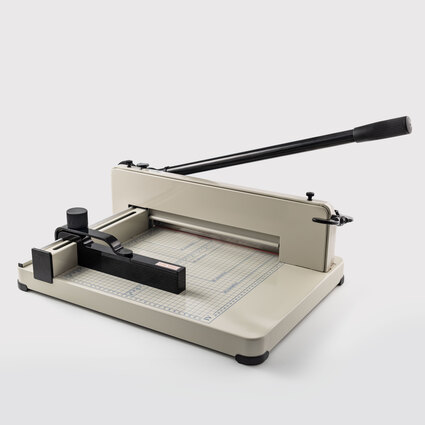
My Print 858 A4 guillotine paper cutter
310 mm cutting length · stacks up to 40 mm · screw clamp · millimetre scale on the table
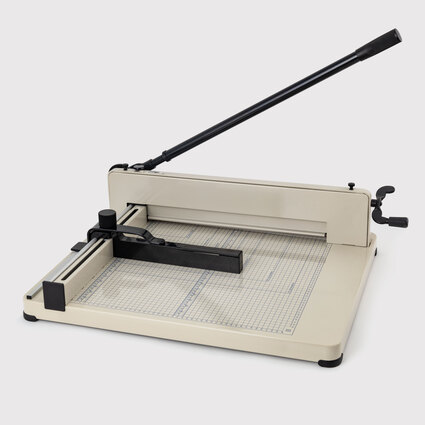
My Print 858 A3 guillotine paper cutter
430 mm cutting length · stacks up to 40 mm · screw clamp · millimetre scale
First, establish your reference edge
- Keep one uncut print. Use its crop marks to measure the cards, gutters and entire block. If they do not match the artwork, print again at 100 % with fit-to-page disabled.
- Trim the first edge to the marks. Place it against the side guide and trim the adjacent edge; check the 90° corner with a square.
- Trim the remaining margins to the block dimensions. The block does not divide equally into cards: there are still gutters between them.
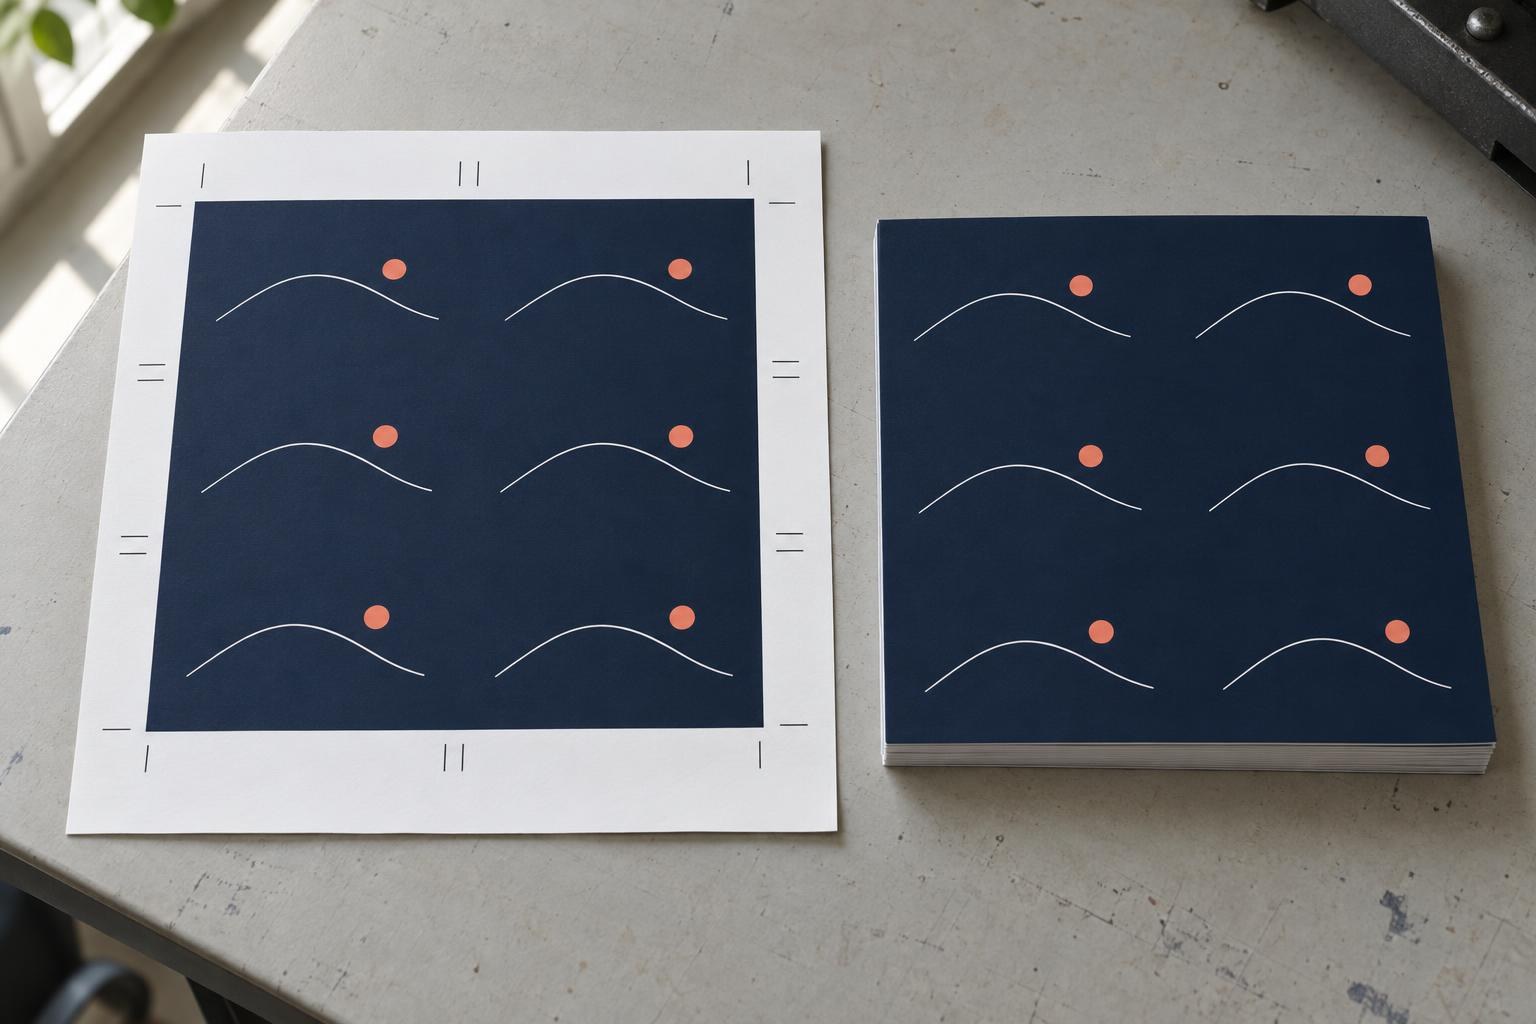
Keep one uncut print with its crop marks as a reference: on the trimmed block the card edges can no longer be seen.
Worked example: six 90 × 50 mm business cards
Example: two columns of three cards, with 6 mm gutters between the cards (3 mm of bleed on each side of the cut). With the outer margins trimmed off, the block measures 186 × 162 mm.
Block after the outer margins are trimmed
90 + 6 + 90 = 186 mm
50 + 6 + 50 + 6 + 50 = 162 mm
6 mm strips become waste
Keep the white rectangles; remove the pink gutters — on the print they are filled with the background, so only the crop marks show the card boundaries. First, separate two 90 mm wide columns.
The last cut leaves 50 mm against the gauge. Before cutting the stack, bring the backgauge to 50 mm from the blade line and check that it locks there and that the clamp covers a strip that narrow. If it does not reach, ask a MyPrint manager which cutter in the category can do it. Do not remove the guard for the last cut.
Two cuts, two columns
Place the block so its 186 mm side runs from the backgauge to the blade, with the same trimmed edge against the gauge. After each cut, seat the remaining piece against the backgauge and side guide, then clamp it. The block and the columns are narrower than the blade, so the clamp bar rests on them with one end and tilts. Put a stack of offcuts of the same height under the other end of the bar: the clamp then comes down level, and the cards at the top and bottom of the stack come out the same size. More in “Cutter clamp leaves marks on business cards”.
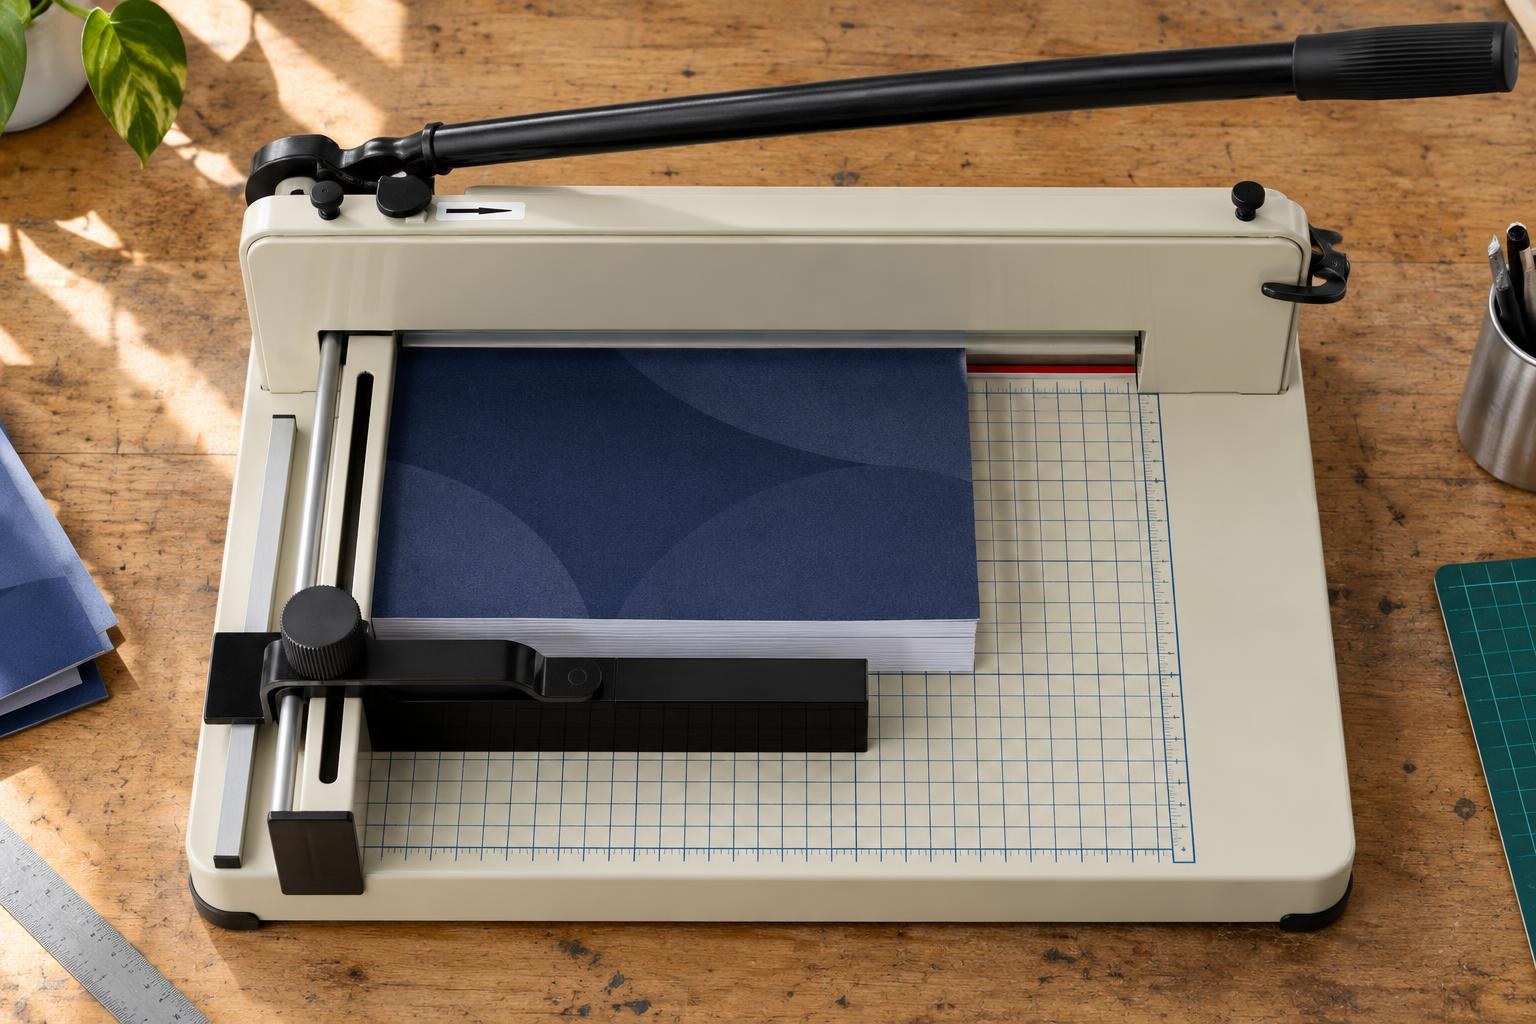
Before every cut, seat the remaining piece against the backgauge and side guide, and only then clamp.
| Gauge, mm | Piece cut off | Next action |
|---|---|---|
| 96 | 90 × 162 mm column | Set it aside. Keep the remainder in the same orientation; set 90 mm. |
| 90 | 6 mm strip | Remove the waste. The second 90 × 162 mm column is left against the gauge. |
Now cut three cards from each column
Turn a column through 90° so its 162 mm length runs from the gauge toward the blade. Place a finished short edge against the gauge and keep that edge there for all four cuts.
First cut along the column: gauge at 112 mm
Reference edge · gauge
Against gauge: 112 mm
Cut off: 50 mm
Blade line: after the second gutter
The reference edge stays against the gauge. The next setting, 106 mm, removes the gutter: 112 − 106 = 6 mm.
| Gauge, mm | Piece cut off | Next action |
|---|---|---|
| 112 | 90 × 50 mm card | Set the card aside; set 106 mm. |
| 106 | 6 mm strip | Remove the waste; set 56 mm. |
| 56 | 90 × 50 mm card | Set the card aside; set 50 mm. |
| 50 | 6 mm strip | Remove the waste and collect the last card from the gauge. Repeat for the second column. |
The tables show distances from the backgauge to the blade, not increments of gauge travel. Do not set the gauge to 6 mm: each gutter is cut off a larger remaining piece. Reposition paper and remove offcuts only when the blade and clamp are raised; on a manual cutter, the blade must also be locked.
Write down these settings for this layout:
Columns
96 → 90 mm
186 mm side towards the blade
Cards fall away
112 · 56 mm
50 mm each
Gutters fall away
106 · 50 mm
6 mm each; last card stays at the gauge
Stack height
up to 40 mm
offcuts under the clamp bar
Example: 2 × 3 cards of 90 × 50 mm, 6 mm gutters, a 186 × 162 mm block. Stack height is from the My Print 858 A4 and 858 A3 guillotine product cards.
Marks gone and no dimensions written down?
Take an uncut print or print a new reference sheet at actual size. Compare the trimmed block with it: identify the finished edges and measure the remaining gutters. Write down your cutting sequence. If a cut has already gone into a card, you will have to reprint it.
One sheet before the stack
Cut one sheet, measure all six cards and inspect their edges.
All six cards measure 90 × 50 mm
Cut the stack
Keep the test cards and the recorded gauge settings. Keep the stack within 40 mm, with offcuts under the far end of the clamp bar.
One card is 6 mm longer
A gutter was missed
The gauge was not set to 90, 106 or 50 mm. Check the sequence against the tables and trim the strip.
Right size, but the image drifts
The print scale changed
Print at 100 % without fit-to-page and re-measure the print by its marks.
Cards differ between the top and bottom of the stack
The stack shifted under the blade
Put offcuts under the end of the clamp bar, tighten the clamp and cut a lower stack.
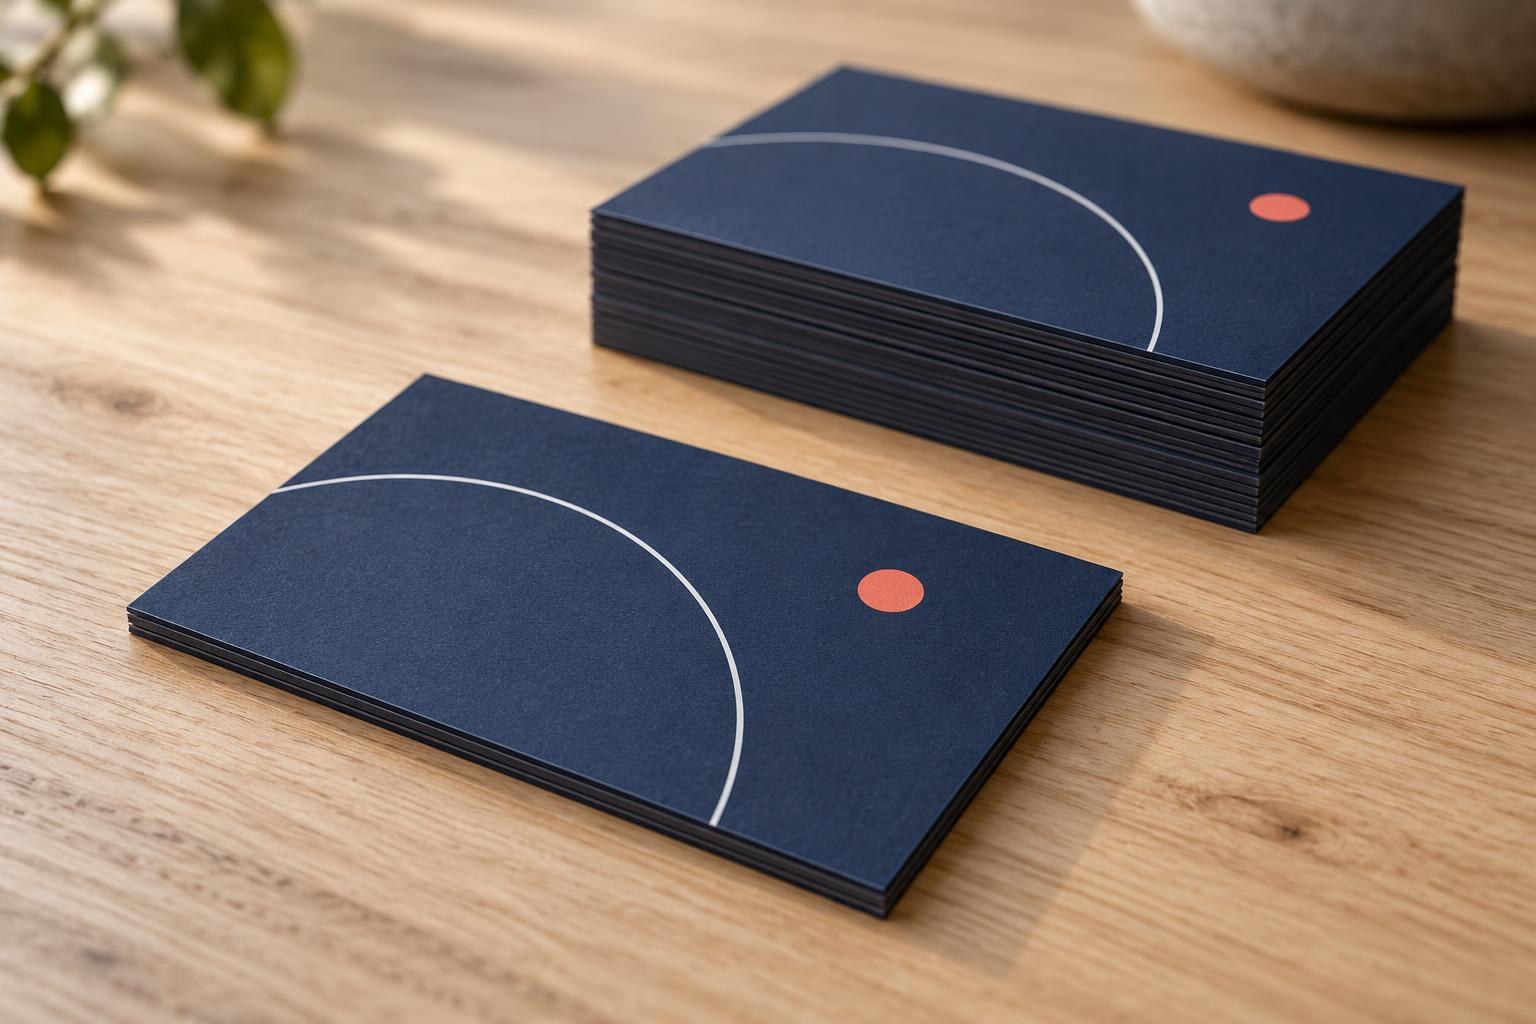
Right: cards laid on top of each other match on every edge.
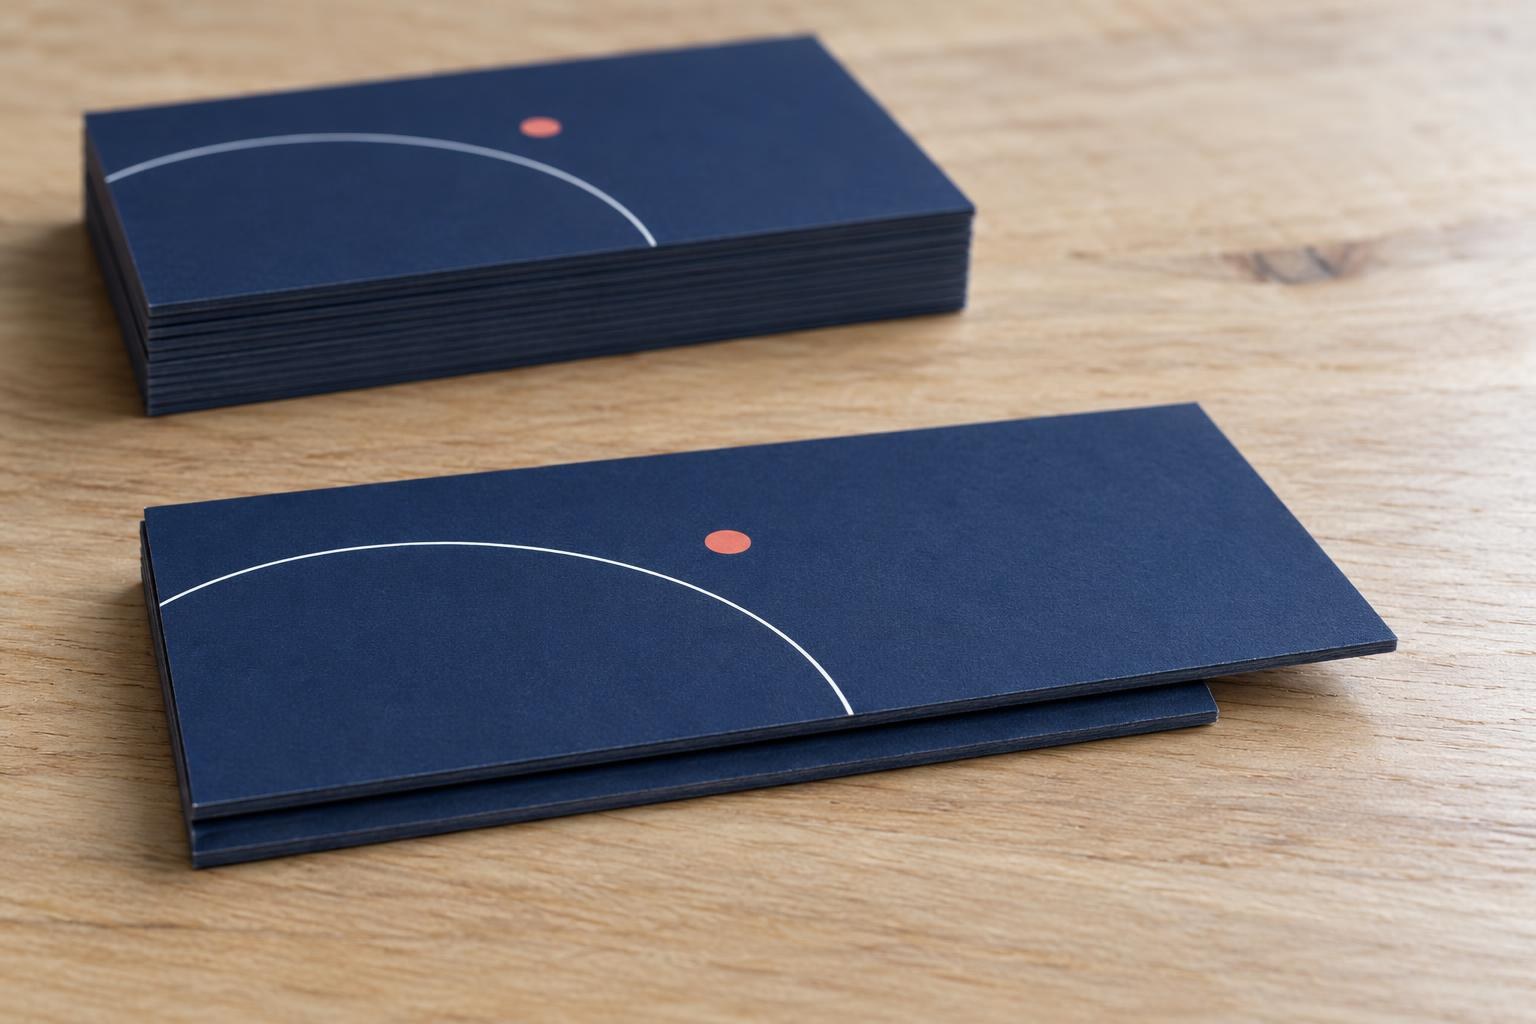
Wrong: the top card is longer: a gutter strip was left on it.
Frequently asked questions
How many 90 × 50 mm business cards fit on an A4 sheet?
A 210 × 297 mm A4 sheet fits 10 cards in 2 columns of 5: with 6 mm gutters and 3 mm bleed around the block, they occupy 192 × 280 mm. This leaves 9 mm on each side and 8.5 mm at the top and bottom for crop marks; check that they fall within your printer’s printable area. For a 274 mm long column, write down these backgauge settings: 224 → 218 → 168 → 162 → 112 → 106 → 56 → 50 mm.
Why leave gutters between business cards — can I cut them edge to edge?
Artwork printed to the edge needs bleed: the background extends beyond the cut line so a small cutting offset does not leave a white strip. The 3 mm from each neighbouring card makes a 2 × 3 = 6 mm gutter; for the space bleed needs, see Four A6 cards on A4. Cut cards edge to edge only for designs with a white border: one cut then separates two cards with no strips to remove.
Should I cut business cards with a guillotine, lever cutter or rotary trimmer?
The 858 A4/A3 guillotines have a backgauge and take stacks up to 40 mm; the 829-4 A4 / 829-2 A3 lever cutters take up to 12 sheets, and the 800-24 / 1200-36 rotary trimmers take up to 10 sheets. Choose a lever cutter for a few sheets and a guillotine for a run of business cards.
Do I need crop marks when cutting with a backgauge?
Yes: use them to trim the first two edges and outer margins and measure the gutters, then work from the recorded backgauge settings. Place the marks outside the bleed and keep one uncut print as a reference.