
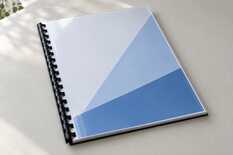
If your binding punch cuts paper cleanly but tears a clear cover or leaves plastic tabs in the holes, punch one cover at a time between two sheets of plain 80 g/m² paper, with one full stroke of the handle. Punch the pages separately. If that does not help, let a cold pack warm up, try a thinner cover, then check the dies.
Plastic has its own capacity limit
The capacity in a binder's specification is for 80 g/m² paper; plastic is harder to cut, so count covers separately.
For the first trial:
Covers per stroke
1
in a stack between two sheets
Backing
2 sheets
80 g/m², top and bottom
Handle stroke
full
to the stop, in one movement
Cover thickness
150–200 µm
cracking? use a thinner one
Binder makers rate clear covers separately from paper, at 1–3 per stroke depending on thickness. One cover in a stack leaves a margin on any manual binder.
Why put paper on both sides?
Paper sheets support the thin plastic near the punching line. Using one cover instead of several reduces the load on the dies. Use clean, dry 80 g/m² office paper for the backing, not the report's title page.
Trial stack: side view
The plastic sits between the paper backing sheets. Remove the paper after punching.
Check before assembling the report
- Start with paper. Empty the waste tray. Punch one or two plain sheets and inspect the whole row. This shows whether the machine tears paper too, or only plastic.
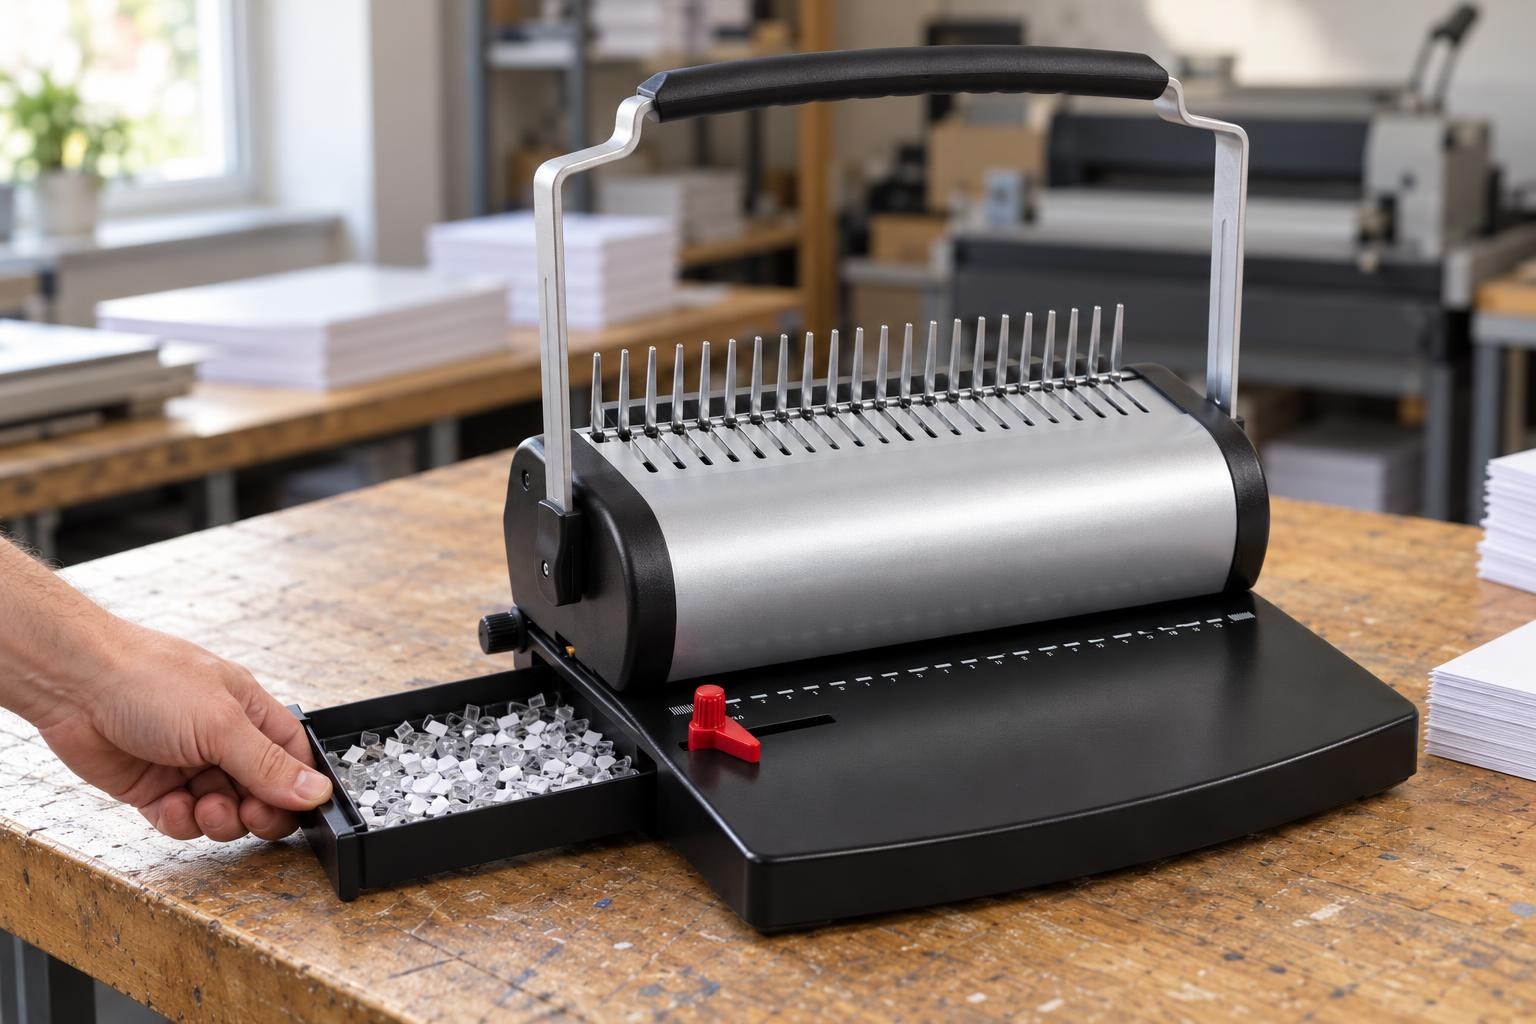
Empty the waste tray before the trial: chips packed under the dies also tear the hole edges.
- Assemble the stack. Place a spare cover between two fresh sheets of paper. Align the edges, seat the stack against the side guide and insert it fully. The backing must cover the entire intended row of holes. How to set the side guide so that the end holes stay inside the sheet is explained in ‘Half holes at the sheet edge’.
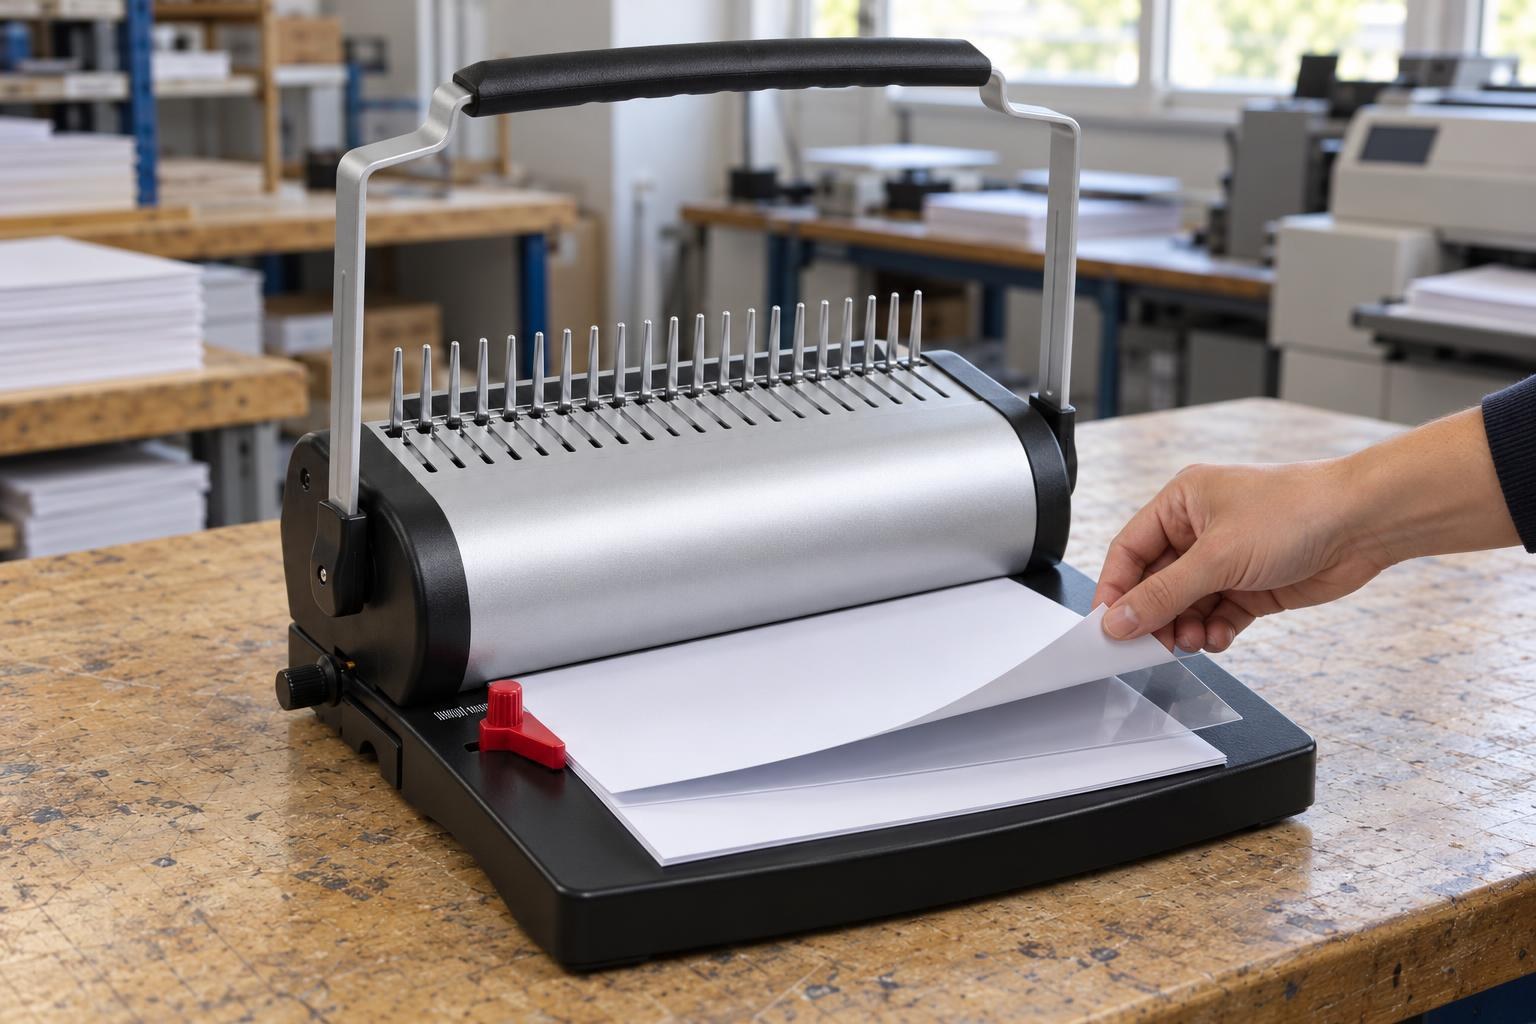
The trial stack: a sheet of paper, the clear cover, another sheet. Push the edge against the side guide, then insert the stack fully.
- Make one complete stroke. Punch all three layers together and return the handle. If it jams or needs unusually high force, stop pressing: bring it back and carefully remove the stack.
- Inspect the cover without the paper. Every hole should be open, without hanging plastic tabs or tears. Check both sides. Do not punch the same row twice: even a slight shift will leave a stepped hole edge.
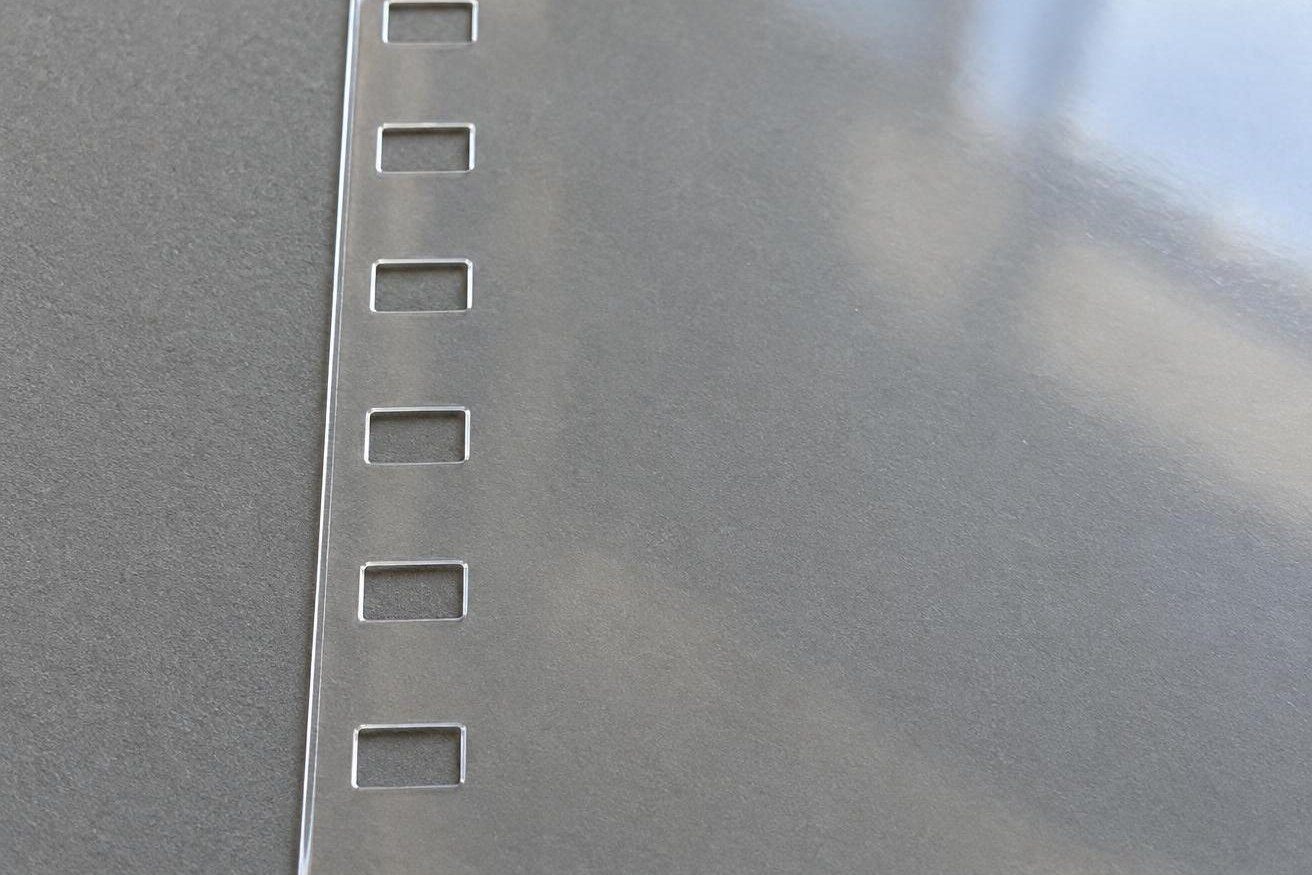
Right: every hole is open, with straight edges and no tabs or tears.
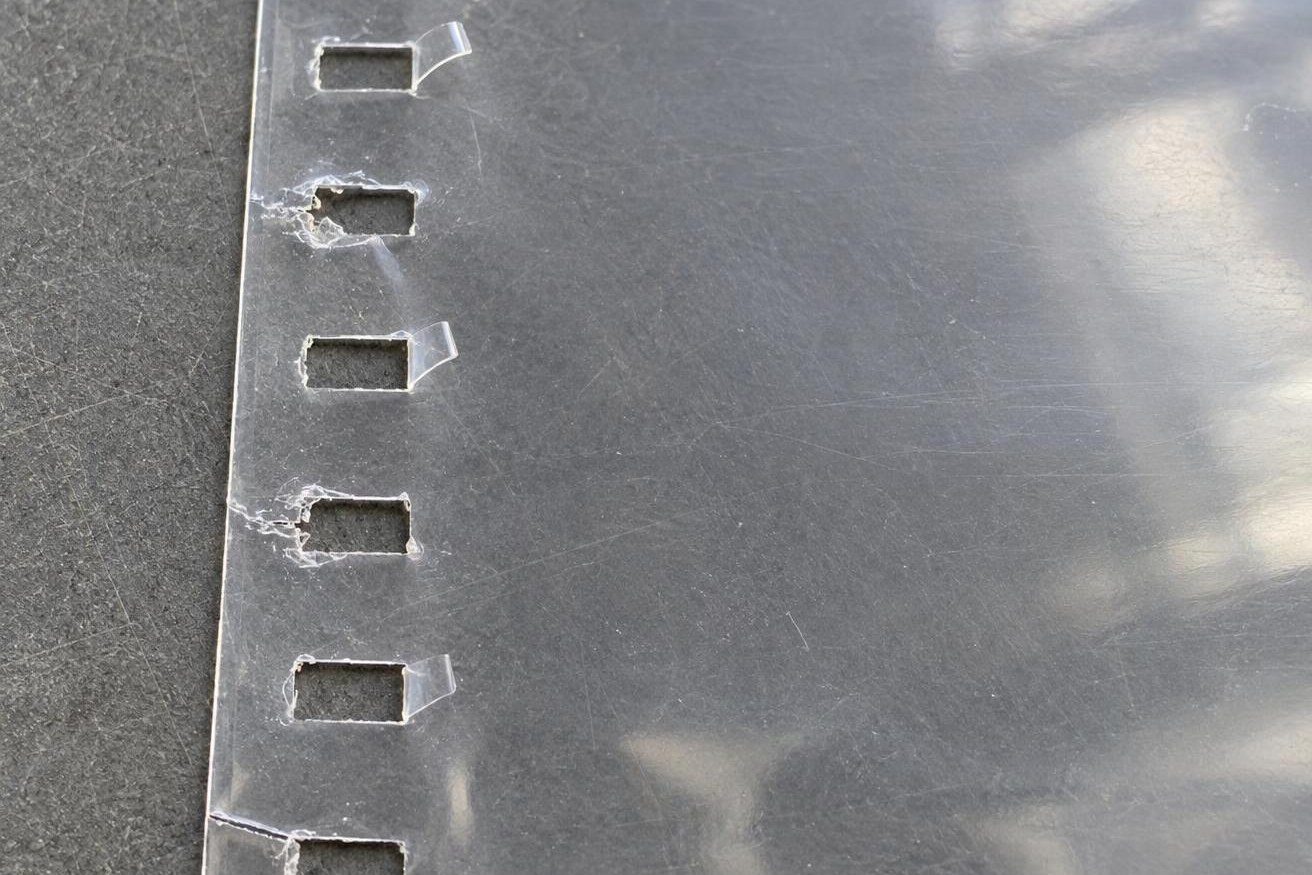
Wrong: plastic tabs hang in the holes, the edges are torn and a crack runs to the sheet edge.
What did the trial show?
| What you see | What to do next |
|---|---|
| The cover holes are clean with paper backing | Punch the remaining covers one at a time in the same stack arrangement. Use backing with an unpunched edge each time so that paper supports the plastic along the entire row of dies. |
| Cracks run from the holes to the edge; the pack has just come in from the cold | Leave the pack in a warm room for a few hours to reach room temperature, then repeat the trial. Cold plastic is brittle: it cracks where warm plastic cuts cleanly. |
| Paper is clean, but the plastic edges are still ragged | Try a thinner cover in the same stack — MyPrint sells 150, 180 and 200 µm. If it punches cleanly, use it. If it still tears, check the dies: clean holes in paper do not prove that the dies can cut plastic. |
| Even the paper-only trial still has ragged holes | Stop the run. If the tray is already empty and a smaller stack has not helped, check whether chips are blocking the dies; if not, send MyPrint's technical department a photo of the holes and the binder model name. |
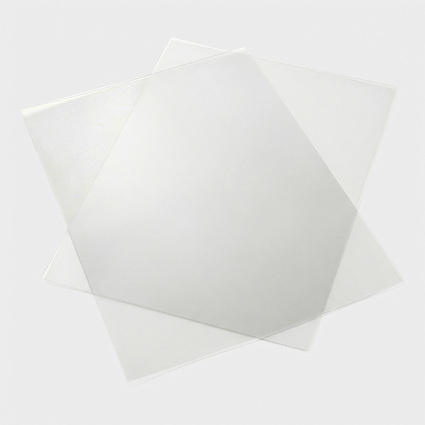
Clear plastic A4 cover, 150 µm
Light and flexible · pack of 100 · also in 180 and 200 µm
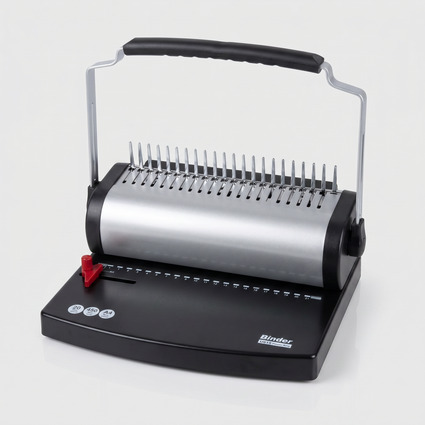
My Print CB Base 615 manual plastic comb binder
Punches up to 20 sheets per stroke · pull-out waste tray · 3×8 mm holes, 14.3 mm pitch
Place the successful trial cover over a punched document sheet: the entire row should line up. Assemble one copy and turn the cover. It should move freely without catching or tearing.
Frequently asked questions
How many clear covers can I punch in one stroke?
Manufacturers rate covers separately from paper: manual binders rated for 10–20 sheets can punch 1–3 clear covers up to 200 µm per stroke. Binder product cards usually omit this figure — punch one cover at a time between two sheets of paper.
Which cover thickness should I choose: 150, 180 or 200 µm?
For a report or booklet of up to 40–50 sheets, 150–180 µm is enough. The 200 µm cover is the stiffest, for thick catalogues and menus that are turned frequently; always punch it in a stack with paper.
Why does the binder punch paper but not plastic?
Thin plastic flexes: without support, the die partly bends it instead of cutting, leaving a tab in the hole. A sheet of paper on each side holds the film next to the die. If this does not help but paper cuts cleanly, let a cold pack warm up, try a thinner cover, then check the dies.
Can I punch the cover together with the document pages?
No: punch covers separately, one at a time with paper backing, and punch the pages in batches within your binder's capacity. Machine makers recommend this too.
My binder has started tearing paper too — what should I do?
Empty the waste tray and punch half as many sheets. If it still tears, the dies may be blunt or blocked: do not force the handle; send MyPrint's technical department a photo of the holes and the model name.