

Sublimation ink colours a polymer, not a surface. In the press the dye leaves the paper as a vapour, enters a thin polymer layer on the mug and stays in it as the mug cools. An ordinary mug has no such layer, so the dye sits on top of the glaze and washes off. The layer decides how bright, even and wash-resistant the print will be.
The layer is applied and baked at the factory, which is why sublimation mugs look just like shop-bought mugs but print in a completely different way. In the same way, sublimation plates and sublimation metal come prepared for printing.
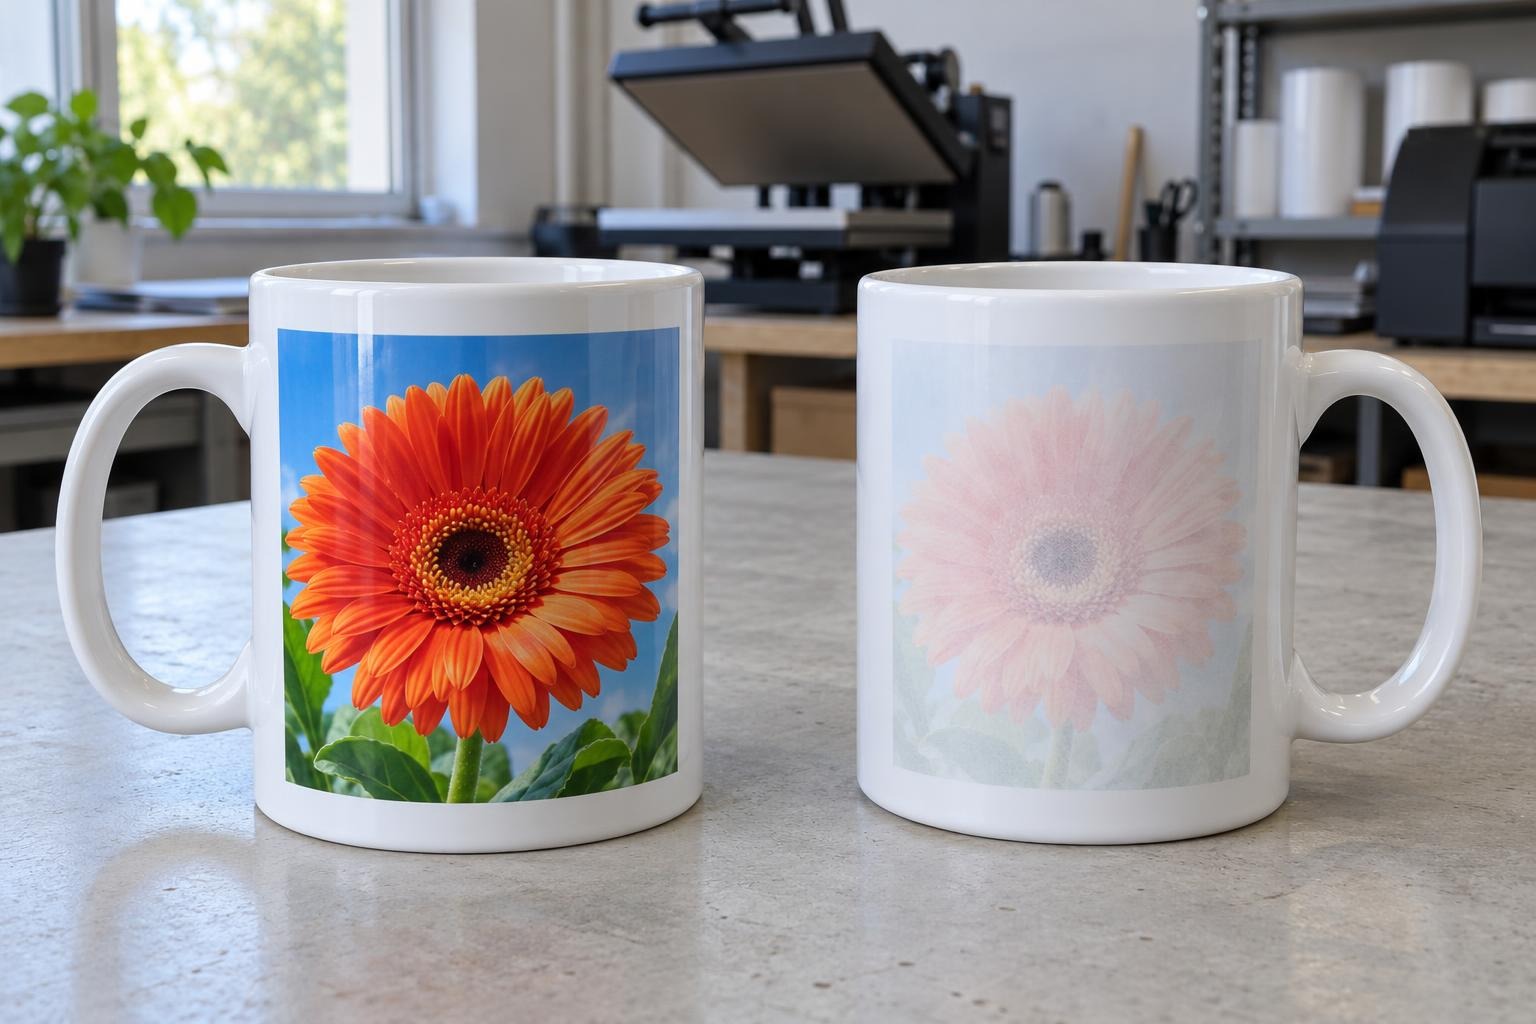
Left, a sublimation mug; right, an ordinary mug with the same print: without the polymer layer only a pale shadow of the picture remains, and water will wash it off.
What a sublimation coating is
Makers describe it as a clear gloss lacquer based on polyester or polyurethane. One maker specifies a layer of 15–25 µm for top-grade mugs, several times thinner than a hair. The layer softens in the press and hardens as it cools.
On a mug, the white comes from the ceramic under the clear layer. Metal differs: on white sheets the coating itself is white, while on silver sheets you see the metal through a clear layer. How this affects the white areas of a layout is explained in “White or Silver Metal for Sublimation”.
How the dye gets into the layer and why it stays
Ordinary paint dries on the surface. The dye in sublimation ink behaves differently: in the press it leaves the paper as a vapour, crosses the tiny gap between the paper and the wall and dissolves in the polymer. At press temperature the layer softens, so the dye moves deeper in. As the blank cools, the polymer hardens and the dye stays inside.
A mug wall in section: where the dye goes
1. In the press, about 200 °C
Paper with ink
●●●●●●●
↓ dye vapour ↓
The polymer layer softens
●●●
Glaze
Ceramic
The vapour enters the softened polymer
2. After cooling
Paper removed
Polymer hardened, dye inside
●●●●●●●
Glaze
Ceramic
Picture in the layer, does not rub off
Ordinary mug
●●●●●●●
Dye sits on top
Glaze, no polymer
Ceramic
Washes off with water
The dye crosses the gap between paper and wall and dissolves in the polymer; on bare glaze it has nowhere to go.
So the picture is not on the coating but in it: it has the same gloss as the mug and does not rub off with a finger.
That also sets the limits of the settings. Where the paper lifts off the wall, the gap is larger and the print there is paler and less sharp. Too little heat or time, and the dye does not fully transfer. Too much, and the layer starts to break down: a mug maker writes that an overheated coating turns yellow, most visibly on white mugs. Starting settings for different mugs are collected in “Mug Printing — Sublimation”: for a white 330 ml mug it gives 200 °C and 180 seconds.
Ceramic, glass and metal do not dissolve the dye: they are not polymers, and without a layer the dye has nowhere to go. Polyester fabric needs no layer because its fibre is itself the polymer the dye enters. Cotton does not hold the dye: the dye does not dissolve in cotton fibre, and the print washes out.
What this means for your work
Ordinary mug, glass tumbler, enamel mug
Will not print
The dye has nowhere to go. For tableware orders, use blanks with a factory layer.
T-shirt, bag, flag
Polyester prints
The more polyester in the fabric, the brighter the print. Cotton does not hold the dye.
Pale print
Check print and pressure first
Add time or heat only after these checks: excess heat yellows the coating.
A new box of blanks
The first blank is a test
A recorded setting does not replace a test print: the layer can differ from batch to batch.
What a weak coating looks like and what not to confuse it with
A print can come out pale or patchy because of a weak coating, a press that has not warmed up, weak pressure or a printing error. To find the cause, compare which blanks show the fault and where.
| What you see | Is the coating to blame | What to do |
|---|---|---|
| Pale on every blank from a new box, with the same settings, paper and press | Likely: this batch’s layer takes less dye | Press a blank from the previous batch next to it with the same layout. If only the old one is bright, the new batch is the cause. If both are pale, measure the real temperature: why the heat press and the pyrometer disagree. |
| Pale only on the first blanks after a break | No: the press has not warmed up | Let the press reach its working temperature. A maker of sublimation panels advises keeping a flat press closed and empty for 3–5 minutes before work so the lower platen heats up. |
| A pale or blurred patch in the same place on every blank | Not necessarily: uneven heating, poor contact or an uneven coating. | Check contact and heating uniformity: how to check pressure without taking the press apart. On a mug, check that the paper fits tightly and secure it with heat tape. |
| Blotches, “orange peel” or dust under the gloss before printing | Yes: the layer is uneven | Set such a blank aside: an uneven layer gives blotchy colour. |
| White areas look yellowish after the press, though they are clean on the paper | Possibly: overheating or a weak layer | First check the real temperature and time. If only the new batch yellows at the same settings, the coating is the cause: a mug maker writes that a weak coating yellows more easily. If the yellow tint is visible on the paper before pressing, look for the cause in printing. |
| A whitish film, stuck paper, or coating that came off with the paper | Not necessarily: check the settings and paper first. | Check that the paper is dry, then check temperature, time and pressure. What can be saved and how to avoid a repeat: paper stuck to the mug after sublimation. |
| Coloured dots, stripes or a double outline | Not necessarily: check the print and paper fixation first. | Dots come from dust or ink on the paper (how to find the source of dots). If stripes are visible on the paper before pressing, check the printer (stripes in sublimation printing). If they appear only after pressing, also check contact, heating and the blank. A double outline means the paper shifted (how to find the moment of the shift). |
| Colour fades after a few dishwasher cycles | Yes: the layer does not hold the dye in hot water | Advise hand washing unless the batch’s maker states dishwasher resistance. The reason is in the section below. |
Why the coating scratches and washes out
The layer is soft, and that is what makes it work: it has to soften in the press to let the dye in. In a European study conducted in 1999–2001, a standard sublimation coating had a hardness of 1–2 on the Mohs scale, like talc or gypsum, and a harder layer did not give the same colour brightness. Glaze is much harder, so a sublimation mug scratches more easily than an ordinary one. Do not scrub blanks with abrasives, and keep metal sheets in their protective film until pressing, if they have one.
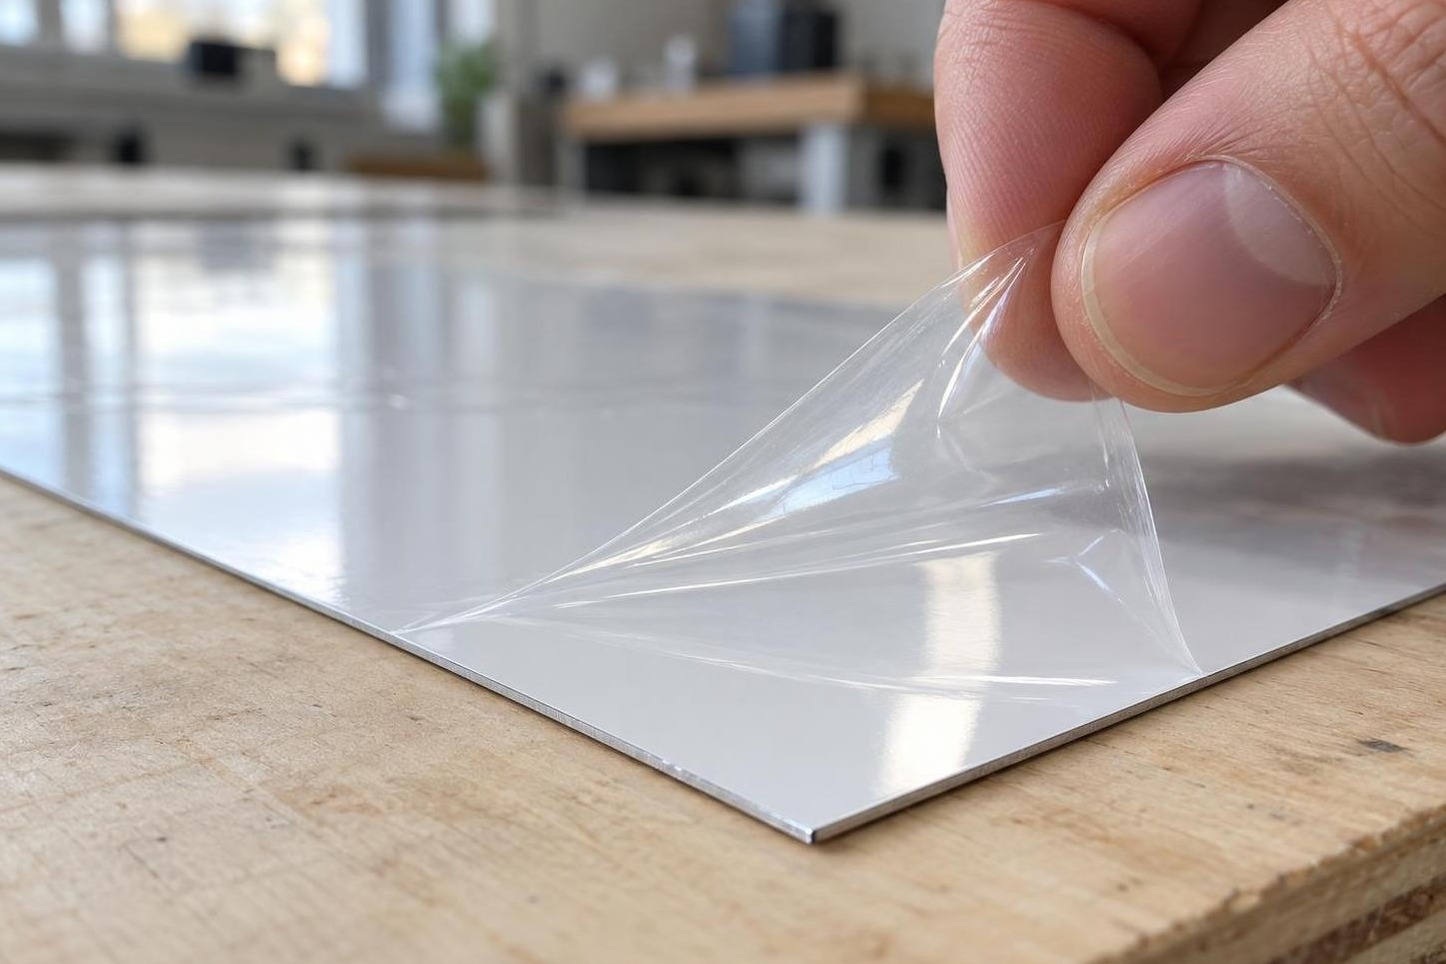
The protective film only guards the coating in transit: it comes off before pressing, and the glossy layer under it takes the dye.
The dishwasher is the hardest test for the layer: hot water with an alkaline detergent slowly draws the dye back out. In the same study, the colour on a standard coating faded with every cycle. Modern coatings last longer, but every maker has its own figures: one promises 3,500 cycles for its layer, another counts mugs that withstand 500 or more among premium blanks. Advise dishwasher use only if the maker of your batch allows it; check this with your MyPrint manager. Otherwise, advise hand washing with a soft sponge.
Spray-on coating: what it can do and what it does not promise
Sublimation lacquers and sprays are made for items without a factory layer. The instructions for one such lacquer list metal, ceramic, frosted glass and stone and allow only smooth flat surfaces that withstand 180 °C or more. It goes on in 2–3 coats with breaks of 5–10 minutes, then bakes for 20 minutes at 180 °C.
An even layer is hard to get from a spray. A transfer-materials maker warns that hand application brings “orange peel”, uneven thickness and dust under the lacquer, and blotches on the print. Such layers, it says, often do not stand up to sunlight or the dishwasher: the colour fades or the lacquer peels. A maker of a coating for do-it-yourself application states it plainly: hand washing only, and a test piece on every new material.
Do not bake the coating in a kitchen oven. The same maker requires a separate oven used only for sublimation, where no food is cooked.
So a spray-coated item is decoration: a plaque, a stone, a coaster. For mugs and plates made to order, use factory blanks.
MyPrint blanks ready for sublimation
These blanks already take the dye; they need no extra coating.
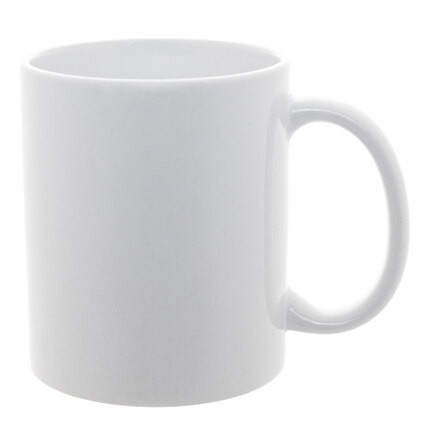
Sublimation mug, white, Premium+ grade, 330 ml
Ceramic, glossy, Ø 8 cm · pressed in a mug heat press
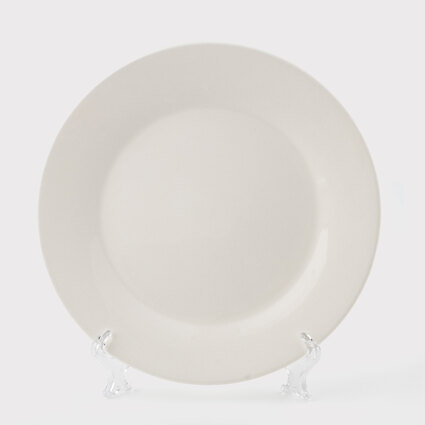
Sublimation plate, white, Ø 20 cm
Pressed in a plate heat press or a multifunction heat press
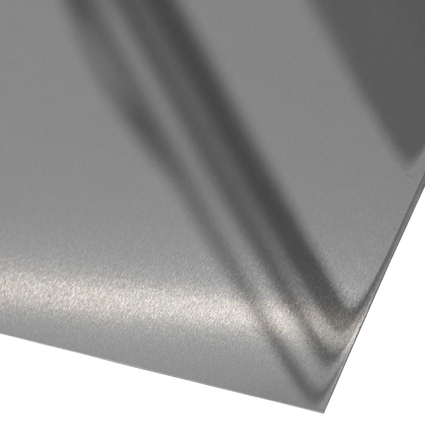
Sublimation metal, glossy silver, 60 × 30 cm
Sheet 0.45 mm thick · for items kept indoors
How to check a new batch of blanks
The check takes one blank from the new box and, if you still have one, one from the previous batch.
Inspect the blanks before printing
Look at a few of them in the reflection of a lamp: the gloss should be even, with no matt patches, dust under the layer or scratches. Set aside blanks with such faults.
Print a test layout
Solid patches of the primary colours and black, a smooth ramp from black to white, thin lines, small text and an unprinted white patch. Print mirrored on sublimation paper and let the paper dry.
Press at your recorded settings
Compare blanks that start at the same temperature on a warmed-up press. Fix the paper with heat tape and press a blank from the new box and, next to it with the same layout, a blank from the previous batch. Right after the press, remove the paper and let the blank cool.
Compare
Look at the evenness of the solids, the cleanness of the white patch and the sharpness of the lines and text. If the new batch is paler or yellower at the same settings, send photos of both tests to your MyPrint manager with the product name and order date. With no previous batch, judge by the same signs, and with a pale print, check temperature and pressure first.
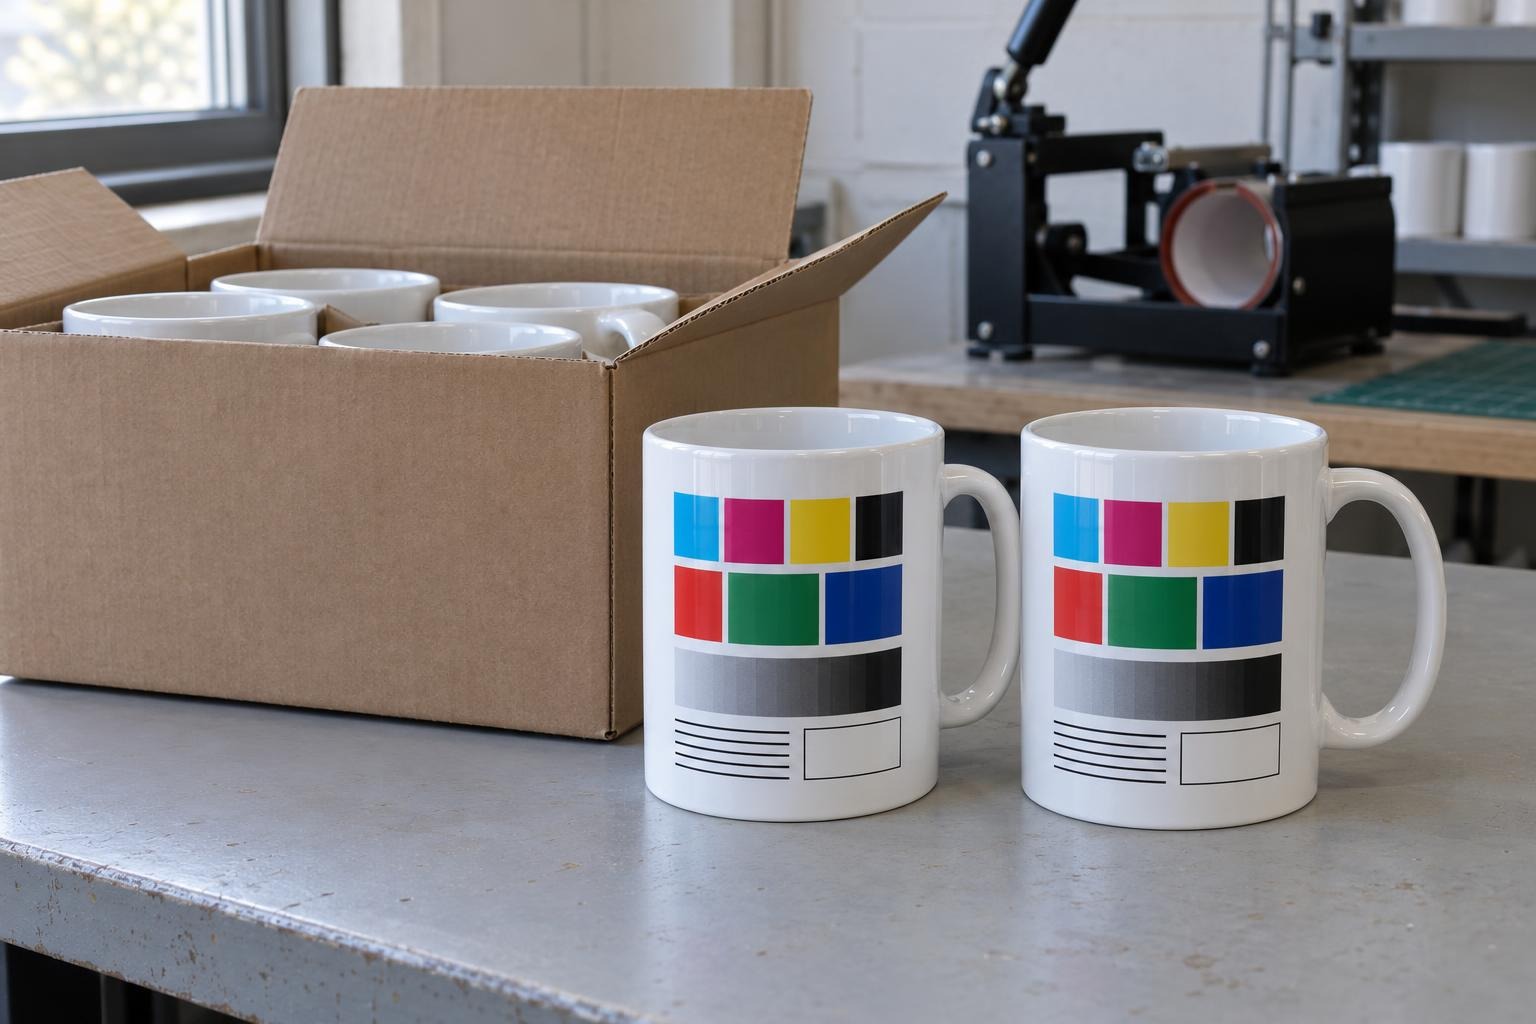
The same test layout on blanks from two batches: compare the solids, the white patch and the thin lines.
Scratches and washing: go by the maker
One test will not show how many washes and how much rubbing the layer can take. Promise a customer only what the batch’s maker states.
Frequently asked questions
Can you sublimate on a cotton T-shirt?
No. The dye dissolves in polyester but does not hold on cotton: the print comes out pale and washes out. For sublimation, use fabric with at least 65 % polyester; the more polyester, the brighter. Cotton needs a different technology, such as DTF: printing on film with adhesive powder and transferring it with a press.
Can you sublimate on a glass or metal mug?
Yes, if it is a blank with a sublimation layer. The sublimation mugs section has glass mugs and metal mugs with such a layer. An ordinary glass tumbler or enamel mug will not hold the dye.
Can a sublimation mug go in the microwave?
That depends on the coating, and the batch’s maker gives the answer: ask your MyPrint manager. Do not microwave metal mugs or mugs with a metallised coating or metallic glitter. Even a coating maker that allows microwave use for its own mugs says so.
How can you tell a sublimation mug from an ordinary one?
Not reliably by eye: the layer is clear and shines like glaze. Only a test press gives a sure answer, so keep blanks in their factory boxes, away from ordinary tableware.