
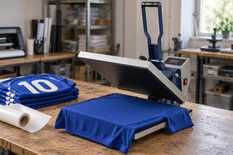
For a kit of 15 shirts and shorts, make the back number 25 cm high, the surname in 7.5 cm letters and the chest and shorts numbers 10 cm: these heights meet the requirements for men’s football kit listed below. A kit numbered 1–15 takes about 4 running metres of white film 0.5 m wide. Press My Print polyurethane film at 150 °C for 10 seconds with medium pressure and peel the carrier cold, and test coloured or sublimated polyester with a sheet of white paper first. By the calculation below, the whole job takes one person 3–4.5 hours.
Here is how to complete the order on a cutting plotter and a flat heat press, from the player list to packing. Other technologies for sportswear are compared in the overview “Printing on sportswear: technologies, fabrics and durability”.
What you need
The base is polyurethane heat-transfer film: it is thin and stretches with knit fabric. Numbers on dark or coloured kit are usually white, on light kit black or dark blue; all these colours are in the same series.
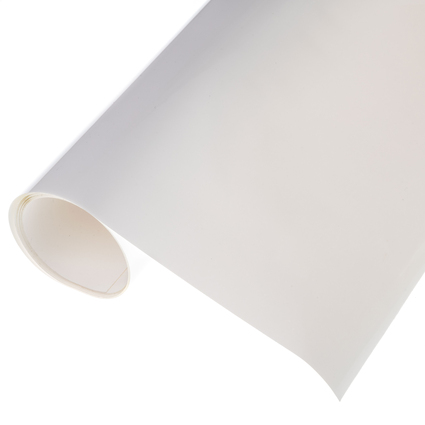
My Print High Flex PU heat-transfer film, white
Polyurethane 0.09 mm · 0.5 m roll, sold by the running metre · 150–160 °C, 10–15 s, medium pressure · peel the carrier cold
My Print Flex PVC film peels hot, with no waiting, but it is thicker at 0.11 mm, so for kit that stretches on the body use polyurethane.
For a 0.5 m roll, MyPrint’s 720-series cutting plotters fit: they take media up to 720 mm wide and cut a strip up to 630 mm.
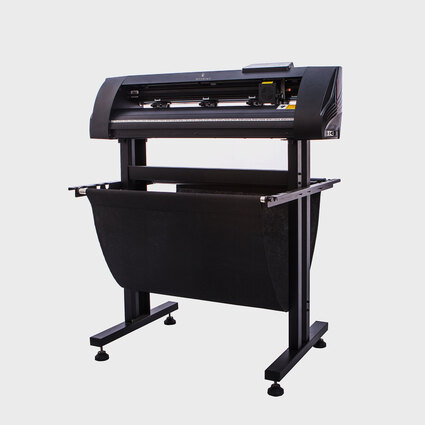
My Print 720 cutting plotter (with aluminium rollers)
Media up to 720 mm, cutting up to 630 mm · blade force 20–500 g · accurate feed over up to 3 m · cuts heat-transfer film
The platen size of the T-shirt heat press decides whether the surname and number fit in one closing.
Back number up to 25 cm
HP380A NEW 38*38 flat heat press
A 7.5 cm surname, 2.5 cm gap and 25 cm number total 35 cm in height. One closing is possible if the entire layout fits within the 38 × 38 cm working area. A 30–35 cm number with a surname takes two closings here.
Back number 30–35 cm
HP450A NEW 40*50 flat heat press
Place the 40–45 cm tall block along the platen’s 50 cm side. For one closing, the entire layout must fit within the 40 × 50 cm working area; check the longest surname’s width too. Across the platen there are only 40 cm — two closings again.
Both presses are clamshells, heat up to 230 °C and have a 1–999 s timer and pressure adjustment.
You will also need 10 mm heat tape to keep the carrier from sliding on slippery polyester, a 40*50 cm Teflon sheet for touch-up pressing and a 23*30 cm Teflon pillow under the chest and shorts numbers — all from the “Heat tape, Teflon, mats” section. For weeding, the My Print 5-in-1 film tool set with a hook and tweezers is handy.
Sizes: what the regulations say and what practice does
For official matches, the height of digits and letters is set by the regulations of UEFA, FIFA, the Ukrainian Premier League (UPL) and the Professional Football League (PFL). For amateurs and children, sportswear shops usually make them slightly smaller. Ask the team where it plays.
| What | Regulation | Practice: amateurs and children |
|---|---|---|
| Back number | Height 25–35 cm, stroke 2–5 cm (UEFA, FIFA). UPL and Ukrainian Cup: height 25–35 cm; PFL: 25–30 cm. All three Ukrainian competitions require a number width of at least 20 cm and a stroke of at least 3 cm. | 22–24 cm for adults, 20–22 cm for children |
| Surname | 7.5 cm letters, in Ukrainian in the UPL; 5–7.5 cm under FIFA | 5–6 cm letters |
| Surname to number | at least 4 cm (FIFA) | about 2.5 cm |
| Chest number | 10–15 cm, centred or to one side, if the competition requires it (FIFA); not required in the UPL | 8–10 cm |
| Shorts number | 10–15 cm, on the front of the right or left leg | 8–10 cm |
| Colour | all numbers in one colour that contrasts with the shirt; in the UPL no silver or gold reflective ones | the team’s colours |
Sources: UEFA Equipment Regulations (2026), FIFA Equipment Regulations (2025), and the UPL, Ukrainian Cup and PFL regulations. Practice: guides for amateur orders.
Other games have their own minimums: in basketball under FIBA rules the back number is at least 16 cm and the front one at least 8 cm; in volleyball under FIVB rules at least 20 and 15 cm; in handball at least 20 and 10 cm. The digit stroke in basketball and volleyball is at least 2 cm.
The cited regulations set no separate children’s sizes. Use a 20–22 cm number only when the tournament rules allow it; otherwise keep the required height.
File: list, font and layout
Get the list and a spare shirt from the team
The list comes as a separate file: number, size and the surname exactly as it should appear on the back, in Ukrainian or in Latin letters. Ask the captain to confirm every surname in writing before cutting. For the test you need a spare shirt of the same model; if there is none, press the test piece on the inside of the hem.
Build the layout
Use a simple sans-serif font with an even stroke and a Cyrillic set that includes every Ukrainian letter; set surnames in capitals. Take digit and letter heights from the table and keep them the same across the whole kit. Check the longest surname on the smallest size: if it does not fit between the sleeve seams, narrow the letters but keep the height. Centre the number by the visible width of its digits: “1” is much narrower than “8”.
Mirror and nest on the film
The plotter cuts the film from the adhesive side, so digits and letters in the layout must be mirrored — on the shirt they will read correctly. Place the elements in rows across the roll with a 1–1.5 cm gap, in list order: after weeding they are easy to sort onto the shirts. Put small numbers into the gaps next to the large ones. Split the layout into sections of up to 3 m: accurate feed on the My Print 720 is specified for that length.
Cutting and weeding
Make a test cut, then cut
First cut one test number and check it as in step 6. Once the test passes, cut the rest of the run. Check 100 % scale in the plotter software: the back digit must be 25 cm high and a letter 7.5 cm. Load the roll adhesive side up, carrier down, with a 45° blade as the film card states. Cut a small shape and weed it: the film should lift cleanly and the carrier should show only a light trace, not a cut-through. Change blade force and speed one at a time, as in “Test cutting on a plotter: how to set the blade, force and speed”.
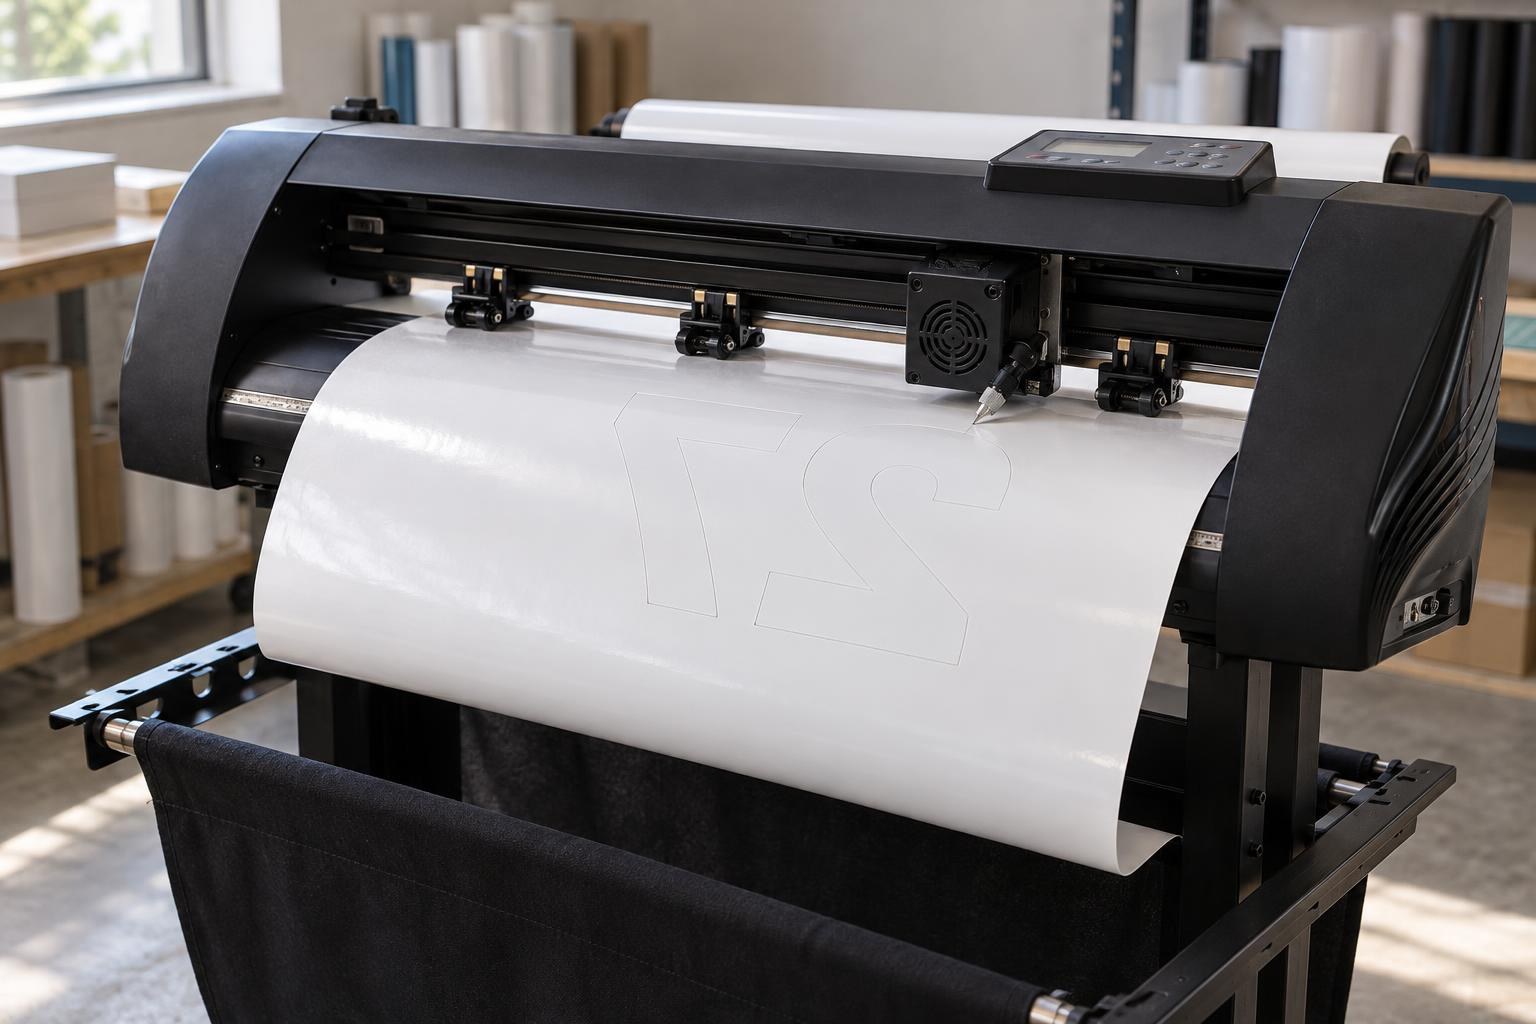
The digits on the roll are mirrored: the plotter cuts the film from the adhesive side.
Weed the excess
First remove the insides of the digits 0, 4, 6, 8, 9 and of letters with closed shapes, then peel the background at a sharp angle. Hold the dots and breves of Ukrainian letters with the hook so they do not leave with the waste. 7.5 cm letters weed easily; how not to lose finer details is covered in “Small heat-transfer film letters get lost during weeding”. Cut the rows apart with scissors, leaving about 1 cm of carrier around each element, and sort them by player.
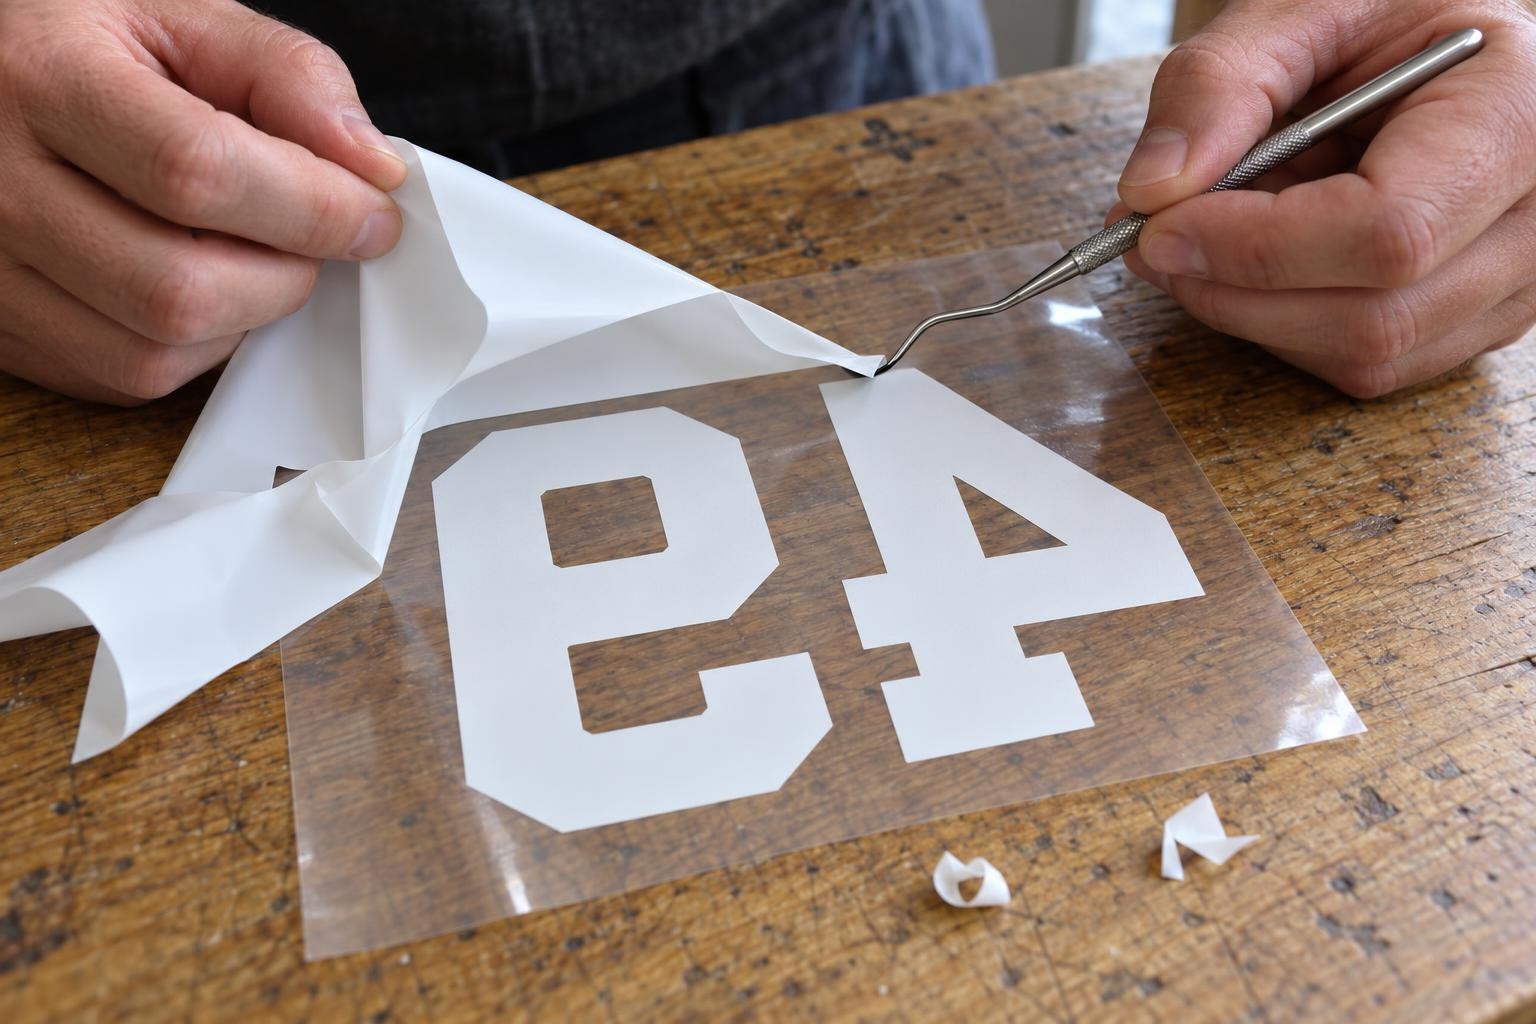
Insides of the digits first, then the background: pull the waste at a sharp angle.
Settings and a test on a spare shirt
Take the settings from the film card and start at the lower limit. They are the same for the back, chest and shorts.
Temperature
150 °C
up to 160 °C per the card
Time
10 s
up to 15 s if an edge does not hold
Pressure
medium
the handle resists, no body weight
Peel
cold
after 1–2 min, once the number has cooled
My Print High Flex PU film on polyester kit. Corrections only within the card: 150–160 °C and 10–15 s.
Make a test
On coloured or sublimated kit, first cover the fabric with a sheet of white paper and press for 10 s at 150 °C. Then apply one number to the spare shirt following steps 7–9. After it cools, check the film edges and inspect the fabric for shine or a platen mark. Wash a fabric that is new to you as well: after 24 hours, inside out, at 40 °C; dry it and inspect the edges again.
A mark on the white paper means the fabric dye is moving into the film, and a white number will take on the fabric’s tint. Choose a film darker than the kit or agree on another colour with the team. If the paper stays clean, press at 150 °C for 10 s and compare the test with an unpressed piece of film after 24 hours, and on sublimated kit again after 72. Why this happens is explained in “Why white heat-transfer film turns pink on polyester”.
Pressing the kit
Pre-heat the shirt and mark the back
Lay the shirt on the press back up; if the fabric is mesh, put a Teflon sheet inside, because the adhesive can pass through the holes and catch the front. Pre-heat the shirt for 3–5 s to drive out moisture and smooth creases. Find the centre of the back by folding the shirt lengthwise so that the side seams meet.
The regulations set no distance from the collar seam to the top of the surname; a guide for an adult shirt is 10–15 cm. Measure it with a ruler on the first shirt and cut a cardboard strip to that length: butt it against the collar seam and set the top edge of the letters against it. Place the number below with a 2.5 cm gap (4 cm under FIFA rules) and centre both elements on the fold. The carrier is slightly tacky and stays on the fabric by itself; on slippery polyester add a piece of heat tape at each side.
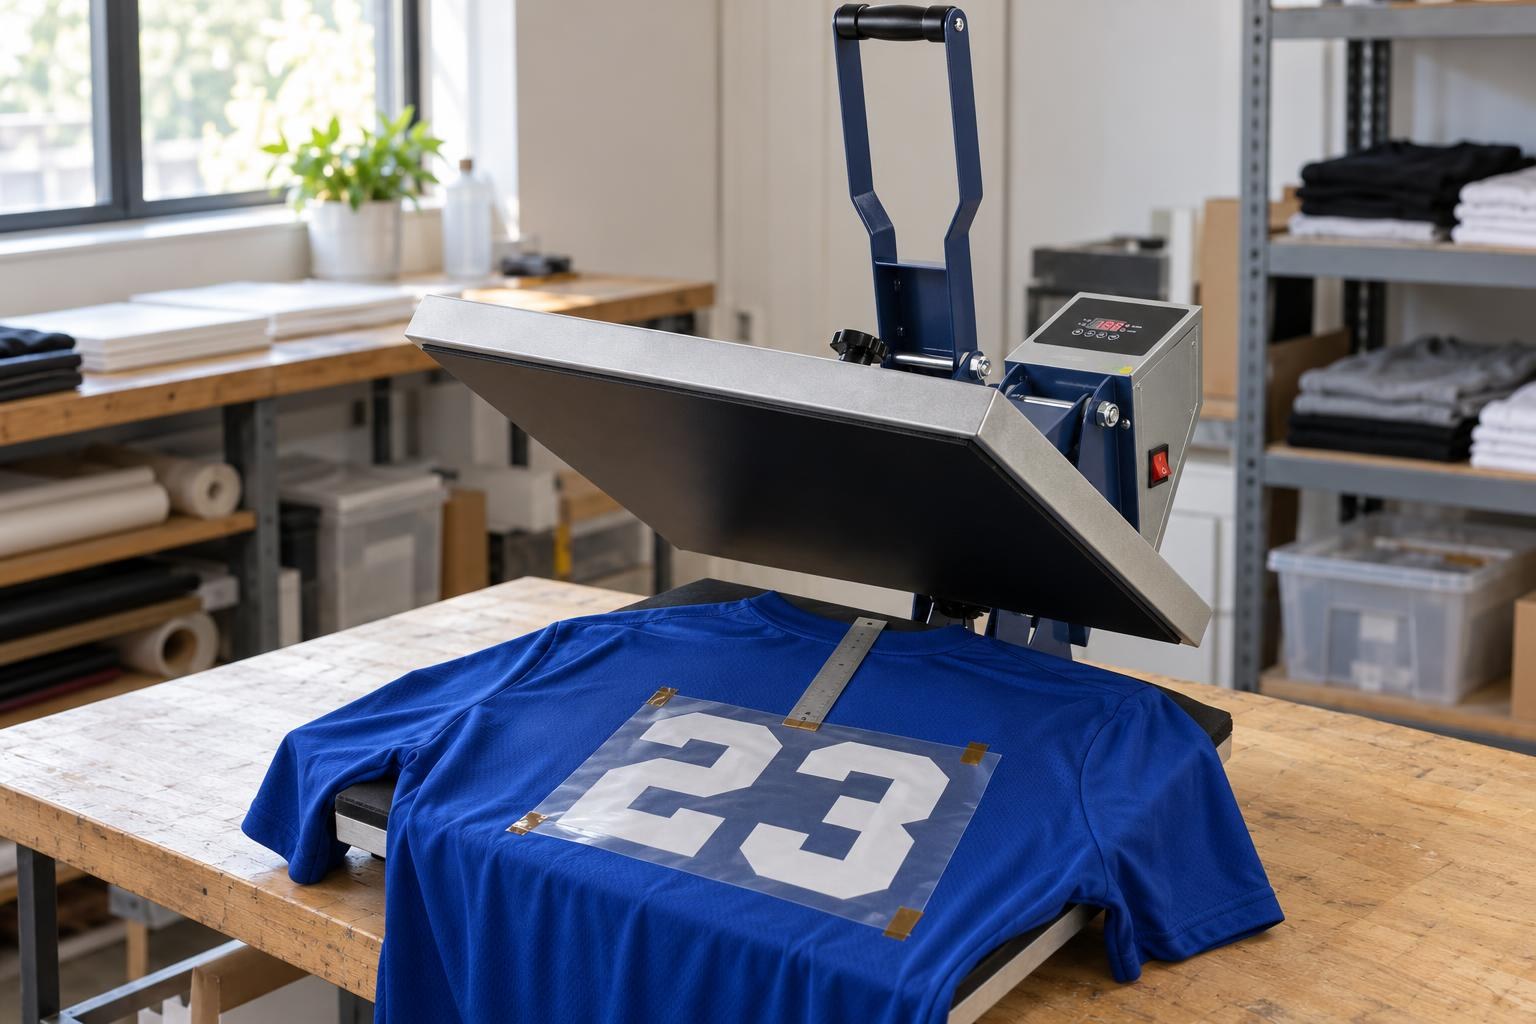
A ruler from the collar seam along the centre of the back: one measured distance keeps every number in the kit at the same height.
Press the back
Close the press with the settings from the card above. If the back does not fit the platen, press the surname and the number in two closings. Leave the carrier on the first element until the second one is pressed: the second closing partly covers the first.
Peel the carrier cold and check
Move the shirt to the table and wait until the number is no warmer than the fabric, usually 1–2 minutes; press the next shirt meanwhile. Pull the carrier low, almost parallel to the fabric. If a letter or a corner stays on the carrier, lay the carrier back, cover it with a Teflon sheet and re-press for 5–10 s at the same temperature. The causes are covered in “Heat-transfer film comes off with the carrier: what to do”.
Finally, run a finger along the edges and gently stretch the fabric across the number: the film should stretch with it, without cracks or lifted corners. If edges lift on several shirts, check the pressure first, then add 2–3 s, but go no further than 15 s.
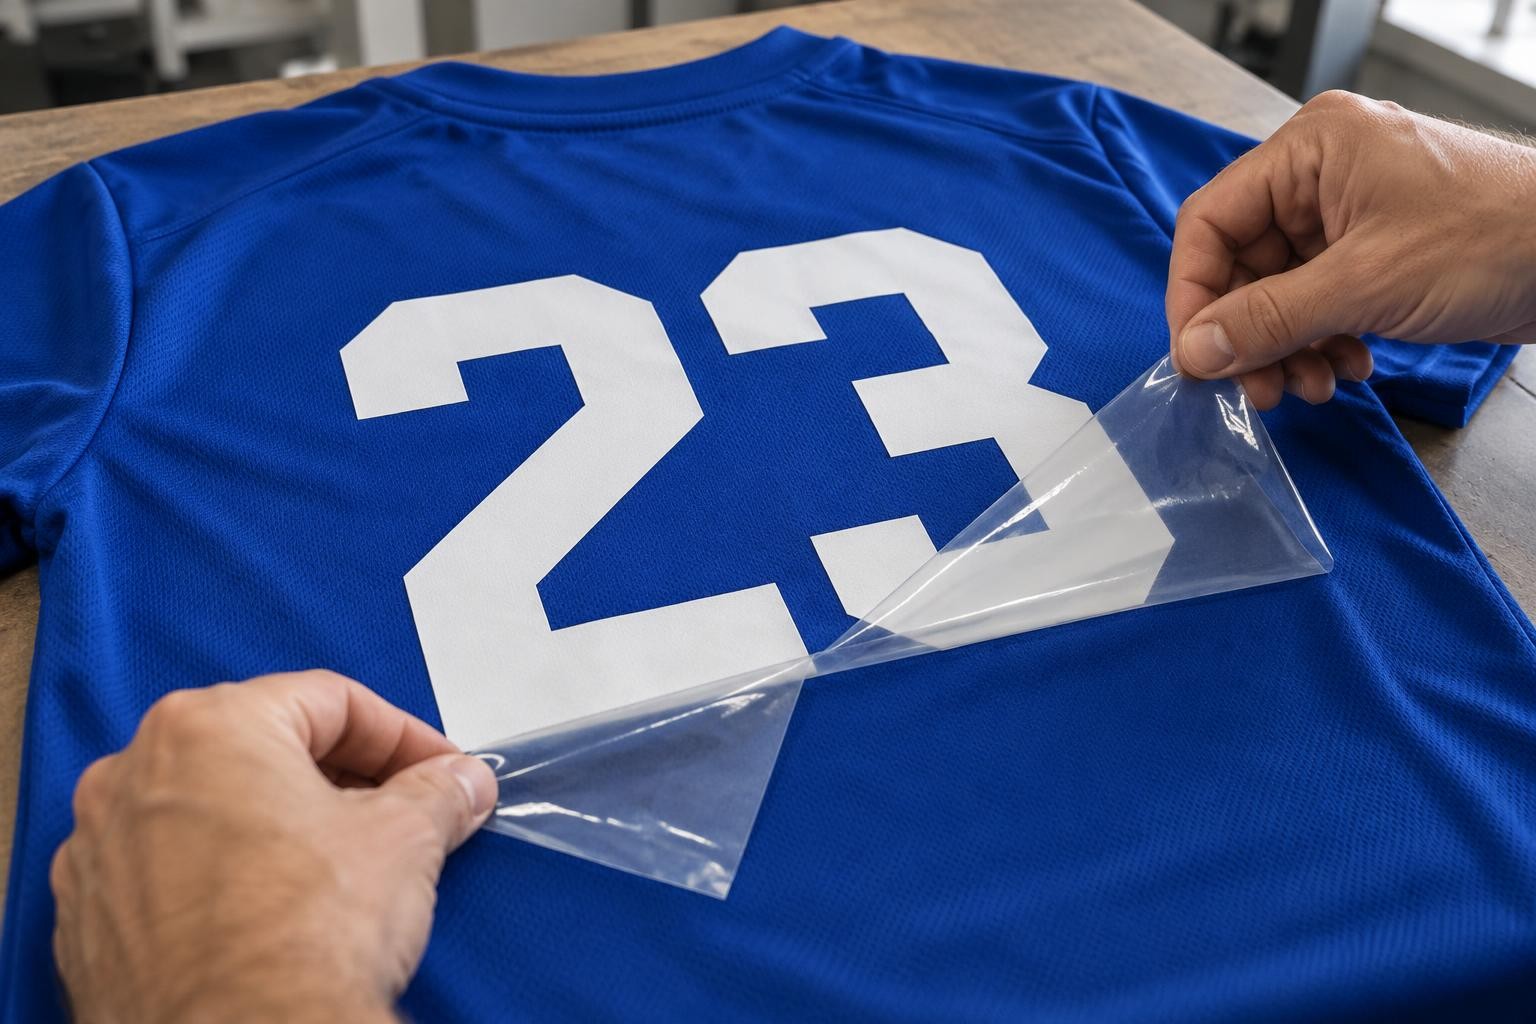
The carrier comes off a cooled number: low, almost parallel to the fabric.
Chest and shorts numbers
Turn the shirt over and put the Teflon pillow inside under the number area: it lifts that area so the platen does not press on the seams and collar. Place the chest number in the centre or to one side, the same on every shirt. For shorts, put the pillow inside the leg and place the number on the front of the right or left leg, at the same distance from the hem and the side seam on every pair. After inserting the pillow, reset medium pressure for the new thickness; check it again before moving to the shorts. Settings and cold peel stay the same.
Packing and a care note for the team
Pack the kits
When everything has cooled, fold each shirt with the number facing out and add the shorts with the same number and the care note. Check every bag against the list: number, size, surname.
Write in the care note:
- First wash no sooner than 24 hours after application.
- Wash inside out at up to 40 °C with a mild detergent, no bleach or liquid softener.
- Dry flat in the air or in a tumble dryer on low heat.
- Iron only from the inside, never over the number.
If the team brings back a shirt where the film went wavy after washing, the causes and the fix are in “Why heat-transfer film wrinkled after washing”.
A run of 15 kits: time and film
An example for planning. Inputs: 15 shirts and 15 shorts; per kit a surname of up to 8 letters and a number on the back, plus a number on the chest and on the shorts; numbers 1–15; white film; a 40 × 50 press with the back in one closing; one person working. The press cycle is 10–15 s per the film card; the time for the other operations is a guide. Time your own first kit.
| Stage | For 15 kits | What it consists of |
|---|---|---|
| List, layout, nesting | 30–45 min | 15 surnames and numbers, mirroring, two pieces of up to 3 m |
| Test cut and cutting | 15–20 min | blade test and about 4 m of film; while the plotter cuts the second piece, you weed the first |
| Weeding | 60–120 min | 4–8 min per kit |
| Pressing: back, chest, shorts | 53–68 min | 45 elements at 70–90 s each: place and align, pre-heat 3–5 s, press 10–15 s, take off the press, peel the cooled carrier |
| Check and packing | 15 min | about 1 min per kit |
| Total | ≈ 3–4.5 h | one person’s work, 173–268 min |
On a 38 × 38 press with a 30–35 cm number, the back takes two closings: add 40–60 s per shirt, that is 10–15 min. Cooling runs in parallel with pressing the next shirt. Count the wait for the test apart from the work: 24 hours for a new fabric, up to 72 hours for sublimated kit.
Calculation for an agreed amateur layout with narrow digits. Film for the same example is calculated with these inputs: a font in which a 25 cm digit is about 13 cm wide; a “1” about 7 cm wide; a 1.5 cm gap between elements; a usable roll width of 48 cm.
White film for 15 kits, numbers 1–15
Two-digit numbers such as 23 or 88 are almost 28 cm wide and go one per row. If nearly all numbers on the list are like that, allow up to 6 m, provided the small numbers are placed two beside each large one. The exact length comes from the layout in the plotter software.
Before pressing the run
Frequently asked questions
Do I need to press the number a second time after peeling the carrier?
No. My Print polyurethane film needs one 10–15 s cycle, and a repeat press squeezes adhesive out past the edge — see “Glue halo around heat-transfer film: how to get a clean edge”. Only a letter or a corner that stayed on the carrier gets re-pressed.
A number started peeling after several washes. What should I do?
If the film is intact and only an edge has lifted, cover it with a Teflon sheet and re-press for 5–10 s at 150–160 °C with medium pressure. Re-pressing will not mend cracked or torn film.
The kit label shows an iron with one dot. Can I press at 150 °C?
Test it: press a small piece of film on the inside of the hem or on the spare shirt at 150 °C for 10 s. If the fabric shows no shine, platen mark or melting, press the kit at these settings. If there is a mark, do not press this kit and offer the team another model.
How many washes will the numbers survive?
That depends on the settings and the care. Check the settings with a test wash after 24 hours; the care note in every bag sets the care.