
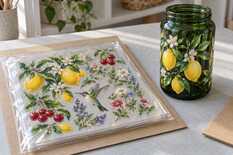
You can print UV DTF transfers ahead of time if you keep both films on — UV DTF films A+B — and store them flat or loosely rolled in a sealed bag, in a dark, dry cupboard at 18–24 °C. For shipping, put the bag between two sheets of cardboard and a long roll into a rigid tube; never fold the design. Before using stored stock, apply one transfer as a test.
Leave both films on during storage
After printing on a UV DTF printer, the inks and varnish have already cured under ultraviolet light. Store completed transfers after laminating them with film B. Print on film A without film B is not ready to set aside: laminate it first. The lower film A covers the adhesive until application; the upper film B holds the design during transfer.
Do not remove film A early: exposed adhesive collects dust and fingerprints. Leave film B in place too — you will need it to transfer all the elements together.
What is inside the bag
Remove the films only during application.
Cross-section through a printed element of a finished transfer.
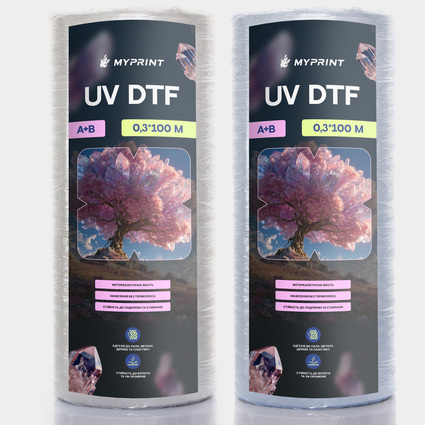
My Print A+B UV DTF film, 0.3 × 100 m rolls
A+B set: both films that stay on the transfer until application · 0.3 × 100 m rolls · 2 rolls per pack
No folds, on the shelf or in the post
The adhesive on film A ages with heat, light and moisture, and a clear bag only keeps out dust, so seal the bag and keep it in a cupboard.
Temperature
18–24 °C
steady, away from heaters
Light
dark
closed cupboard or box
Moisture
dry
sealed bag with silica gel
Position
flat
or loosely rolled, design side out
For finished transfers with both films on. Nothing heavy on top.
- Label the bag: print date, film batch and job. Use the earlier prints first.
- Lay them flat. Put nothing heavy on top. Reseal the remaining stock in its bag.
- Add rigid support. For shipping, place the bag between two sheets of rigid cardboard slightly larger than the transfer. Try the lid: it must not press down on the middle of the sheet. A soft envelope marked ‘do not bend’ will not protect the transfer — it needs cardboard. Do not strap the package so tightly that it bends.
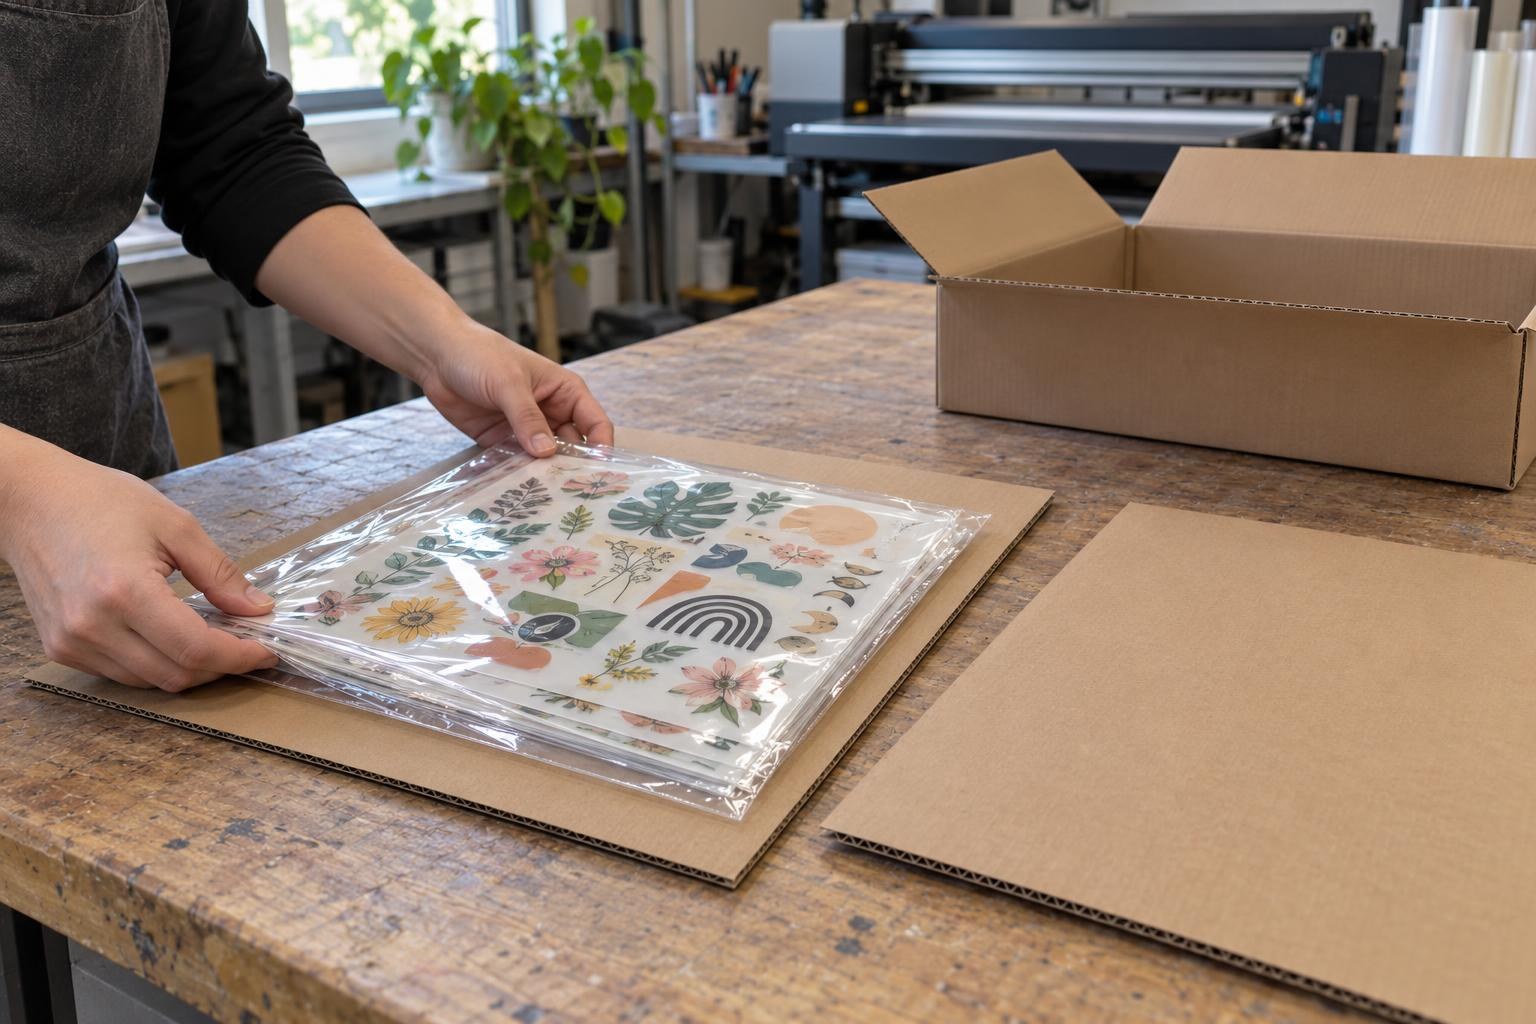
The bag of transfers goes on a sheet of cardboard slightly larger than the transfers; the second sheet goes on top before the box.
There are clear gaps between designs
Divide a large sheet of separate designs before packing. Cut through both films together along the gaps. Cut only through clear film and leave a few millimetres around the design: the varnish extends slightly past its edge.
The design is continuous or long
Use a larger box. Wind a long sheet or roll loosely, design side out, onto a wide core such as an empty film core, seal it in a bag and ship it in a rigid tube. Never fold it: a sharp fold cracks the cured print.
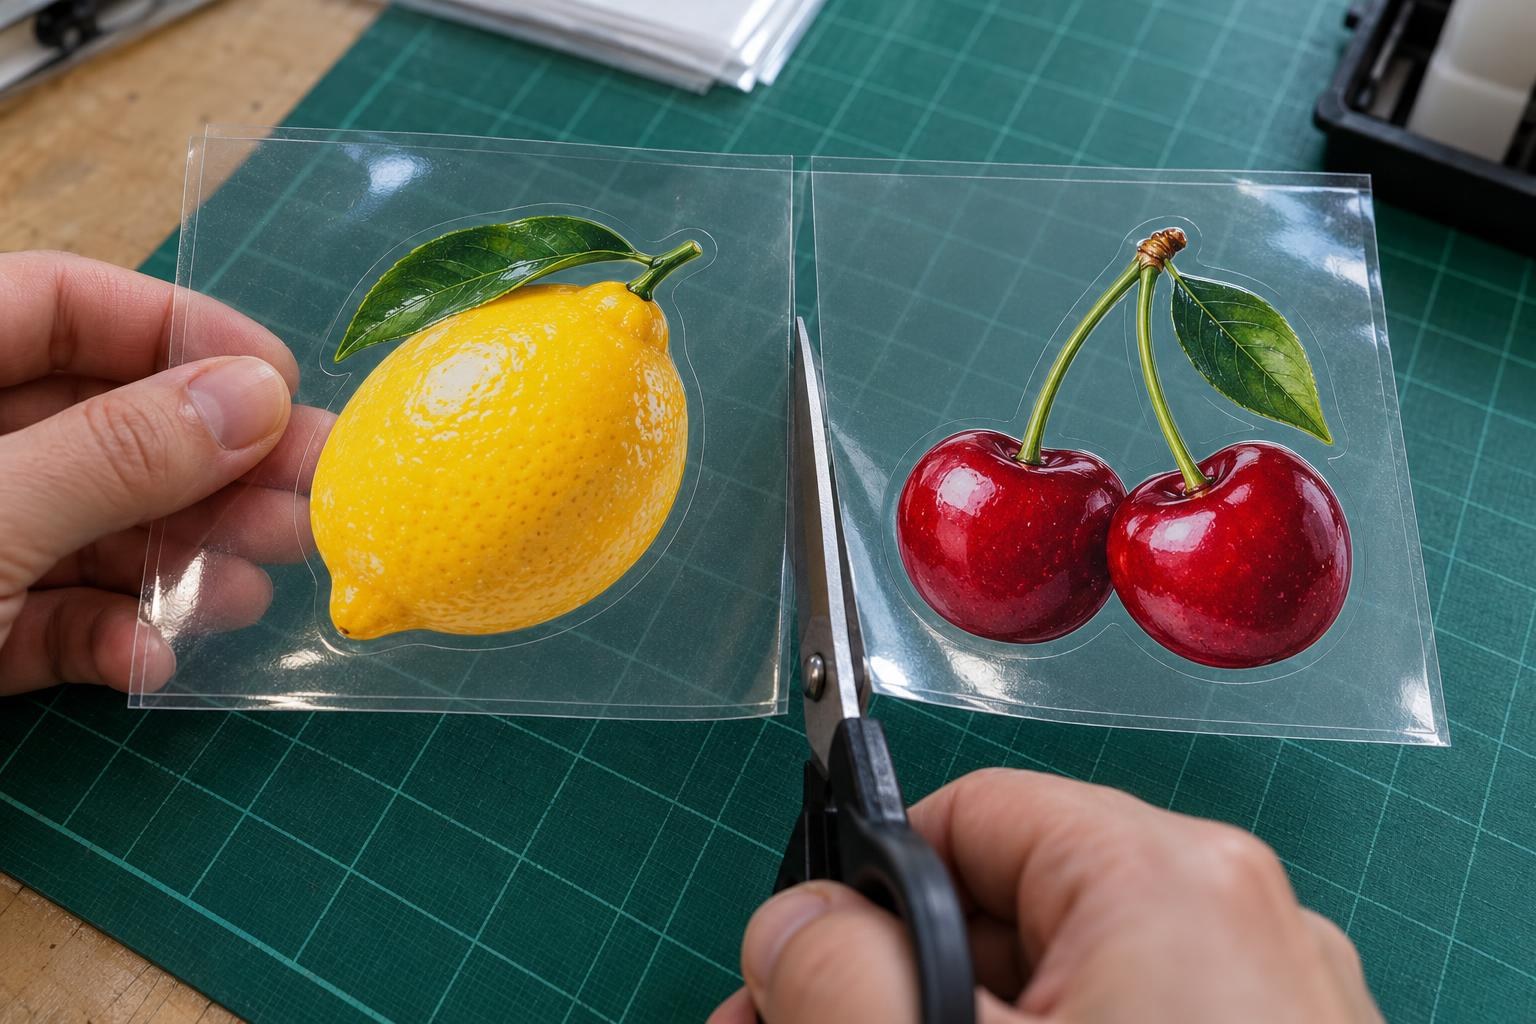
Cut both films together only through a clear gap and leave a few millimetres around each design: the varnish extends slightly past the outline.
Can you print a year's stock?
There is no guaranteed shelf life for a printed transfer: MyPrint's film cards give none, and producers of ready-made transfers promise anywhere from 6–12 months to 1–2 years for their own transfers when stored correctly. So print stock for upcoming orders, label the print date, and before using each stored batch, apply one transfer as a test.
Taking stock out: use it or reprint it?
Inspect the sheet in good light. For a trial application, use a blank with the same material type and finish on which this transfer has already bonded successfully. Apply it as usual; we showed how to press the design down and peel film B without bubbles in Bubbles under UV DTF on glass: how to apply the decal evenly.
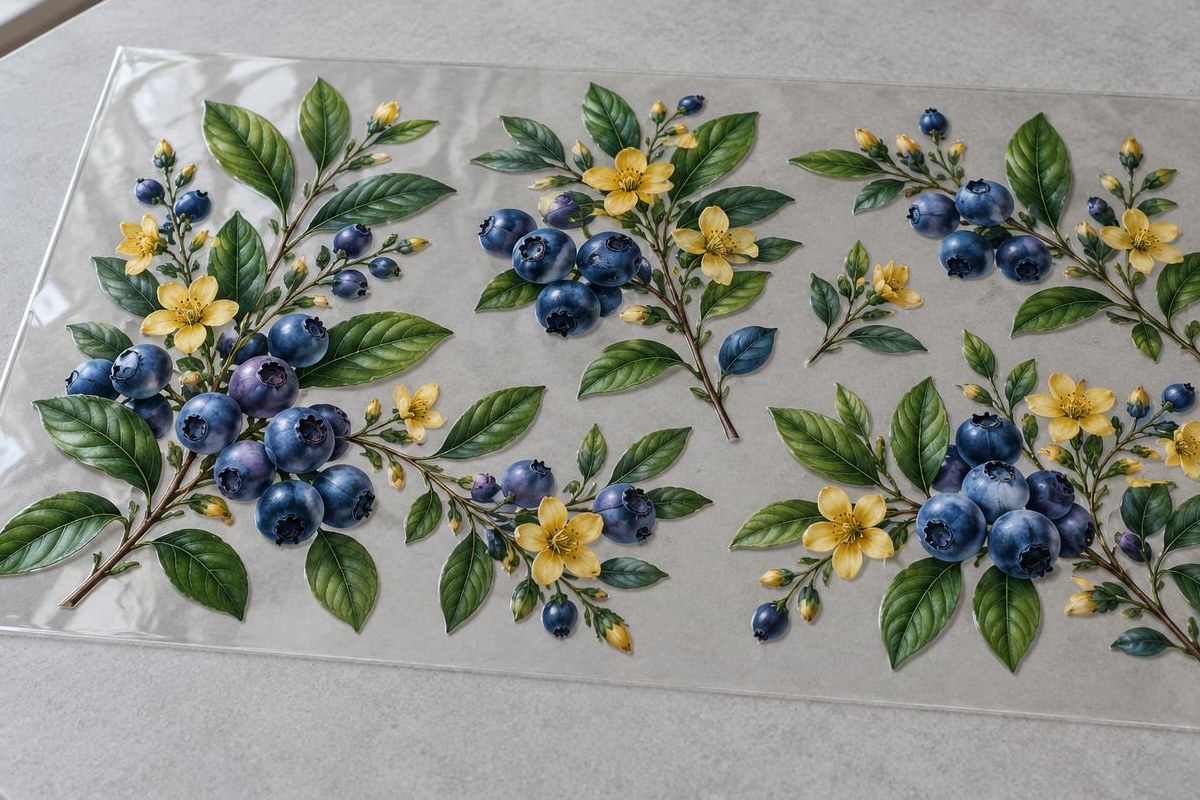
Right: the sheet is flat and both films are intact; the stock can be used after a test transfer.
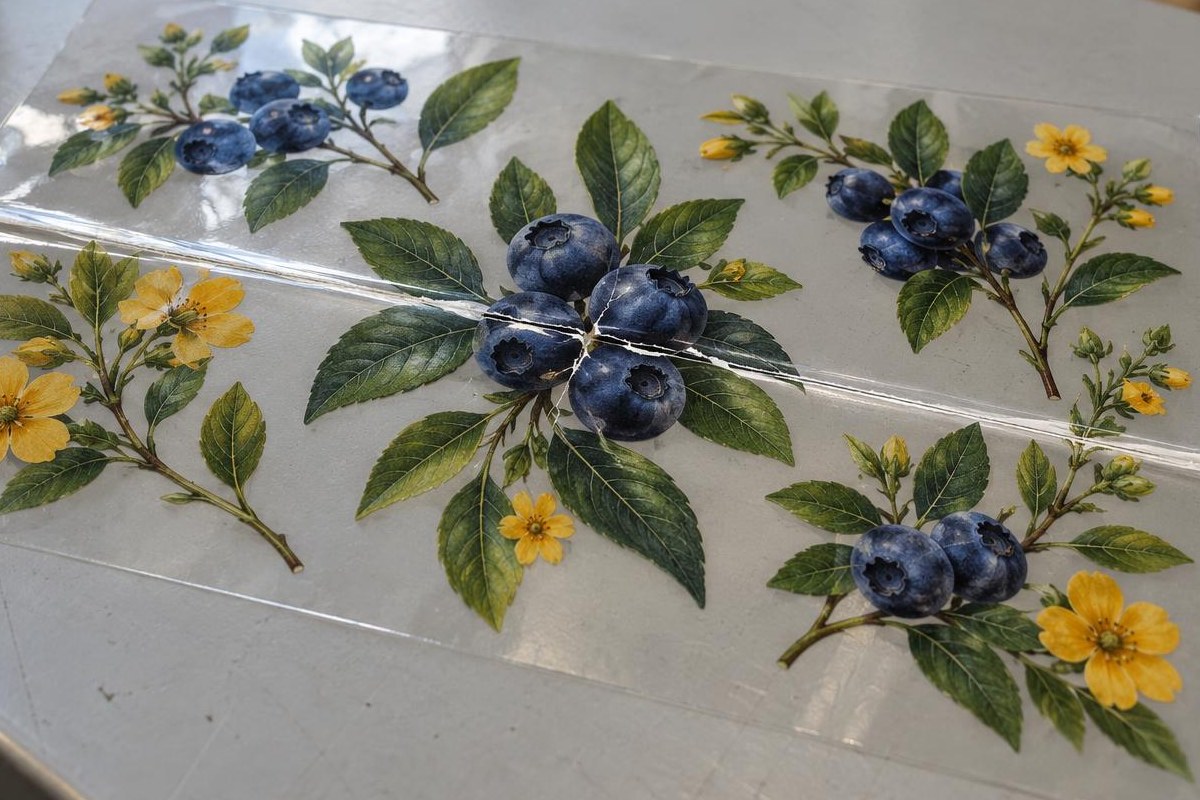
Wrong: a sharp crease with white cracks; reprint this design.
| What you see | What to do |
|---|---|
| Both films are intact; the print is flat and clean | Apply one transfer. If the whole design transfers and the edges stay down, use the remaining stock. |
| A sharp crease crosses the design, or a crack is visible | Reprint the damaged design. Do not flatten it with an iron or heat press. |
| The films have separated and exposed adhesive is dusty | Reprint the contaminated design, inspect the rest and repack transfers with both films intact. |
Frequently asked questions
How long can printed UV DTF decals be stored?
There is no guaranteed shelf life: producers of ready-made transfers promise anywhere from 6–12 months to 1–2 years for their own transfers. Print stock for upcoming orders, and before using each stored batch, apply one transfer as a test.
Can UV DTF transfers be stored on a roll?
Yes, loosely rolled: wind them design side out onto a wide core without tightening and seal them in a bag. Do not cut through designs to fit a box, and do not fold the roll.
Can sheets be stacked?
Yes, flat in one bag. Separate the sheets with clean paper so they do not scratch each other, and put nothing heavy on top.
My parcel of transfers arrived from freezing weather — what should I do?
Do not open the bag straight away: let it warm up indoors so moisture does not settle on the cold adhesive. Apply when both the transfer and the item are at 20–25 °C.