
The head is struck by lifted DTF film: a wave, a curled edge or a crease. Stop printing, cut off the creased section and reload the film flat with the vacuum on. If the wave grows on large fills, lower the heater in the print zone. After contact, check the nozzles and run a short trial.
A raised section takes up the head clearance
In a DTF printer, the head travels above the film. A raised edge takes up the clearance: the head or underside of the carriage catches the film and smears the still-wet DTF ink. Repeated contact can contaminate or damage the head.
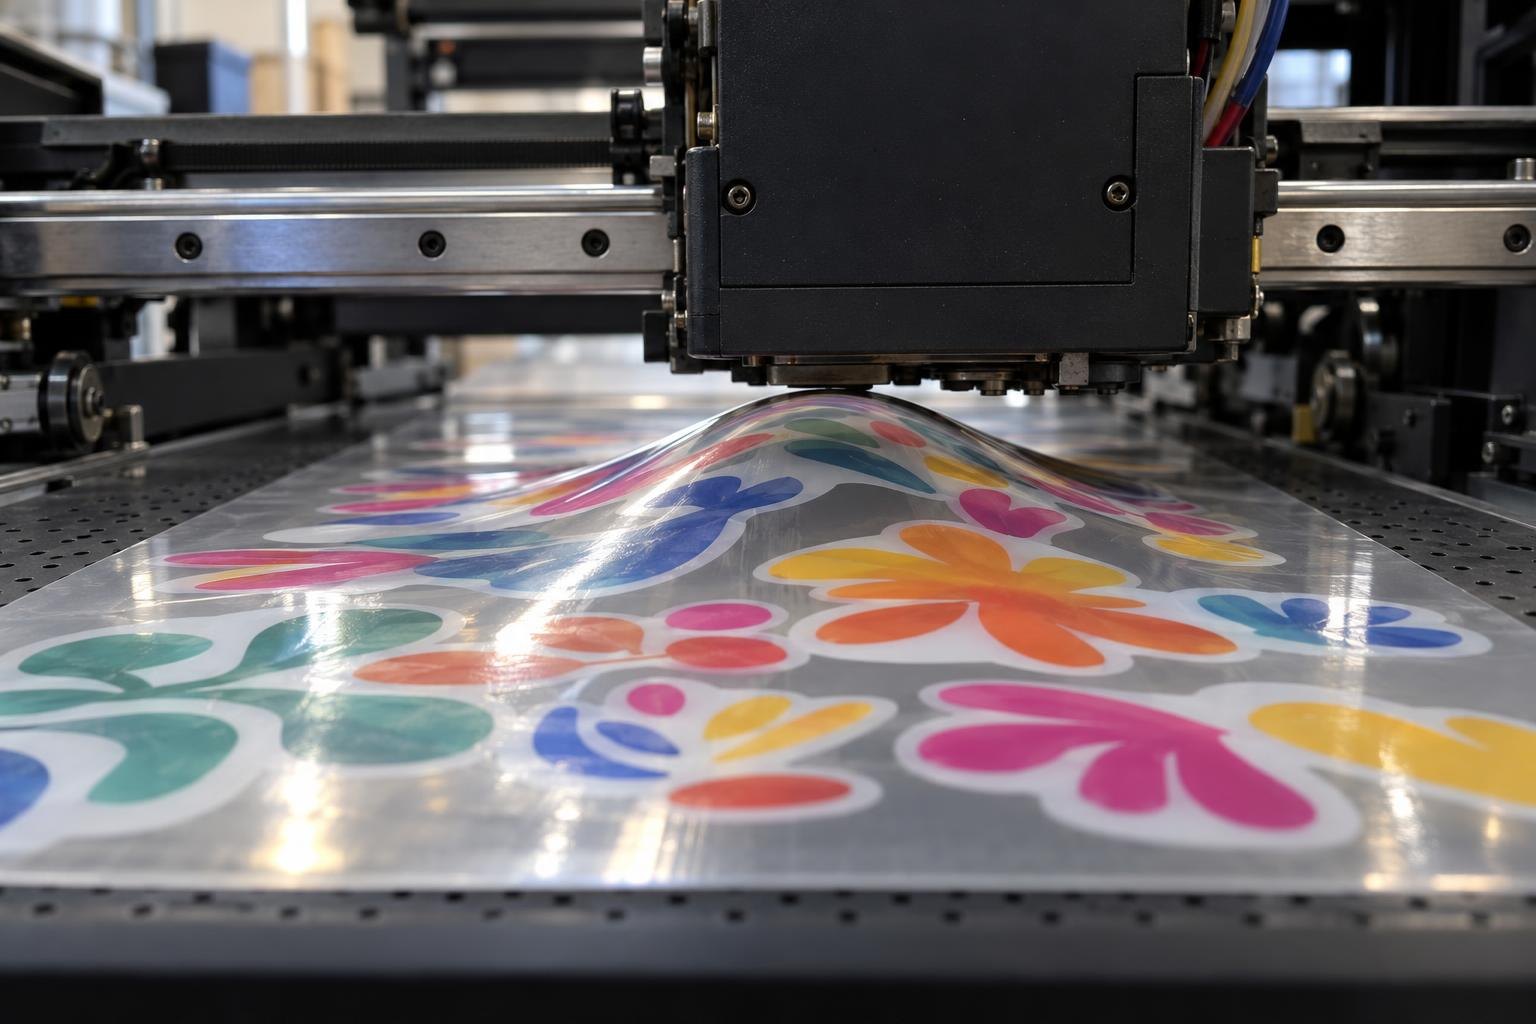
The wave has risen right under the carriage: the gap is gone, and the next pass will smear the ink.
Flat film
Film
Raised film
Contact → smear
Cross-section: the head height stays the same; only the film position changes.
What kind of mark do you see?
The carriage travels across the feed direction. Use the direction of the mark to choose your first check.
Wet smear across the film
A raised edge or wave nearby means the film caught the head or carriage.
Check that the film lies flat
Scratch along the feed direction
Inspect rollers and guides. Check for a mark on the film before it reaches the printer.
Inspect the media path
Regular pale bands
Print a nozzle check. If segments are missing, run routine cleaning; if the pattern is complete, calibrate the feed.
Start with a nozzle check
Marks on a solid fill; the film feeds downwards ↓.
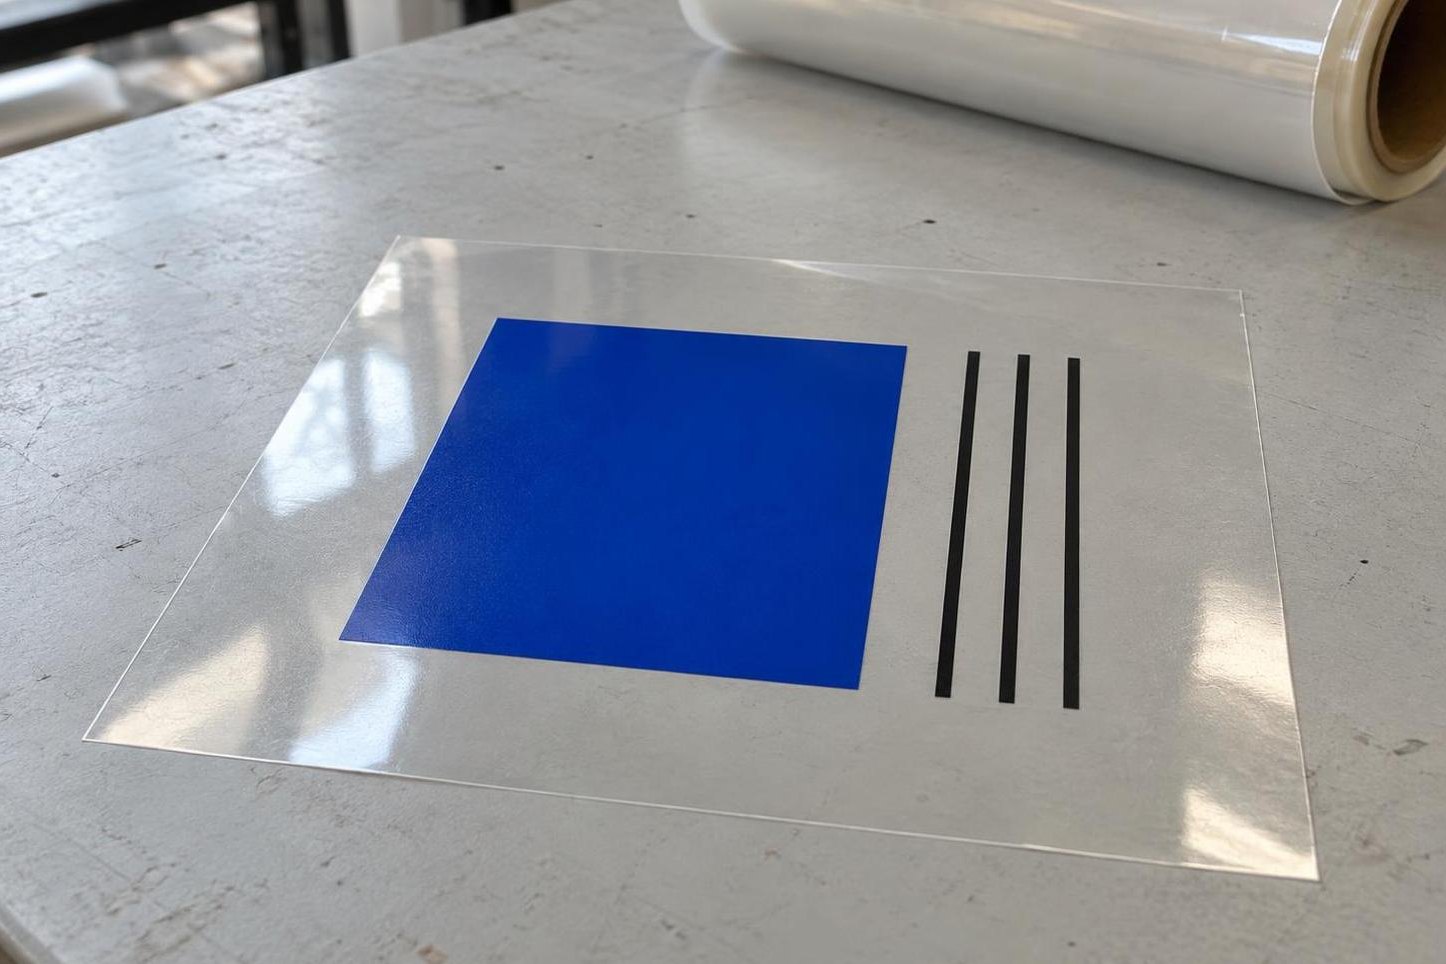
Right: the film lay flat, so the edges of the fill and the thin lines are crisp.
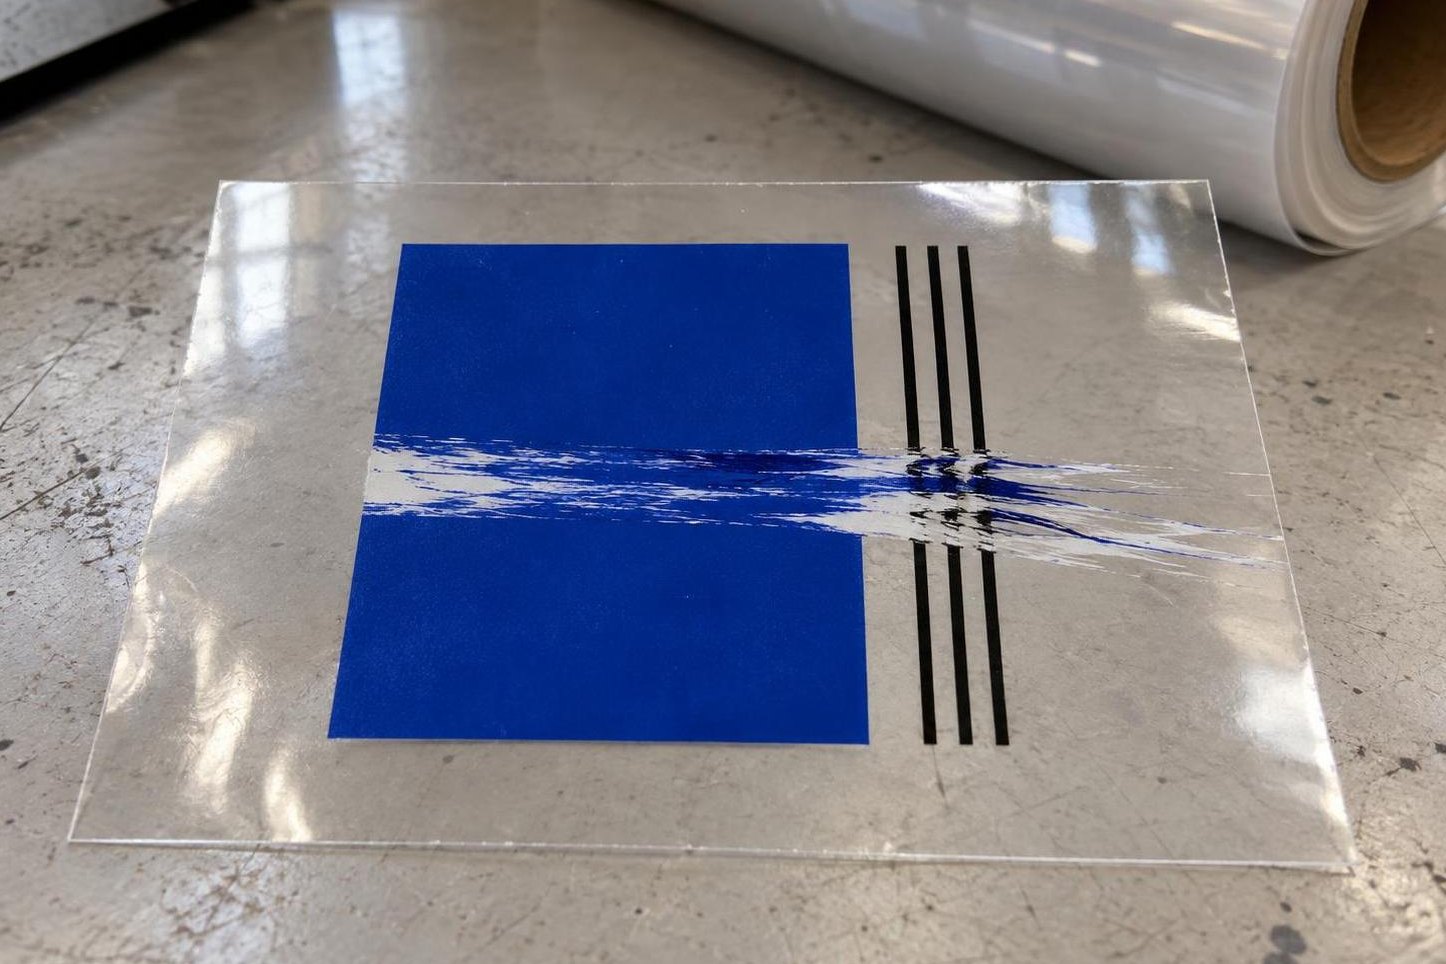
Wrong: a wet smear across the print — the lifted film caught the carriage and dragged the ink sideways.
Get the film lying flat again
Stop printing with the button on the printer and wait for the carriage to stop. While it is moving, do not press the edge down with a finger.
Roll-fed printers
- Reload the film. Seat the roll straight, without skew. Cut off the creased section; do not feed it under the head. Use the feed button to advance a few centimetres without printing: the edge should run parallel to the guide, without folds.
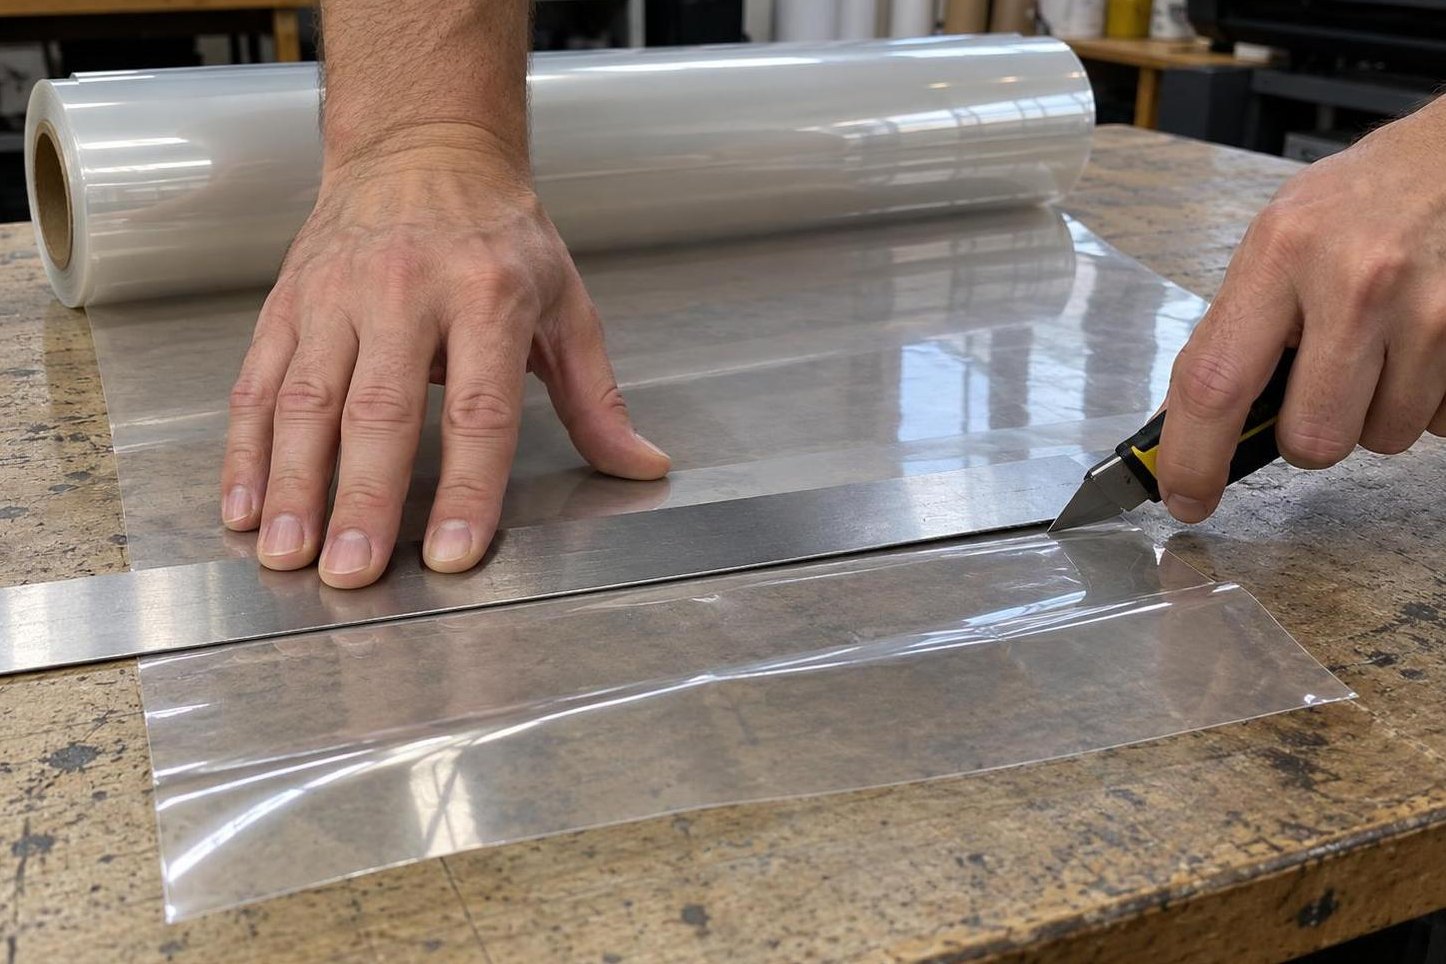
Cut the creased section off along a ruler: only flat film should go under the head.
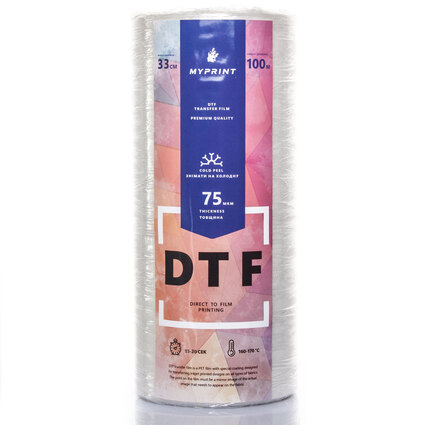
My Print Hot/Cold Peel DTF film, 0.33 × 100 m roll (8093)
0.33 × 100 m roll · 75 µm · for the PRO330
- Switch the vacuum on and check the hold-down. The vacuum holds the film to the table while printing. On the PRO330 and PRO400 it is switched on and adjusted on a separate panel: if the edge lifts, increase the suction. The film should lie flat across the full width, especially where the smear appeared.
- If the wave grows during printing, lower the heat. The PRO330 and PRO400 heat the film in three zones (front, middle and rear), each set separately. If the film lies flat before printing but a wave rises on large fills over a heated zone, lower that zone by 5 °C and repeat the trial. If the ink starts to run, go back to the previous value. If the wave appears only under large white fills, reduce the amount of white in the print software and compare the trial.
- Inspect feeding into the powder shaker and dryer. Film should travel straight, without jerks or folds. If the buckle returns as the film advances, check that tension is even across its width.
Vacuum
on
adjusted on the PRO330/PRO400 panel
Heater
3 zones
−5 °C in the zone where the wave grows
Roll
0.33 m
for the PRO330: 33 cm media width
Trial
10 × 10 cm
two copies: solid colour and white
PRO330 and PRO400, from their MyPrint cards. Choose the roll width by your printer's media width: 30, 33, 40 or 60 cm.
Sheet-fed printers
Look at where the mark is. Only at the start of the sheet: the leading edge is curled, so replace the sheet or place the film further back from the carrier's edge. On one side only: level the output support side to side. Across the whole sheet: the support sits too high or there is an extra layer under the film. The output support should hold the film up, not lift it. If one side of the support is higher, only one edge of the film lifts. Extra layers of card or thick tape beneath the film also reduce clearance.
Do not change the head height yourself: it is set for the printer model. If the film still touches the head after flat loading and the vacuum and heater checks, contact the MyPrint technical department or your printer's service.
Before production: nozzles and a short trial
After contact, wipe around the print head and under the carriage with a swab moistened with cleaning liquid; do not rub the nozzle plate. Run a nozzle check on flat film. If gaps appear, run routine cleaning and repeat the check. If the gaps remain, stop printing and contact service.
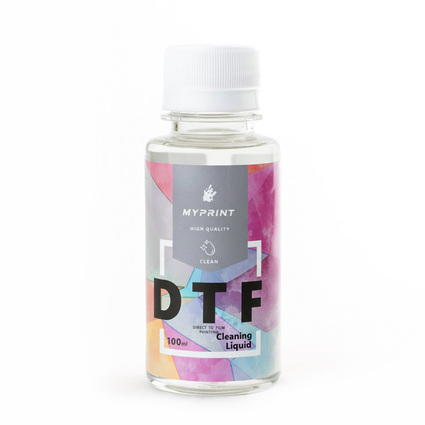
My Print DTF cleaning liquid (100 ml) (9537)
100 ml · for the wiper, cap and print head surround
For a trial, use two copies of a small design section, for example 10 × 10 cm, with a solid colour and white underbase. Keep the film width and print settings unchanged. As the second copy feeds through, watch for the edge lifting. Compare the new print with the previous one, looking at the same edges, fine lines and solid white areas.
Both copies are clean and the film feeds flat
Continue with a short run.
The smear returns
Try fresh, flat film of the same type without changing the settings. If that helps, set the suspect material aside. If it does not, send the MyPrint technical department a photo of the mark, a video of the feed and your vacuum and heater settings.
Reprint a transfer with smeared outlines: pressing will not restore the design's sharpness.
Frequently asked questions
Could I just raise the print head?
No. Too large a gap blurs fine lines and causes ink spray, and the head height is set for the printer model. Remove the wave first; if contact repeats on flat film, contact the MyPrint technical department.
Bands appeared after the head struck the film — is the head broken?
Not necessarily: ink from the film often remains on the nozzles. Print a nozzle check; if segments are missing, run routine cleaning and repeat the check. Wipe around the head with a swab moistened with cleaning liquid; if gaps remain after two cleaning cycles, contact the MyPrint technical department.
Why does the wave appear only on large white fills?
A heavy load of wet ink in one area puts tension on the film coating and makes it buckle; heat makes this worse. Reduce the amount of white in the print software and lower the print-zone heater by 5 °C, then repeat the trial.
Does humidity cause waves, and how should I store the film?
Yes: the coating absorbs moisture and the film warps. Keep rolls in closed packaging, horizontally, at 15–25 °C and humidity up to 60 % — read more about how to store DTF film.
Can I tape the edge of the film down?
Not on a roll-fed printer with vacuum: the vacuum holds the film, and tape in the print zone reduces clearance. On sheets, you can secure the corners with thin heat-resistant tape outside the print area, without folds or raised edges.