

Small letters and dots of heat transfer vinyl get lost when the waste comes off in one large piece. Divide the waste with boxes around each line, weed it in small sections on a flat carrier and hold every dot down with tweezers. Put a lost intact dot back on the sticky carrier coloured face down; if an uncut bridge still holds a detail, fix the cut first.
It all happens before pressing: dots and thin strokes must stay on the carrier while you remove the waste.
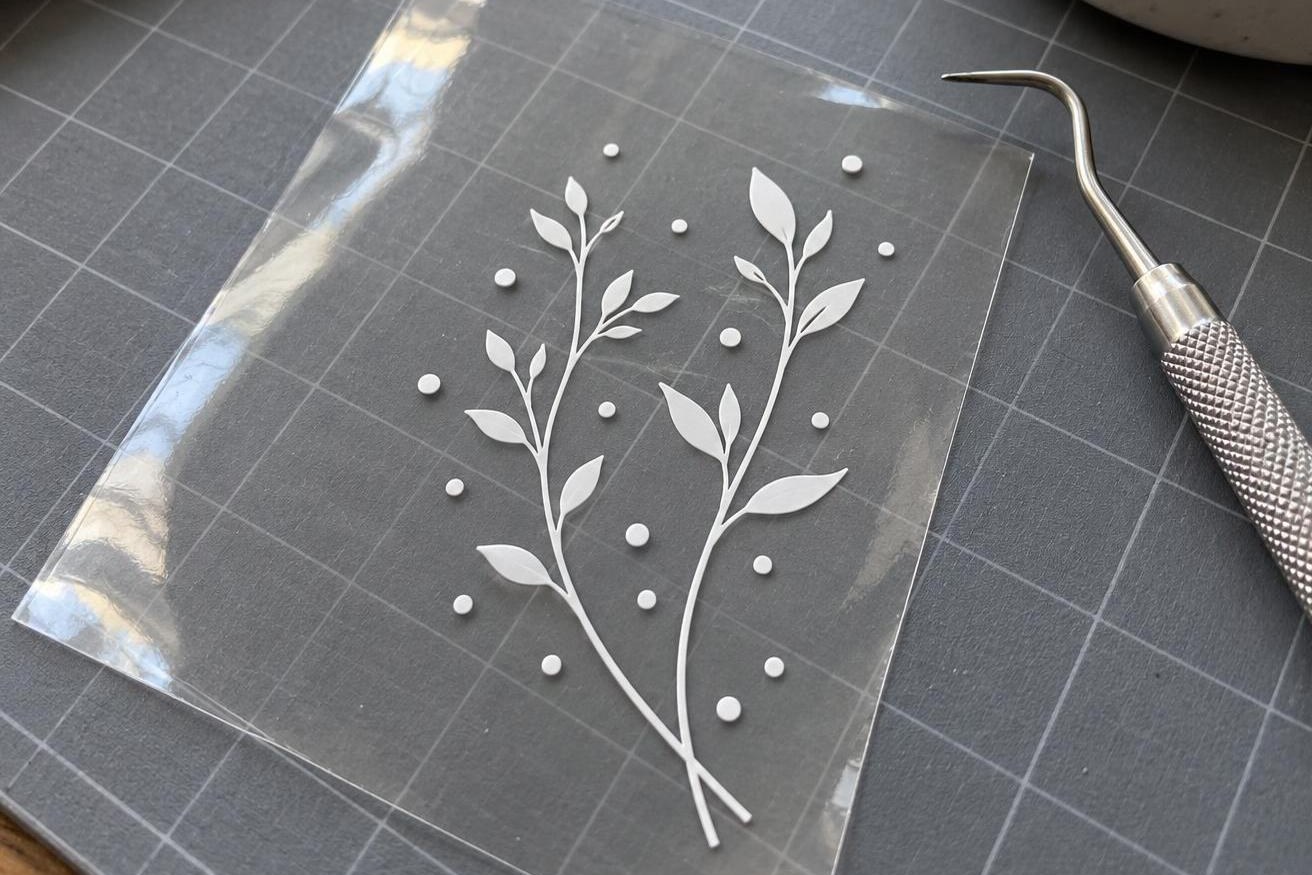
Right: the waste is off, and every dot and thin stem stayed on the carrier.
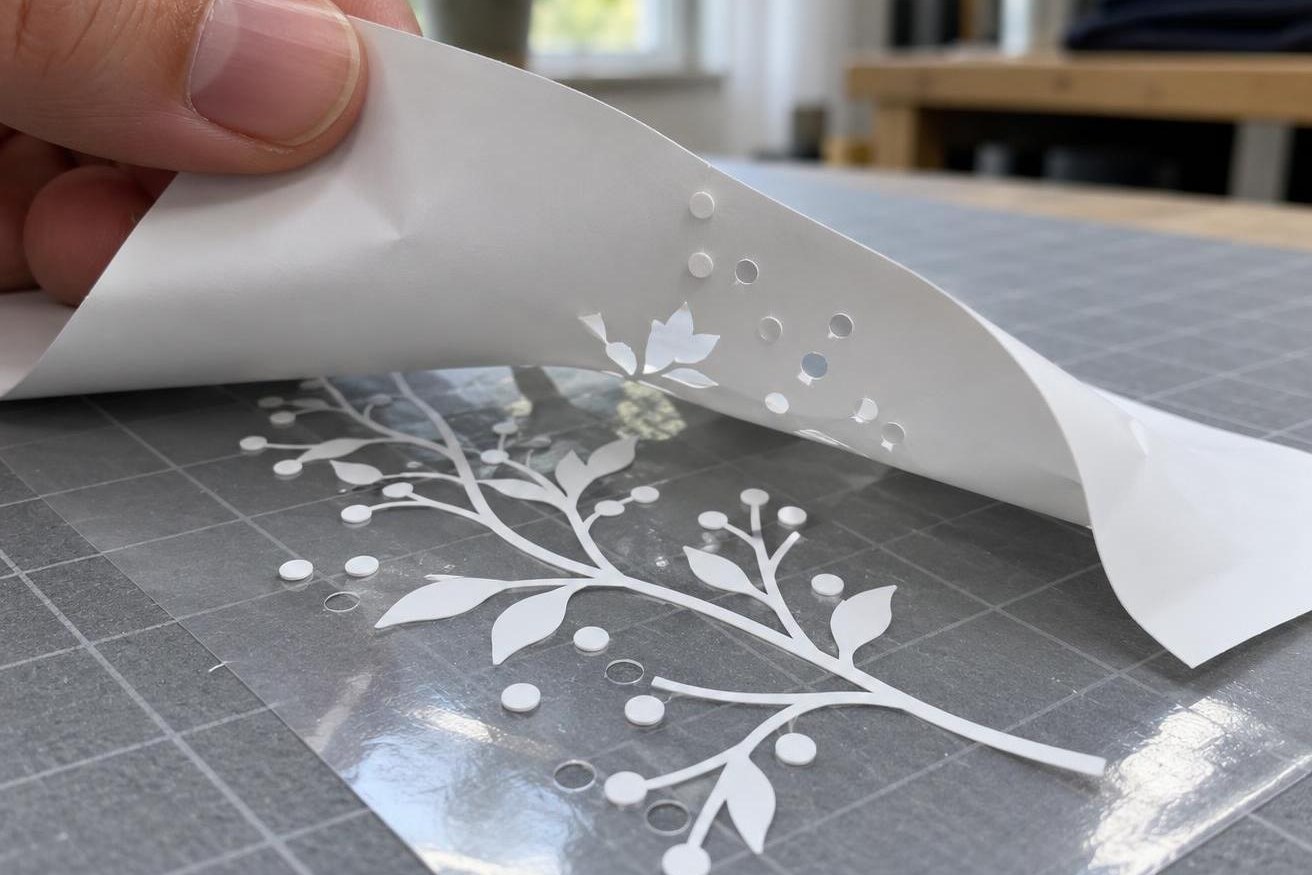
Wrong: the waste came off in one piece: dots and a leaf went with it, leaving gaps on the carrier.
Has the detail lifted, or is the cut incomplete?
Stop at the first troublesome letter and inspect its edge without stretching the vinyl.
| What you see | What to do now |
|---|---|
| An intact dot or letter lifts with the background | Press it back onto the sticky carrier. Hold it with tweezers and remove the waste around it in short movements. |
| A bridge stretches between the letter and the waste | Do not tear it: the detail will stretch. Check the cut on a small test sign (below) and recut the part. |
| A loose detail will not stay on the carrier when pressed down | Every MyPrint heat transfer vinyl has a tacky carrier, so change the detail: enlarge it or thicken the stroke. For the smallest details, use thin polyurethane film. Do not coat the carrier with ordinary glue. |
Cut test: from the edge of the same vinyl, cut a small sign, a square with a circle inside. If the vinyl will not weed, raise the blade force one step; if the outline has uncut stretches, lower the speed one step; if the carrier is cut through, lower the force. When two signs in a row weed cleanly, cut the lettering. How to record such a cutting profile is covered in “Test cutting on a plotter: how to set the blade, force and speed without wasting vinyl”.
Remove the waste around one line at a time
A large piece of waste stretches and catches neighbouring letters; boxes around each line divide it into small sections.
One large area → separate weeding boxes
All the waste in one piece
Each line separately
Blue shapes are the design; dashed lines are extra cuts through the waste. Add these lines to your artwork and weed one row at a time.
- Add the boxes to your artwork and send them to the cutting plotter with the mirrored lettering. These lines cut only through waste, never across letters; the clear carrier stays intact.
- Place the piece carrier side down on a flat table at room temperature. Lift a corner of the waste with the hook and fold it back, keeping it low over the table.
- Stop when you reach a dot. Hold it down with tweezers and remove the waste around it. Rotate the piece to see the cut more clearly; keep the carrier flat.
- Place the removed scraps on a separate piece of sticky carrier so they cannot stick back onto the design. Remove the centres of letters such as ‘a’, ‘o’ and ‘p’ too.
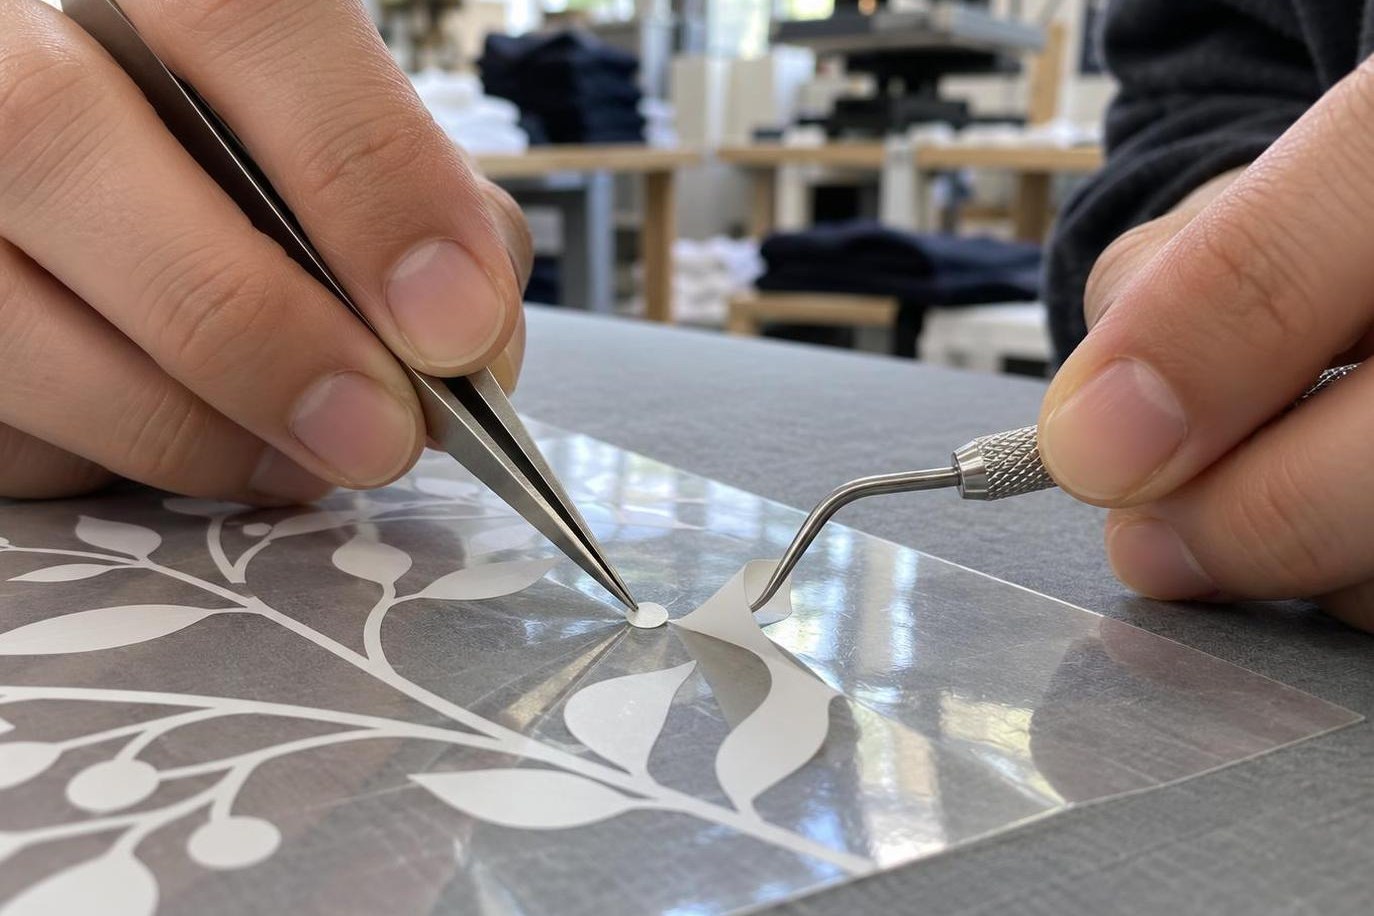
The tweezers keep the dot on the carrier while the hook takes off the waste next to it in small pieces.
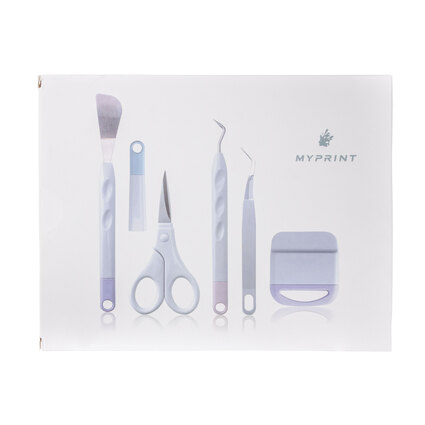
My Print 5-in-1 vinyl tool set
weeding hook, tweezers, spatula, scissors and scraper
Which side of a loose dot goes back down?
There are two adhesives: the carrier’s tacky layer holds the coloured face of the detail, while the heat adhesive on the back will bond it to the fabric. That is why the heat adhesive faces up during weeding.
On the table, before transfer
Put the dot back with the same layer order: coloured face against the carrier, heat adhesive facing out.
Is the dot still attached to the lifted background? Lower the background into its original position and press the dot onto the carrier. If the dot fell off and you are unsure which side is the face, cut a new one: shine will not identify the side of a tiny white detail. Replace a stretched dot too.
For small lettering, use thin polyurethane film: white item 7214 is 0.09 mm. Glitter (0.25 mm), flock (0.3 mm) and puff (1 mm) are thicker, so make small details larger in them and check on a sample.
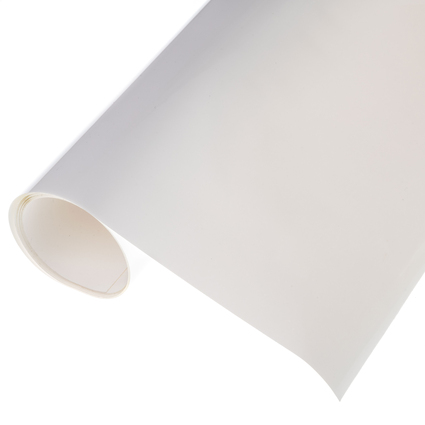
My Print High Flex PU white heat transfer vinyl, 1 × 0.5 m
PU, 0.09 mm · tacky carrier · 150–160 °C, 10–15 s, medium pressure, cold peel
If the same tiny detail keeps coming off
If the outline is cut cleanly but a dot keeps lifting even when held down, enlarge it or thicken the stroke in the artwork. Check the thinnest feature: fonts of the same height can have very different stroke widths.
For a comparison, cut the same short text with letter heights of 6, 8 and 10 mm. Choose the smallest size that keeps all its dots and has letter centres you can weed easily.
The whole design needs to reach the press
Look at the lettering through the carrier against a contrasting sheet: use a dark sheet behind white vinyl. Check the dots and inner spaces against the artwork. Transfer the sample in a heat press onto a scrap of the fabric you will print on.
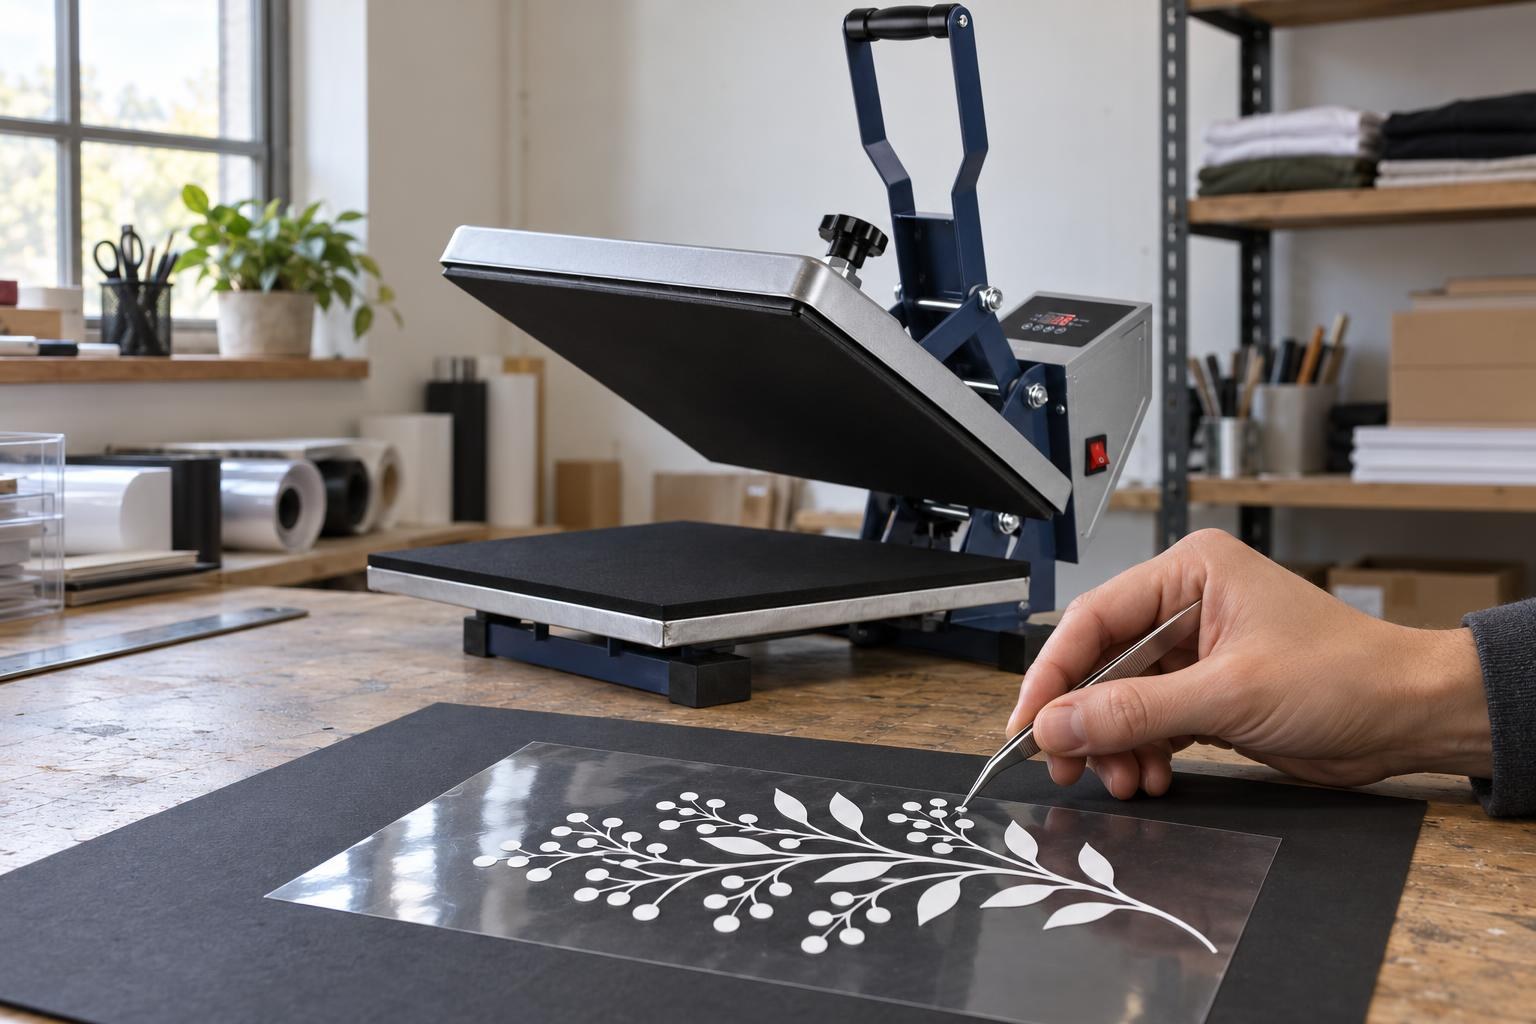
On a black sheet every white dot shows; check them against the artwork before pressing.
Example for white polyurethane film, item 7214
Temperature
150–160 °C
first sample at 150 °C
Time
10–15 s
one cycle
Pressure
medium
Carrier peel
cold
after cooling completely
For item 7214, start at 150 °C, 15 s and medium pressure, and peel the carrier cold. For other vinyl, use the figures from its own card.
Is the lettering size fixed? Send your MyPrint manager the artwork at 1:1 and the fabric name and ask for a film that suits such small lettering. Before starting the batch, weed and transfer one complete design: every dot should remain in place.
Frequently asked questions
Which side of heat transfer vinyl faces down in the plotter?
Place the glossy clear carrier face down, with the matte adhesive side facing the blade, and mirror the design. The blade cuts the vinyl and adhesive while the carrier stays intact.
Which font should you choose for small lettering?
Choose a sans-serif font with even strokes. Serifs and hairlines in script fonts tear off first, so check the thinnest line rather than the height of the letters.
A letter stayed on the carrier after pressing: what should you do?
Stop peeling: lower the carrier back into place, cover with a Teflon sheet and re-press for 5–10 s at the same temperature. To find the cause, follow “Heat transfer vinyl lifts with the carrier: what to do”.
Do you need transfer tape for heat transfer vinyl?
No. Heat transfer vinyl is applied on its own tacky carrier, which goes under the press with the design. Transfer tape is for self-adhesive vinyl.