
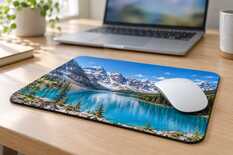
For a 22 × 18 cm sublimation mouse pad 3 mm thick, start at 190 °C, 55 seconds and medium pressure, and never go above 200 °C: overheating can turn the rubber base yellow and hard. The layout is the pad size plus 3 mm of bleed on each side, at 300 pixels per inch, printed mirrored. Peel the paper at once, while hot, and let the pad cool flat. A batch of 10 on one press, including the first pad as a test piece, takes 25–35 minutes, not counting printing and press warm-up.
Pad, press and paper
MyPrint's common sublimation mouse pads are rectangles of 22 × 18, 24 × 20, 26 × 21 and 30 × 25 cm, a round pad 20 cm across and a 24 × 20 cm heart. Thickness is 2, 3 or 5 mm. The face is white fabric, the base black porous rubber. The edge is either plain cut or overlocked in black or white thread: an overlocked edge does not fray and looks more upmarket.
Print shops treat 22 × 18 cm as the standard, so start with it: the layout with bleed fits on A4. For a 5 mm pad only the time and pressure change.

Rectangular pad 22 × 18 × 0.3 cm
Plain edge · layout 226 × 186 mm, A4 sheet · UAH 30 as of October 2026

Pad with black overlock 22 × 18 × 0.3 cm
Stitched edge · same layout, text 10 mm from the seam · UAH 49 as of October 2026
The pad size sets the layout and the sheet format:
| Pad | Layout with bleed | Pixels at 300 per inch | Sheet |
|---|---|---|---|
| 22 × 18 cm | 226 × 186 mm | 2669 × 2197 | A4, or two on A3 |
| 24 × 20 cm and heart 24 × 20 cm | 246 × 206 mm | 2906 × 2433 | A3 |
| 26 × 21 cm | 266 × 216 mm | 3142 × 2551 | A3 |
| 30 × 25 cm | 306 × 256 mm | 3614 × 3024 | A3 |
| Round, 20 cm across | 206 × 206 mm | 2433 × 2433 | A3 |
Bleed is 3 mm on each side. Each sheet leaves the printer a margin of at least 3 mm.
Press on a flat heat press. A 38 × 38 cm platen takes any pad in the table with at least 4 cm to spare on every side, so the whole item sits under the hot platen.
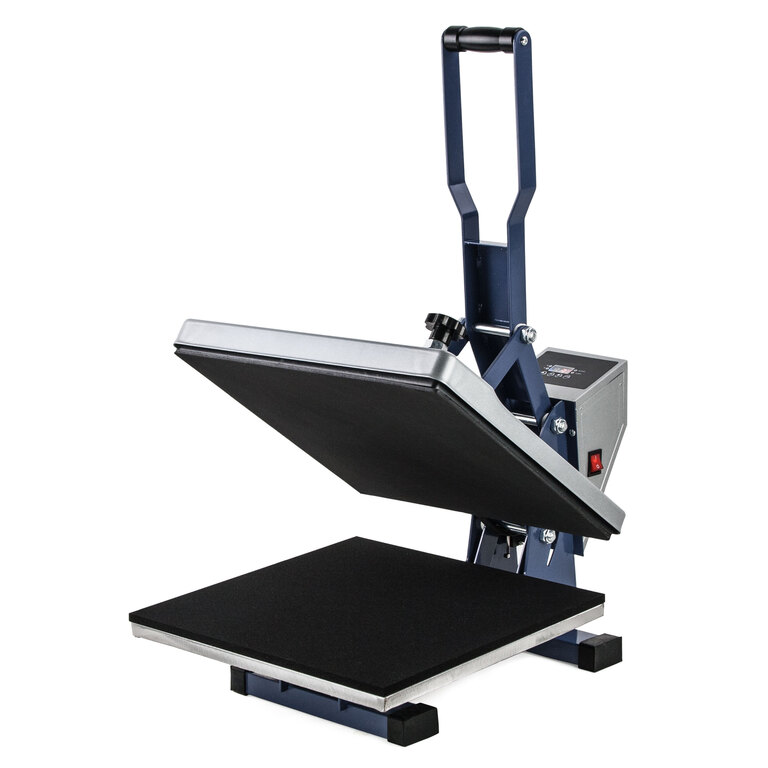
HP380A NEW flat heat press 38 × 38 cm
Clamshell, 38 × 38 cm platen · 0–230 °C · timer 1–999 s · UAH 12,850 as of October 2026
Sublimation paper for a 22 × 18 cm pad should be A4. According to its card, Premium Super Fast Dry A4 105 g/m² paper dries almost at once, without extra drying. For matching paper to your printer, see “Sublimation paper: how to choose it without mistakes”.
Press settings for a rubber-backed pad
Temperature
190 °C
no higher than 200 °C
Time
55 s
for 3 mm; 2 mm — 50 s, 5 mm — 60 s
Pressure
medium
the handle closes with resistance, no jerk
After the beep
at once
peel the paper hot
Starting point for a fabric pad on a rubber base. Before the print goes on, press the bare pad for 3–5 s; the first pad of a batch is a test piece.
This start comes from the instructions of a maker of rubber sublimation pads: 190–200 °C, 45–60 seconds and medium pressure; for 2 mm, 190 °C and 50 seconds, for 3 mm 5 seconds longer. For 5 mm take the top of the range, 60 seconds. Above 200 °C, the maker warns, the rubber may yellow or harden, and it advises against high pressure so as not to damage the base.
Pressure is set by the knob on the press head. Moving from 3 to 5 mm, loosen it: with the knob in the same position, a thicker blank is pressed harder.
Step by step: from the file to a packed pad
Build the layout with bleed
The canvas is the pad size plus 3 mm on each side: for 22 × 18 cm that is 226 × 186 mm, or 2669 × 2197 pixels at 300 pixels per inch. Run the background to the very edge of the canvas: the bleed forgives imprecise placement and leaves no white strip along the edge.
Keep text and logos at least 10 mm from the edge. The pad corners are rounded, and an overlock covers a few millimetres of the edge.
Print mirrored at 100 % scale
Turn on mirroring in the print settings. Turn off “Fit to page” and check the print with a ruler: for 22 × 18 cm it must measure 226 × 186 mm, because a shrunken print leaves a white edge. The press will not fix stripes or faint areas on the paper, so reprint that sheet.
Let the print dry and cut it out
A damp print gives off steam under the press, and steam leaves blotches. Once the print is dry, cut it out with a 5–10 mm white margin around the image. Hold the paper by this margin and put the tape on it.
Clean the pad and pre-press it for 3–5 seconds
Run a sticky lint roller over the fabric: a fibre under the paper leaves a white speck. Heat the press to 190 °C. Lay a clean sheet of paper on the lower platen, put the pad on it fabric side up and press for 3–5 seconds without the print to drive out moisture. Do not hold it longer: that only heats the rubber. Why skipping this step leaves blotches is explained in “Pale spots after sublimation on polyester”.
Fix the print with heat tape
Move the pad to the table and lay the print on the fabric ink side down so that the bleed hangs evenly over every edge. Cut strips of heat tape 10 mm wide in advance for the whole batch. Tape each corner, and the middle of the long sides as well: the strip lies on the back of the paper and folds under onto the rubber base. Never put tape between the ink and the fabric: the dye will not pass through it.
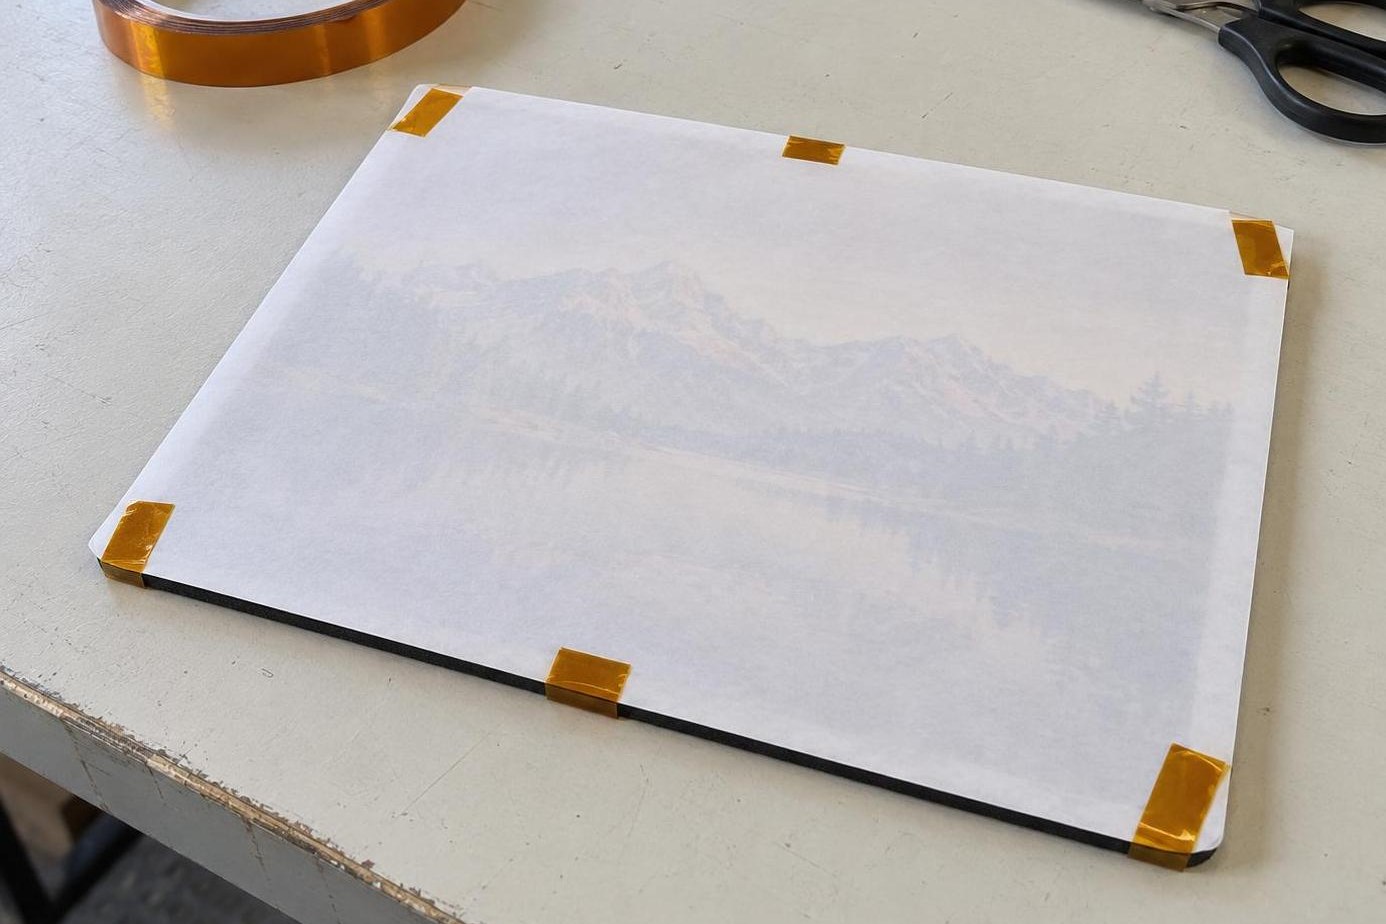
The print lies ink down on the fabric; the tape holds only the paper margins and folds under onto the rubber base.
Cover with a Teflon sheet and start the timer
Put the pad back on the clean sheet on the lower platen, paper side up, and cover it with a Teflon sheet: a 40 × 50 cm sheet suits a 38 × 38 cm platen. Close the press and start the countdown: 190 °C, 55 seconds for 3 mm. Do not open the press during the countdown. Replace the sheet under the pad when it shows ink marks or creases.
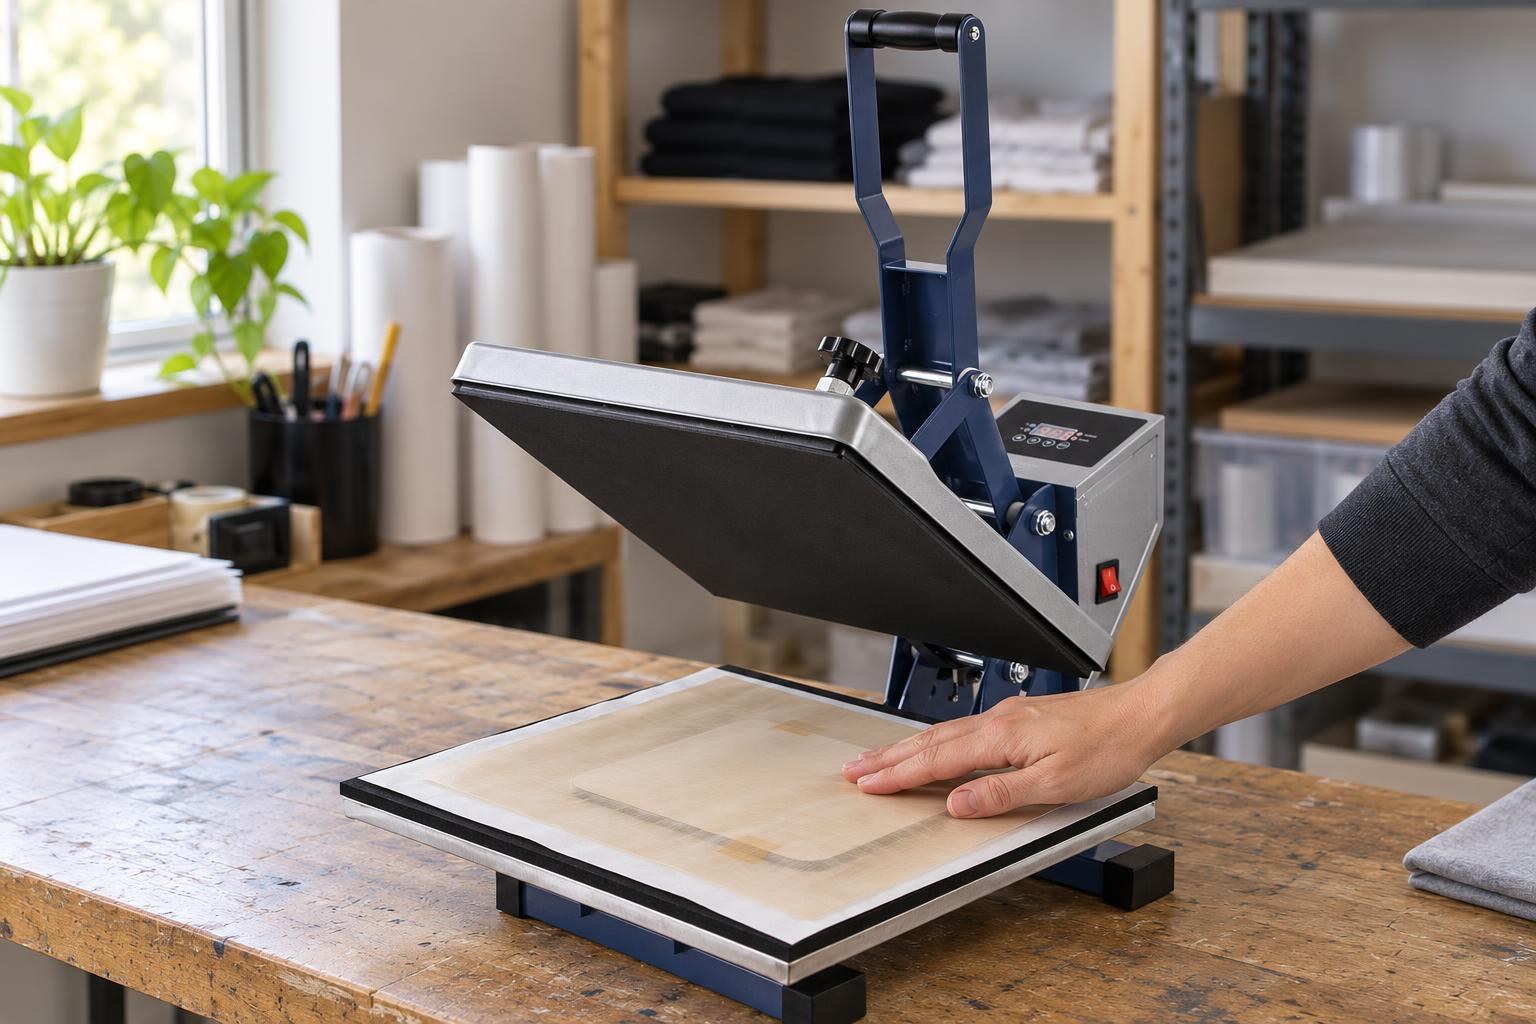
The pad on a clean sheet with a Teflon sheet on top: the press can close.
After the beep, peel the paper hot
Open the press smoothly: a sudden platen movement or a draught shifts the hot paper and doubles the outline (more in “Ghosting in sublimation: find the shift”). Take the pad out and peel the paper at once in one motion, diagonally from a corner, without dragging it across the fabric.
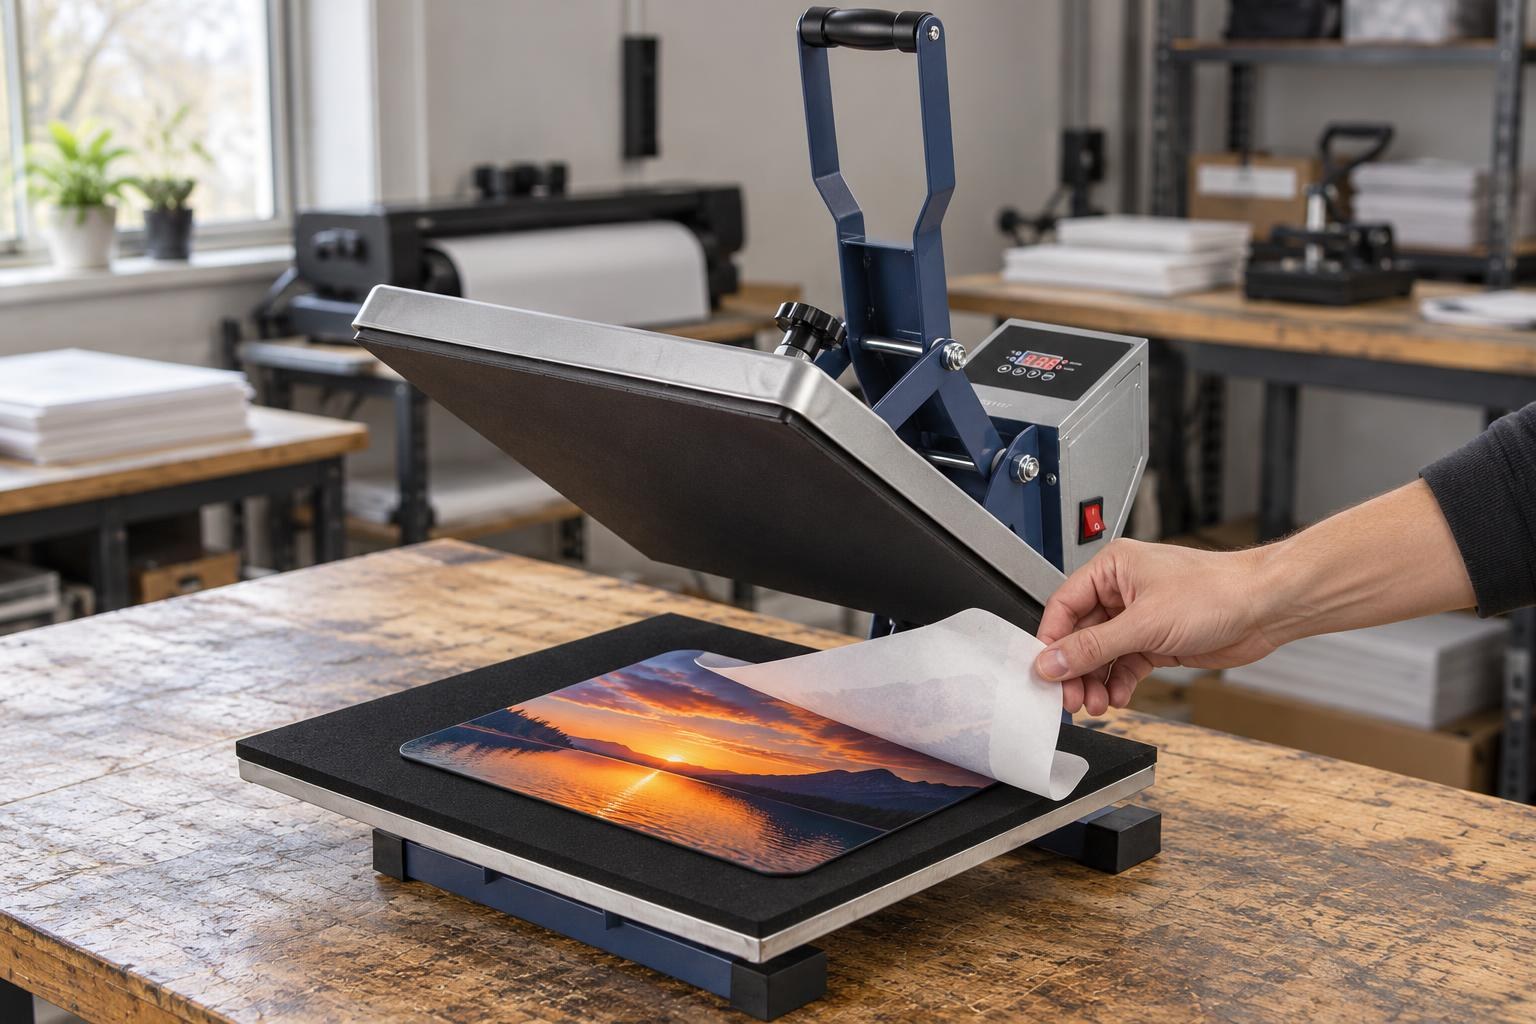
The paper comes off at once, in one motion from a corner, so the outline does not double.
Let it cool flat
Lay the pad fabric side up on a flat surface, not in a stack, until the base is cold to the touch. That keeps it from curling and shows the colour as it will stay.
Check the first pad, then press the rest
The first pad of a batch is a test piece, even with a recorded setting: a new pack of blanks or paper can behave differently. Colours should be even right to the edge, the outline free of ghosting, the fabric neither yellowed nor shiny, the pad flat and without a sharp rubber smell. If something is off, see the section below.
Pack
Each pad goes into a clear bag, flat, not rolled. Stack only cold pads in the box.
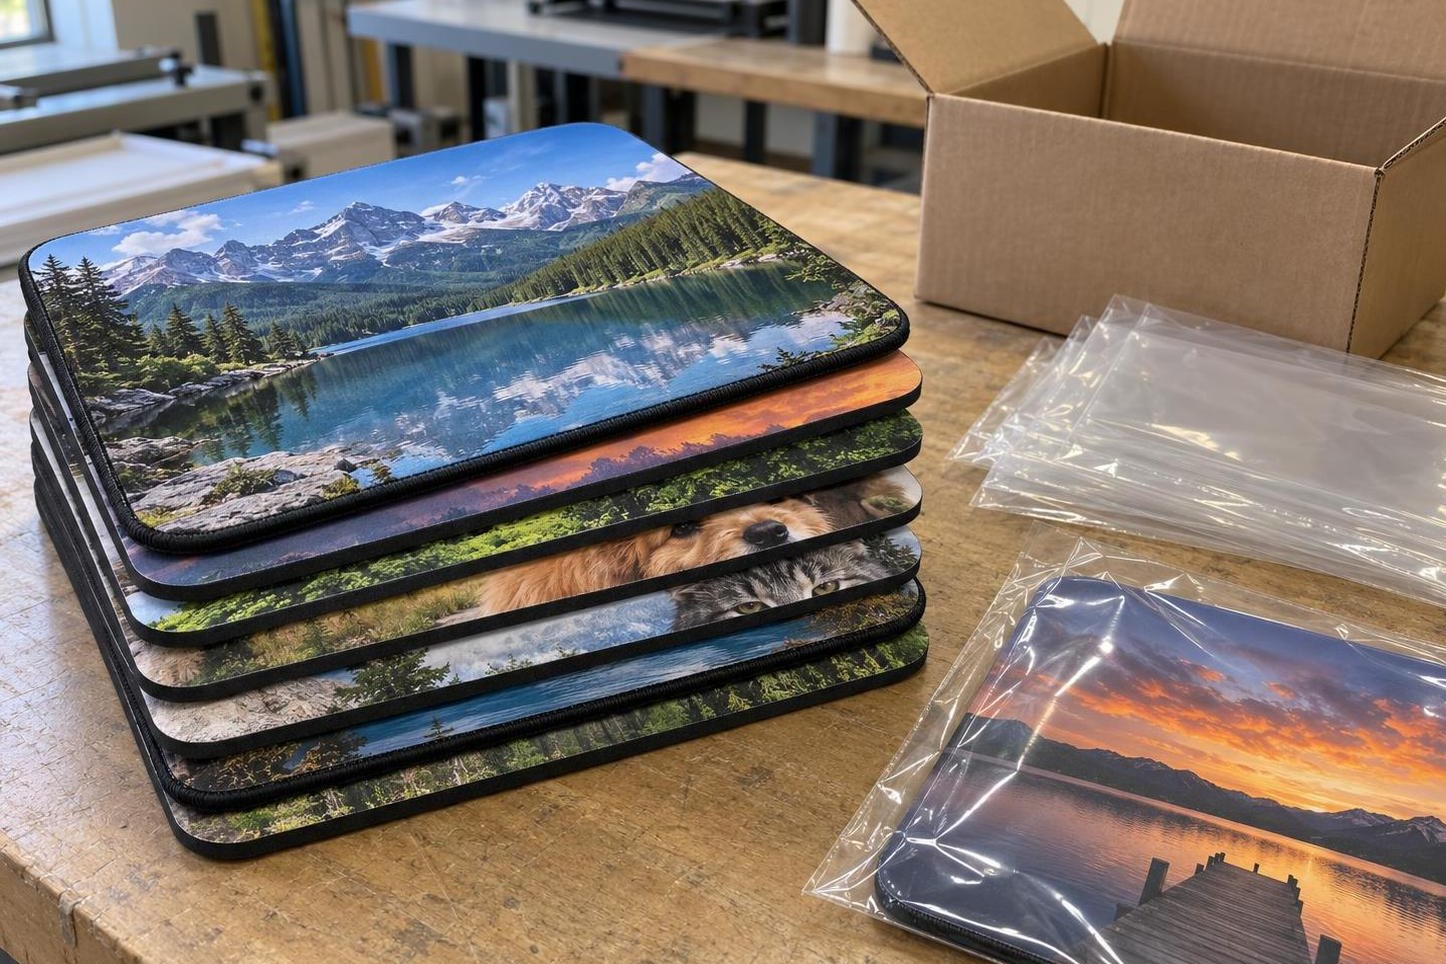
Pads go into a stack only once they are cold.
If the first pad goes wrong
First look at where the fault is: on every pad, only on the first, or in the same place every time. The causes differ. Correct within the settings card: time up to 60 seconds, temperature up to 200 °C.
Cause: the print, the pressure, a press not yet warmed up, or too little time
Faded colours
Check that the print is mirrored, even and free of stripes. Then check the pressure. Press a second pad on the same setting: if it comes out bright, the press simply had not warmed up. If the second is faded too, add 5 s, up to 60 s, and only then 5 °C, up to 200 °C.
Cause: uneven pressure, a cold zone of the platen or lifting paper
Faded corner or edge
Put the pad in the centre of the platen and secure any lifting paper. If the pale area recurs, check contact with paper strips on a cold press and check temperature uniformity separately, as explained in “Uneven heat press pressure: a check”. Press the rest of the batch after a successful test pad.
Cause: the paper shifted
Double outline
Tape at the corners and the middle of the long sides, open smoothly, peel in one motion.
Cause: moisture
Blotches or bubbles
A dry print and a 3–5 s press without paper before every pad.
Cause: overheating
Yellowed or shiny fabric, curling, a sharp rubber smell
Take off 5 °C, but not below 190 °C, or 5 s, but not below 45 s. Cool flat, not in a stack.
A batch of 10: how long it takes
The pad cools off the press, so put the next one in straight away. And while it spends 55 seconds under the platen, your hands are free: check and bag the pads that are already cold.
Inputs: one person, the HP380A NEW already at 190 °C, ten prints printed, dried and cut out, tape strips cut. Per pad: preparing and loading 45–70 s, pressing 55 s, opening and peeling 10–15 s, cooling 3–5 min, checking and bagging 20–30 s.
Example: 10 pads of 22 × 18 × 0.3 cm on one press
Frequently asked questions
What resolution should the customer's photo have?
For a 22 × 18 cm pad, at least 1335 × 1099 pixels, which is 150 per inch in the 226 × 186 mm layout. For a sharp photo you need 2669 × 2197 (300 per inch). Enlarging a smaller picture in an editor adds no detail: ask the customer for the original, not a compressed copy from a messenger.
Can I make a round pad or a heart?
Yes, MyPrint has round pads 20 cm across and a 24 × 20 cm heart, both 3 mm thick. The layout for the round pad is a 206 × 206 mm square, for the heart 246 × 206 mm; keep what matters in the centre and let the corners of the print hang over the edge. Print on A3 and use the 3 mm setting.
The customer wants a custom size: what then?
Pick the nearest ready size (22 × 18, 24 × 20, 26 × 21 or 30 × 25 cm) and fit the layout to it, not the other way round.
Can I raise the temperature to press faster?
The gain is small. The pad maker gives 190–200 °C and 45–60 seconds, so a hotter setting saves a few seconds per pad, and the first pad after the change is a test piece again. Do not go above 200 °C: the rubber base may yellow or harden.