

A foiled certificate needs no die: print the layout on a laser printer, cover the toner with toner-reactive foil and run it through a hot laminator in a parchment carrier. The MyPrint foil card gives 130–150 °C; start at 140 °C on a test sheet. The foil sticks to all the toner under it, so everything that should shine goes into one band in the layout: one foil strip then covers three certificates at once.
Settings to start from
Temperature
130–150 °C
start at 140 °C
Speed
1.1 m/min
as on the L Base 350; on another machine, the slowest
Shiny side of the foil
up
the matte side goes on the toner
Peel after
1–2 min
slowly and low over the sheet
Starting point for smooth uncoated card in a parchment carrier.
What you need
Have a laser printer, smooth uncoated card, baking parchment and 110 × 220 mm envelopes ready.
From MyPrint: “Toner-reactive laminator foil”, a hot laminator from “Roll laminators”, a guillotine from “Paper cutters” and, for a folded certificate, a creaser from “Creasers and perforators”. Pick the foil colour to suit the design: the cards give the same 130–150 °C range, but holographic and gold foils may need a higher temperature within it.
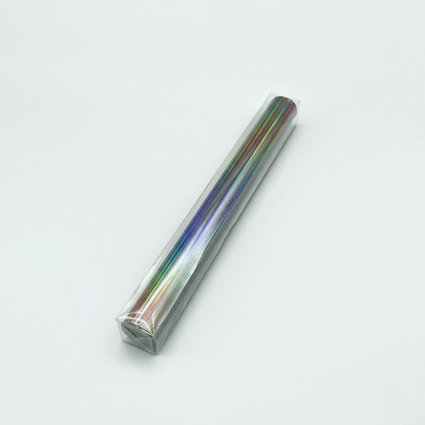
My Print Silver Holographic toner-reactive foil, 0.32 × 30 m roll
130–150 °C · laser print only · 320 mm × 30 m · 12–15 µm layer
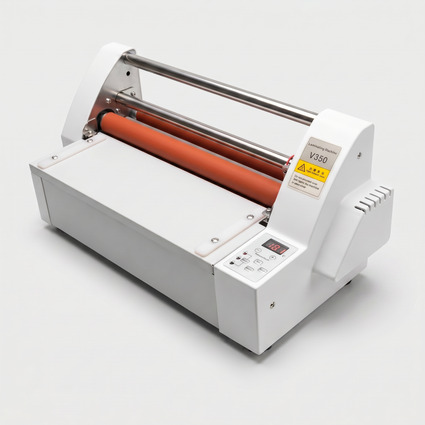
My Print L Base 350 roll laminator, 35 cm
hot, top-heat and cold modes · up to 160 °C · 1.1 m/min · 35 cm working width
Step by step: from file to packed order
Lay out three certificates on an A4 sheet
A 210 × 99 mm certificate is a third of an A4 sheet and fits a 110 × 220 mm envelope. Place the three layouts one under another with no gaps. Place the logo, title and value for the foil in a 75 mm band on the left. Put the rest of the text and the number on the right, at least 10 mm from the band. Keep 5 mm from the edges and the cut lines. Set the foil elements to 100 % black (K). Use type from 8 pt and avoid very thin lines.
A4 sheet to scale: the grey band is the 80 × 290 mm foil strip for three certificates, the dashed lines are cuts every 99 mm. Foil elements run from 8 to 83 mm from the left edge, text starts at 93 mm.
This layout has no full-bleed background: bleed needs 2 mm, and the printer does not print right up to the edge of the sheet. The card itself gives the background colour. Why the foil cannot tell the logo from the text is explained in “A gold logo on paper: toner foil or hot-stamping foil?”.
Light card, text in toner
Foil on the band only
Colour or black print. A 30 m roll covers 375 sheets, that is 1,125 certificates: about UAH 0.7 of foil each at a roll price of UAH 772 as of October 2026.
Dark card
Everything printed is foiled
Black toner barely shows on dark card, so the text is foiled too and the foil covers the whole sheet. Print in greyscale. Cut 215 mm off the roll and trim the piece slightly smaller than the sheet: a 30 m roll covers 139 sheets, that is 417 certificates.
Print at full toner density
Use smooth, uncoated card with no linen texture and no varnish: foil takes poorly on coated and textured stock. Feed thick card from the manual tray, where the sheet runs without bending. In the driver set the paper type to heavy, the highest quality, and turn off toner saving: a thin toner layer holds the foil worse. Print at 100 % scale, without fitting to the page.
If the sheet carries black only, print in greyscale: in colour mode most printers add faint yellow dots, and the foil sticks to them too. Print numbers, dates and the back before foiling. Do not put a foiled sheet back through the printer: re-melted toner can stick to its rollers.
Test sheet first
Print two sheets and take one through steps 4–6; run the job only after a clean test. New card, toner or foil colour means a new test: a recorded setting does not replace it.
Lay the foil strip and put the sheet in the carrier
Cut 80 mm off the roll to get an 80 × 320 mm strip and trim it to 290 mm. Lay it on the band shiny coloured side up: the matte side must touch the toner, otherwise nothing transfers. Put the sheet with the foil into a carrier: baking parchment or thin writing paper 30 × 66 cm, folded in half. The carrier keeps the foil in place, protects the rollers from toner and spreads the heat evenly.
Run it through the hot rollers
On the L Base 350 switch on the hot mode, set 140 °C and wait until the panel shows it. If film is threaded through the laminator, remove it: foiling does not need it. Feed the carrier fold first, straight and centred, and do not stop halfway, or a line will remain.
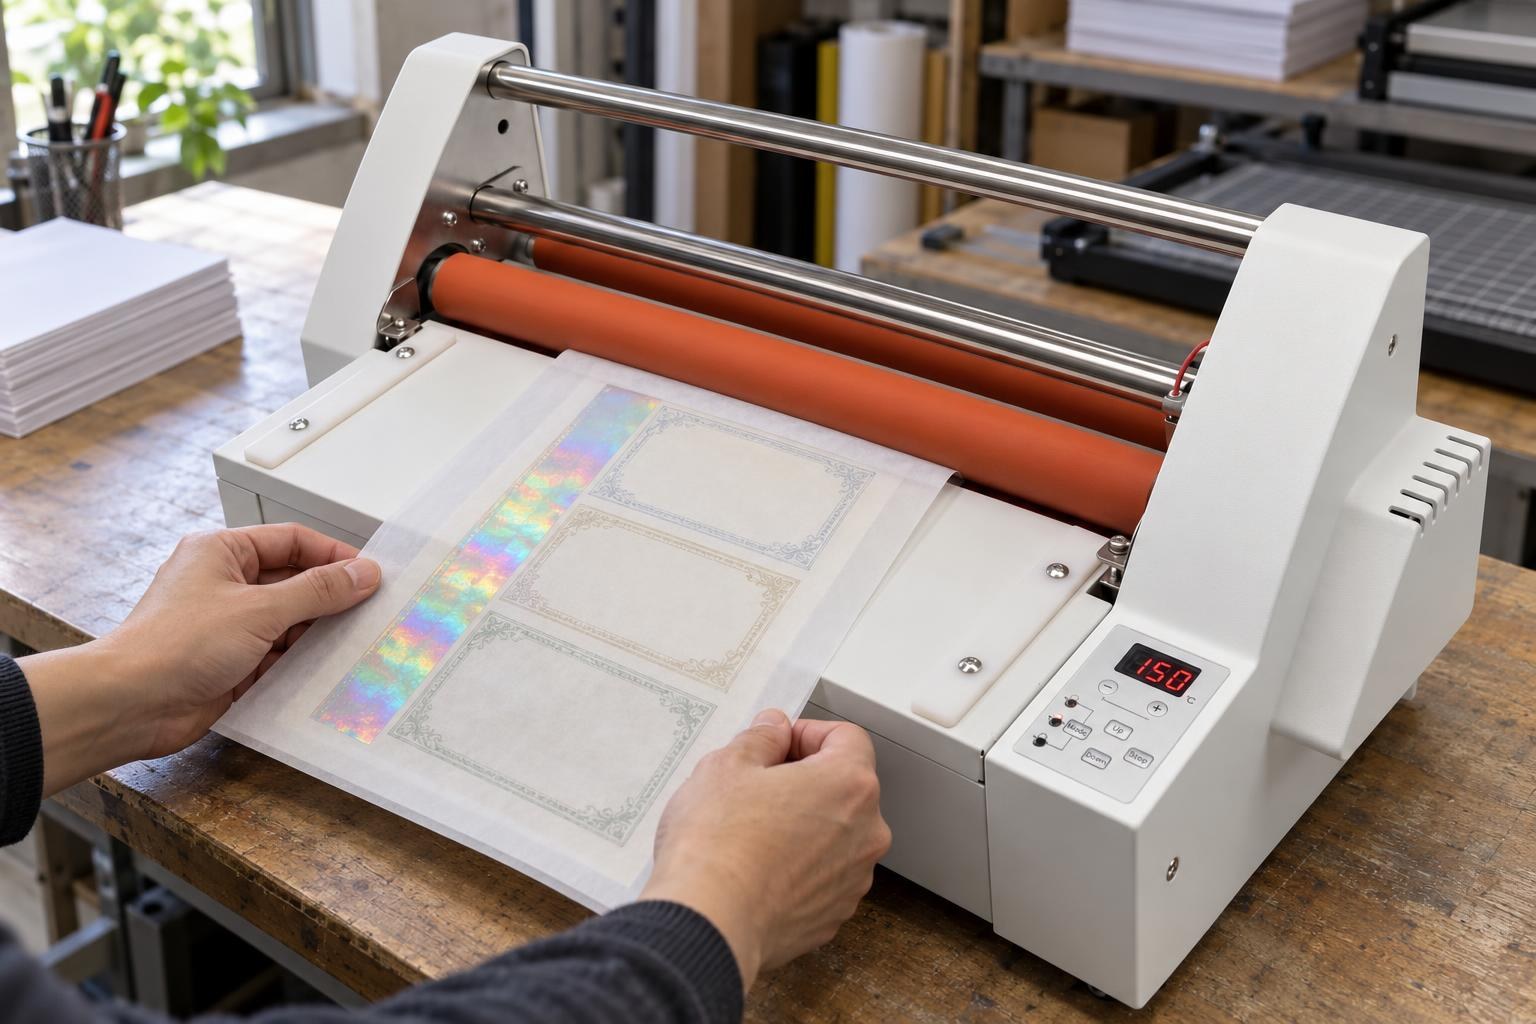
The parchment carrier enters the rollers fold first; the foil strip over all three certificates shows through it.
Let it cool and peel the foil
Leave the sheet on a flat table for 1–2 minutes. Start peeling at a corner: if you see gaps under it, lay the foil back and run the carrier through again. Then peel slowly, folding the foil back low over the sheet, and check the test sheet against the table.
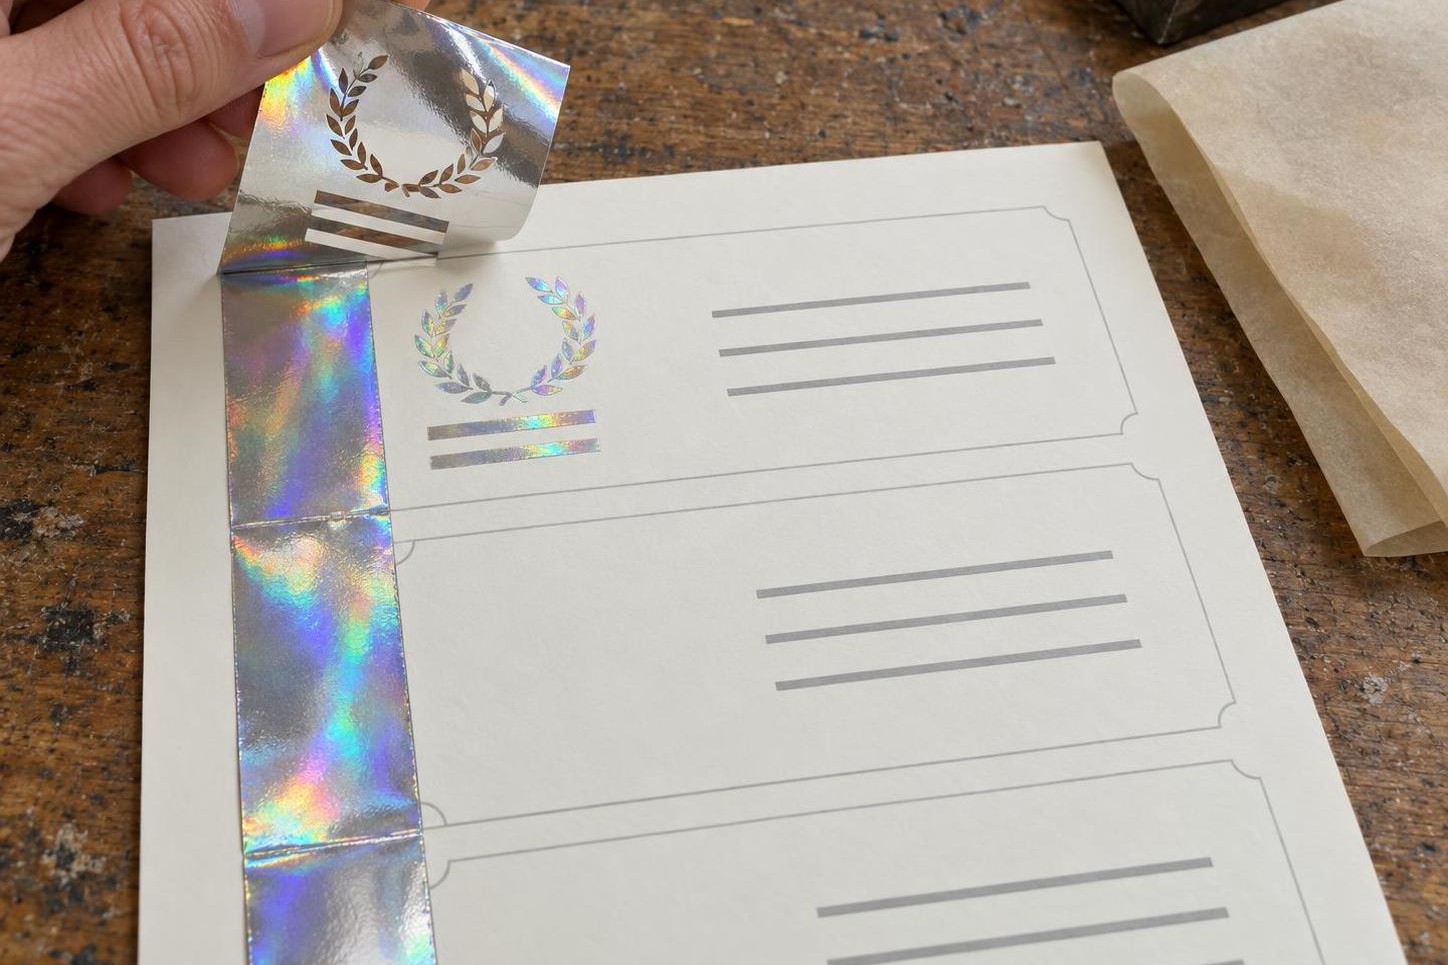
Peel slowly and low: the strip keeps clear outlines of the emblem, and the shine stays on the sheet where the toner was.
| What you see on the first sheet | What to change |
|---|---|
| Gaps all over the sheet | Check that the black print is solid, remove dust and check that the rollers press the sheet and foil evenly. If these checks are satisfactory, run the next sheet 5 °C hotter, but not above 150 °C. Fix this one with a fresh strip over the gaps and one more pass; never reuse peeled foil. |
| Gaps only in small type and thin lines | The layout is the cause: type from 8 pt, thicker lines. |
| Black halo around letters, wrinkles, foil on bare card | −5 °C, but not below 130 °C. |
| Foil specks on bare areas | Brush them off with a soft brush. If they remain, lower the temperature by 5 °C, but not below 130 °C. |
Gaps even at 150 °C? Print the same file on plain office paper and run it with foil. If the foil transfers evenly on the office paper, try another smooth uncoated card or a thinner one. If the gaps remain, check that toner saving is off and try an original cartridge. Sometimes the foil stops sticking after the original cartridge is replaced with a compatible one.
Cut on the guillotine
Stack the sheets, align them against the gauge and lay a sheet of smooth card on top under the whole clamp bar so it leaves no marks on the foil (more in “Cutter clamp marks on business cards: how to protect the stack”). Tighten the screw clamp on the stack; before the second cut, reposition the remainder and clamp it again. Cut twice at 99 mm from the gauge. The GC Base 198 A4 takes a stack up to 40 mm, so a job of several dozen sheets is cut in one go.
Leave the corners square: for a certificate in an envelope that is normal. Round the corners only after cutting, with one radius on all four. If a step remains on the arc, check the stops as described in “A step after corner rounding: what to check”.
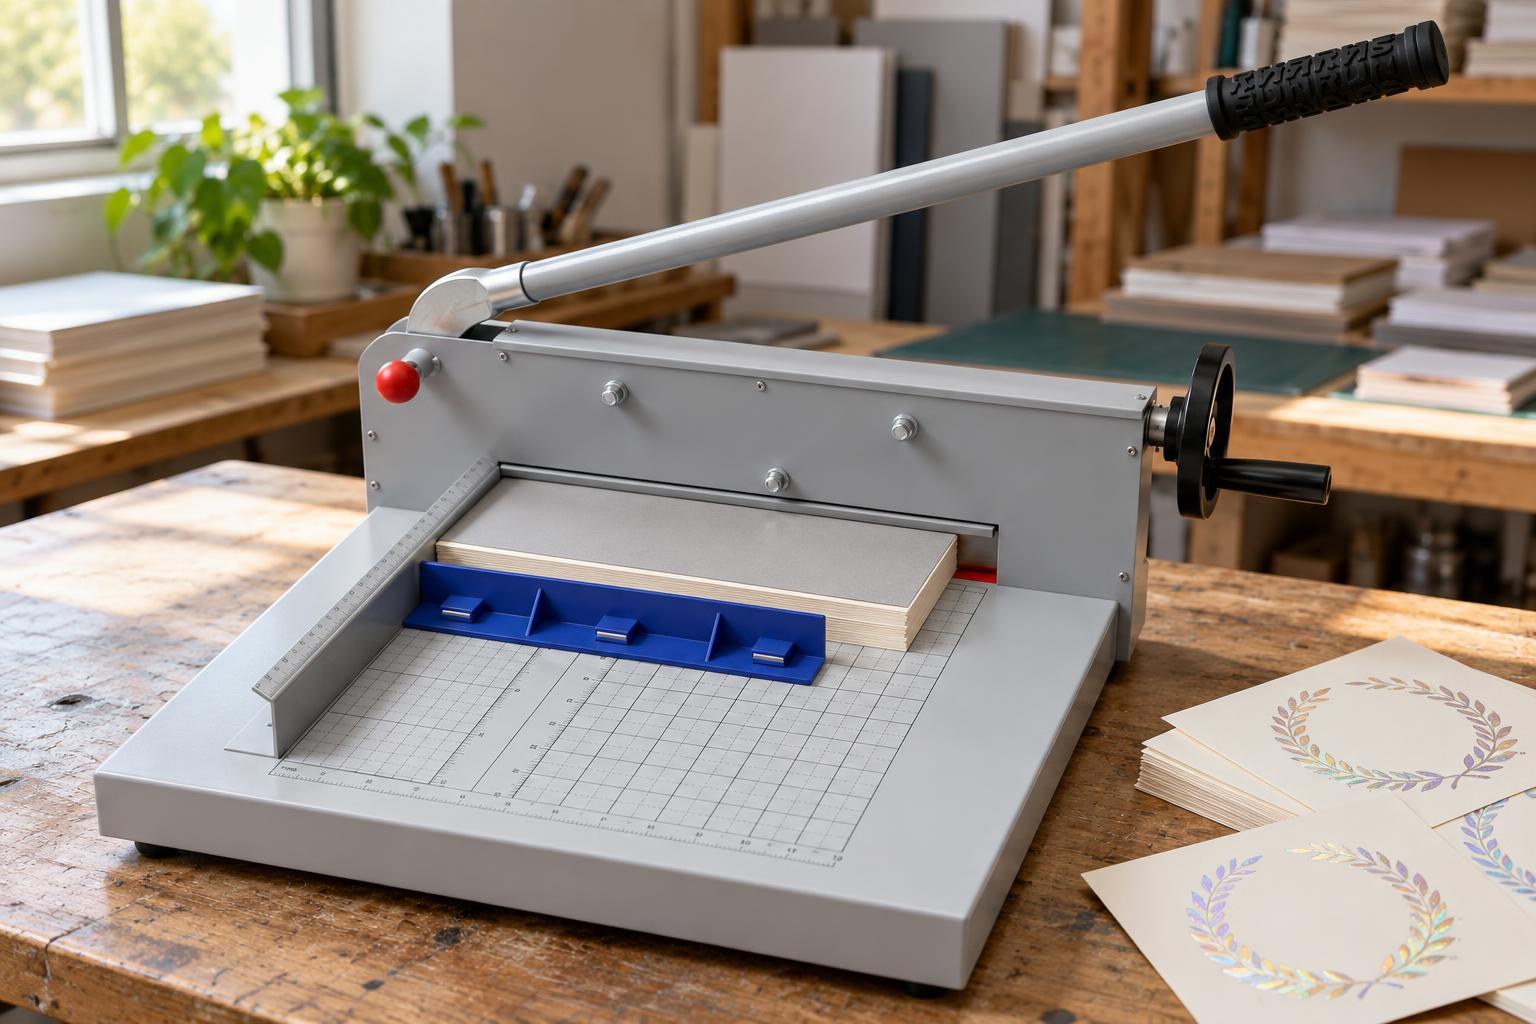
A sheet of smooth card on top of the stack protects the foil from clamp-bar marks.
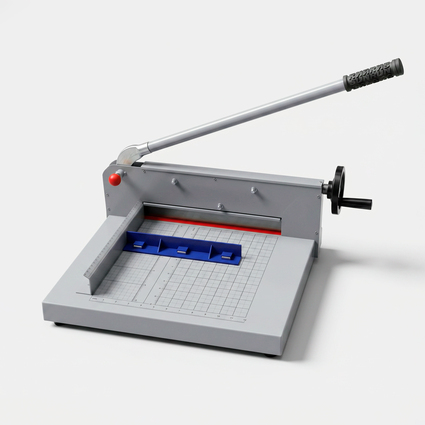
My Print GC Base 198 A4 manual guillotine cutter
stack up to 40 mm · 300 mm cutting width · screw clamp · magnetic stop
Folded certificate: crease before folding
If the certificate folds, first press the fold line on a creaser, then fold: toner and foil crack less on the fold. Keep foil and solid fills off the fold line. The CR Base 460 creaser takes card up to 400 g/m² and sheets up to A3; set the crease depth on a spare sheet. Which side to crease from and how to check the grain is explained in “A white line on a card fold: how creasing helps”.
Pack
Each certificate goes into its own envelope, and the envelopes go tightly into a box so they do not bend or rub in transit.
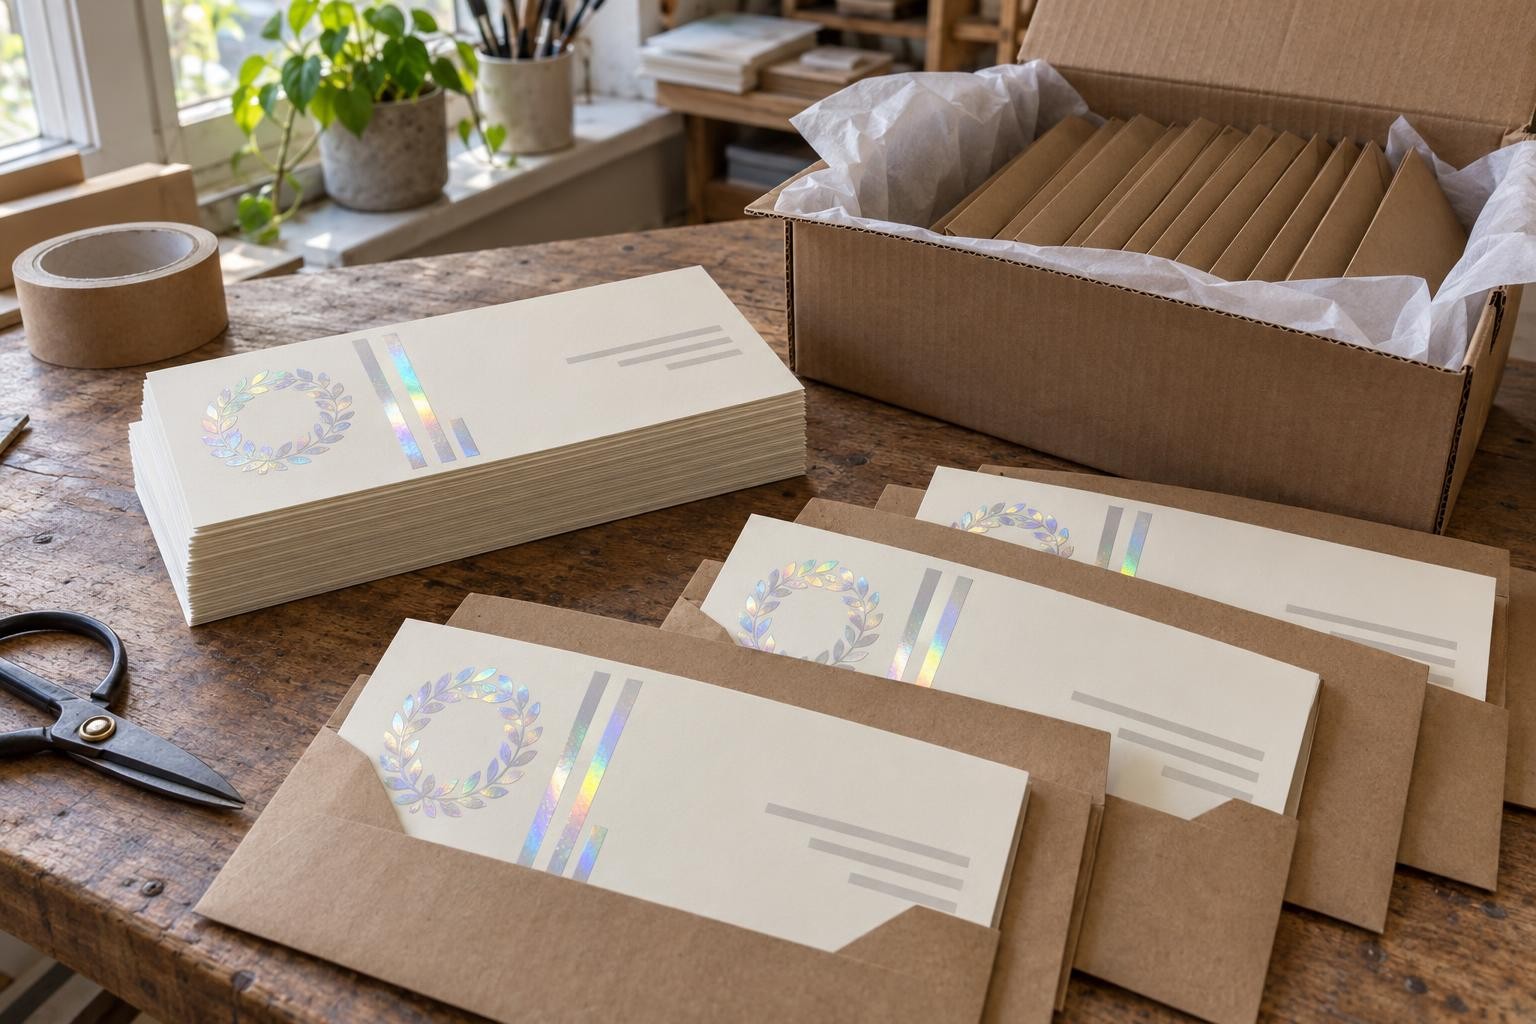
The envelopes stand tightly in the box with no free space, so the corners will not bend in transit.
Frequently asked questions
Will it work on an inkjet printer?
No. The foil card says plainly: laser print only. Inkjet ink soaks into the paper and does not melt, so the foil has nothing to stick to. No laser printer? Print the sheets for foiling at a copy shop on a laser machine.
The printer will not feed thick card. What can I do?
If the manual tray and the heavy paper type did not help, look up the maximum paper weight in the printer manual and use smooth card within it. For foil, a smooth surface matters most, and thinner card also heats through faster in the rollers.
Why does the foil wrinkle when I cover a whole A4 sheet?
Most often the rollers are too hot: the foil shrinks and folds, and a black halo appears around the letters. Lower the temperature by 5 °C, but not below 130 °C, and feed the carrier straight without stopping. A large piece is also harder to lay without creases, so where you can, cover only the band with the foil elements.
The certificate background is dark and coloured. What then?
Do not print a toner background under the foil: the foil will stick to the whole background, not just the logo. Use dark or coloured card and make the text on it in foil.
Can I foil on a pouch laminator?
Yes, if it has temperature control, holds 130–150 °C and the card plus carrier fits its permitted thickness; how to work that out is explained in “125 µm pouches and thick paper: can your laminator handle both?”. Laminators that heat with a plate behind the entry rollers rather than through the rollers themselves foil unevenly and barely transfer holographic foil.