

In a thermo mug the press heats only the outer wall, thin steel with a vacuum behind it, so the coating reaches transfer temperature faster than on thick ceramic. Start at 180 °C and 80 seconds instead of the 180 seconds a ceramic mug needs, remove the lid with its silicone ring and choose the heater by the blank’s diameter.
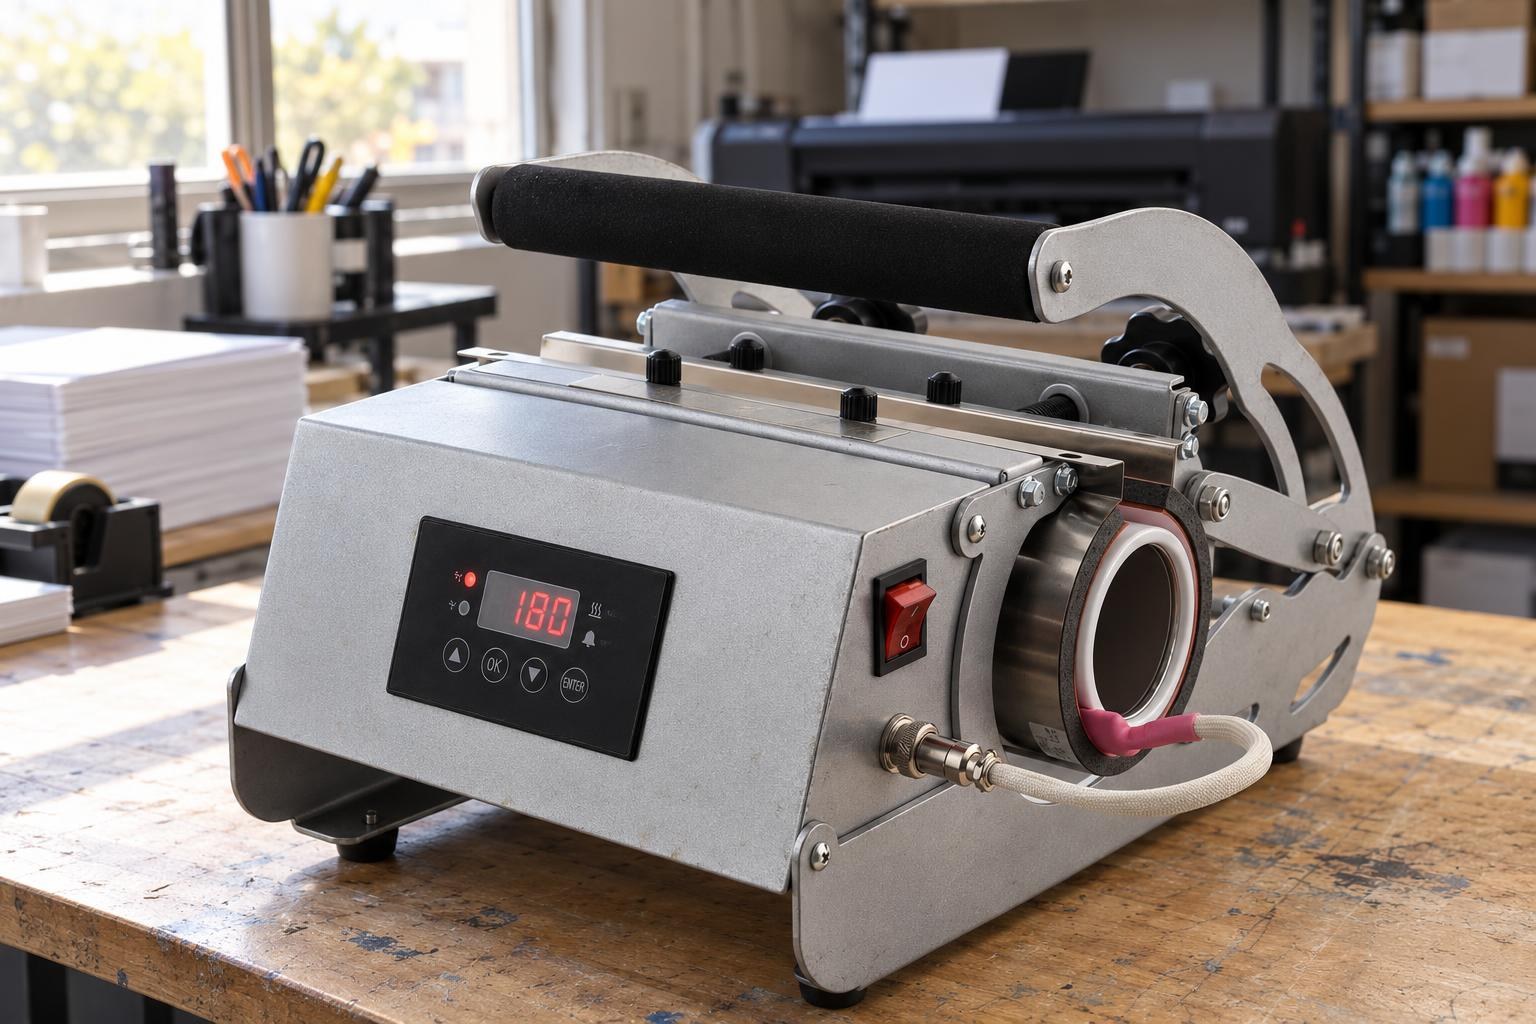
A thermo mug without its lid in the closed thermos heater: the heater is longer than the mug, only the steel rim shows.
What is inside a thermo mug
A ceramic mug has one thick wall. A thermo mug, thermo bottle or thermos has two thin steel walls joined at the rim. The vacuum between them helps keep a drink hot for hours. The sublimation coating is on the outer wall only.
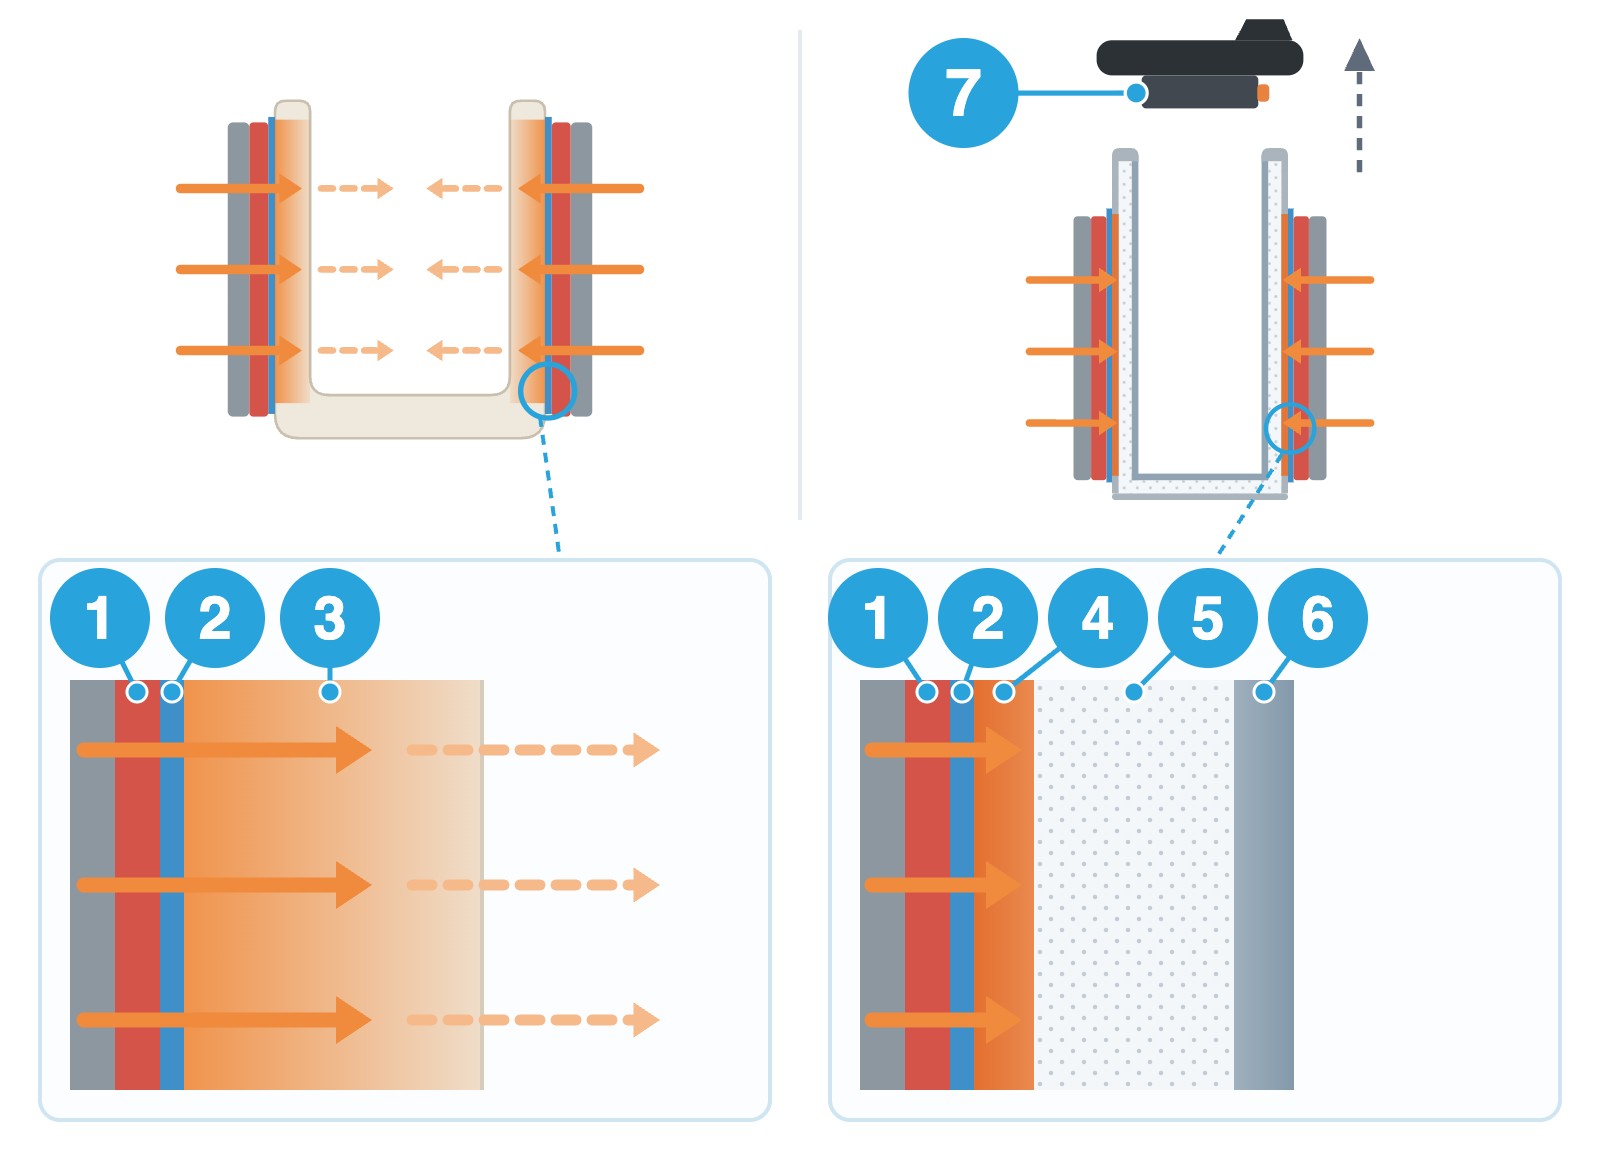
Left, a ceramic mug; right, a thermo mug in the same heater; below, close-ups of their walls.
Press heater. It heats only where it presses against the paper.
Sublimation coating. A thin polymer layer that absorbs the dye from the paper. On silver blanks it is clear, so white in the design becomes the colour of the steel; see White or silver metal for sublimation: what happens to white in the design.
Ceramic wall, several millimetres thick. It takes heat and passes it into the mug.
Outer steel wall, usually about half a millimetre. It heats up quickly.
Vacuum. Almost no heat crosses it, neither from the press inwards nor from the tea outwards.
Inner wall. In the press it stays much cooler than the outer wall.
Lid with a silicone ring. It comes off before pressing.
That is why ceramic needs 180 seconds: its wall passes heat into the mug, and the coating warms up slowly. Thin steel needs little heat, and the vacuum keeps it from going further, so a thermo mug needs less time. Extra seconds show sooner on it: the design blurs and the white coating turns brownish.
Most blanks in “Thermo mugs, thermoses and thermo bottles for sublimation” are built this way. Water bottles in “Water bottles and flasks for sublimation” have a single wall without a vacuum: do not carry the thermo mug setting over to them, check the bottle’s card.
Settings: thermo mug and ceramic side by side
Blank and equipment makers give this setting for a heater that wraps all the way round the thermo mug. For other presses the time may differ. For ceramic, it is MyPrint’s usual setting.
| Thermo mug | Ceramic, 330 ml | |
|---|---|---|
| Temperature | 180 °C | 180–200 °C |
| Time | 80 s | 180 s |
| Pressure | medium | firm |
| Heater | matched to diameter and height | standard |
| Remove | lid, ring, straw | — |
Medium pressure means the press handle closes easily and the blank does not turn in the closed heater. When the timer beeps, take the thermo mug out in heat-resistant gloves and peel the paper at once. Make the first thermo mug from every new box a test. If the design blurs or the white turns brownish, press the next one 15 s shorter. If it is pale all over, check that the press has warmed up, inspect the printed transfer and check that the paper sits tight, then add 10–15 s on the next one. For a pale band on one side or a pale edge, first check the paper and heater contact and whether heating is even. Extra time will not fix a gap.
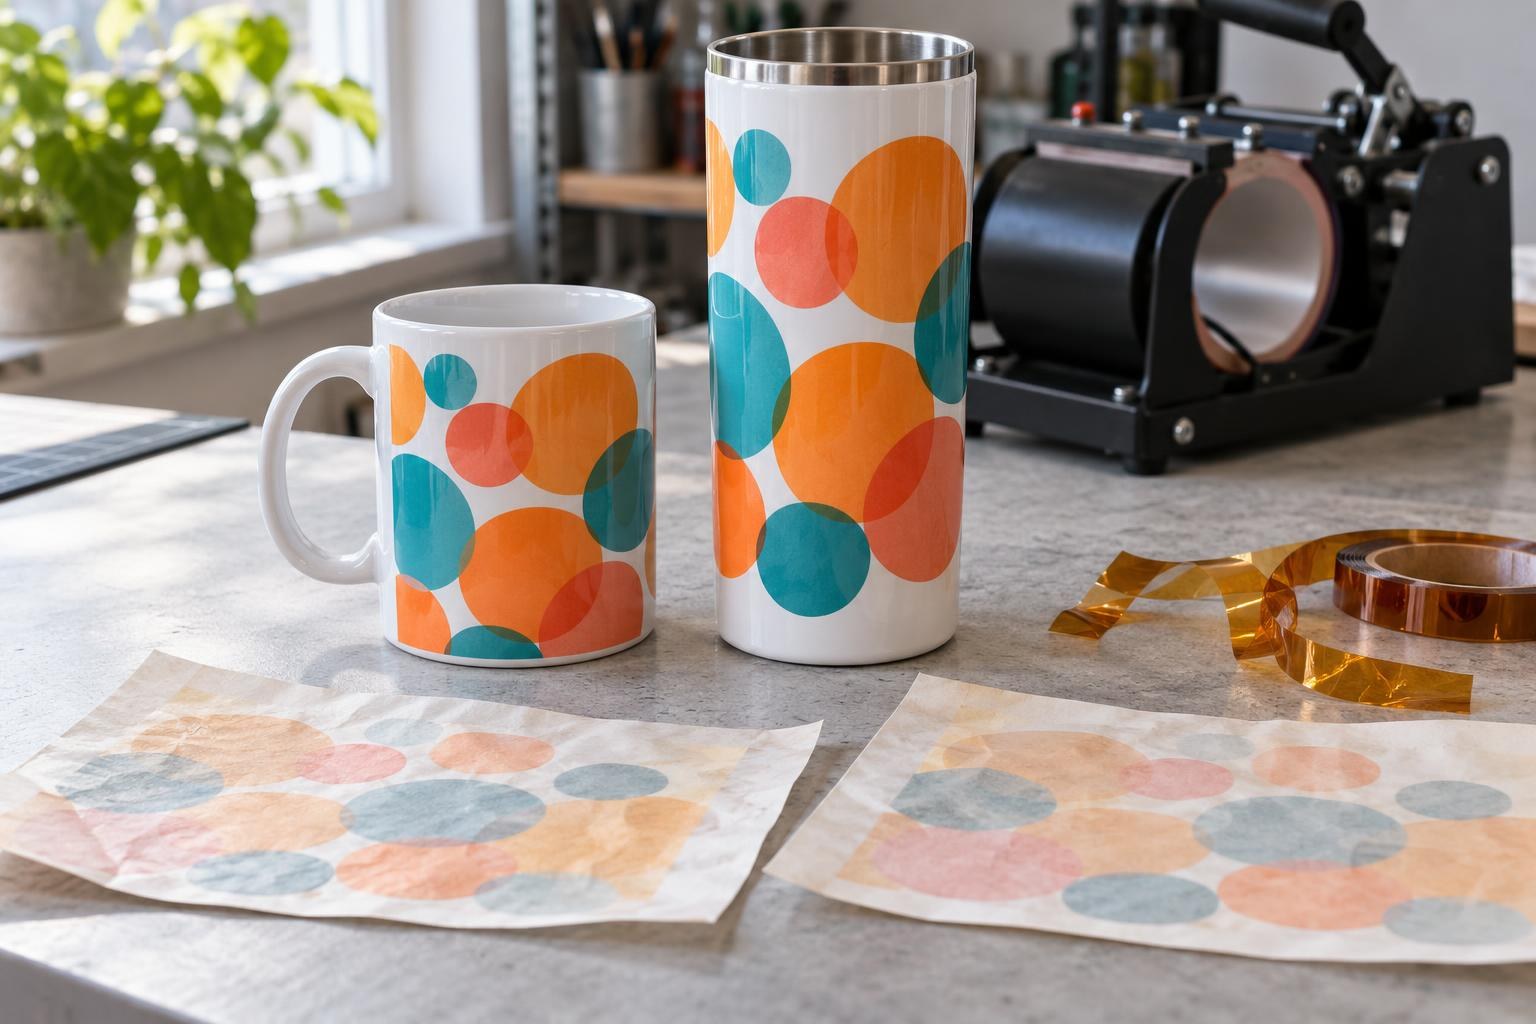
A good result looks the same on ceramic and steel: sharp edges, bright colours, clean white areas.
What follows for you
Heat enters only through contact
Match the heater to diameter and height
Where the heater does not press against the wall, a pale band remains, and extra seconds will not fix it. The blank’s diameter must be within the heater’s range, the design no taller than the heater.
Lid and ring are plastic and silicone
Remove everything that is not steel
The lid, the silicone ring, the straw. Keep a handle or a plastic base that does not come off outside the heater.
The wall tapers or has a step
Put the logo on the straight part
A cylindrical heater wraps tightly only around the straight part: on the 600 ml thermo mugs with a black lid it is the top, on the thermo bottle the body below the shoulders. A design that runs onto the taper or step goes to the oven (tip below).
The coating is a thin outer layer
Wash by hand
Hot tea barely warms the design: the vacuum sits between them. Wash with a soft sponge and no abrasives; never in the microwave, it is metal.
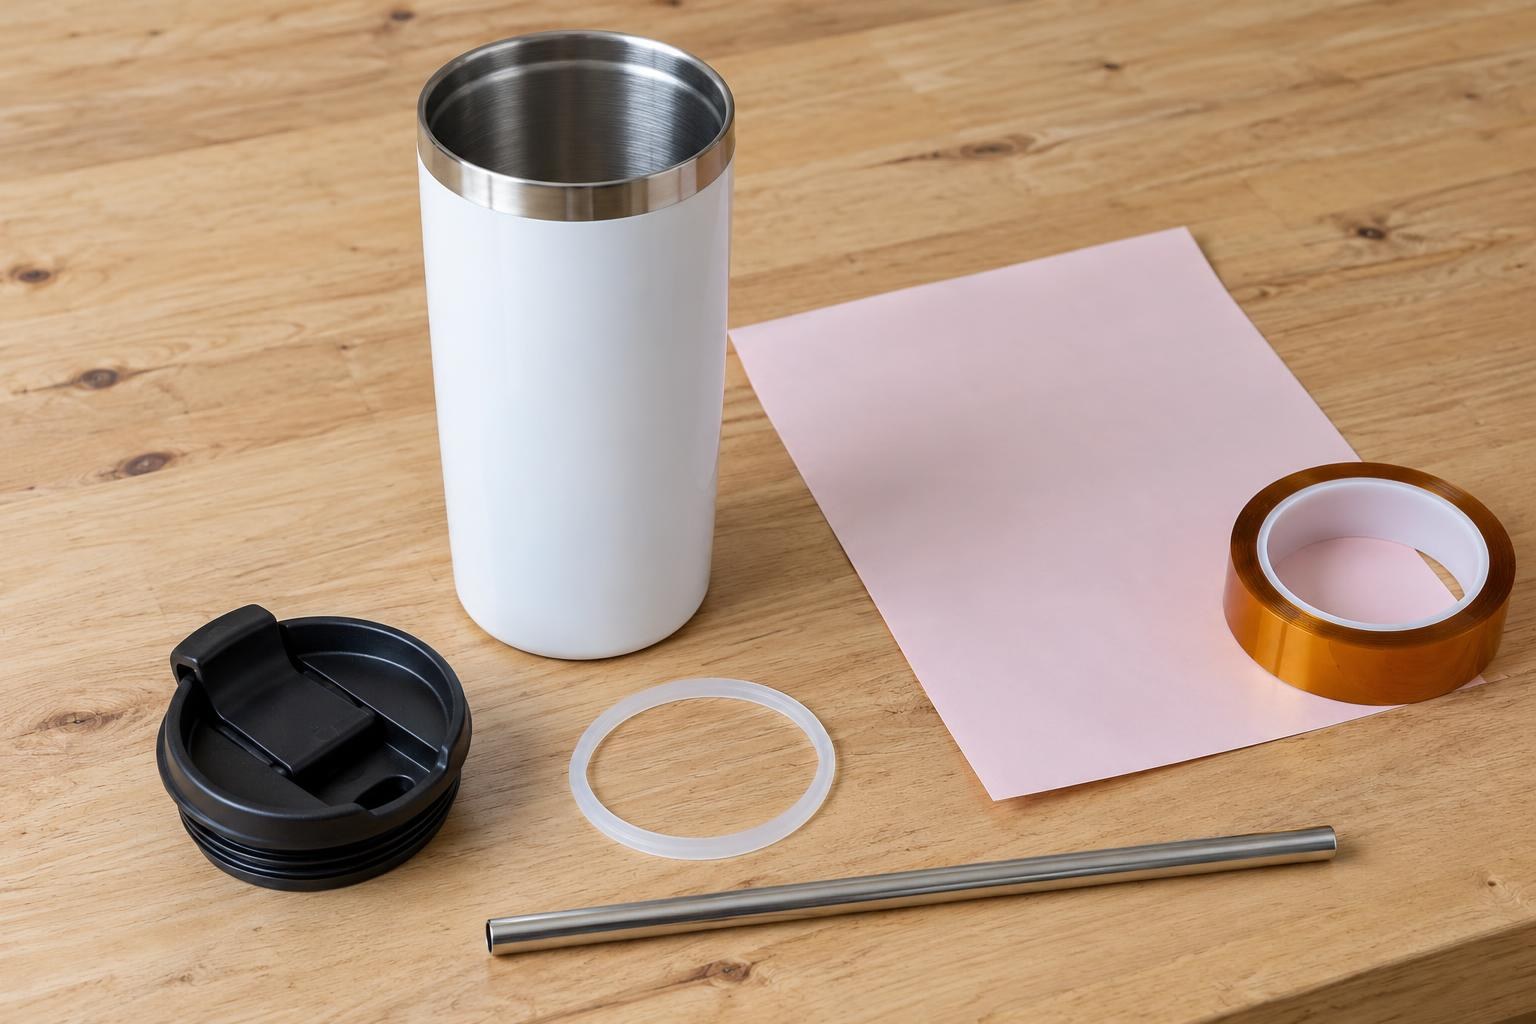
Before pressing: the lid, the silicone ring from its groove and the straw lie apart.
Which heater for which thermo mug
Thermo mug cards say an ordinary mug press will also do. That holds for diameters of 7.5–9 cm, the range of the standard 11 Oz heater (Oz means ounces; 11 Oz is a 330 ml mug). It will not wrap a thinner blank tightly, which is why there are thermos heaters. The diameter is in each blank’s specifications.
| Blank diameter | Heater | MyPrint blanks |
|---|---|---|
| 6–7 cm | thermos heater 22 × 19.5 cm | thermoses with a strainer, 6.5 cm; sports thermo bottle, 6.6 cm |
| 6.5–7.5 cm | thermos heater 22 × 21.5 cm, or the MP160 thermos press supplied with a 6.5–7.5 cm heater | thermo mugs 250–600 ml, 7–7.4 cm; thermo bottles 500 and 600 ml, 7.2–7.3 cm |
| 7.5–9 cm | standard 11 Oz, 12 cm high, for low blanks; 30 Oz, 27 cm high, in the MP170 thermos press, for tall ones | car thermo mugs, 8.5 cm; 350 ml with a handle, 8.7 cm; 600–960 ml, 9 cm; 590 ml tumbler, 7.5 cm |
| 9.5–10.5 cm | wide 40 Oz, 16 cm high | thermo mugs with a clear lid, 750 and 1100 ml, 10 cm |
Heaters are also sold separately under “Heat press spare parts”, with diameter and height on each card. Before buying a heater on its own, ask a manager whether it fits your press.
These two blanks fit the 6.5–7.5 cm thermos heater:

White sublimation thermo mug with a handle lid, 540 ml
Steel 304, 540 ml, 7.4 cm diameter, straight wall

White sublimation thermo bottle, 500 ml
Metal, 500 ml, 7.2 cm diameter; print on the straight body below the shoulders

Heater for 6.5–7.5 cm diameters and lengths up to 22 cm · 0–200 °C · timer 1–999 s
A full-wrap design on a tapered, rounded or stepped blank is done in an oven, not in a heater. Wrap it in the paper, pull on a shrink sleeve of the right size (Oz in the name, under “Forms and clamps for 3D heat presses”) and put it in the preheated HO-16 sublimation oven. Make the first piece a test: start at 180 °C for 4–5 minutes, then adjust within the range blank makers suggest: 180–200 °C and 4–7 minutes. Take off the sleeve and paper straight away. Ask a manager before buying whether a tall blank fits the chamber.
Frequently asked questions
Which thermoses can be sublimated?
Only blanks with a sublimation coating: an ordinary thermos will not take the dye from the paper. Such blanks are in the sublimation section; pick one whose diameter suits your heater.
Can a printed thermo mug go in the dishwasher?
Only if the blank maker allows it: some do, others say hand wash only. Without that permission, wash it by hand.
Can I bake a thermo mug in an ordinary kitchen oven?
No: its temperature drifts and dye vapour settles inside, so food should not be cooked in it afterwards. That is what sublimation ovens are for; see the tip above.