
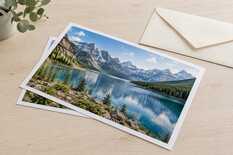
Load one flat sheet of photo paper and print a test with borders: a raised edge can touch the head and pick up ink from it. If the bordered edge is clean, print with borders and trim; if it is still marked, turn on Thick Paper and Envelopes (Epson) or Prevent paper abrasion (Canon) and repeat. If that does not help, run the paper-path cleaning on plain A4 paper.
Why the edge gets marked
Lay an unused sheet on the desk and look from the side. If the corners lift by more than 3 mm, the sheet can touch the head or misfeed: take a flat one from a sealed pack, and store packs flat. Paper that is curled or too thick for the selected feed path can touch the head, and a black mark then appears even in a white margin.
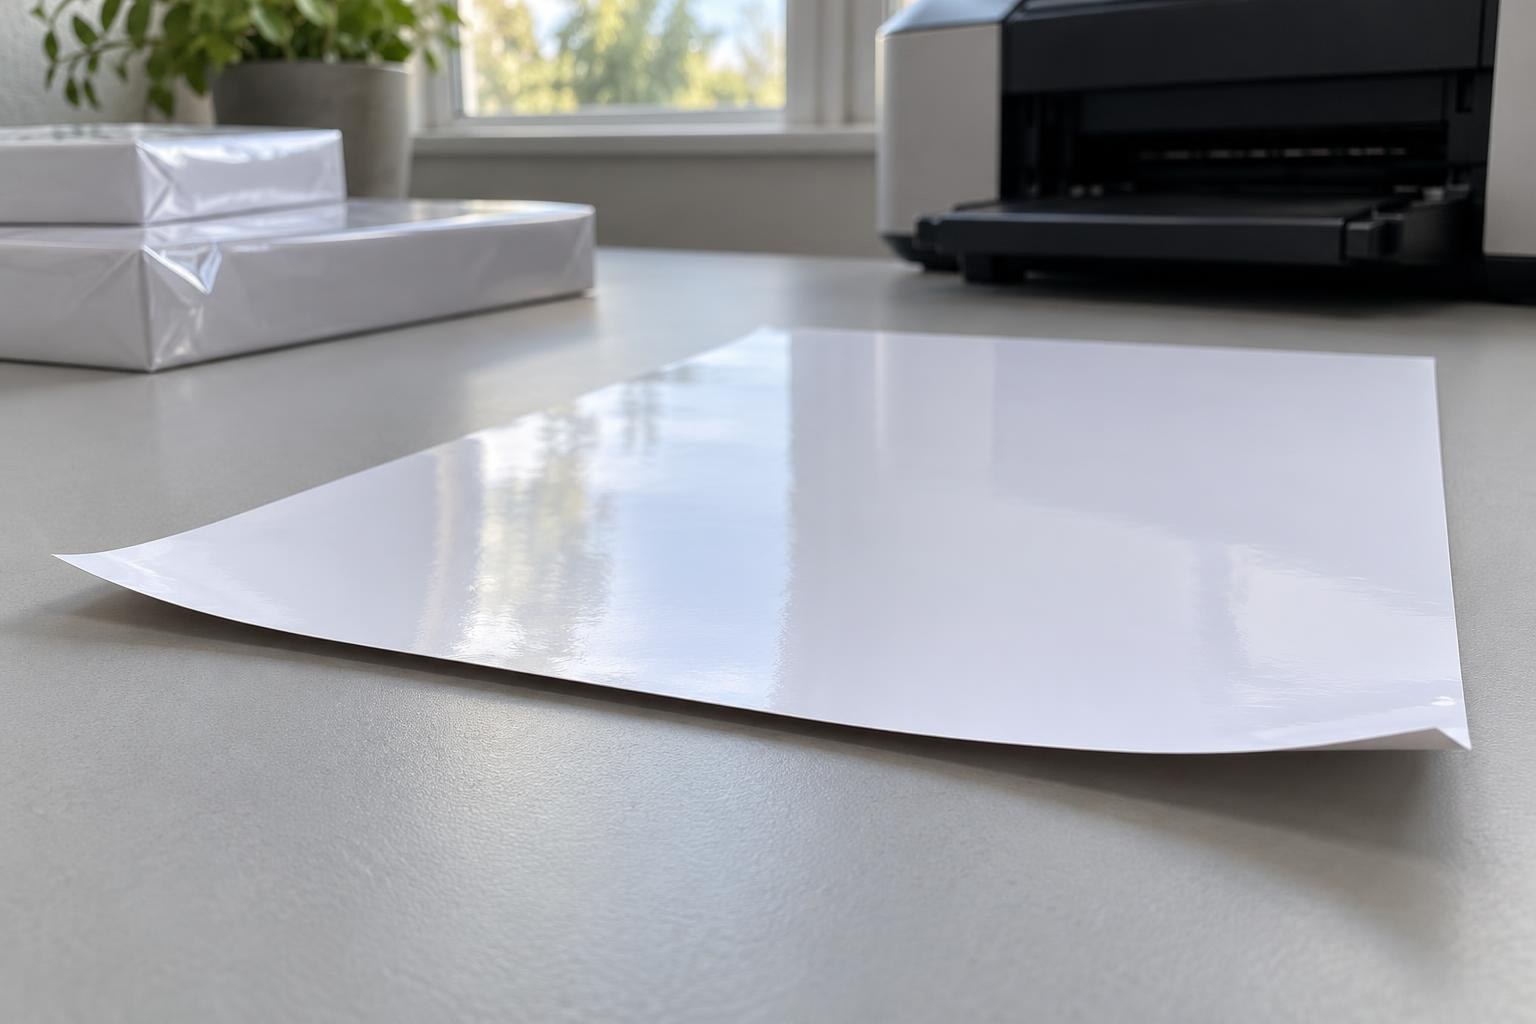
The corner has lifted off the desk: a sheet like this can touch the head, so use a flat one for the test.
Flat sheet: clearance remains
Paper passes below the head
Use a fresh, flat sheet for the test.
Raised edge: contact occurs
The raised edge touches the head
Replace the curled sheet before printing.
Side view: a raised edge closes the gap under the head and can pick up ink from it.
If the photo comes out clean but black ink rubs off after drying, check ink and coating compatibility: increasing head clearance will not fix that. Why this happens and what to change in the driver: “Black ink smears on glossy stickers: what to change”.
Prepare one bordered test print
Keep the spoiled print for comparison. Take a flat sheet from the same pack. Do not force photo paper flat with a sharp reverse bend: its coating can crack.
Before starting the test
Load the sheet with the printable (brighter, smoother) side as the icon on the feeder shows, and bring the guide to the edge without squeezing the paper.
Sheets in the feeder
1
corners lifted no more than 3 mm
Paper type
Glossy Photo Paper
on Epson: Epson Premium Glossy; high quality
Borderless printing
off
test margins on A4: 30 and 48.5 mm
Drying
10–15 s
dark fills: a few minutes before stacking
Paper type, quality and drying time from the card of My Print glossy 180 g/m² photo paper; the 3 mm limit from Canon's manual, the Epson type name from Epson's manual. Keep all of these unchanged between the tests.
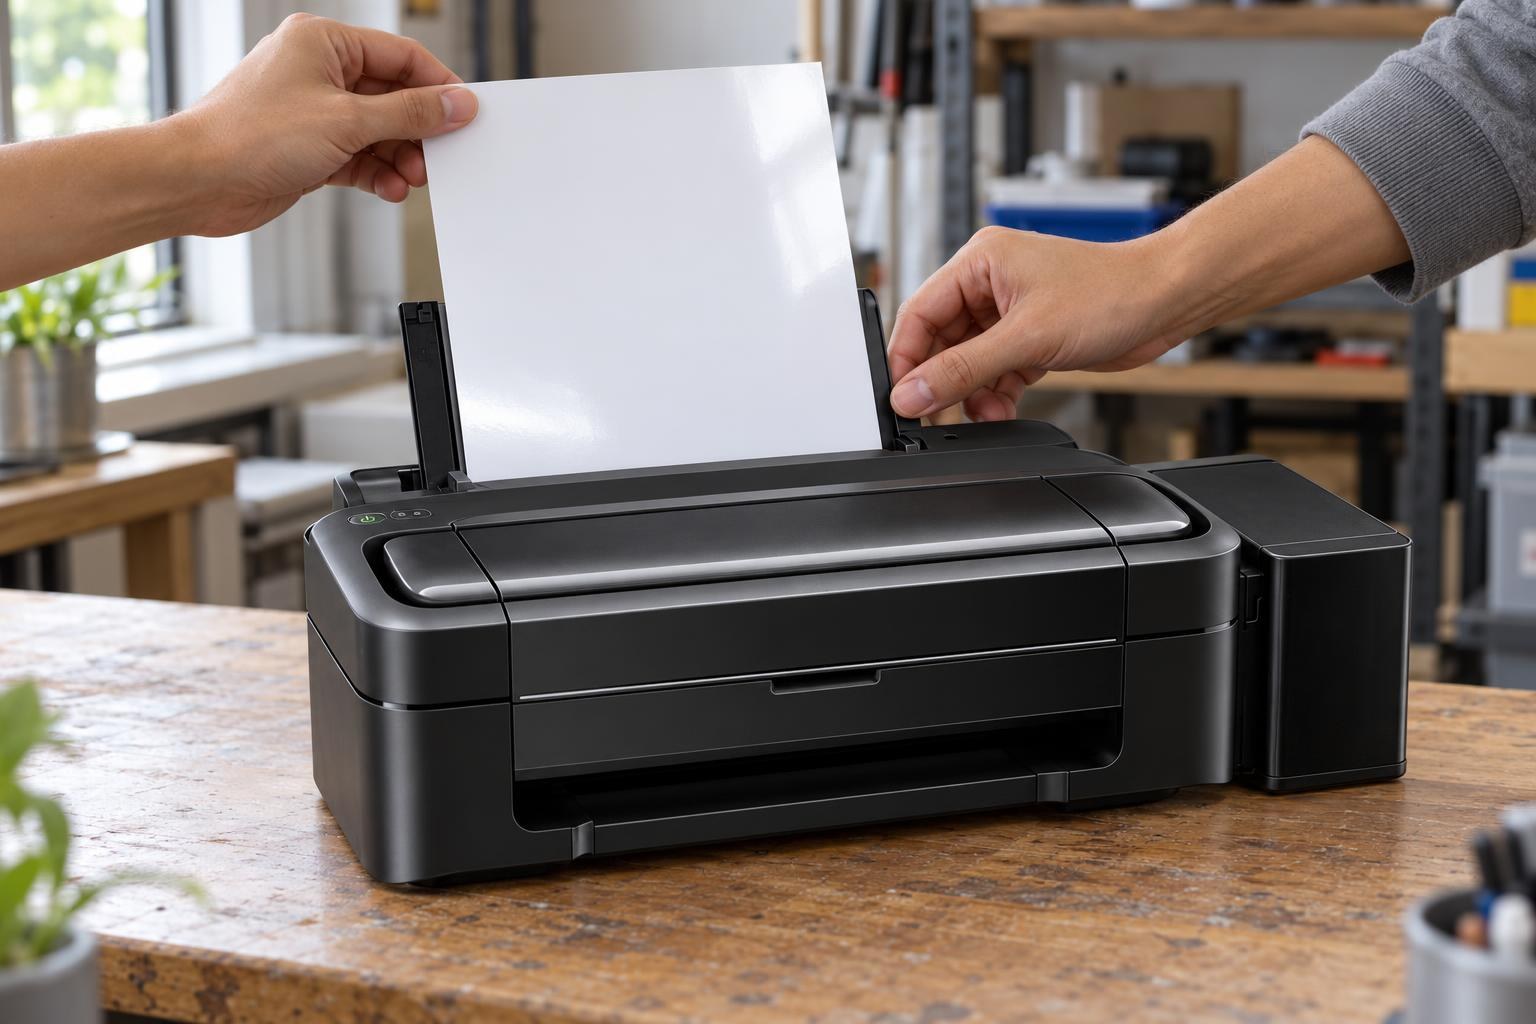
One sheet in the feeder, the guide just touching its edge: the paper feeds straight and does not bow.
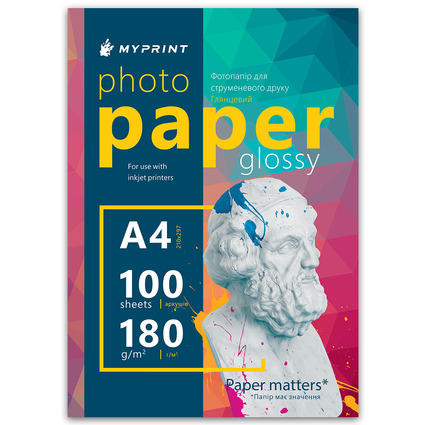
My Print glossy photo paper, 180 g/m², A4, 100 sheets
180 g/m² · cast-coated gloss for water-based (dye) ink · driver: Glossy Photo Paper, high quality
Turn off borderless printing. On A4, fit the photo, keeping its proportions, into a 15 × 20 cm rectangle in the centre: that keeps it out of the bands along the top and bottom edges where, according to Epson's manual, print quality may decline. Print the layout at 100 % scale, without fitting it to the page.
Example test layout on A4
Sheet: 210 × 297 mm
150 × 200 mm
30 mm
of white margin on the left and right
48.5 mm
of white margin at the top and bottom
Print, then inspect the edge that exits last and the back of the sheet.
Margins for a 150 × 200 mm rectangle centred on A4. A photo with a different aspect ratio will have a larger margin in one direction.
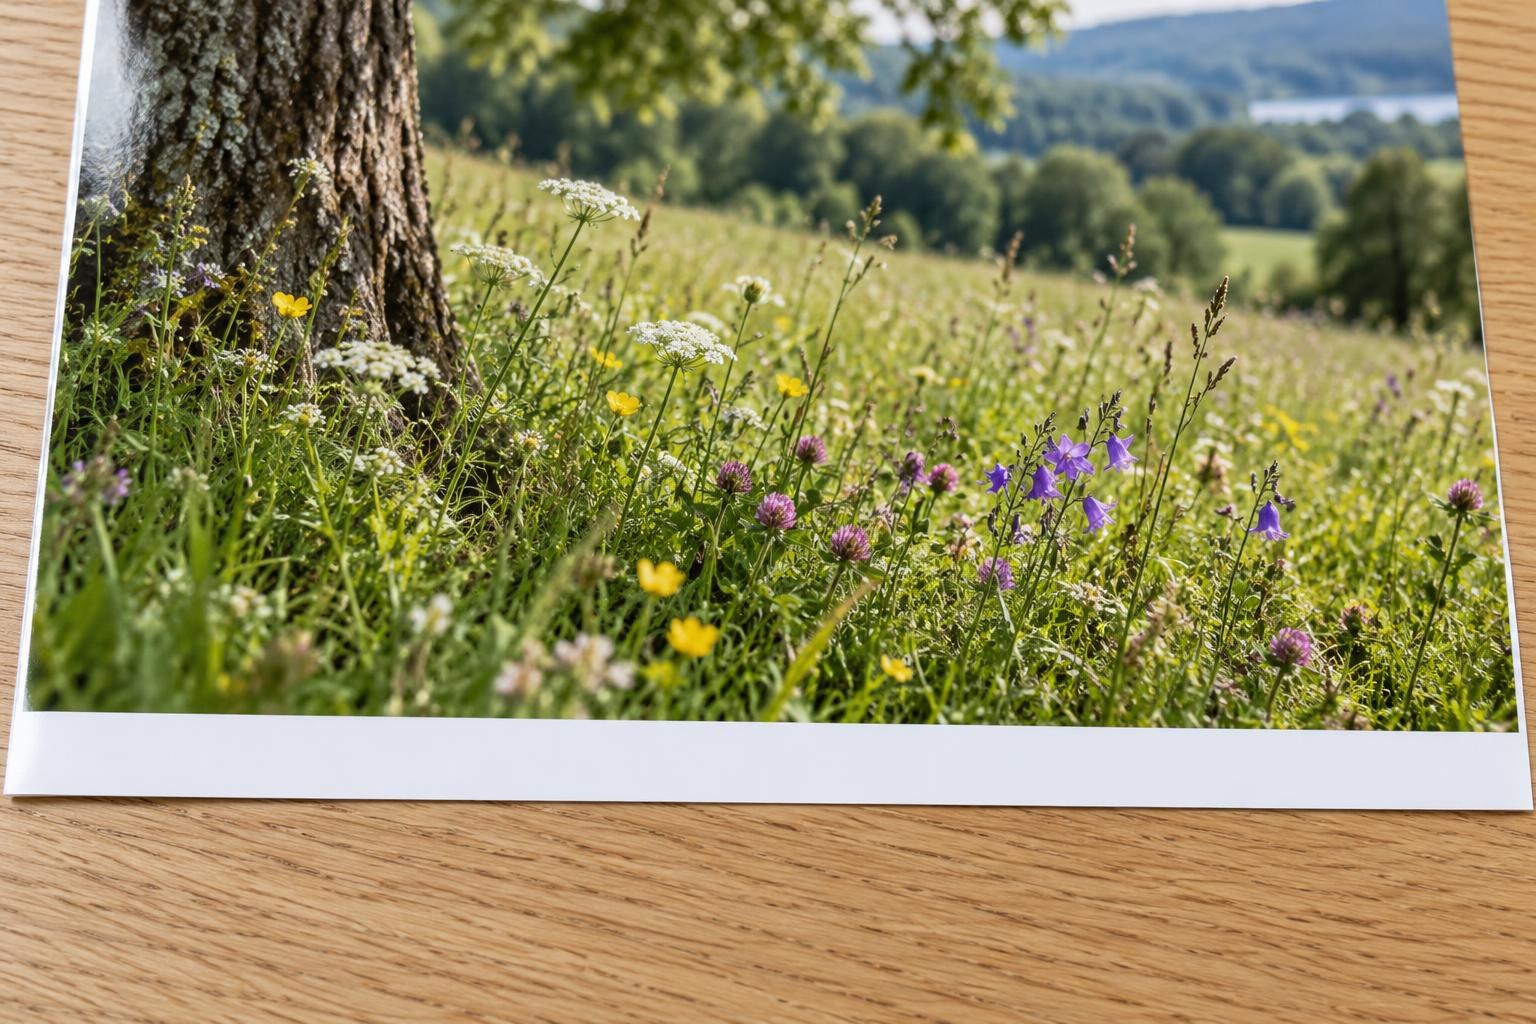
Right: with a border, the edge that came out last is clean.
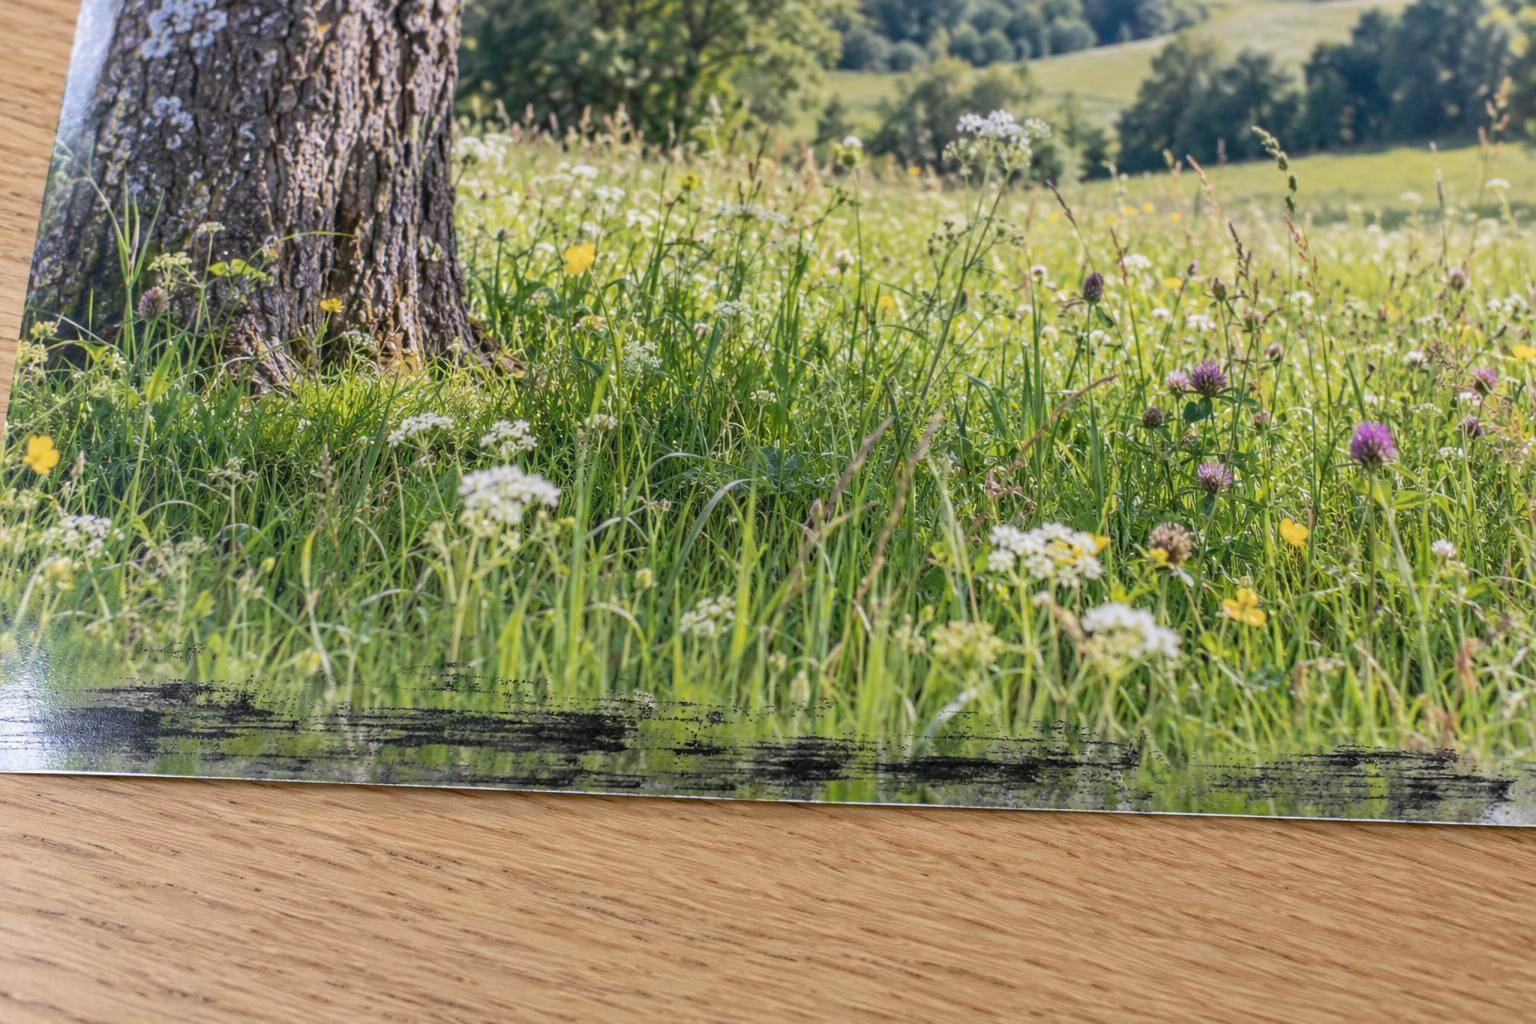
Wrong: borderless, with black scuff marks along the last edge.
What to change after the test
The bordered print is clean
Save these settings. For a finished photo without a white border, print with margins on a larger supported sheet and trim it after drying. Before starting the batch, print two more copies in the intended format: both must come out clean.
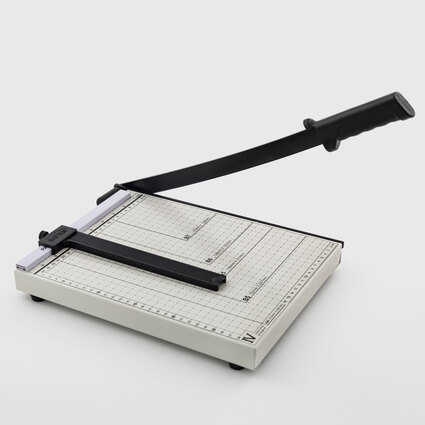
My Print 829-4 A4 guillotine paper cutter
up to A4 · format markings on the bed · up to 12 sheets of 80 g/m²
The edge is still marked on a flat sheet
Turn on the anti-scuff setting in the driver: on Epson, Maintenance tab → Extended Settings → Thick Paper and Envelopes; on Canon, Prevent paper abrasion (it widens the gap between head and paper). Repeat the same layout. The setting slows printing, so switch it off after this job. If your driver has no such option, go on to the cleaning below.
Marks remain or also appear on the back
Run the paper-path cleaning on plain A4 paper: on Epson it is paper path cleaning, on Canon Bottom Plate Cleaning. Repeat the photo-paper test. If the mark returns, take both prints to a service technician, mark the edge that exited last and give the printer model and paper name.
Nozzle cleaning does not stop rubbing against the paper. Run it only when the nozzle check has gaps; do not use deep cleaning for a mark on the edge — it will only waste ink.
For a sheet of stickers
Print self-adhesive photo paper and self-adhesive inkjet film with the liner attached. Remove it only when applying the sticker.
All three layers pass through the printer, so feed self-adhesive sheets one at a time.
The g/m² figure is not a thickness measurement: My Print self-adhesive photo paper also has a 75 g/m² siliconised liner beneath the face layer. Replace a wavy sheet or one with edges lifting off the liner with an intact, flat sheet.
Frequently asked questions
Why do marks appear on the back of a photo?
Ink that lands beyond the sheet during borderless printing, or when the page size in the driver is wrong, stays inside the printer and transfers to the backs of later sheets. Run paper-path cleaning on plain A4 paper and repeat until the sheet comes out clean.
Can I flatten curled photo paper?
Better not: a sharp bend can crack the coating. Print on a flat sheet from a sealed pack, and store packs flat at 15–35 °C and up to 60 % humidity.
How can I print a borderless 10 × 15 photo without marking the edge?
Place two 10 × 15 frames one above the other on an A4 sheet; together they fill the same 15 × 20 cm rectangle as the test. Print with borders and, once dry, trim the frames with the cutter along the image edge.
How long should a photo dry before stacking?
On My Print glossy photo paper, you can handle the print after 10–15 seconds; dense dark fills need a few minutes. Do not stack them sooner.
To choose another material, tell your MyPrint adviser the printer model, ink name, current paper and format; include photos of both tests. Test the new material with one sheet first.