

A clear rim around heat transfer vinyl is adhesive squeezed out from under it. Set medium pressure on the heat press and keep temperature and time within the film's card: for My Print white polyurethane film, 150–160 °C and 10–15 s. Test the new setting on a fresh fabric scrap: re-pressing will not push adhesive that is already out back underneath. Do not press again for a stronger bond.
Why a clear rim appears around a letter
Coloured film has a heat-activated adhesive layer underneath. During application, it softens and bonds the film to the fabric fibres. Excessive pressure can force some adhesive sideways, leaving a shiny rim around the letters.
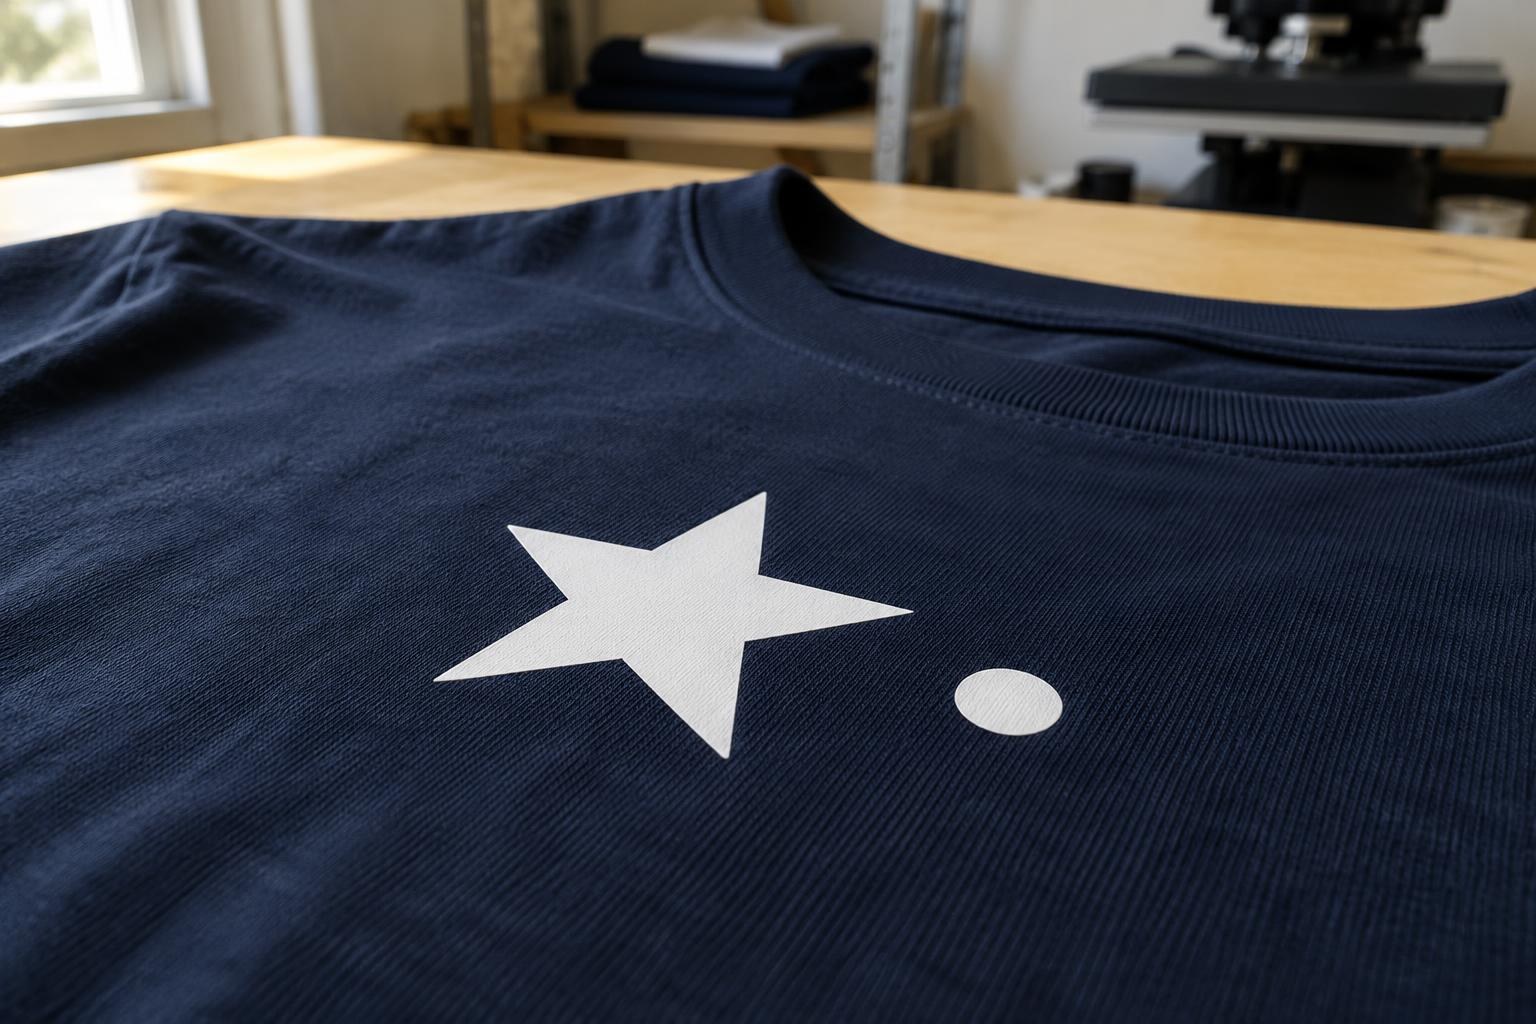
Right: a clean edge, the knit visible right up to the film.
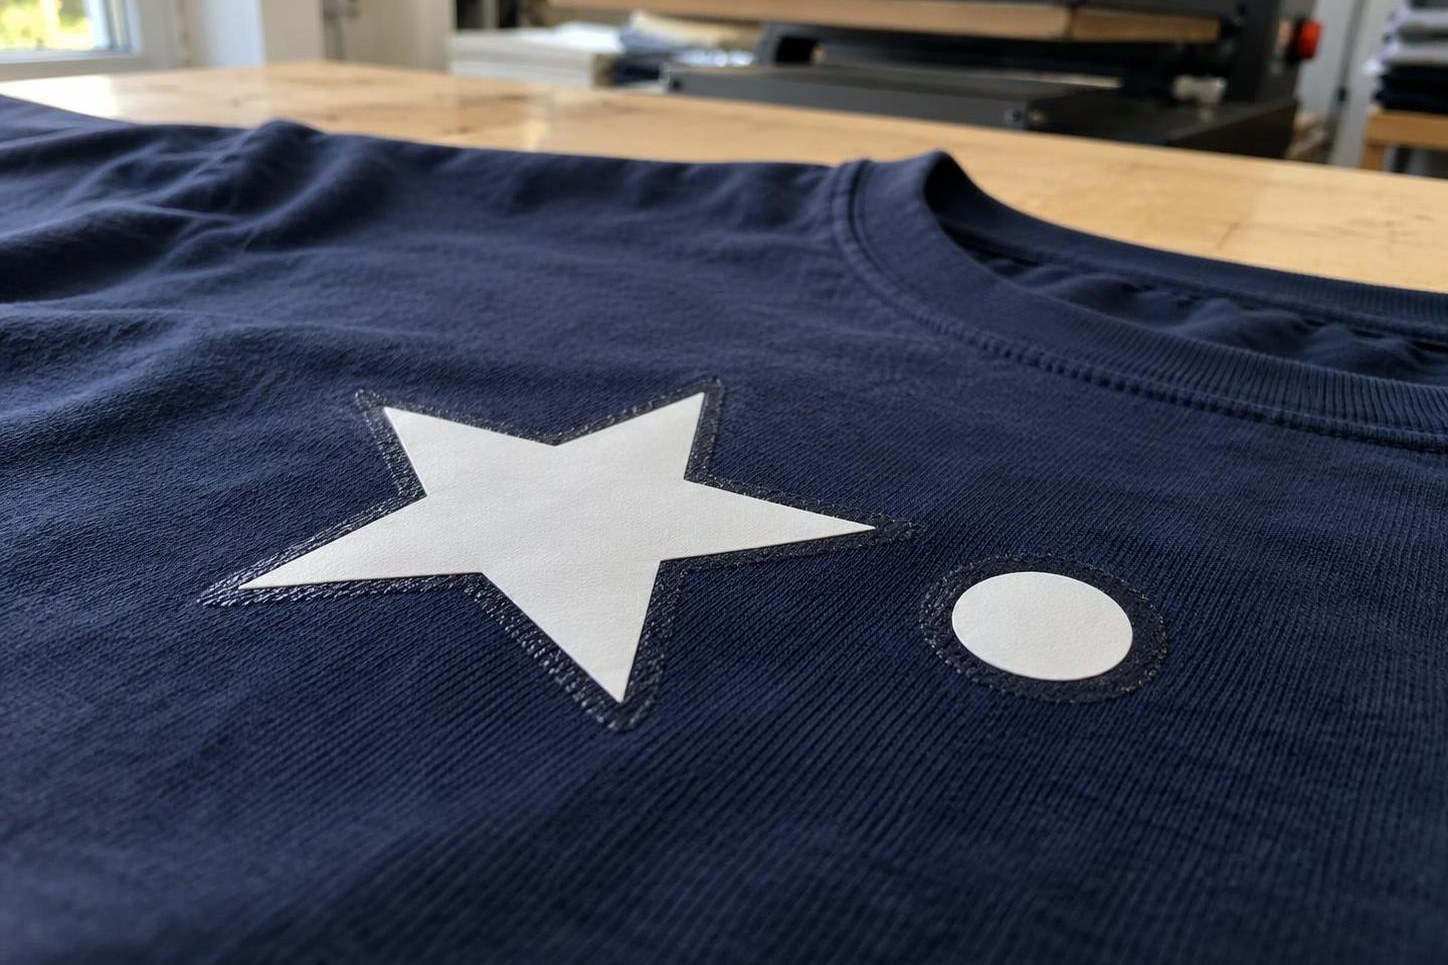
Wrong: a dark glossy band around the shapes: adhesive squeezed out from under the film.
Where the adhesive goes under pressure
Required pressure
↓ Contact with the fabric
Adhesive beneath the film
Keep the settings if the edge holds after a wash test.
Excessive pressure
↓↓ Adhesive moves sideways
← Adhesive beyond the edge →
Restore the recommended pressure and make a fresh sample.
Cross-section: the clear rim follows the film’s outline as adhesive escapes from underneath it.
Do not press harder to make the fabric weave show through the film: a wash test proves the bond, not fabric texture on the film.
Adhesive, a press mark or carrier glue?
Look at the garment under raking light and run a finger along the edge of the design.
A shiny rim exactly along the outline, smooth to the touch
Adhesive squeezed out from under the film
Medium pressure, temperature and time within the film's card. Make the next sample on a fresh scrap.
A non-sticky rectangle or line along the carrier edge
A press mark on the fabric
These are flattened fibres, not adhesive. Trim the carrier closer to the design, put a Teflon pillow smaller than the carrier inside the garment and keep the pressure no higher than medium. Steam and washing soften a light line.
A sticky patch the size of the carrier
Glue from the carrier itself
Press a clean piece of carrier without film onto a fabric scrap at the same settings. If it sticks without the design, use film from another roll.
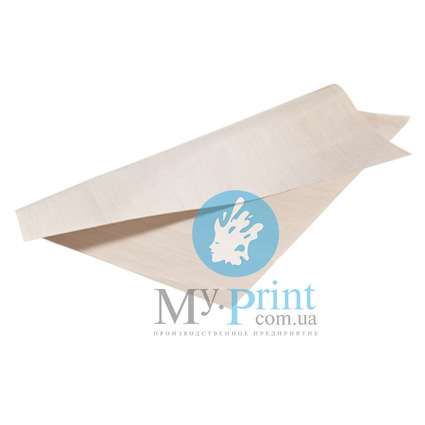
Fits a 38 × 38 cm platen · goes on top while pressing: the fabric does not touch the hot platen and no adhesive reaches it
A fresh sample with one setting changed
The card for white polyurethane film, item 7214, gives these settings; for any other MyPrint film take the figures from its own card.
Temperature
150–160 °C
first sample at 150 °C
Time
10–15 s
one cycle, no re-press
Pressure
medium
handle resists, no body weight
Carrier peel
cold
design no warmer than the fabric, usually 1–2 min
Settings from the card of My Print High Flex PU white film (7214). If you already have a proven setting within these limits, change only the pressure.
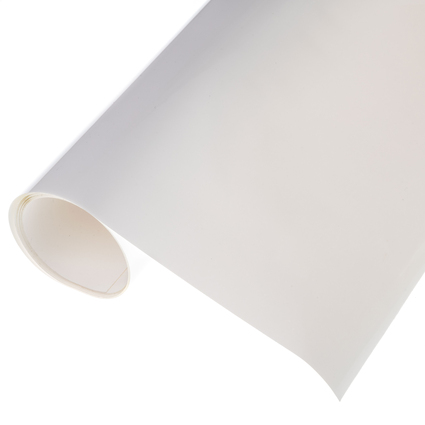
My Print High Flex PU white heat transfer vinyl, 1 × 0.5 m
PU, 0.09 mm · tacky carrier · 150–160 °C, 10–15 s, medium pressure, cold peel
Loosen the pressure knob half a turn at a time and close the press after each step: medium pressure is when the handle closes against clear resistance but you do not have to put your body weight on it. To check, on a cold press clamp four strips of paper in the corners of the platen: they should pull out only with effort; if they slide out easily, tighten the knob half a turn.
If your settings are already within the card’s limits, keep the temperature and time unchanged so the sample shows the effect of pressure alone.
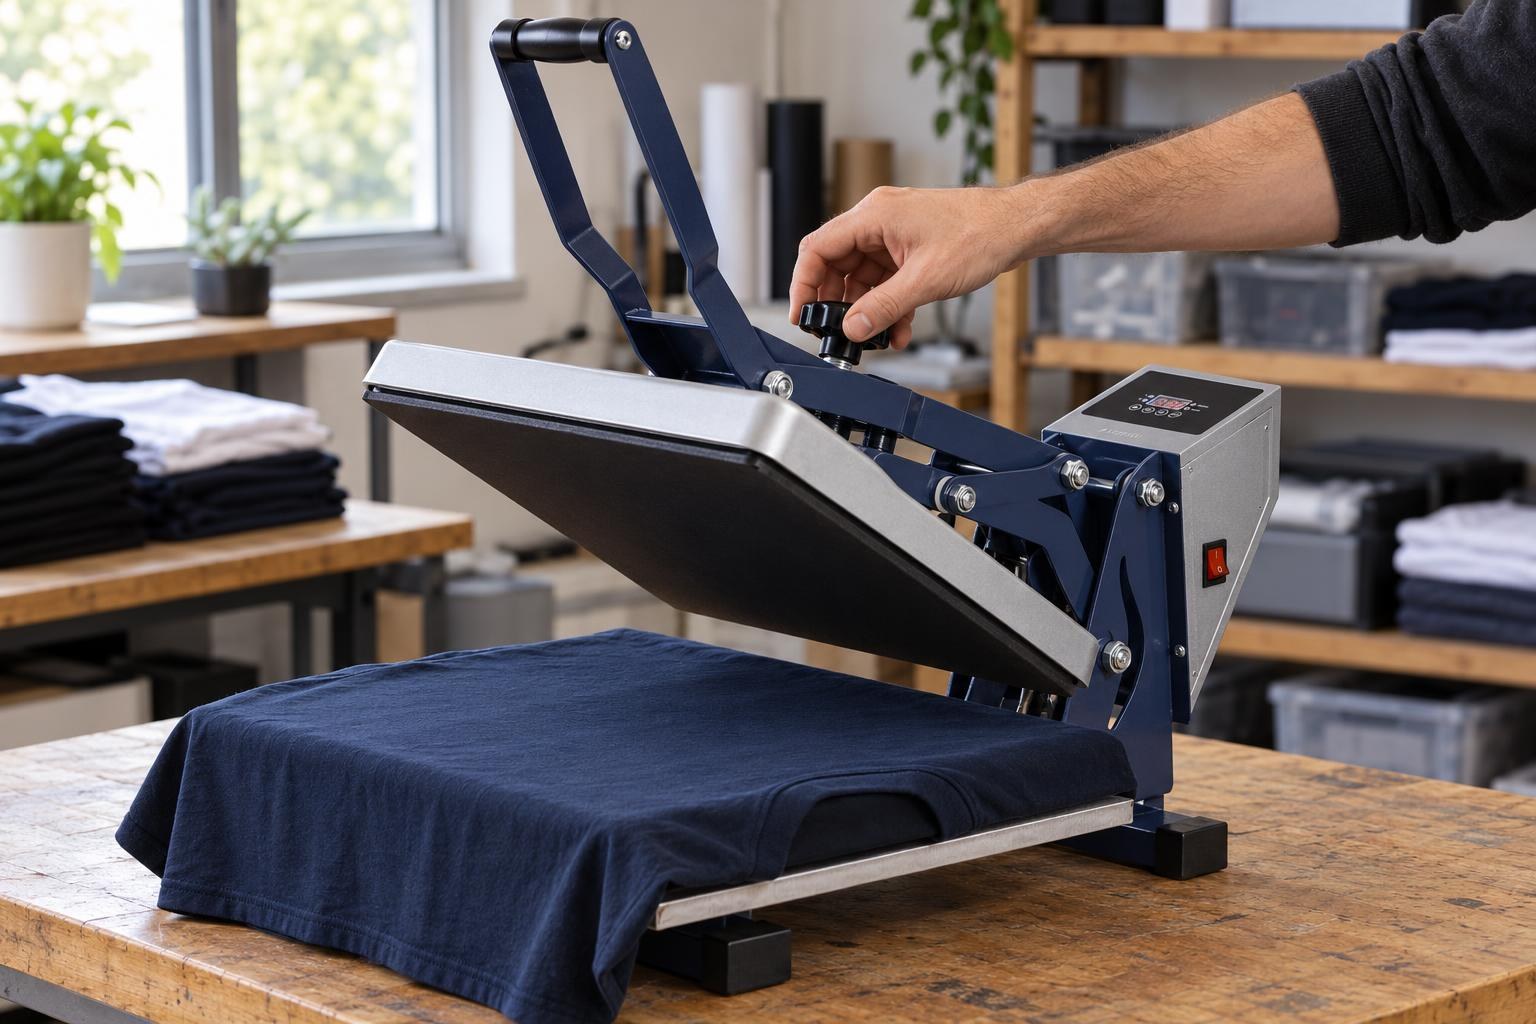
Between samples, change only the pressure: its knob sits on the press's upper platen.
- Use a cutting plotter to cut a small single-layer section of the same design. Keep the same film and use a fresh scrap of the same fabric: reheating the old print will not give a useful comparison.
- Lay the fabric flat so there are no seams or folds beneath the design. If you added a pillow or switched to a thicker garment, set the pressure again the same way: with a different thickness the same knob position gives a different force.
- Apply the section in one cycle and peel the carrier when the film’s card specifies (cold for 7214). Compare the edge with the previous sample under raking light.
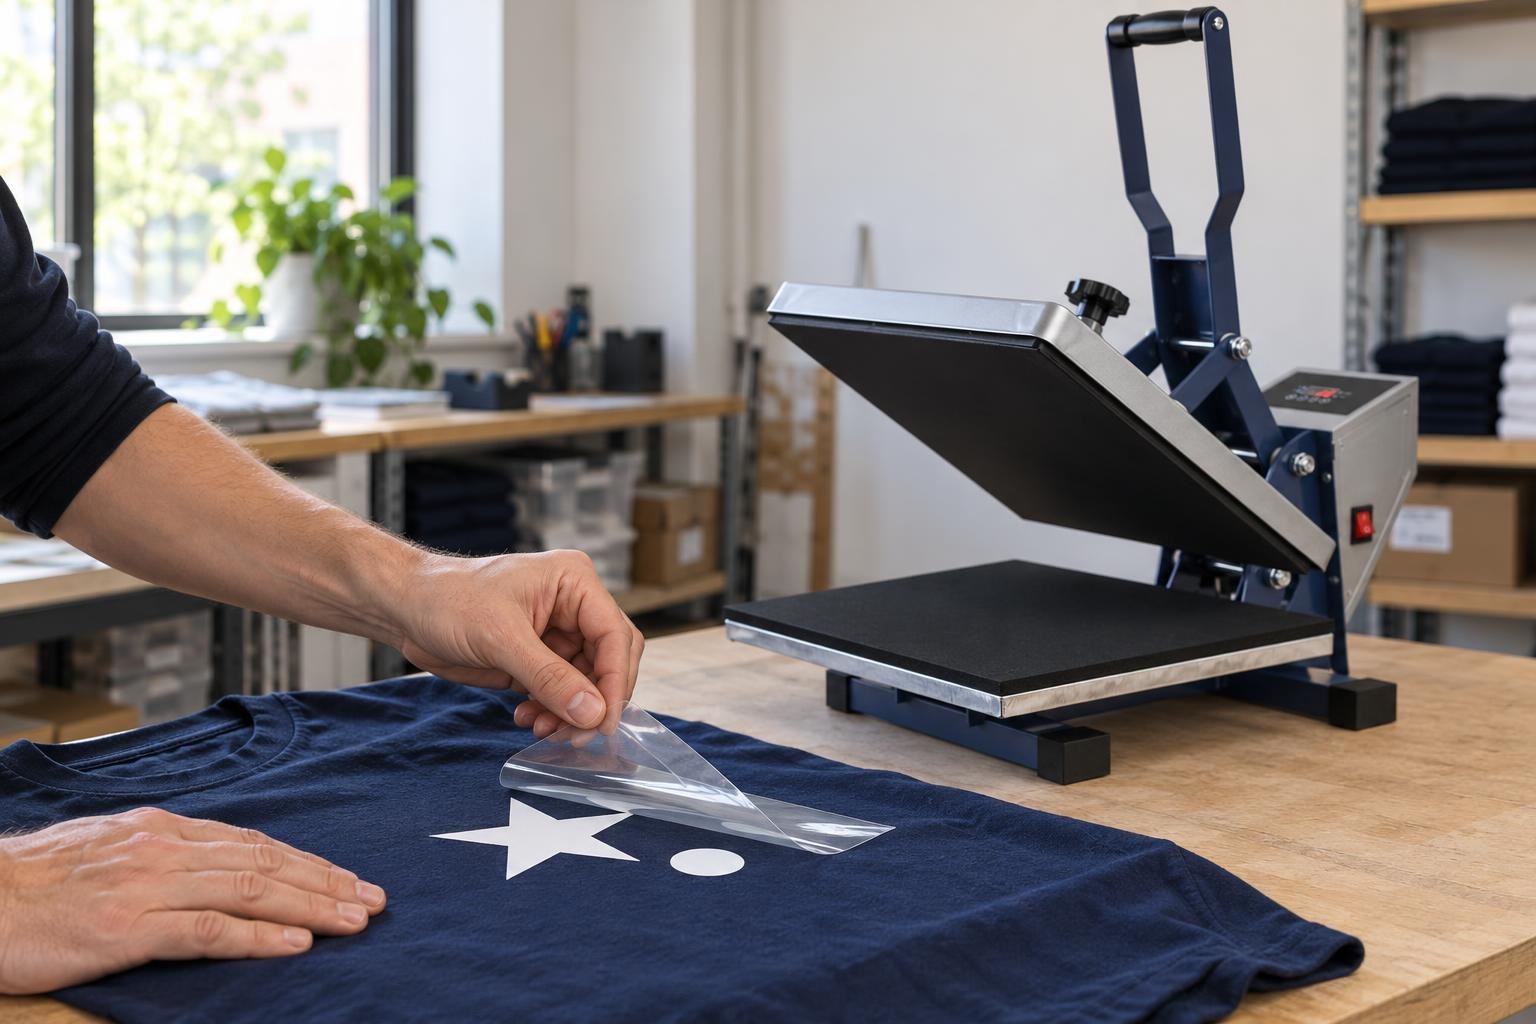
Cold peel: the T-shirt is already off the press, and the carrier goes back low, almost parallel to the fabric.
What the sample tells you
The rim is smaller and the edge holds
After 24 hours, wash the sample inside out at 40 °C, dry it and check every edge. If they hold, write the settings down and start the batch.
The rim is gone but the edge lifts
Turn the pressure back up half a turn and test a fresh section in one full cycle; do not add seconds. If the edge still lifts, the squares test in “Heat transfer vinyl lifts with the carrier: what to do” shows the cause.
The rim remains at the specified settings
Press the next sample at the same pressure but at the card's lower limit: 150 °C and 10 s. If the rim is gone, keep working that way. If it stays, check whether the platen runs hotter than the display: measure it as described in “The heat press and pyrometer show different temperatures: should you add degrees?”, or contact MyPrint's technical department. Only when the platen temperature matches the display, compare a section from another roll and send your MyPrint manager the item number, fabric composition, settings and a photo of the edge.
Rim only on the lower colour
The lower colour of a two-colour design went through the full heat cycle twice. Cut windows in it for the upper colour so that every piece sits on the fabric and is pressed once, as shown in “Two colours of heat transfer vinyl: windows instead of a solid bottom layer”.
What to do about an existing rim
More pressure will not push squeezed-out adhesive back underneath. If the customer would reject the garment, apply the design to a new blank after a sample made with the new settings keeps a clean edge through washing.
Frequently asked questions
Can adhesive around the film be removed from a finished garment?
No: squeezed-out adhesive cannot be put back under the film. Give the customer a new garment made with the corrected settings.
Should you cover the film with a Teflon sheet or paper in the press?
During application, the clear carrier separates the film from the platen. A Teflon sheet on top protects the fabric from direct contact with the platen and keeps adhesive off the platen. Always cover the design when re-pressing without the carrier.
The edge has not bonded: can you re-press it?
Yes, once: cover the design with a Teflon sheet and press for 5–10 s at the same temperature. Do not give it a second full cycle: adhesive will escape past the edge.
How soon can a garment with heat transfer vinyl be washed?
Wait at least 24 hours. Wash inside out at up to 40 °C with a mild detergent, without bleach or liquid fabric softener.